Note:
- This tutorial is available in an Oracle-provided free lab environment.
- It uses example values for Oracle Cloud Infrastructure credentials, tenancy, and compartments. When completing your lab, substitute these values with ones specific to your cloud environment.
TASK 1: Configure Access to Oracle Autonomous Database
In this lab you will configure access to Oracle Autonomous Database, required later in this lab.
To save time, the necessary resources are provisioned for you in the background: Oracle Autonomous Database instance, Virtual Cloud Network (VCN), and a Compute Instance with the Oracle Linux 8 pre-built image. It takes ~2-3 minutes to complete provisioning. You can tell when the resources are fully provisioned and ready by consulting the Resources tab on the Luna Lab webpage (see step 1, below).
Estimated Time: 10 minutes
Step 1: Create Database Schema User
-
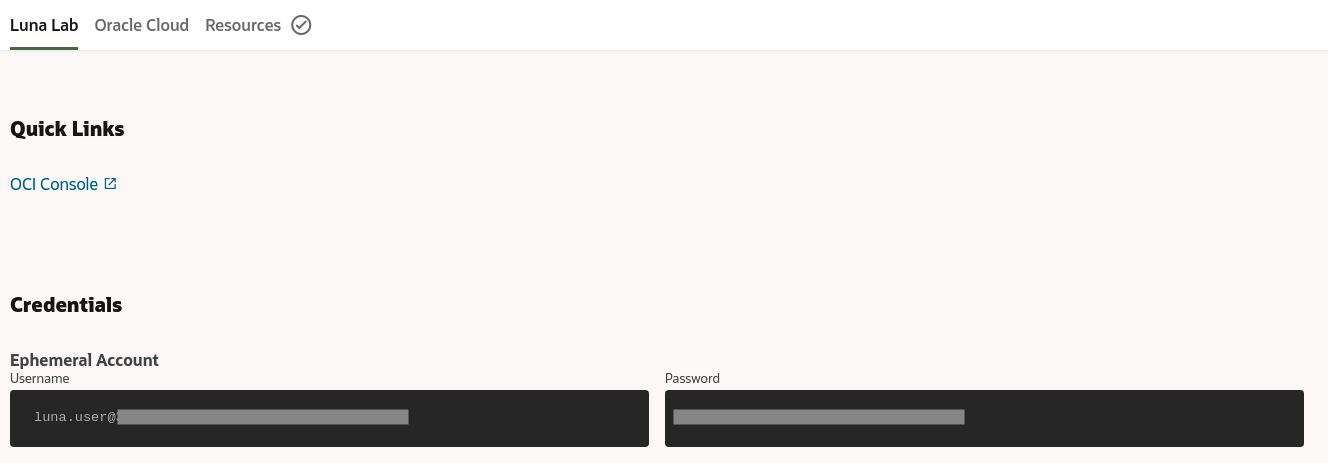
Double-click the Luna Lab icon on the desktop to open the browser.

Wait until the animated gear besides Resources turns into a checkmark. It means the database, compute and network resources are provisioned, and you can proceed.

-
Login to the OCI Console. On the Luna Lab page, click the OCI Console quick link. Enter username and password provided under Credentials for this lab ephemeral account.
-
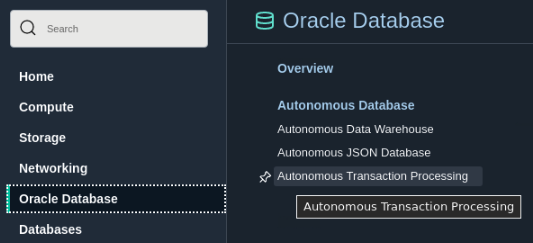
Click on the burger menu, find Oracle Database and select Autonomous Transaction Processing.
-
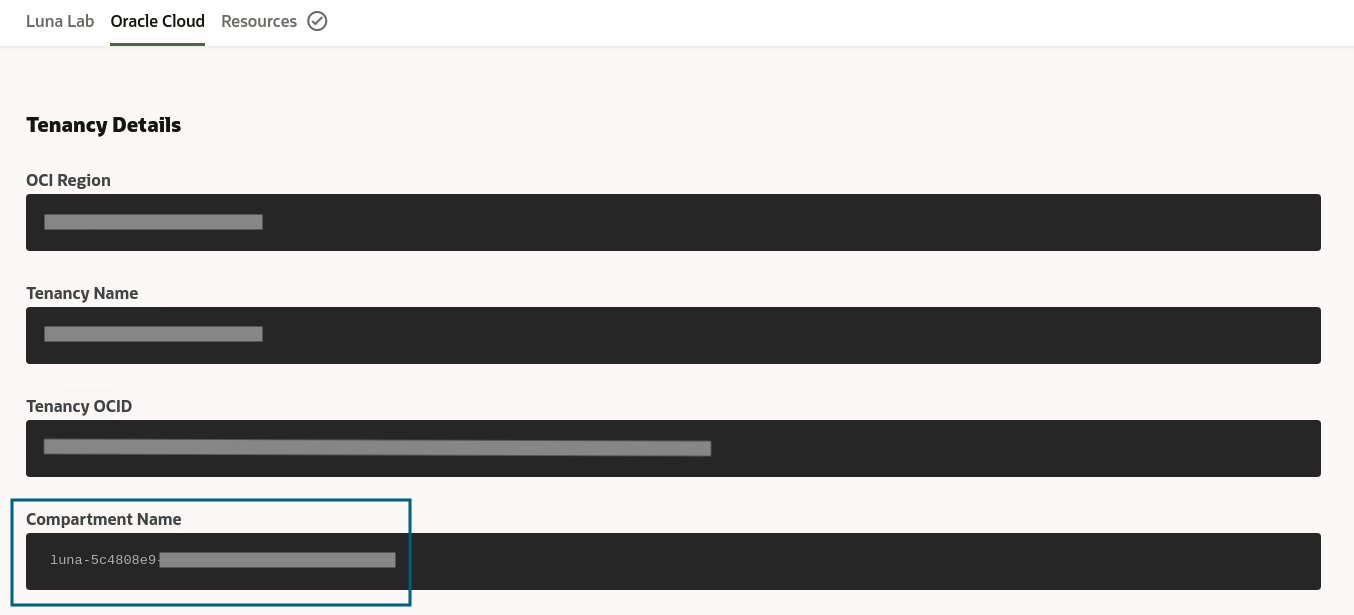
Select your lab compartment in the Compartment dropdown on the left. To find your compartment name, return to the Luna Lab page, then click Oracle Cloud, and see the Compartment Name field.
-
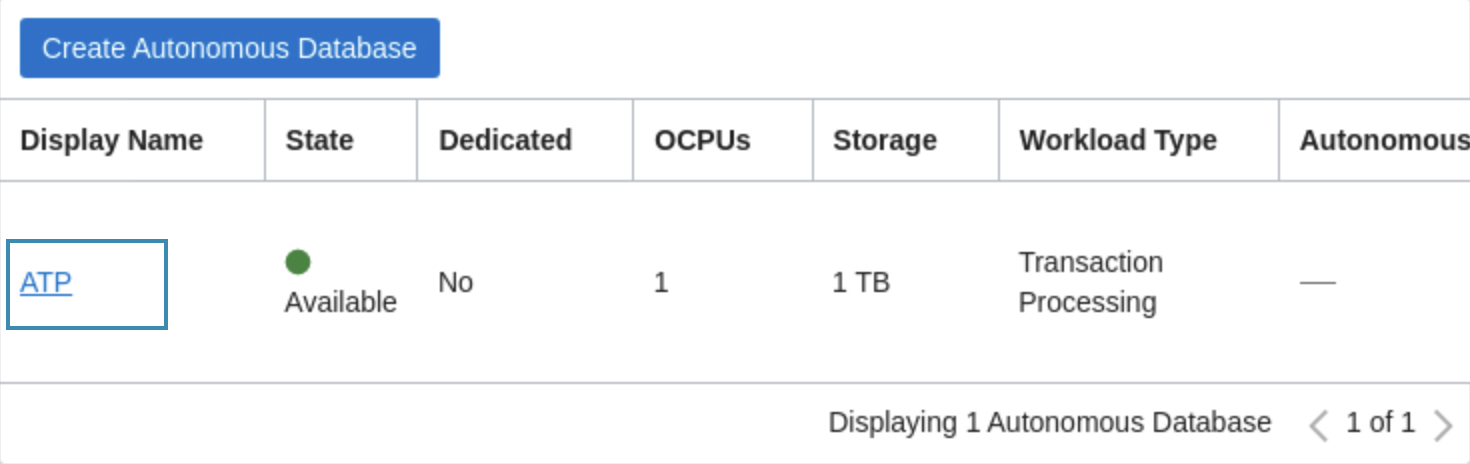
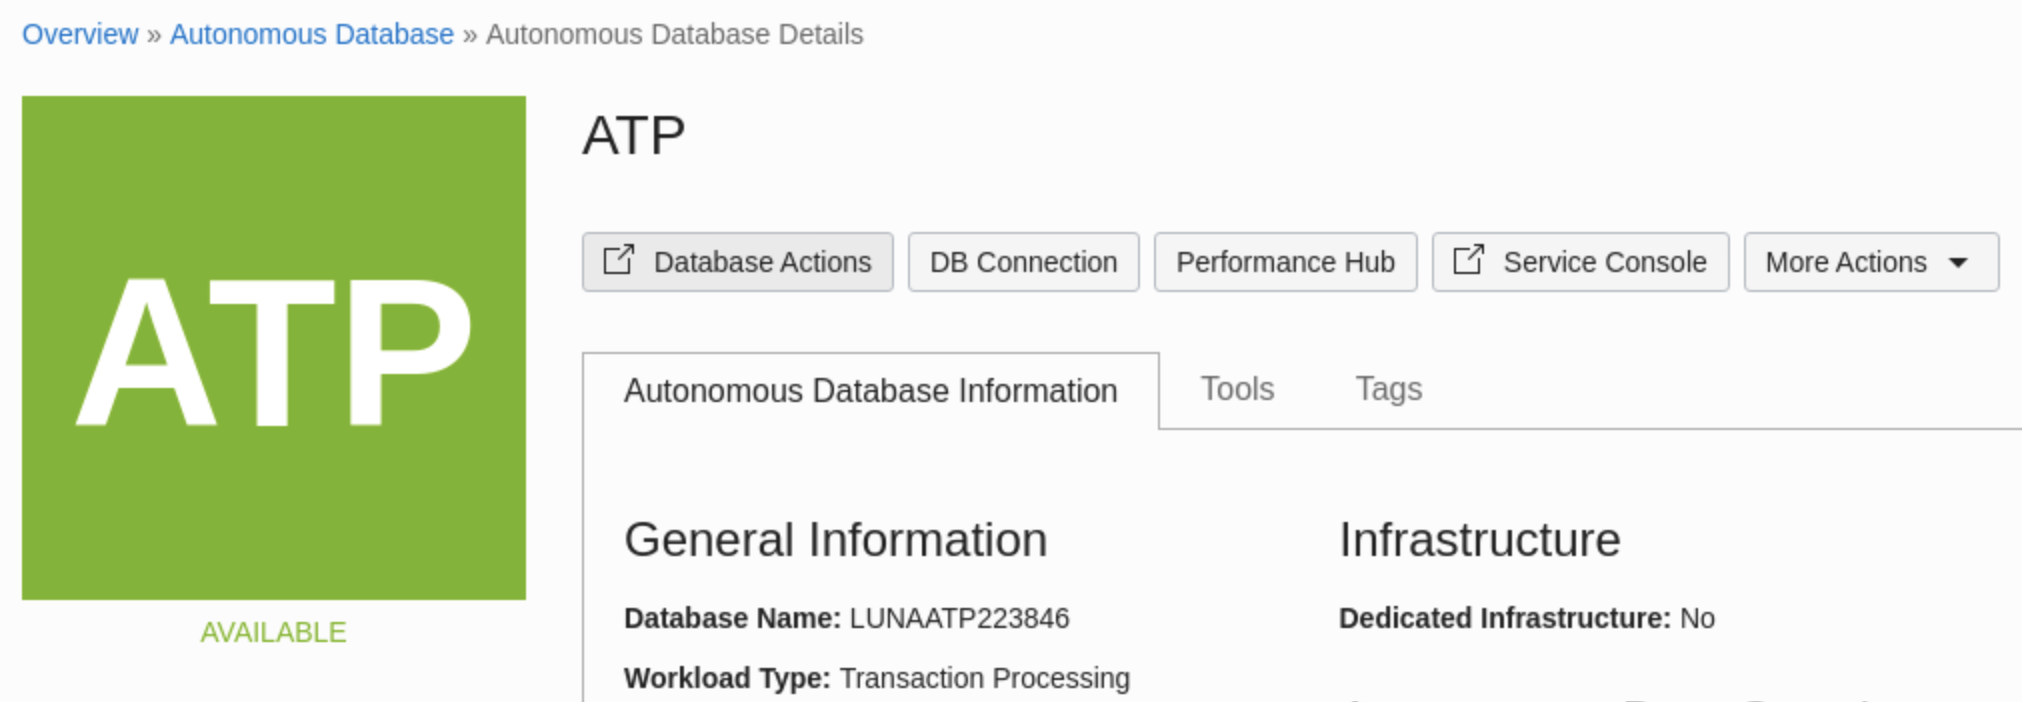
In the main window, find your database instance with the name ATP and click on it. Wait until the State shows Available.
-
On the Autonomous Database Details page, click Database Actions. Wait for database actions complete initializing. The database actions launchpad will open in a new tab.
Note: If you see the dialog window about blocked popups, click “Always Allow Popups” at the right of the address bar. You might need to click Database Actions again to open the launchpad.
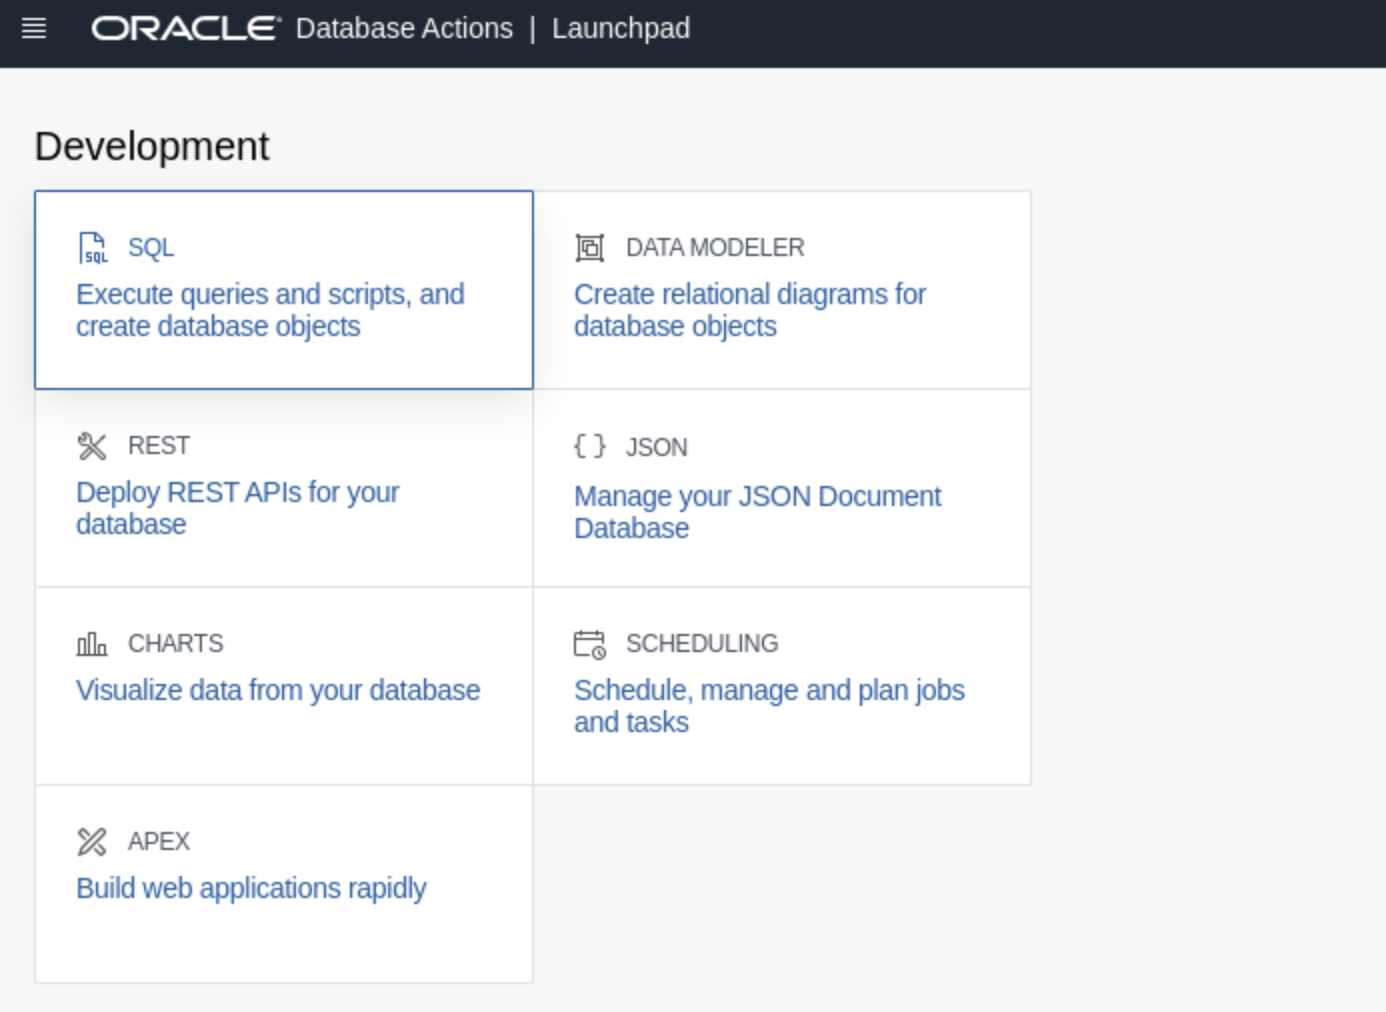
-
Once the database actions launchpad is up, select the SQL button to open up the SQL console.
-
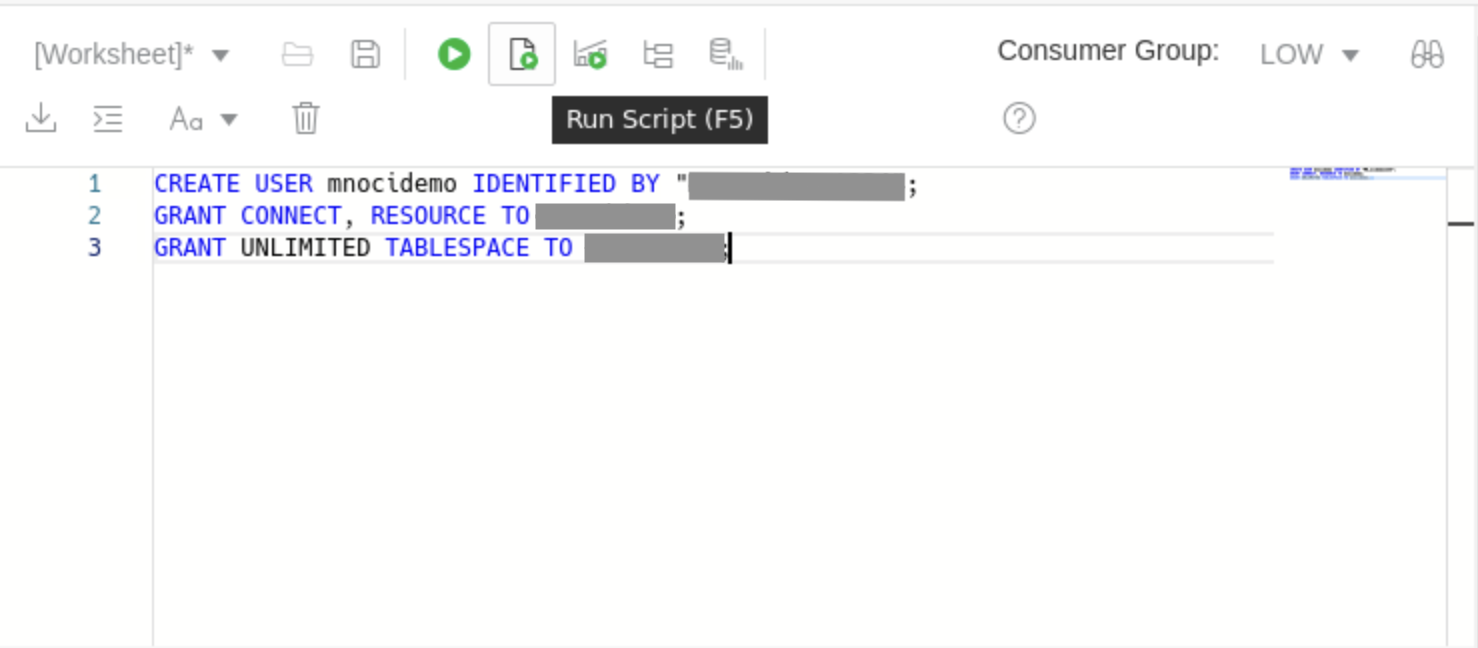
Within the worksheet paste the following SQL code which will create a schema user. A dialog box will ask you to allow seeing text and images copied to the clipboard. Click Allow. Replace
YOUR_CHOSEN_PASSWORDwith a password of your choice (must be at least 12 characters long and must include at least one uppercase, one lowercase, one numeric, and one special character). ReplaceYOUR_CHOSEN_USERNAMEwith any name you like. Note down the password and the username as they will be needed later.
CREATE USER mnocidemo IDENTIFIED BY "YOUR_CHOSEN_PASSWORD"; GRANT CONNECT, RESOURCE TO YOUR_CHOSEN_USERNAME; GRANT UNLIMITED TABLESPACE TO YOUR_CHOSEN_USERNAME; -
Click the Run script button to create the schema user.
-
Close the SQL and Oracle Database Actions browser tab and minimize the OCI window. You will need the OCI console later in this workshop.
You may now proceed to the next task.