Note:
- This tutorial is available in an Oracle-provided free lab environment.
- It uses example values for Oracle Cloud Infrastructure credentials, tenancy, and compartments. When completing your lab, substitute these values with ones specific to your cloud environment.
TASK 5: Build a Native Image of a Micronaut Application and Deploy to Oracle Cloud
In this lab you will learn how to turn your Java application into a native Linux executable with GraalVM Native Image. After that you will deploy it to a virtual machine in Oracle Cloud.
Estimated Time: 20 minutes
Task Contents
In this task you will:
- Run a Micronaut application on the JVM in Oracle Cloud
- Build a native Linux executable of your Micronaut application
- Deploy your Micronaut application as a native executable in Oracle Cloud
- Configure the firewall to allow traffic to a cloud instance (optional)
Step 1: Run a Micronaut Application on the JVM in Oracle Cloud
In this step you will deploy a Micronaut application traditionally on the JVM (from a JAR file) in Oracle Cloud. You will continue using VS Code where GraalVM Enterprise 22.0.0 is set as the default JDK.
-
Go to Terminal, then New Terminal and run this command to verify the Java version:

java -versionEverytime you invoke the
javacommand, the optimized Graal JIT compiler, enabled in GraalVM Enterprise by default, will be applied. -
You can package a Java project into a runnable JAR file and start the application either from the VS Code Terminal or invoking the Run Main action.
-
Go to Terminal, then New Terminal and run the
mn:rungoal:./mvnw mn:runIf you are using Gradle, execute the
runtask:./gradlew run -
Alternatively, find the
Application.javaclass file in VS Code, click Run Main above the main method: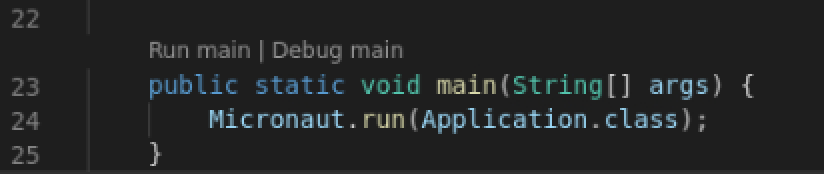
The application is started on port 8080. Note the time taken to launch it (it is expected to start in ~6500ms).
-
-
Terminate the application:
CTLR +C
Step 2: Build a Native Linux Executable of a Micronaut Application
You can transform any Java application into a native executable with GraalVM Native Image. It is an ahead-of-time compilation technology that allows to turn your Java bytecode into a self-contained native binary that does not require a JDK to run, and is designed to execute on a specific target environment.
As already mentioned, for users convenience, GraalVM Enterprise 22 is preinstalled on your virtual machine. Same is Native Image, which is added with all the dependent libraries (e.g., libstdc++-static, glibc, zlib, etc.). The native-image utility is placed in the GraalVM installation directory ($JAVA_HOME/bin).
-
In VS Code Terminal window, verify the Native Image version:
native-image --version -
Run this single command to build a native Linux executable:
- If you are using Maven, specify the
native-imagepackaging format:
./mvnw clean package -Dpackaging=native-image- If you are using Gradle, execute the
nativeImagetask:
./gradlew nativeCompileAfter some time a native executable called
ocidemowill be built into the/target/native-image/directory. If you are using Gradle, the executable calledocidemowill be written to the/build/native/nativeCompile/folder.Note: The time to build an executable depends on application size and complexity and may take some time on low powered VMs. Using the capacities of the VM instance allocated for this lab, the expected time is ~5 minutes.
- If you are using Maven, specify the
GraalVM Native Image creates an executable file with all the application classes, dependent library classes, dependent JDK classes, and a snapshot of the application heap. Whilst building a native image can take some time, the benefits include a dramatic reduction in startup time and reduced overall memory consumption.
Step 3: Deploy Your Micronaut Application in OCI
In the previous step you created a native Linux executable of your Micronaut Application. Now you will deploy this native executable in Oracle Cloud, and compare the startup times when running the same application the from a JAR file and as a native image.
To deploy your application as a native executable, invoke a binary file generated in the previous step:
- If you used Maven:
![]()
./target/ocidemo
- If you used Gradle:
![]()
./build/native/nativeCompile/ocidemo
Note how much faster it takes to start this Micronaut microservice as a native image than from a JAR file at Step 1 (it should jump from ~6500 milliseconds to 2500). It starts faster because the executable is a self-contained binary and does not require a JDK to run, making it an easy way to distribute applications. The filesize is also quite small.
Deploying a Java microservice as a native executable helps to achieve instantaneous startup, lower CPU and memory consumption, making GraalVM Enterprise a good candidate for building cloud native Java applications and for cloud deployments.
The application is running successfully at this point, but to access it, for example, from a browser, you will need to allow incoming traffic to your virtual machine. Terminate the application, CTRL+C, and proceed to the next step.
Step 4: Configure the Firewall to Allow Traffic to Your Cloud Instance (Optional)
To verify this server-side application running in Oracle Cloud and open it in a browser, you need to ensure that the host firewall allows traffic to your virtual machine.
-
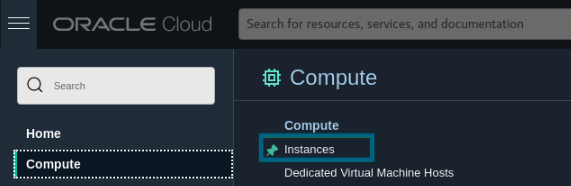
Return to the cloud console, navigate to Compute, then Instances.
-
When you are logged into the OCI Console, navigate to Compute and click Instances . Make sure you are in the necessary compartment (see Task 1, step 3).
-
Find the VM instance (name starting with graal-workshop-…) in the main view and open it.
-
In the Primary VNIC section, click on Subnet your instance is attached to (subnet-01).
-
On the subnet page, click on Internal Security List.
-
Press Add Ingress Rule and fill in the following data.
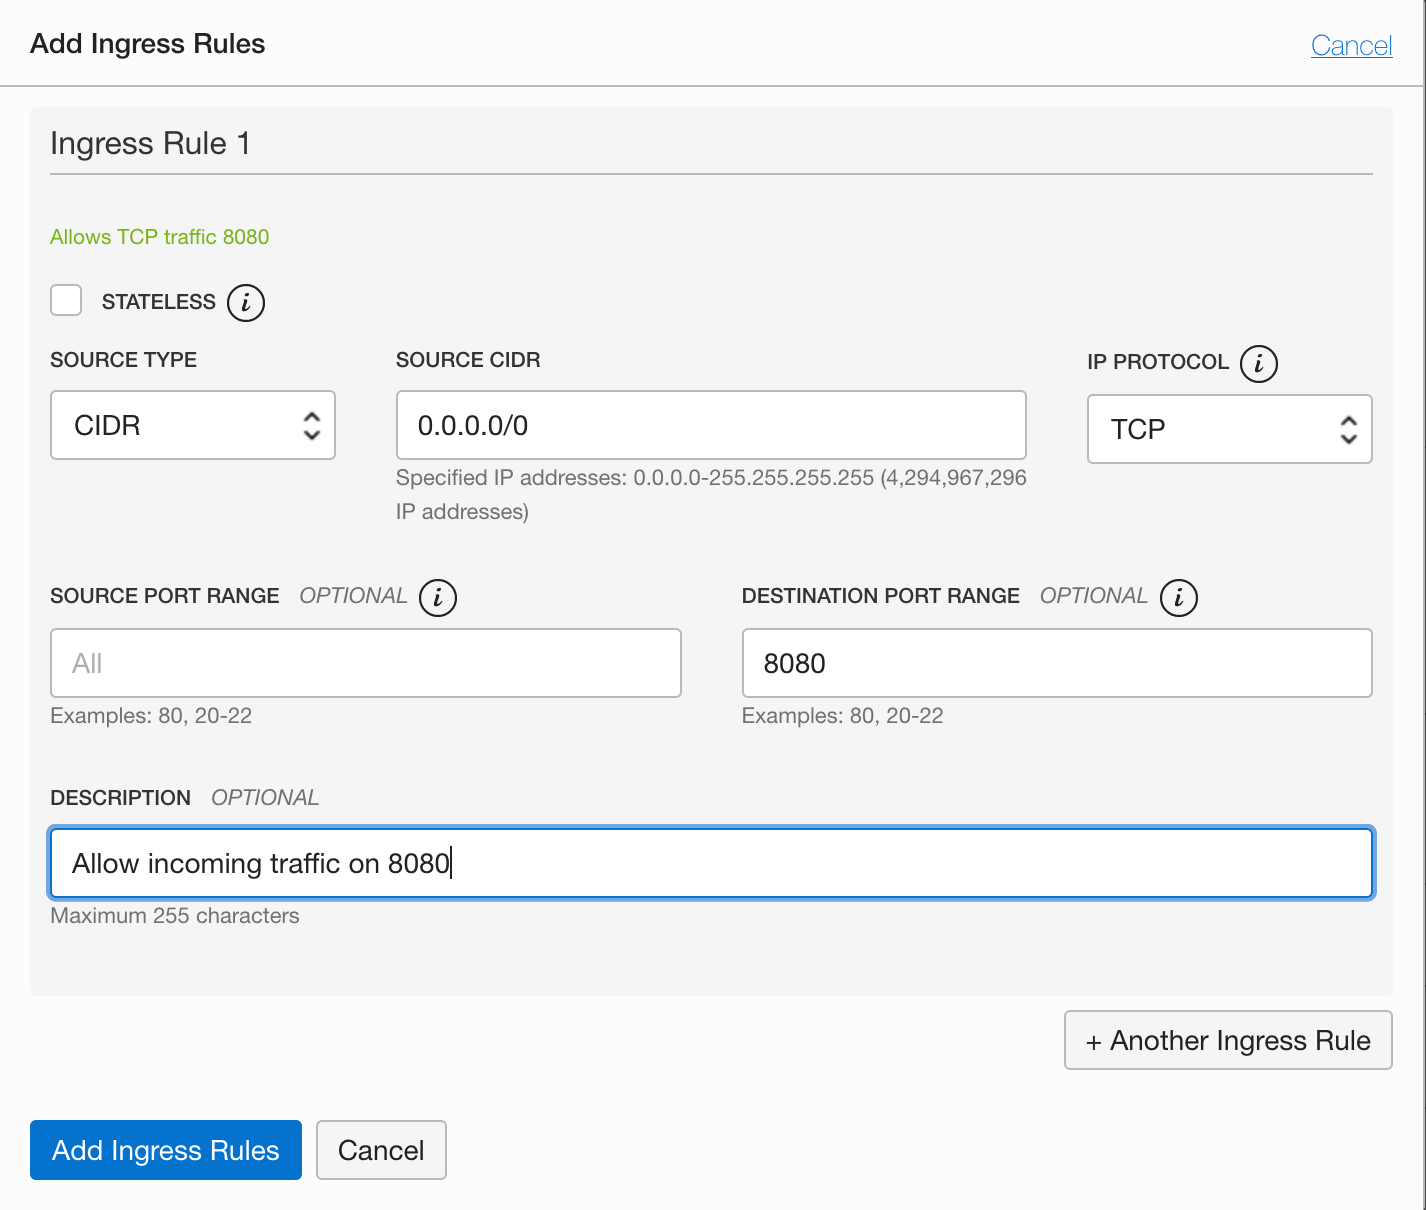
The rule allows traffic from all sources to use port 8080, so that the application can be reached from anywhere.
-
Return to the terminal window and run the following commands to restart the firewall in your running VM instance.
sudo firewall-cmd --permanent --add-port=8080/tcpsudo systemctl reload firewalld -
Restart the application as a native executable.
Built with Maven:
./target/ocidemoBuilt with Gradle:
./build/native/nativeCompile/ocidemo -
Open the application in a browser using
http://<SERVER_IP>:8080/petsfor the/petendpoint andhttp://<SERVER_IP>:8080/ownersfor the/ownersendpoint. Alternatively, split the terminal window in VS Code and send a GET request withcurl:curl -i http://<SERVER_IP>:8080/pets
Congratulations! You have successfully completed this lab.
Learn More
-
Get hands-on lab experience using GraalVM Native Image and start building cloud native Java applications by running the GraalVM Native Image Quick Start lab.
-
Check the GraalVM Enterprise documentation
-
Wacth the introduction video about building multicloud serverless applications with Micronaut and GraalVM.
Video for Building Multicloud Serverless Applications with Micronaut and GraalVM
To end this session, click the End Session button in the toolbar.