Note:
- This tutorial is available in an Oracle-provided free lab environment.
- It uses example values for Oracle Cloud Infrastructure credentials, tenancy, and compartments. When completing your lab, substitute these values with ones specific to your cloud environment.
GraalVM Native Image, Spring and Containerisation
Introduction
This lab is for developers looking to understand more about how to containerise GraalVM Native Image applications.
GraalVM Native Image technology compiles Java code ahead-of-time into a native executable file. Only the code that is required at run time by the application is included in the executable file.
An executable file produced by Native Image has several important advantages, in that it:
- Uses a fraction of the resources required by the JVM, so is cheaper to run
- Starts in milliseconds
- Delivers peak performance immediately, with no warmup
- Can be packaged into a lightweight container image for faster and more efficient deployment
- Presents a reduced attack surface (more on this in future labs)
Many of the leading microservice frameworks support ahead-of-time compilation with GraalVM Native Image, including Micronaut, Spring, Helidon, and Quarkus.
In addition, there are Maven and Gradle plugins for Native Image so you can easily build, test, and run Java applications as executable files.
Note: Oracle Cloud Infrastructure (OCI) provides GraalVM Enterprise at no additional cost.
Estimated lab time: 90 minutes
Lab Objectives
In this lab you will:
- Add a basic Spring Boot application to a Docker Image and run it
- Build a native executable from this application, using GraalVM Native Image
- Add the native executable to a Docker Image
- Shrink your application docker image size with GraalVM Native Image & Distroless containers
- See how to use the GraalVM Native Build tools, Maven Plugin
NOTE: If you see the laptop icon in the lab, this means you need to do something such as enter a command. Keep an eye out for it.

# This is where you will need to do something
STEP 1: Connect to a Virtual Host and Check the Development Environment
Your development environment is provided by a remote host: an OCI Compute Instance with Oracle Linux 8, 4 cores, and 32GB of memory. The Luna Labs desktop environment will display before the remote host is ready, which can take up to two minutes.
You connect to your remote host by running a setup script in your Luna Desktop environment. This script is available through the resources tab.
-
Double-click the Luna Lab icon on the desktop to open the browser.

-
The Resources Tab will be displayed. Note that the cog shown next to the Resources title will spin whilst the compute instance is being provisioned in the cloud.

-
When the instance is provisioned (this may take up to 2 minutes) you will see the following displayed on the Resources tab.
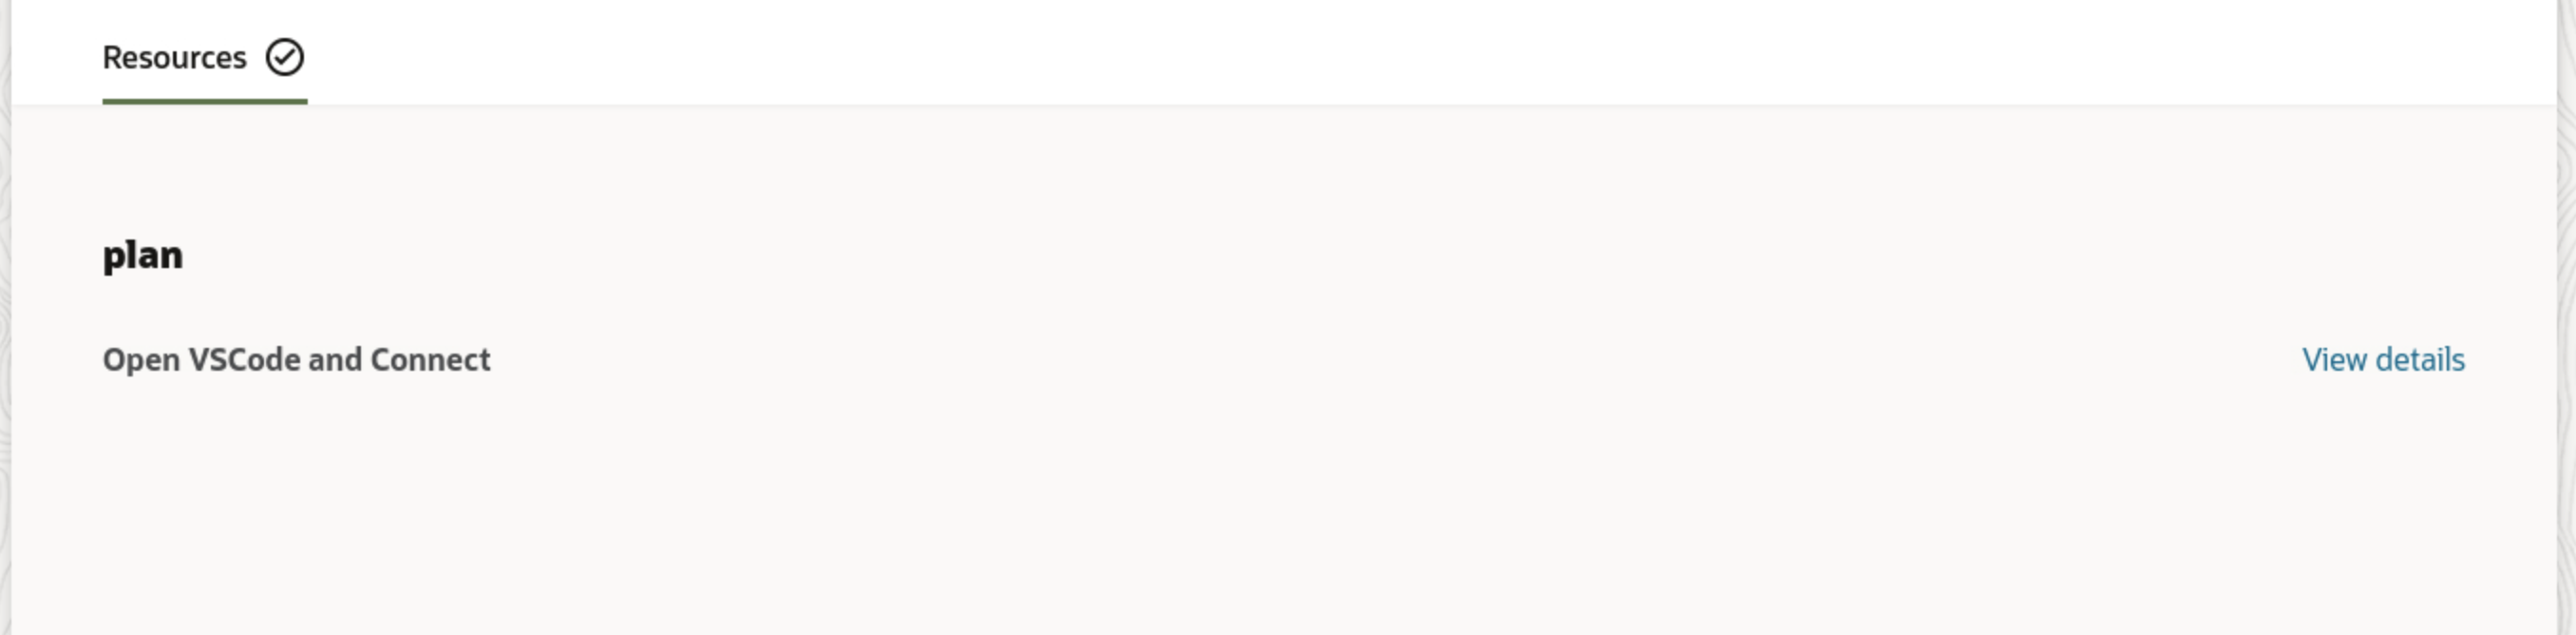
-
Copy the configuration script that sets up your VS Code environment from the resources tab. Click on the View Details link to reveal the configuration. Copy this as shown in the screenshot below:
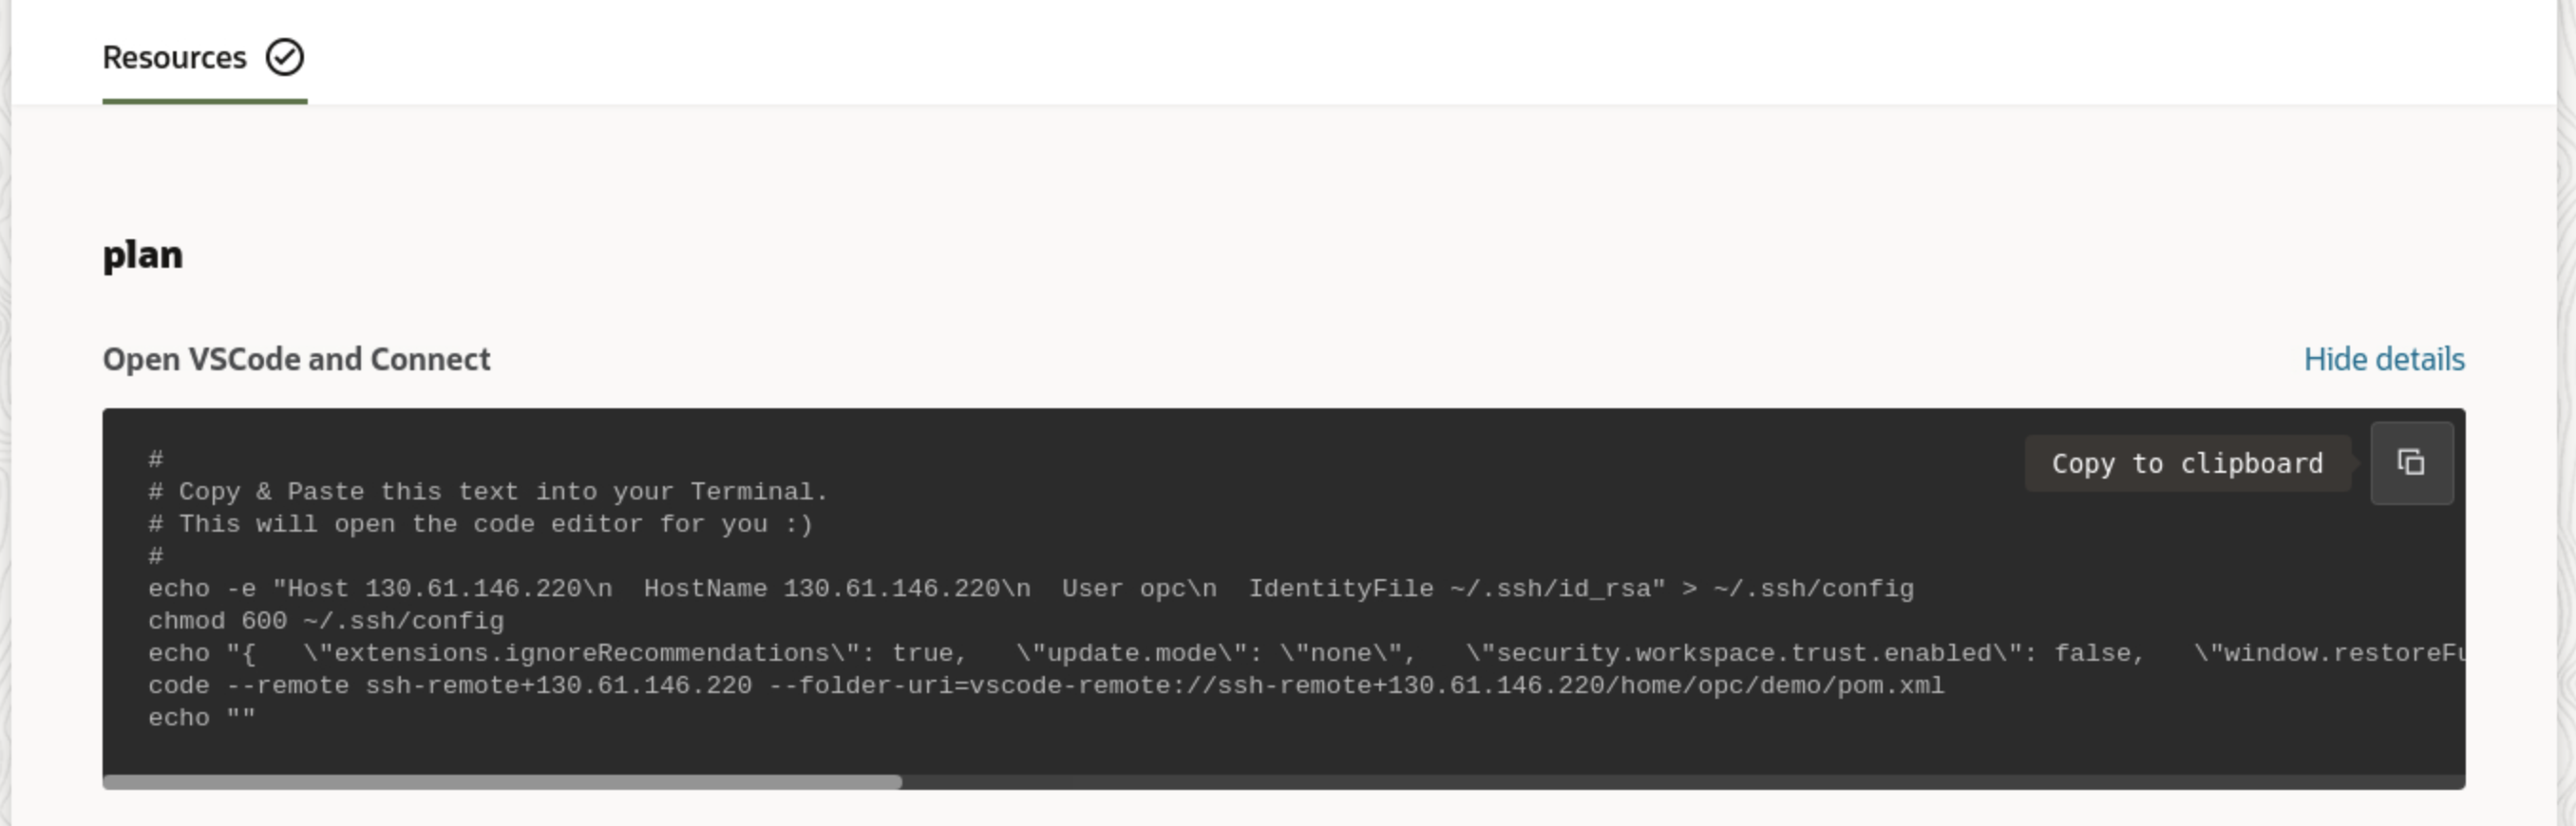
-
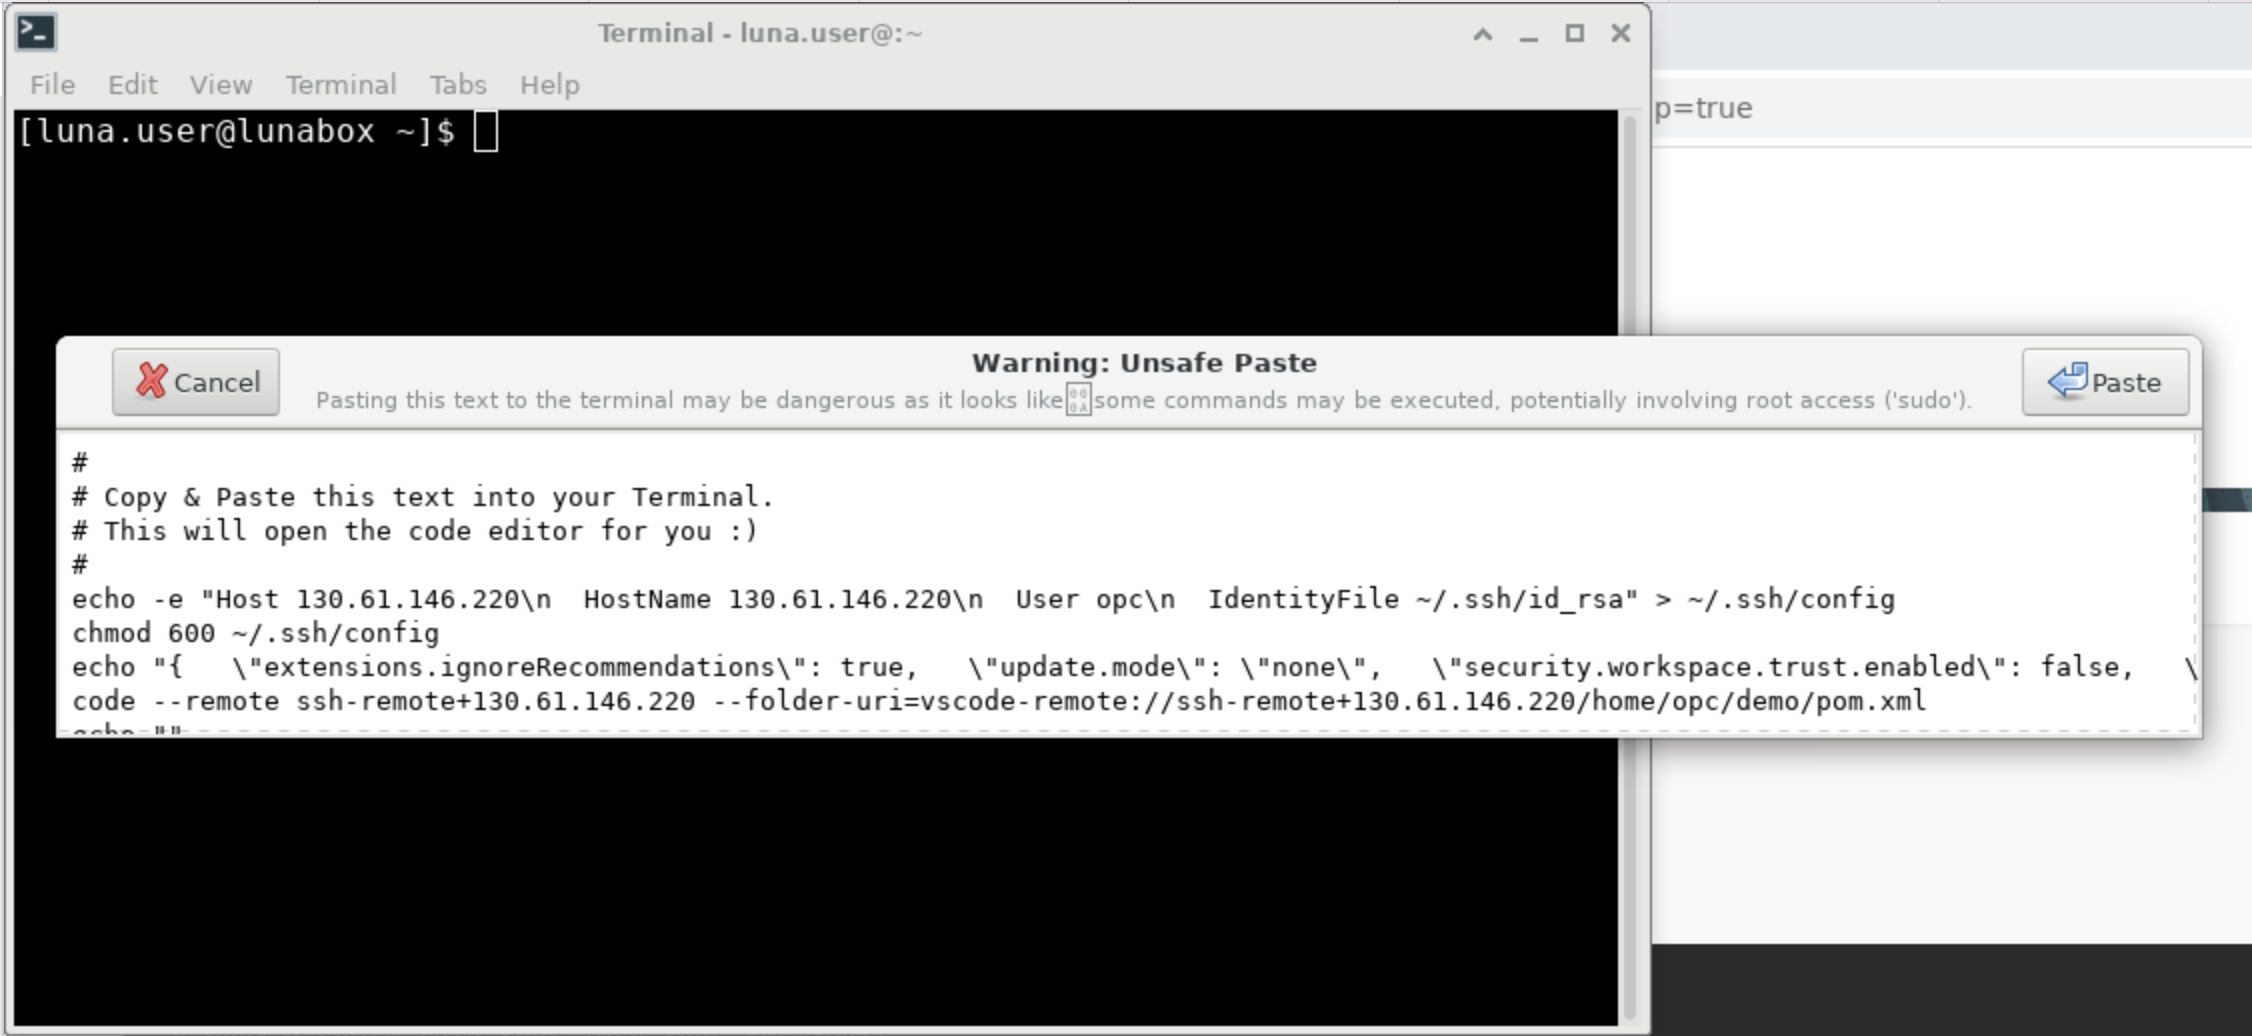
Open a Terminal, as shown in the screenshot below:
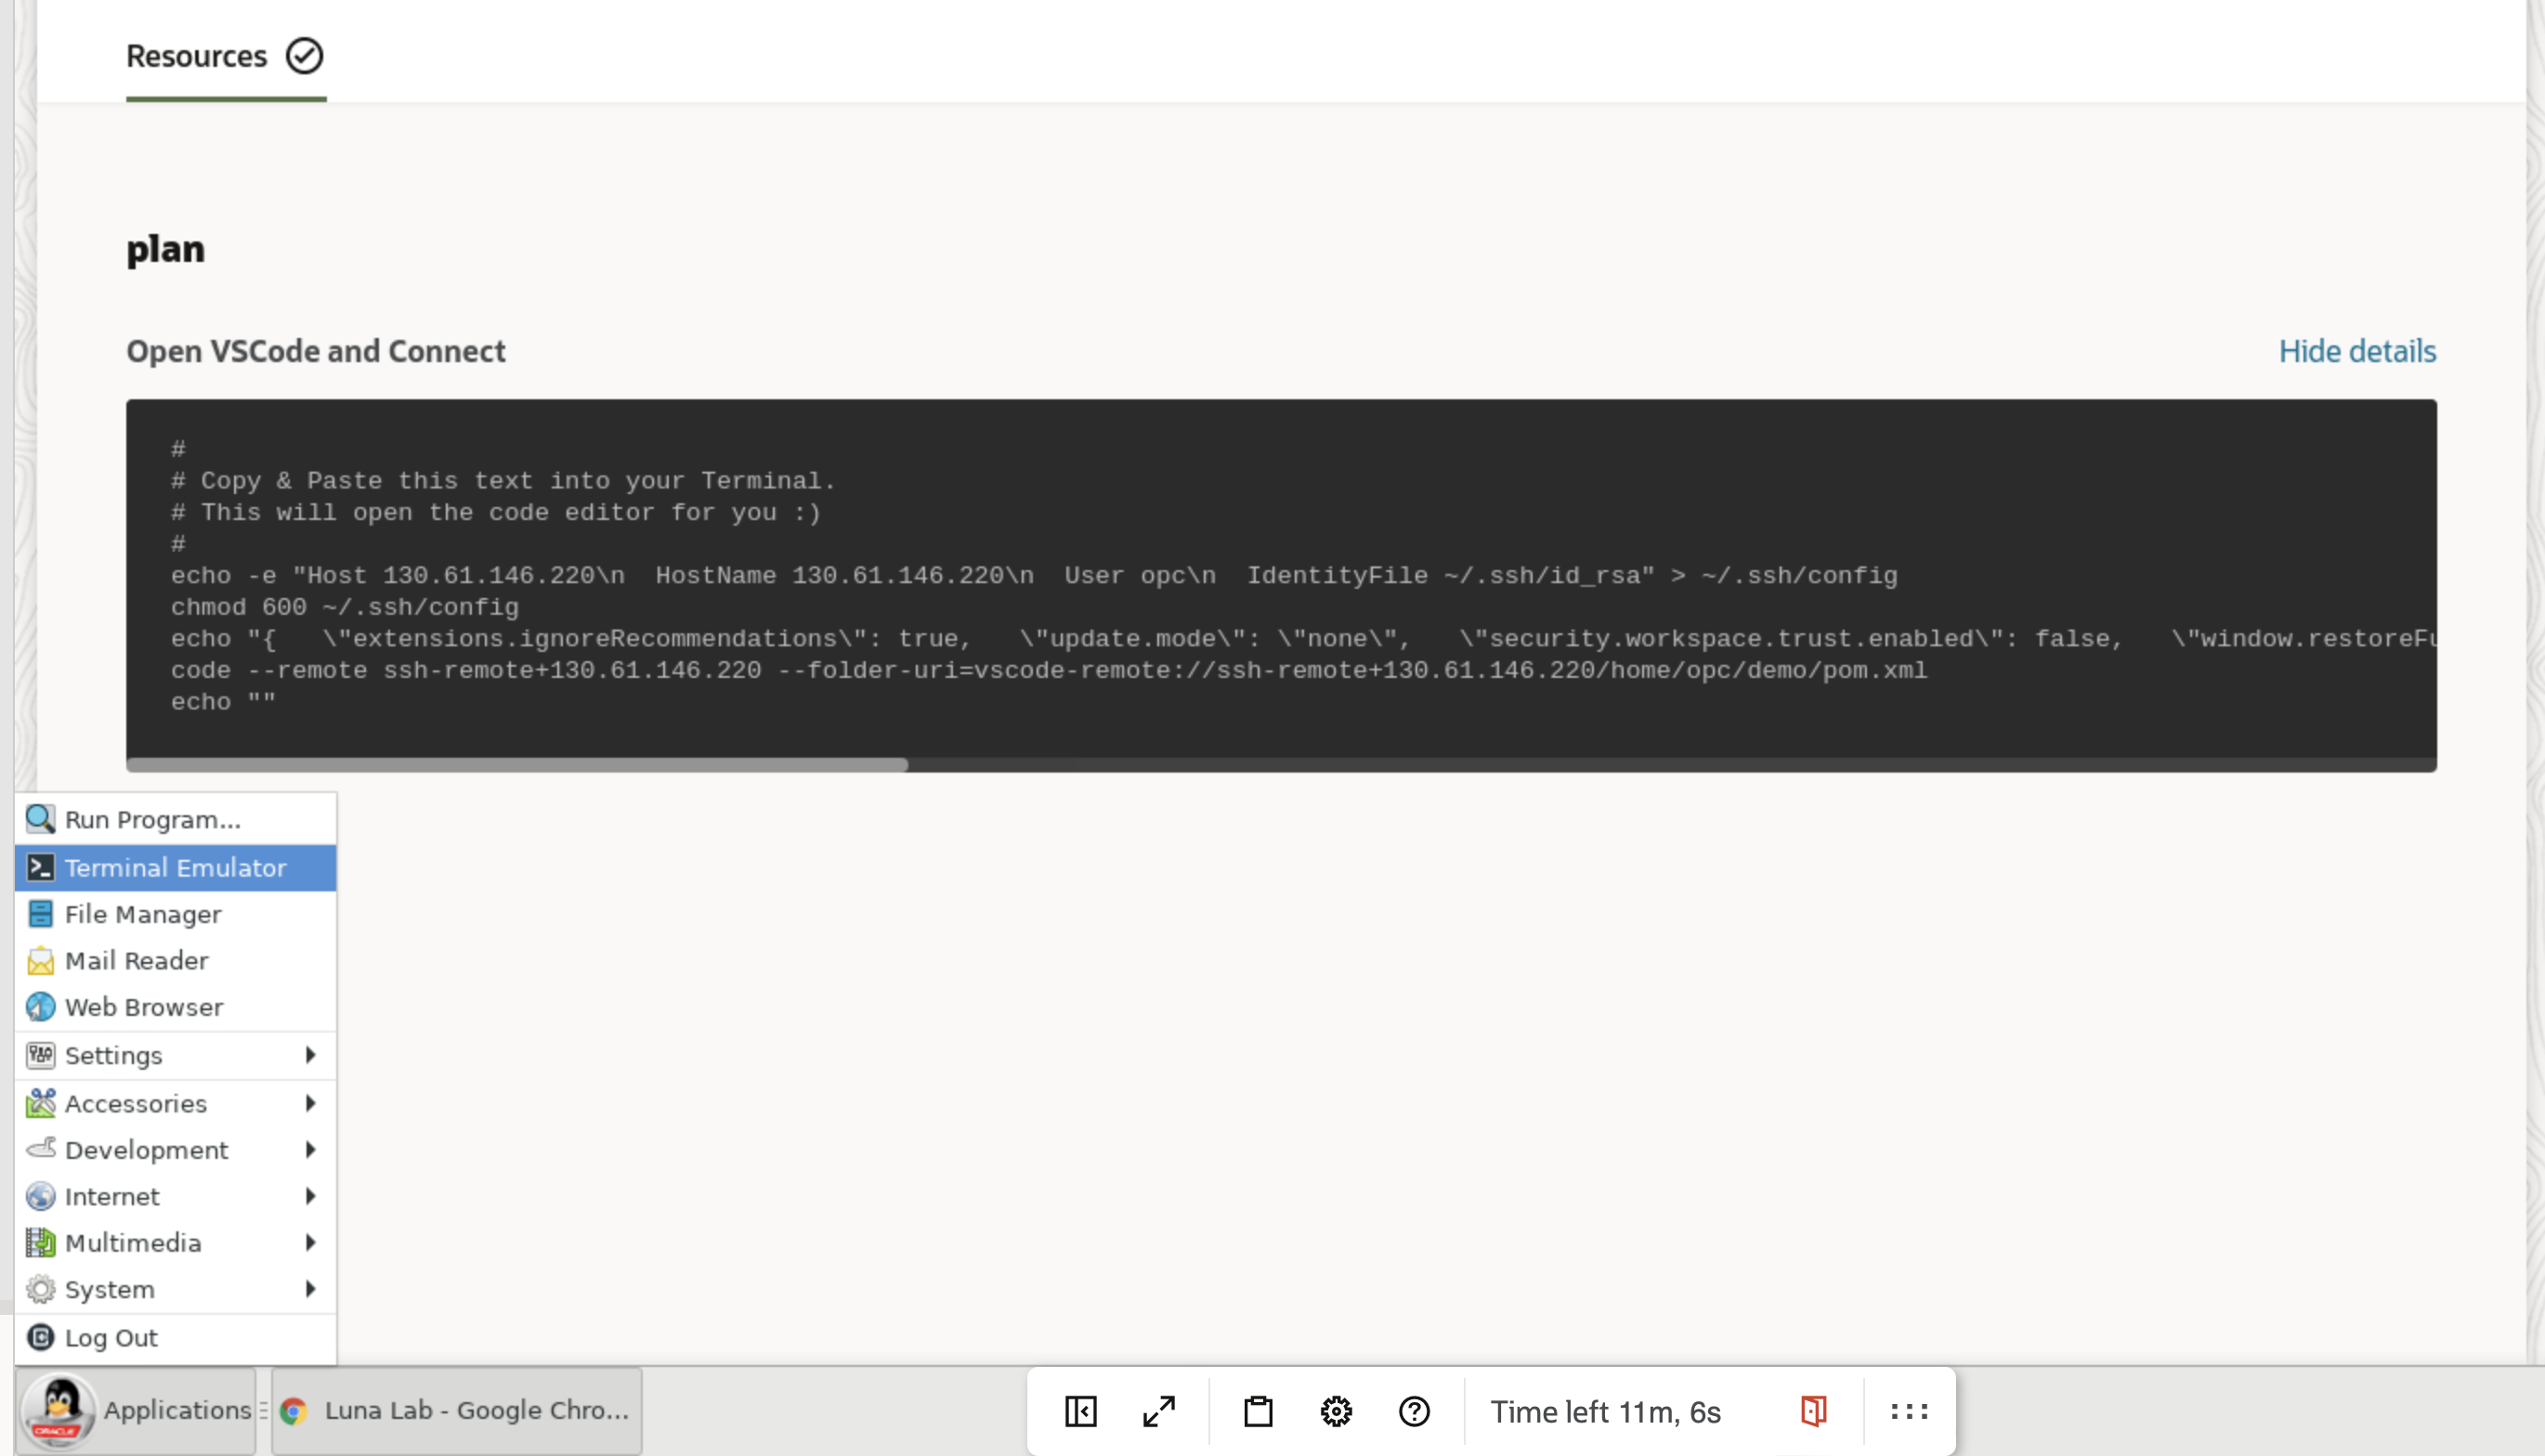
-
Paste the configuration code into the terminal, which will open VS Code for you.
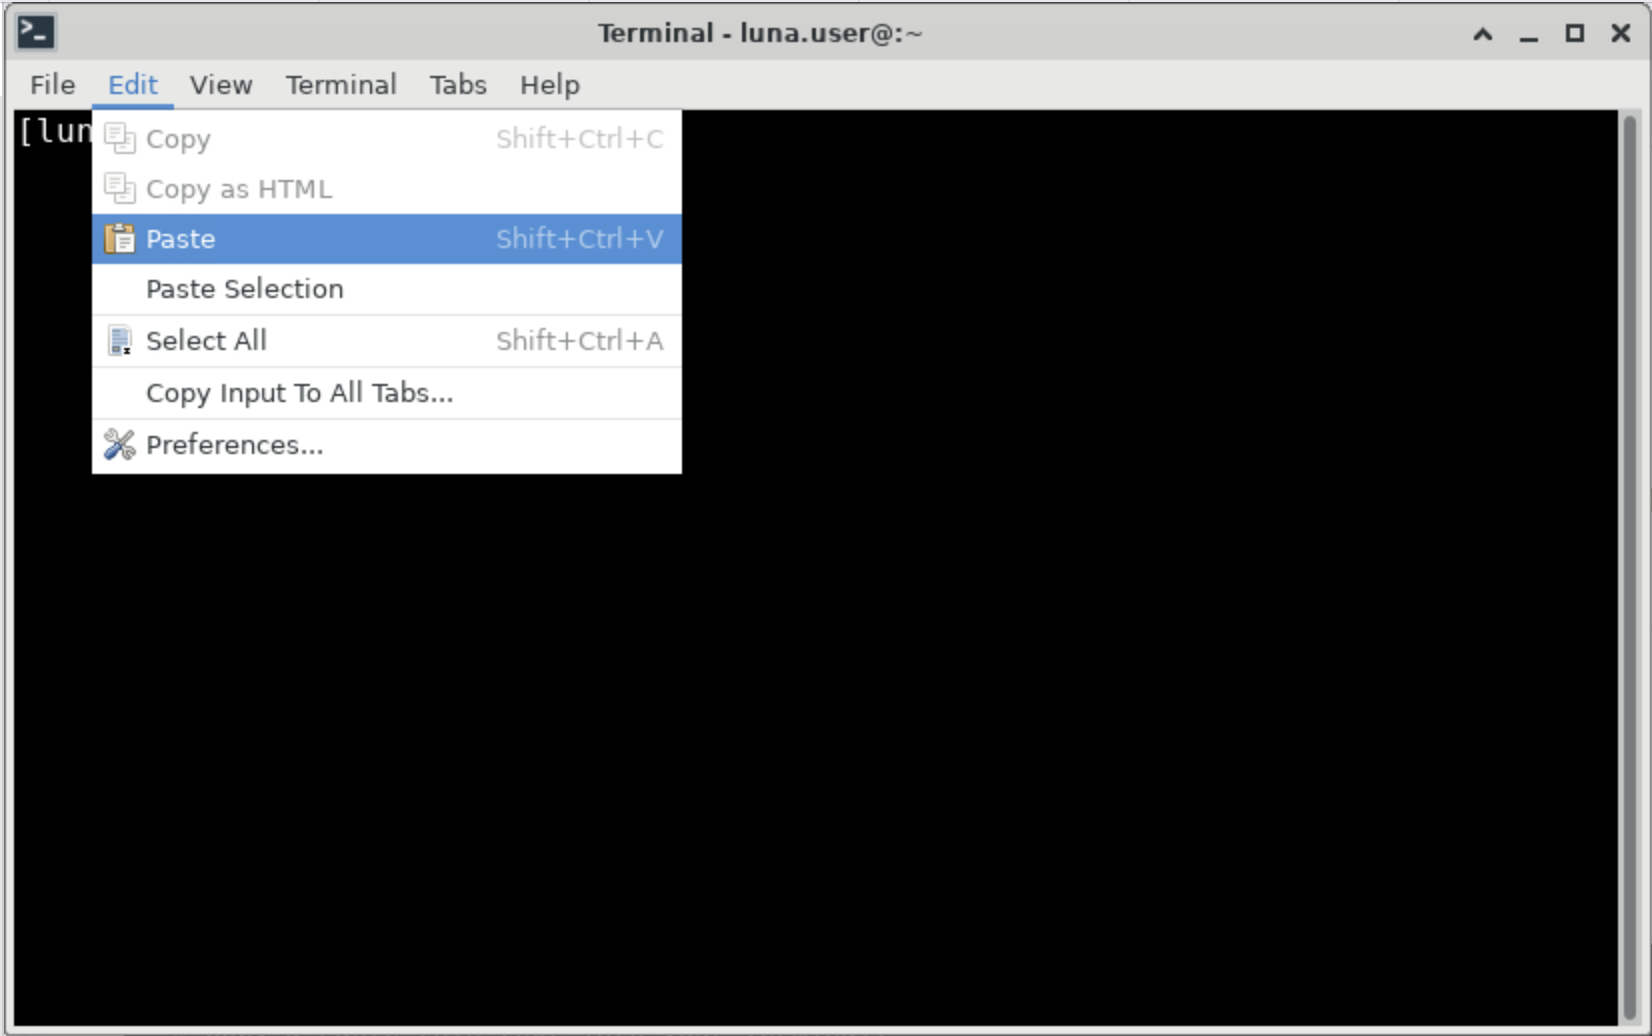
-
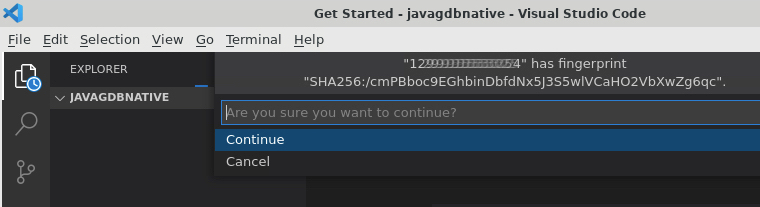
A VS Code window will open and automatically connect to the VM instance that has been provisioned for you. Click Continue to accept the machine fingerprint.
You are done! Congratulations, you are now successfully connected to a remote host in Oracle Cloud!
The above script will open VS Code, connected to your remote compute instance with the source code for the lab opened.
Next you will need to open a terminal within VS Code. This terminal will allow you to interact with the remote host. A terminal can be opened in VS Code through the menu: Terminal > New Terminal.
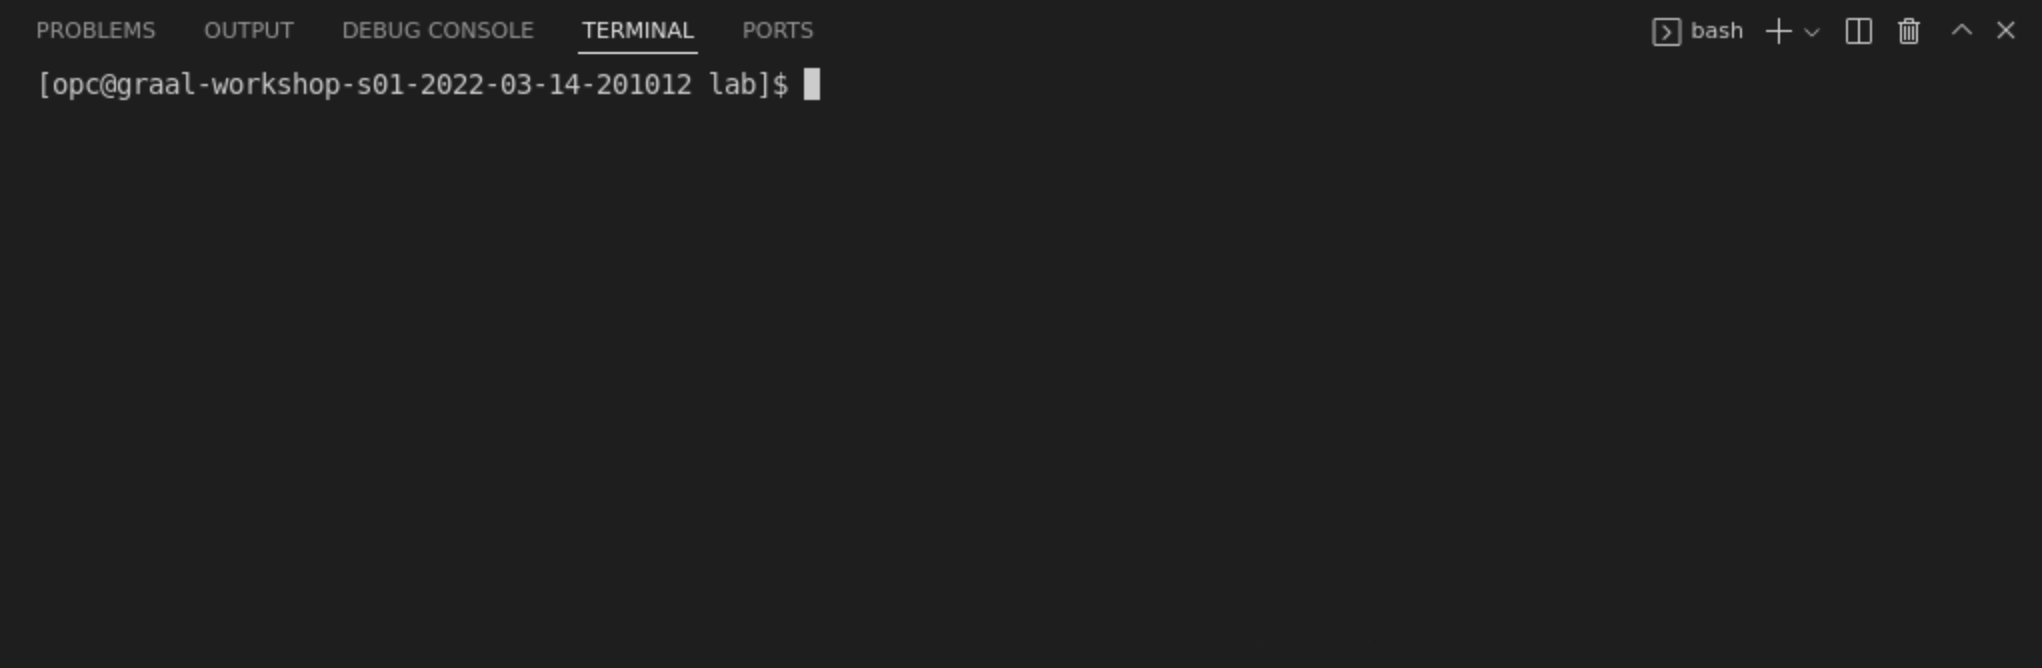
We will use this terminal in the rest of the lab.
Note on the Development Environment
We will use GraalVM Enterprise 22, as the Java enviroment for this lab. GraalVM is a high performance JDK distribution from Oracle built on the trusted and secure Oracle Java SE.
Your dev environment comes preconfigured with GraalVM and the Native Image tooling required for this lab.
You can easily check that by running these commands in the terminal:
java -version
native-image --version
STEP 2: Meet Our Sample Java Application
In this lab, you are going to build a simple application with a very minimal REST-based API. You are then going to containerise this application using Docker. First, take a quick look at your simple application.
We have provided the source code and build scripts for this application and the folder containing the source code will be open in VS Code.
The application is built on top of the Spring Boot framework and makes use of the Spring Native Project (a Spring incubator to generate native executables using GraalVM Native Image).
The application has two classes, which can be found in src/main/java:
com.example.demo.DemoApplication: The main Spring Boot class that also defines the HTTP endpoint,/jibbercom.example.demo.Jabberwocky: A utility class that implements the logic of the application
So, what does the application do? If you call the endpoint REST /jibber, defined within the application, it will
return some nonsense verse generated in the style of the Jabberwocky poem,
by Lewis Carroll. The program achieves this by using a Markov Chain to
model the original poem (this is essentially a statistical model). This model generates a new text.
In the example application we provide the application with the text of the poem, then generate a model of the text, which the application then uses to generate a new text that is similar to the original text. We are using the RiTa library to do the heavy lifting for us — it supports building and using Markov Chains.
Below are two snippets from the utility class com.example.demo.Jabberwocky that builds the model. The text variable
contains the text of the original poem. This snippet shows how we create the model and then populate it with text.
This is called from the class constructor and we define the class to be a Singleton
(so only one instance of the class ever gets created).
this.r = new RiMarkov(3);
this.r.addText(text);
Here you can see the method to generate new lines of verse from the model, based on the original text.
public String generate() {
    String[] lines = this.r.generate(10);
    StringBuffer b = new StringBuffer();
    for (int i=0; i< lines.length; i++) {
        b.append(lines[i]);
        b.append("<br/>\n");
    }
    return b.toString();
}
Take a little while to view the code and to get acquainted with it.
To build the application, you are going to use Maven. The pom.xml file was generated using Spring Initializr
and contains support to use the Spring Native tooling. This is a dependency that you have add to your Spring Boot projects
if you plan to target GraalVM Native Image. If you are using Maven, adding support for Spring Native will insert the following
plugin to your default build configuration.
<plugin>
    <groupId>org.springframework.experimental</groupId>
    <artifactId>spring-aot-maven-plugin</artifactId>
    <version>${spring-native.version}</version>
    <executions>
        <execution>
            <id>test-generate</id>
            <goals>
                <goal>test-generate</goal>
            </goals>
        </execution>
        <execution>
            <id>generate</id>
            <goals>
                <goal>generate</goal>
            </goals>
        </execution>
    </executions>
</plugin>
Now build your application. From the root directory of the repository, run the following commands in your shell:
mvn clean package
This will generate an “executable” JAR file, one that contains all of the application’s dependencies and also a correctly
configured MANIFEST file. You can run this JAR file and then “ping” the application’s endpoint to see what you get in
return — put the command into the background using & so that you get the prompt back.
java -jar ./target/jibber-0.0.1-SNAPSHOT-exec.jar &
Call the end point using the curl command from the command line.
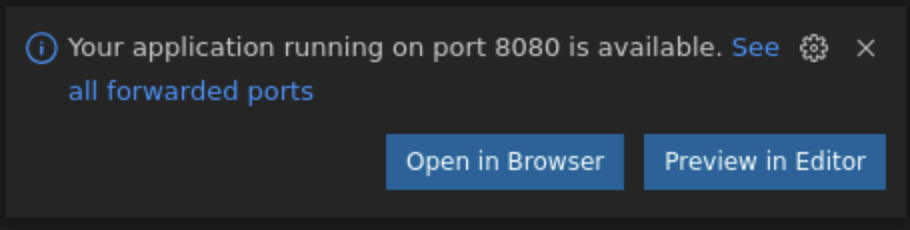
When you post the command into your terminal, VS Code may prompt you to open the URL in a browser, just close the dialogue, as shown below.
Run the following to test the HTTP endpoint:
curl http://localhost:8080/jibber
Did you get the some nonsense verse back? So now that you have built a working application, terminate it and move on to containerising it. Bring the application to the foreground so you can terminate it.
fg
Enter <ctrl-c> to now terminate the application.
<ctrl-c>
STEP 3: Containerising Your Java Application with Docker
Containerising your Java application as a Docker container is, thankfully, relatively straightforward. You can build
a new Docker image based on one that contains a JDK distribution. So, for this lab you will use a container
that already contains a JDK, container-registry.oracle.com/java/openjdk:17-oraclelinux8 — this is an Oracle Linux 8
image with OpenJDK.
The following is a breakdown of the Dockerfile, which describes how to build the Docker image. See the comments to explain the contents.
FROM container-registry.oracle.com/java/openjdk:17-oraclelinux8 # Base Image

ARG JAR_FILE                   # Pass in the JAR file as an argument to the image build

EXPOSE 8080                    # This image will need to expose TCP port 8080, as this is the port on which your app will listen

COPY ${JAR_FILE} app.jar       # Copy the JAR file from the `target` directory into the root of the image
ENTRYPOINT ["java"]            # Run Java when starting the container
CMD ["-jar","app.jar"]         # Pass in the parameters to the Java command that make it load and run your executable JAR file
The Dockerfile to containerise your Java application can be found in the directory, 00-containerise.
To build a Docker image containing your application, run the following commands from your terminal:
docker build -f ./00-containerise/Dockerfile \
             --build-arg JAR_FILE=./target/jibber-0.0.1-SNAPSHOT-exec.jar \
             -t localhost/jibber:java.01 .
Query Docker to look at your newly built image:
docker images | head -n2
You should see a new image listed. Run this image as follows:
docker run --rm -d --name "jibber-java" -p 8080:8080 localhost/jibber:java.01
Then call the endpoint as you did before using the curl command:
curl http://localhost:8080/jibber
Did you see the nonsense verse? Now check how long it took your application to startup. You can extract this from the logs, as Spring Boot applications write the time to startup to the logs:
docker logs jibber-java
For example, the application started up in 3.896s. Here is the extract from the logs:
2022-03-09 19:48:09.511 INFO 1 --- [ main] com.example.demo.DemoApplication : Started DemoApplication in 3.896 seconds (JVM running for 4.583)
OK, terminate your container and move on:
docker kill jibber-java
You can also query Docker to get the size of the image. We have provided a script that does this for you. Run the following in your terminal:
echo $((`docker inspect -f "" localhost/jibber:java.01`/1024/1024))
This prints the size of the image in MBs, which is 606 MB.
STEP 4: Building a Native Executable
Recap what you have so far:
- You have built a Spring Boot application with a HTTP endpoint,
/jibber - You have successfully containerised it
Now you will look at how you can create a native executable from your application using GraalVM Native Image. This native executable is going to have a number of interesting characteristics, namely:
- It is going to start really fast
- It will use fewer resources than its corresponding Java application
You can use the Native Image tooling installed with GraalVM to build a native executable of an application from the command line. But, as you are using Maven already, you are going to apply the GraalVM Native Build Tools for Maven, which will conveniently allow you to carry on using Maven to build.
One way of adding support for building a native executable is to use a Maven profile, which will allow you to decide whether you want to just build the JAR file, or a native executable.
In the Maven pom.xml file provided, we have added a profile that builds a native executable.
Take a closer look:
First, you need to declare the profile and give it a name.
<profiles>
    <profile>
        <id>native</id>
        <!-- Rest of profile hidden, to highlight relevant parts -->
    </profile>
</profiles>
Next, within the profile, we include the GraalVM Native Image build tools plugin and attach it to the package phase in Maven.
This means it will run as a part of the package phase. Notice that you can pass configuration arguments to the underlying Native Image
build tool using the <buildArgs> section. In individual buildArg tags, you can pass parameters exactly the same way
as you do to the native-image tool. So you can use all of the parameters that work with the native-image tool:
<build>
    <plugins>
        <plugin>
            <groupId>org.graalvm.buildtools</groupId>
            <artifactId>native-maven-plugin</artifactId>
            <version>${native-buildtools.version}</version>
            <extensions>true</extensions>
            <executions>
                <execution>
                    <id>build-native</id>
                    <phase>package</phase>
                    <goals>
                        <goal>build</goal>
                    </goals>
                </execution>
            </executions>
            <configuration>
                <imageName>jibber</imageName>
                <buildArgs>
                    <buildArg>-H:+ReportExceptionStackTraces</buildArg>
                </buildArgs>
            </configuration>
        </plugin>
        <!-- Rest of profile hidden, to high-light relevant parts -->
    </plugins>
</build>
Now run the Maven build using the profile, as below (note that the profile name is specified with the -P flag):
mvn package -Pnative
This will generate a native executable for the platform in the target directory, called jibber. Take a
look at the size of the file:
ls -lh target/jibber
Run this native executable and test it. Execute the following command in your terminal to run the native executable and put it
into the background, using &:
./target/jibber &
Call the endpoint using the curl command:
curl http://localhost:8080/jibber
Now you have a native executable of the application that starts really fast!
Terminate the application before you move on. Bring the application into the foreground:
fg
Terminate it with <ctrl-c>:
<ctrl-c>
STEP 5: Containerising your Native Executable
Now, since you have a native executable version of your application, and you have seen it working, containerise it.
We have provided a simple Dockerfile for packaging this native executable: it is in the directory
native-image/containerisation/lab/01-native-image/Dockerfile. The contents are shown below, along with comments to
explain each line.
FROM container-registry.oracle.com/os/oraclelinux:8-slim

ARG APP_FILE                 # Pass in the native executable
EXPOSE 8080                  # This image will need to expose TCP port 8080, as this is port your app will listen on

COPY ${APP_FILE} app  # Copy the native executable into the root directory and call it "app"
ENTRYPOINT ["/app"]          # Just run the native executable :)
To build, run the following from your terminal:
docker build -f ./01-native-image/Dockerfile \
             --build-arg APP_FILE=./target/jibber \
             -t localhost/jibber:native.01 .
Take a look at the newly built image:
docker images | head -n2
Now you can run this and test it as follows from the terminal:
docker run --rm -d --name "jibber-native" -p 8080:8080 localhost/jibber:native.01
Call the endpoint from the terminal using curl:
curl http://localhost:8080/jibber
Again, you should have seen more nonsense verse in the style of the poem Jabberwocky. You can take a look at how long the application took to startup by looking at the logs produced by the application as you did earlier. From your terminal, run the following and look for the startup time:
docker logs jibber-native
We saw the following which shows that the app started up in 0.074s. That is a big improvement compared to the original of 3.896s!
2022-03-09 19:44:12.642 INFO 1 --- [ main] com.example.demo.DemoApplication : Started DemoApplication in 0.074 seconds (JVM running for 0.081)
Terminate your container and move onto the next step:
docker kill jibber-native
But before you go to the next step, take a look at the size of the container produced:
echo $((`docker inspect -f "" localhost/jibber:native.01`/1024/1024))
The container image size we saw was 199 MB. Quite a lot smaller than our original Java container.
STEP 6: Building a Mostly Static Executable & Packaging it in a Distroless Image
Recap, again, what you have done so far:
- You have built a Spring Boot application with a HTTP endpoint,
/jibber - You have successfully containerised it
- You have built a native executable of your application using the Native Image build Tools for Maven
- You have containerised your native executable
It would be great if we could shrink your container size even further, because smaller containers are quicker to download and start.
With GraalVM Native Image you have the ability to statically link system libraries into the native executable that you
generate. If you build a statically linked native executable, you can package the native executable directly into an empty
Docker image, also known as a scratch container.
Another option is to produce what is known as a mostly-statically linked native executable. With this, you statically link
in all system libraries except for the standard C library, glibc. With such a native executable you can use a small container,
such as Google’s Distroless which contains the glibc library, some standard files, and SSL security certificates. The
standard Distroless container is around 20MB in size.
You will build a mostly-statically linked executable and then package it into a Distroless container.
We have added another Maven profile to build this mostly-statically linked native executable. This profile is named distroless.
The only difference between this profile and the one you used before, native, is that we pass a parameter, -H:+StaticExecutableWithDynamicLibC. As you might guess, this tells native-image to build a mostly-statically linked
native executable.
You can build your mostly statically linked native executable as follows:
mvn package -Pdistroless
It is easy enough. The generated native executable is in the target directory jibber-distroless.
Now package it into a Distroless container. The Dockerfile to do this can be found in the directory
native-image/containerisation/lab/02-smaller-containers/Dockerfile. Take a look at the contents of the Dockerfile,
which has comments to explain each line:
FROM gcr.io/distroless/base # Our base image, which is Distroless

ARG APP_FILE                # Everything else is the same :)
EXPOSE 8080

COPY ${APP_FILE} app
ENTRYPOINT ["/app"]
To build, run the following from your terminal:
docker build -f ./02-smaller-containers/Dockerfile \
             --build-arg APP_FILE=./target/jibber-distroless \
             -t localhost/jibber:distroless.01 .
Take a look at the newly built Distroless image:
docker images | head -n2
Now you can run and test it as follows:
docker run --rm -d --name "jibber-distroless" -p 8080:8080 localhost/jibber:distroless.01
curl http://localhost:8080/jibber
Great! It worked. But how small, or large, is your container? Use the script to check the image size:
echo $((`docker inspect -f "" localhost/jibber:distroless.01`/1024/1024))
The size is around 107MB! So we have shrunk the container by 92MB. A long way down from our starting size, for the Java container, of around 600MB.
Conclusion
We hope you have enjoyed this lab and learnt a few things along the way. We’ve looked at how you can containerise a Java application. Then we’ve seen how to convert that Java application into a native executable, which starts significantly faster than the Java application. We then containerised the native executable and have seen that the size of the Docker image, with the native executable in it, is much smaller than the Java Docker image.
Finally, we looked at how we can build mostly statically linked native executables with Native Image. These can be packaged in smaller containers, such as Distroless and these let us shrink the size of the Docker image even further.
Learn More
- Watch a presentation by the Native Image architect Christian Wimmer GraalVM Native Image: Large-scale static analysis for Java
- GraalVM Native Image reference documentation
More Learning Resources
Explore other labs on docs.oracle.com/learn or access more free learning content on the Oracle Learning YouTube channel. Additionally, visit education.oracle.com/learning-explorer to become an Oracle Learning Explorer.
For product documentation, visit Oracle Help Center.
GraalVM Native Image, Spring and Containerisation
F54845-01
March 2022
Copyright © 2022, Oracle and/or its affiliates.