Note:
- This tutorial is available in an Oracle-provided free lab environment.
- It uses example values for Oracle Cloud Infrastructure credentials, tenancy, and compartments. When completing your lab, substitute these values with ones specific to your cloud environment.
Get Started with Oracle Linux Automation Manager
Introduction
Oracle Linux Automation Manager offers features that enable your organization to manage infrastructure configurations effectively through a browser-based user interface.
By the end of this tutorial, you’ll have a working Oracle Linux Automation Manager installation ready to run more complex playbooks.
Objectives
In this tutorial, you’ll learn how to:
- Use the WebUI
- Review the Default Organization
- Add a User
- Set up an Inventory
- Set up a Credential
- Create a Project
- Set up a Job Template
- Run the Job
Prerequisites
- A control system with Oracle Linux Automation Manager installed.
- A remote system to run playbooks against.
For details on installing Oracle Linux Automation Manager, see the Oracle Linux Automation Manager Installation Guide.
Deploy Oracle Linux Automation Manager
Note: If running in your own tenancy, read the linux-virt-labs GitHub project README.md and complete the prerequisites before deploying the lab environment.
-
Open a terminal on the Luna Desktop.
-
Clone the
linux-virt-labsGitHub project.git clone https://github.com/oracle-devrel/linux-virt-labs.git -
Change into the working directory.
cd linux-virt-labs/olam -
Install the required collections.
ansible-galaxy collection install -r requirements.yml -
Update the Oracle Linux instance configuration.
cat << EOF | tee instances.yml > /dev/null compute_instances: 1: instance_name: "olam-node" type: "control" 2: instance_name: "ol-host" type: "remote" olam_type: single EOF -
Create an inventory file.
cat << EOF | tee hosts > /dev/null localhost ansible_connection=local ansible_connection=local ansible_python_interpreter=/usr/bin/python3.6 EOF -
Deploy the lab environment.
ansible-playbook create_instance.yml -i hosts -e "@instances.yml"The free lab environment requires the extra variable
ansible_python_interpreterfor localhost because it installs the RPM package for the Oracle Cloud Infrastructure SDK for Python. The location for installing this package is under the system’s default Python modules based on your version of Oracle Linux. Using an inventory variable avoids impacting the plays running on hosts other than localhost.The default deployment shape uses the AMD CPU. You can change the shape of the instances by passing a new shape variable definition on the command line.
For example:
-e instance_shape="VM.Standard3.Flex"Similarly, the default version of the Oracle Linux image uses the variable
os_versiondefined in the `default_vars.yml file. You can modify this value by passing the Oracle Linux major version on the command line.For example:
-e os_version="9"Important: Wait for the playbook to run successfully and reach the pause task. At this stage of the playbook, the installation of Oracle Linux is complete, and the instances are ready. Note the previous play, which prints the public and private IP addresses of the nodes it deploys.
Login to the WebUI
-
Open a terminal and configure an SSH tunnel to the deployed Oracle Linux Automation Manager instance.
ssh -o ExitOnForwardFailure=yes -f -L 8444:localhost:443 oracle@<public_ip_address_of_olam-node> sleep 300-o ExitOnForwardFailure=yes: waits for all remote port forwards to establish successfully-f: runs the SSH tunnel in the background-L: creates the tunnel on port 8444 on the local system and 443 on the remote systemsleep 300: keeps remote tunnel open for 5 minutes, waiting for an established connection before automatically closing
-
Open a web browser and enter the URL.
https://localhost:8444Note: Approve the security warning based on the browser used. For Chrome, click the
Advancedbutton and then theProceed to localhost (unsafe)link. -
Login to Oracle Linux Automation Manager with the Username
adminand the Passwordadmincreated during the automated deployment.
-
After logging in, the WebUI is displayed.
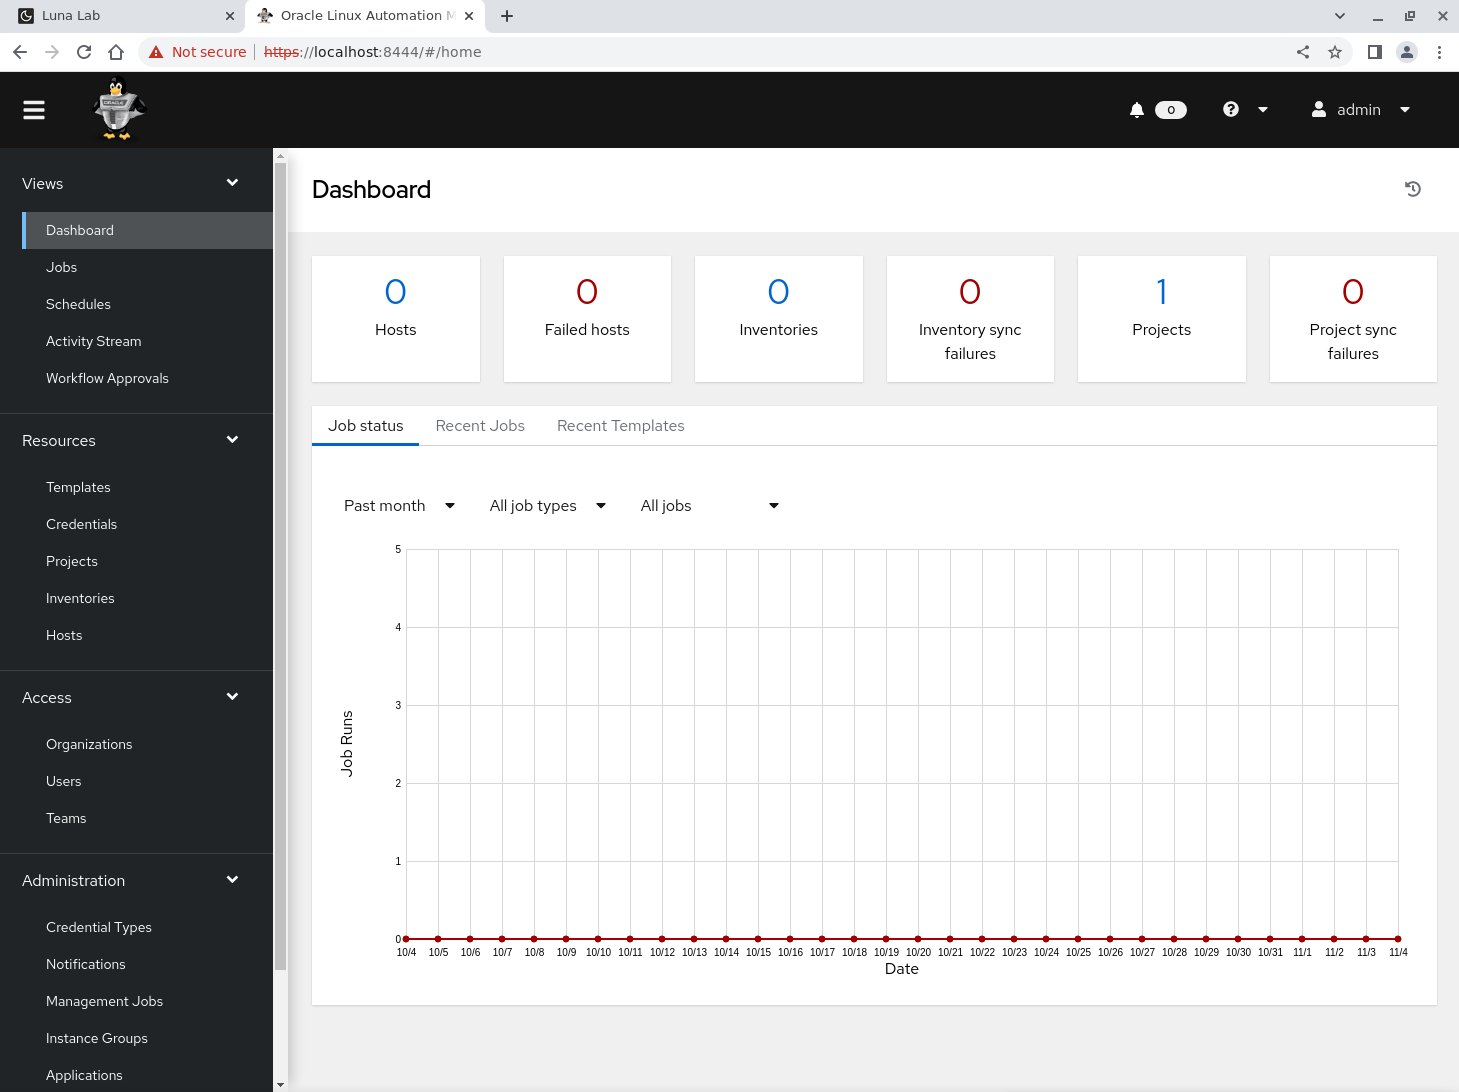
Navigate the WebUI
Oracle Linux Automation Manager’s centralized web UI engine enables secure and efficient control and management of your infrastructure.
The product is based on the open-source Ansible and AWX projects, offering a visual dashboard for role-based access control, inventory management, and job scheduling.
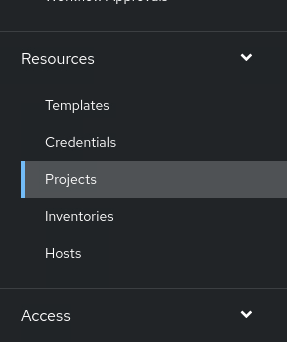
-
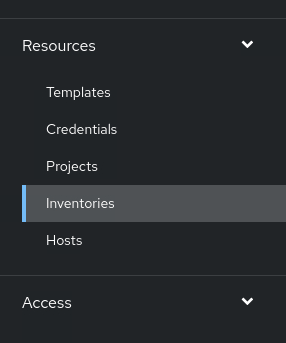
Along the left-hand side of the WebUI, a navigation menu provides quick access to Projects, Inventories, Templates, and Jobs.
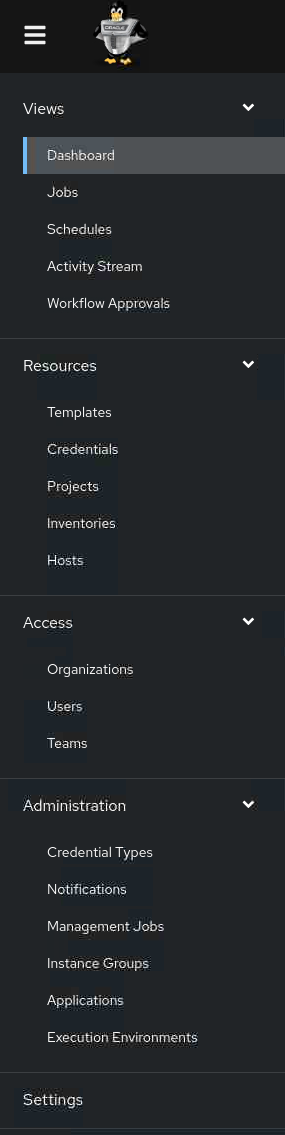
-
Click the menu icon at the top of the menu to collapse and hide the menu. Click it again to expand and unhide the menu.

-
At the bottom of the navigation menu is the Settings menu item.
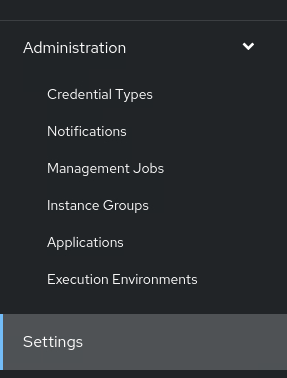
-
Select this item to navigate to the Settings page.
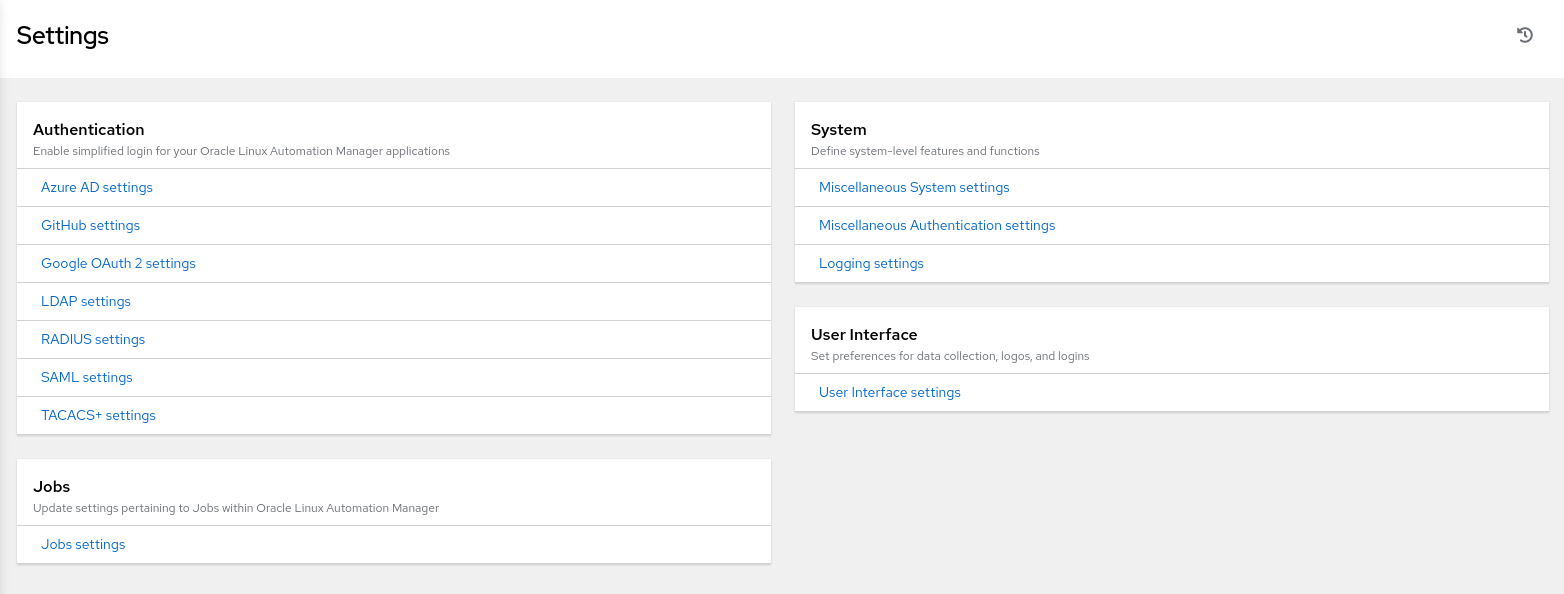
The Settings page provides access to alternative Authentication settings, as well as settings for Job, System, and the User Interface.
-
Click the Dashboard menu item in the navigation menu.
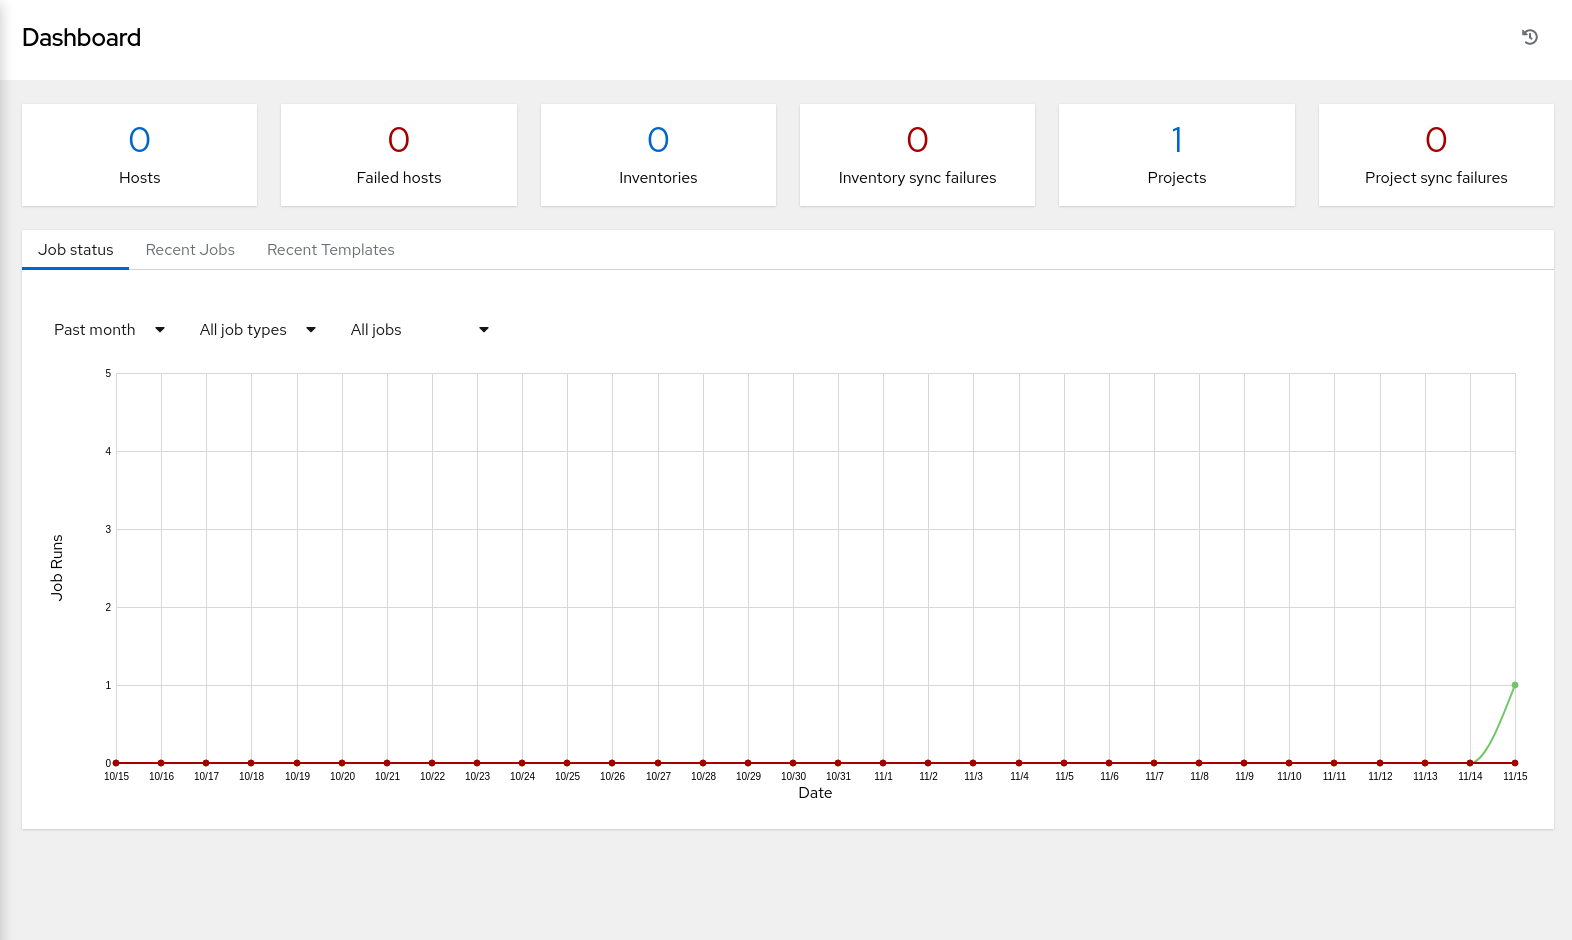
Clicking this menu item returns you to the main dashboard view, which displays the current Job Status, Recently Used Templates, and Recent Job Runs. The list of recent items only appears after using templates or running jobs.
Review the Default Organization
Organizations sit at the top of the role-based pyramid and are a logical collection of users, teams, projects, and inventories.
-
In the navigation menu, click Organizations.
The main window displays a list of the available organizations.
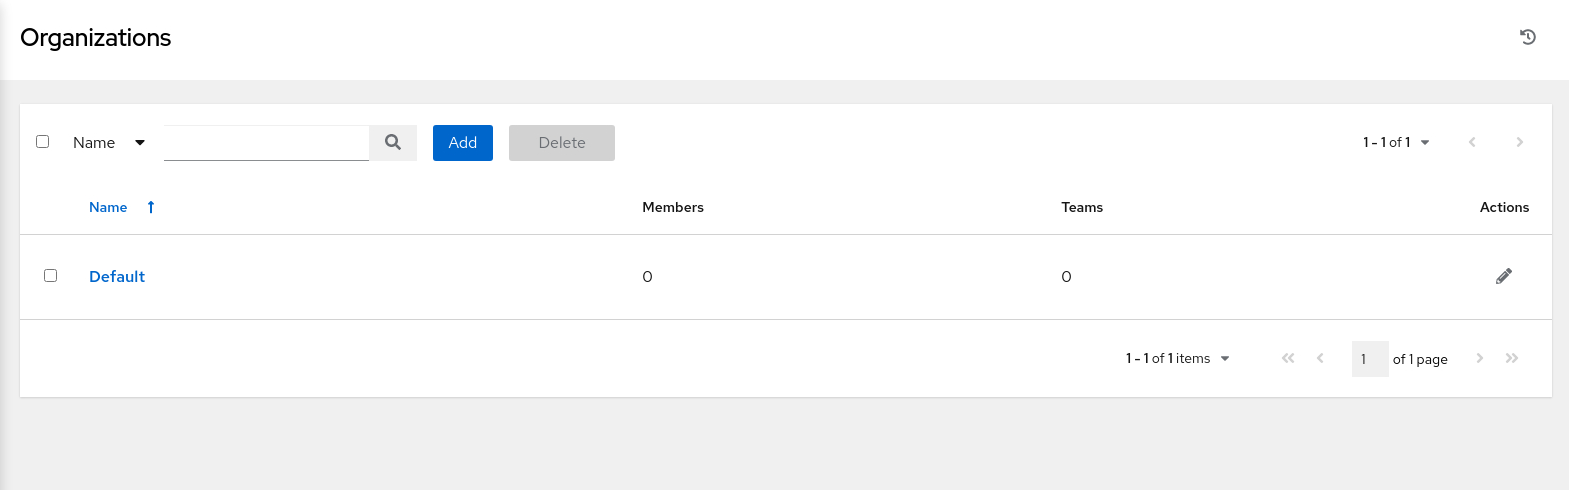
Oracle Linux Automation Manager automatically creates a Default organization, which is available to all users.
-
View the Default organization by clicking the organization’s name.
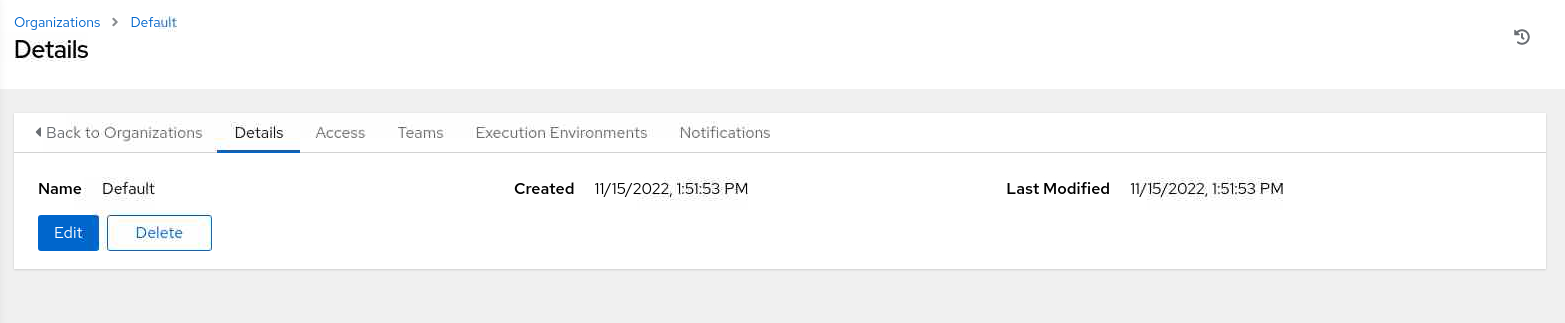
For this tutorial, we’ll use the Default organization as is.
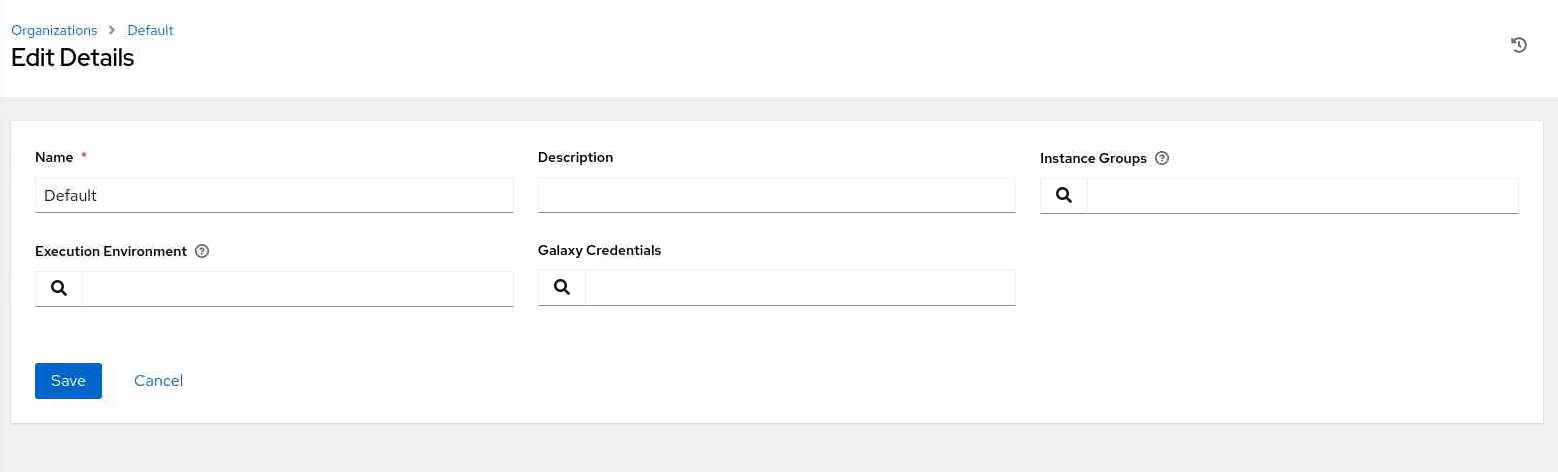
-
(Optional) If needing to make changes to the Default organization, click the Edit button.
Make any desired changes and then click the Save button.
Administrators seeking information on creating new organizations should refer to the Oracle Linux Automation Manager Users Guide.
Add a User
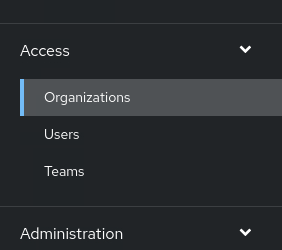
The WebUI navigation menu Access section manages the default user administration of Oracle Linux Automation Manager. The user administration is role-based and consists of a combination of Organizations, Users, and Teams. Adding users is possible from the Users navigation menu item or directly from within an organization.
Find an Organization’s Users
-
Click the Access tab on the Default organization’s details page.
-
The Default organization’s access page shows the
adminuser.After installation, the
adminuser is the only Oracle Linux Automation Manager user and part of the Default organization.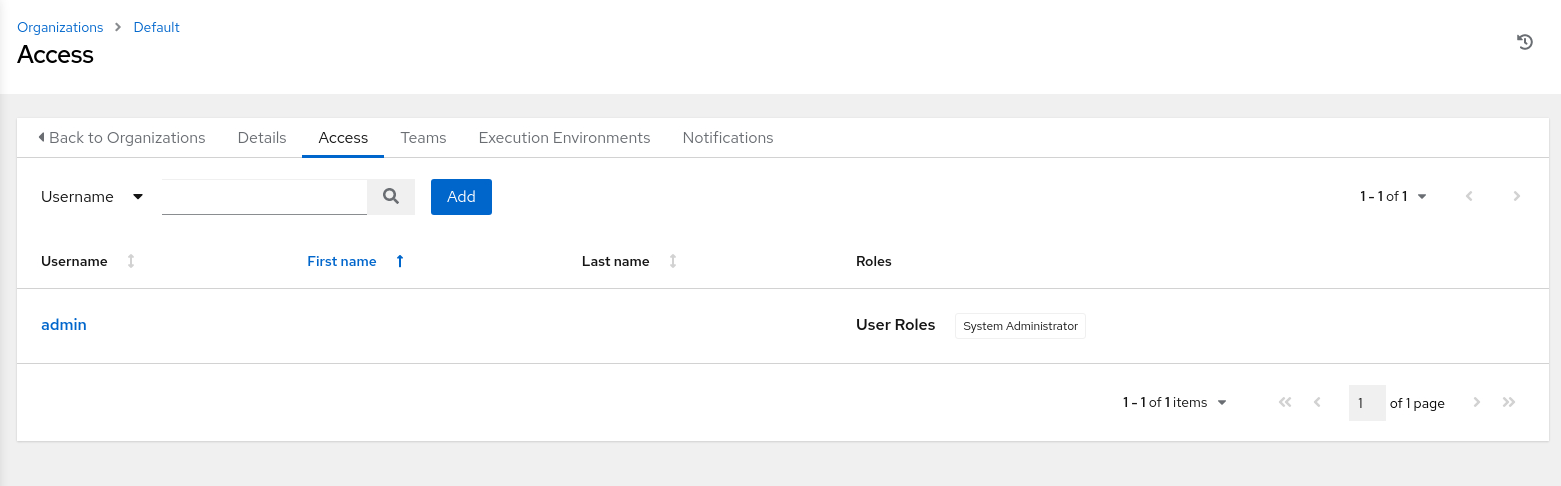
-
From this page, you can add a new user by clicking the Add button or view the
adminuser details by clicking theadminuser name. -
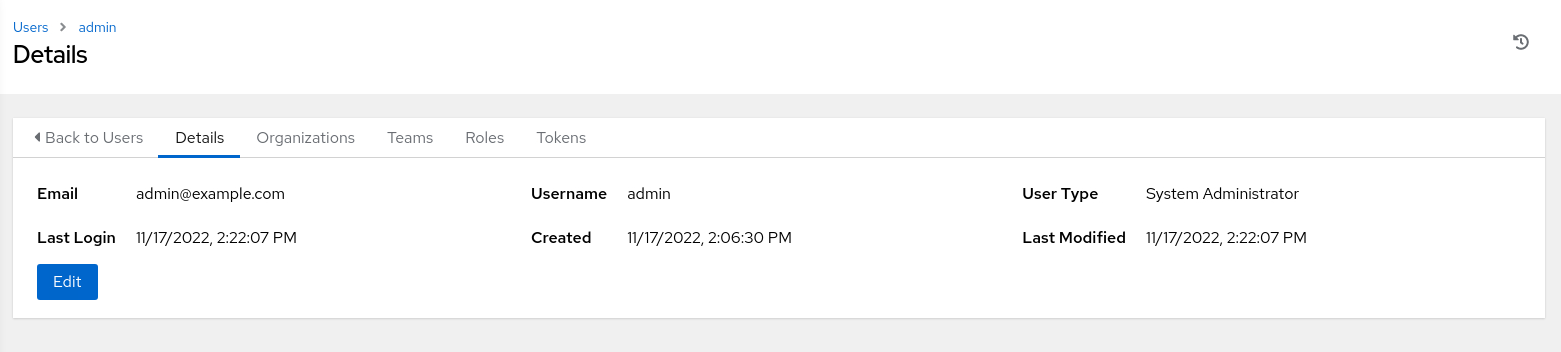
View the
adminuser by clicking theadminuser’s name.Clicking this item displays the user details page.
-
Click the Edit button to show the Edit Details page.
This page allows you to edit the user’s email, password, role, and other details.
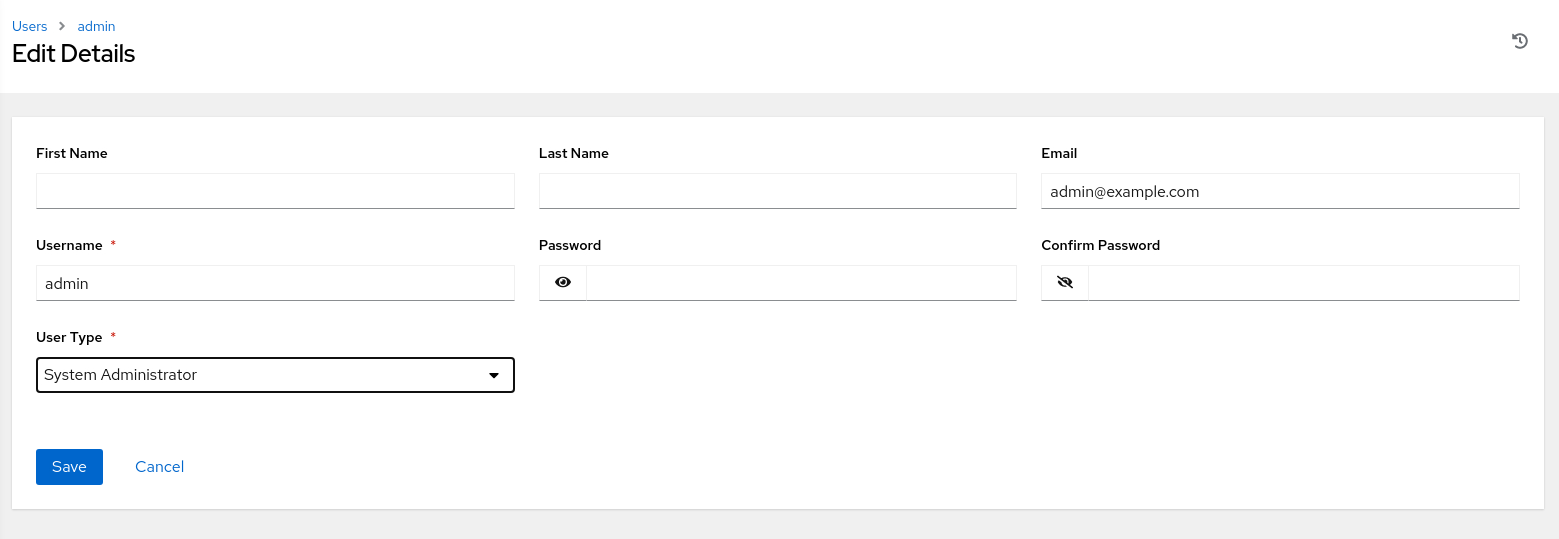
Important: Do not change the
adminuser’s type (role). Oracle Linux Automation Manager requires at least one System Administrator. Changing theadminuser type without having another user with the System Administrator role will lock you out of administrating Oracle Linux Automation Manager.Click the Cancel button.
Add a User
-
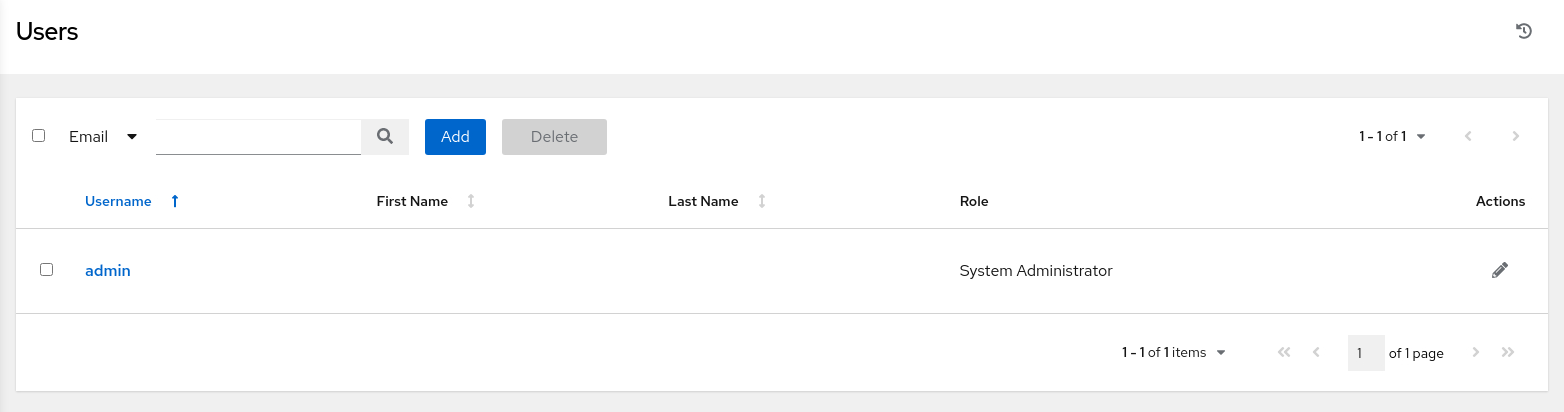
In the navigation menu, click Users.
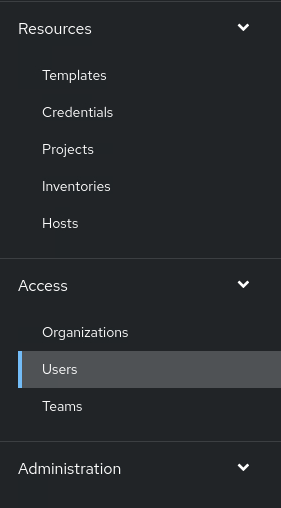
The main window displays a list of available users.
-
Click the Add button to create a new user.
-
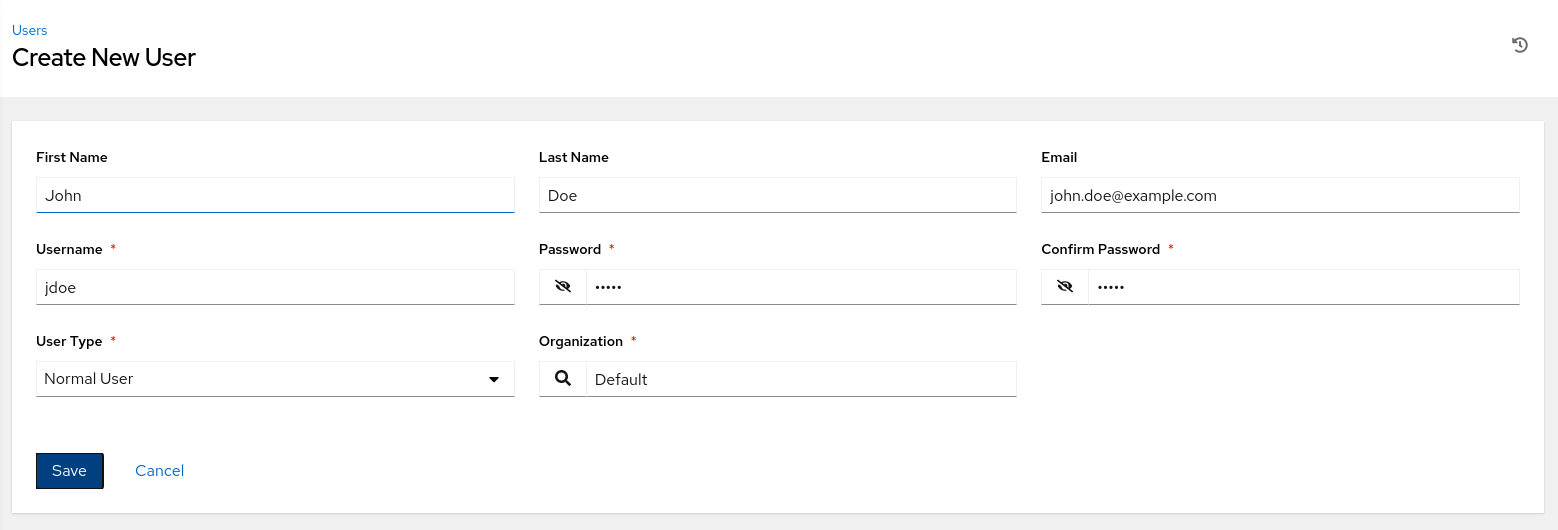
Add the required details on the Create New User page.
-
Click the Save button.
-
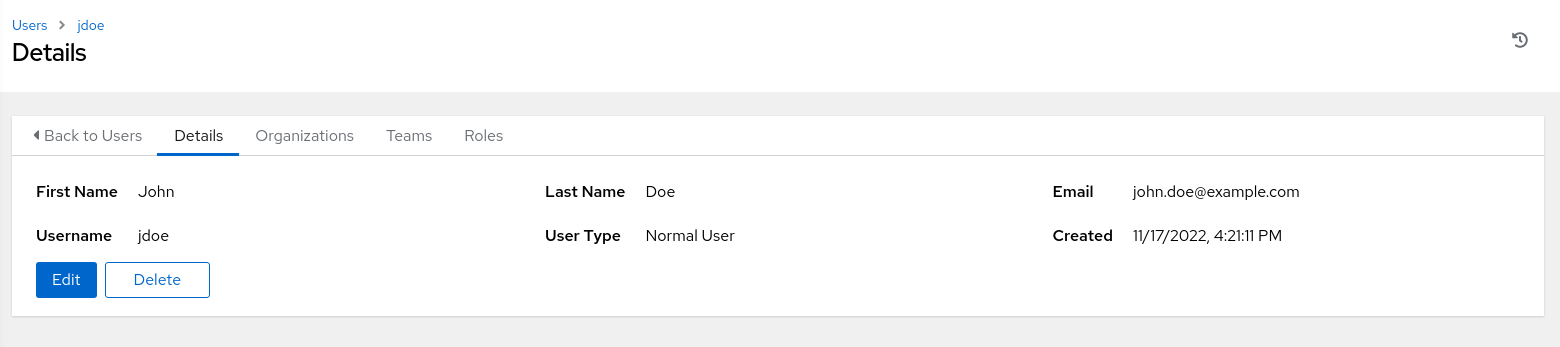
The new user details page displays.
Set up an Inventory
An inventory is a group of hosts managed by Oracle Linux Automation Manager. Users leverage an inventory to automate host orchestration by running playbooks.
-
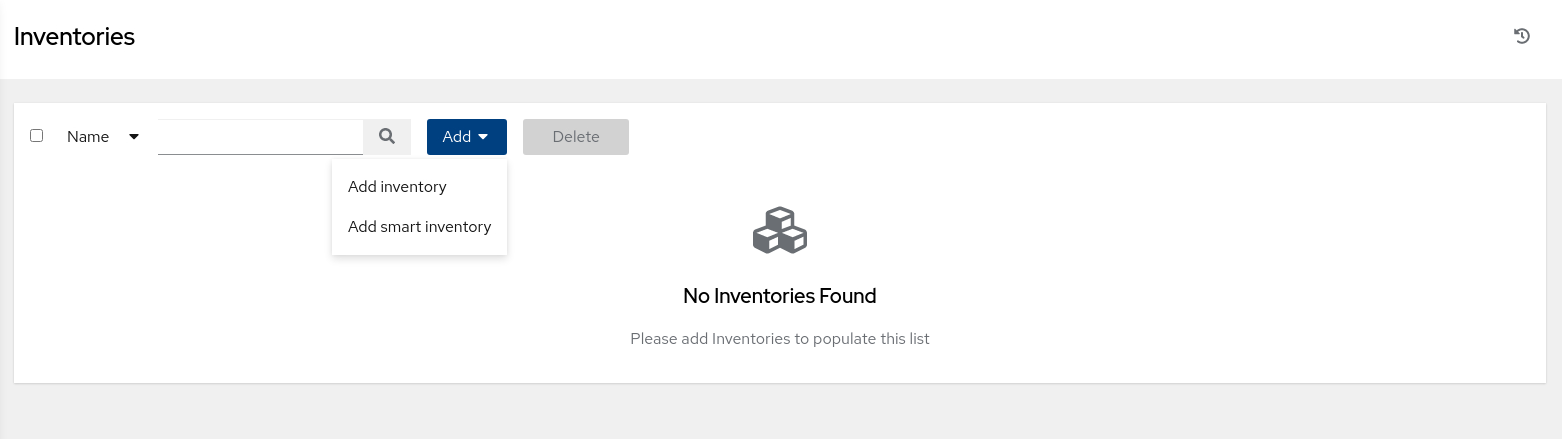
View the current list of inventories by clicking the Inventories navigation menu item.
The main window shows the message No Inventories Found on a new installation.
-
Add a new inventory by clicking the Add button.
Select Add Inventory from the drop-down menu.
-
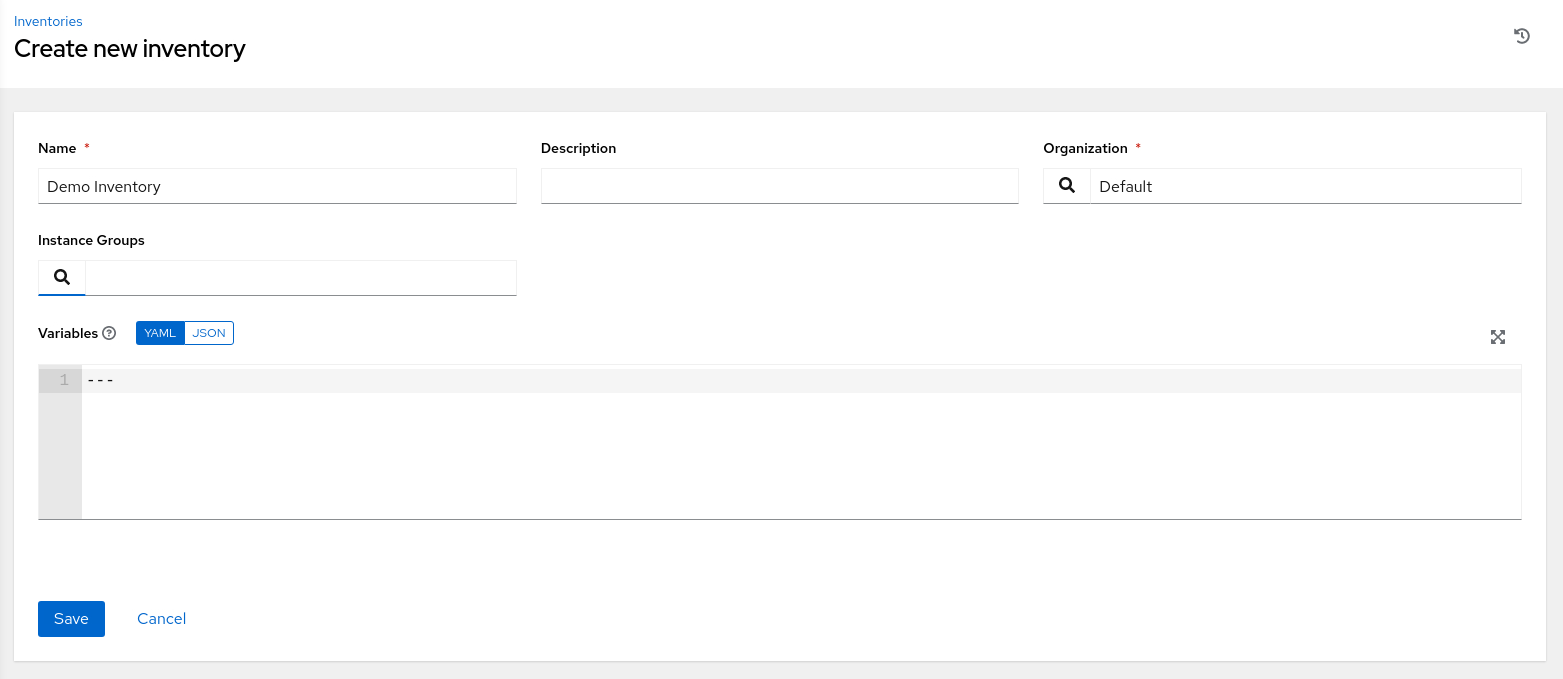
Add the requested details to the Create new inventory page.
-
Click the Save button when finished.
-
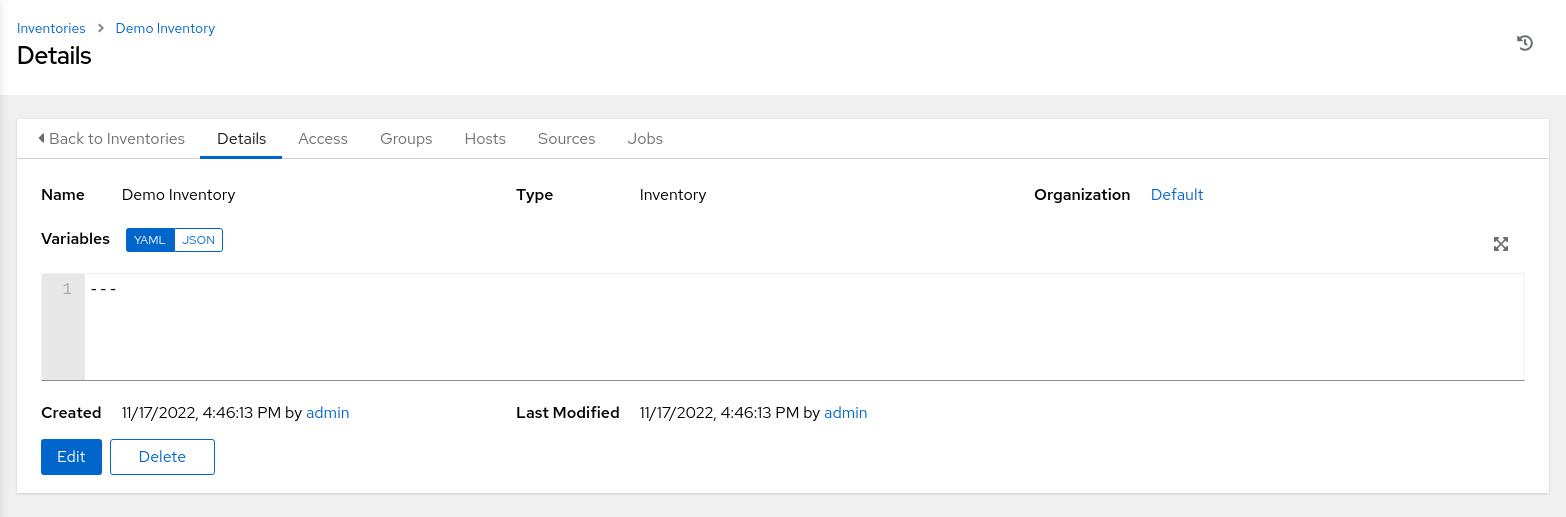
The new inventory details page displays.
-
Click the Hosts tab from the inventory details page.
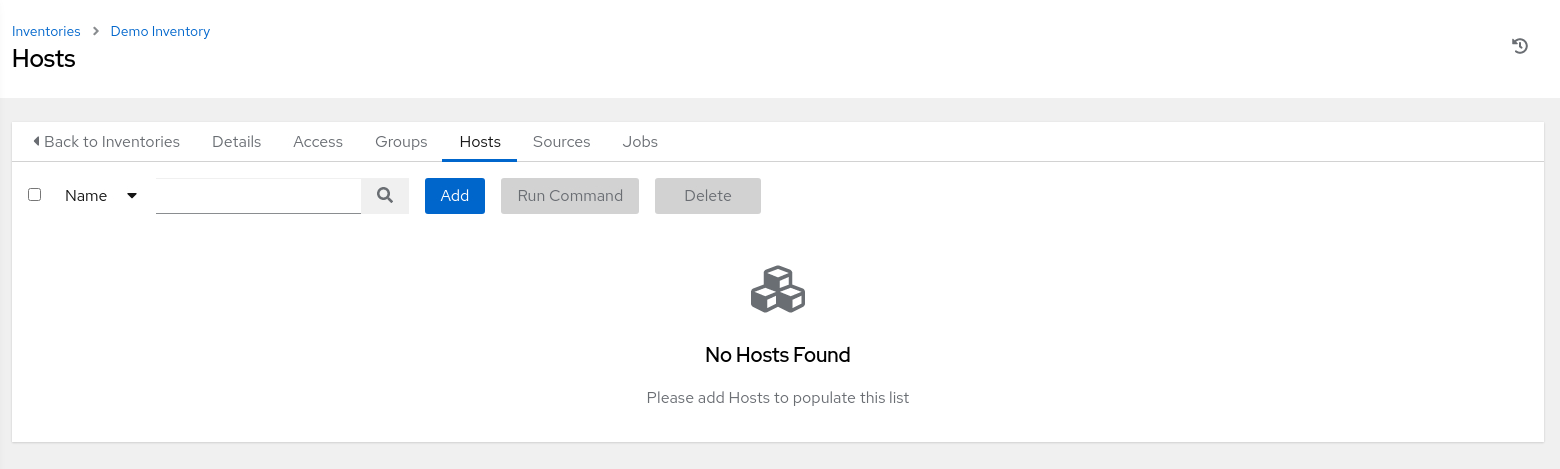
The page displays a list of hosts that are associated with the inventory. The message No Hosts Found appears on a newly created inventory until you add the first host.
-
Click the Add button.
The Create new host page displays.
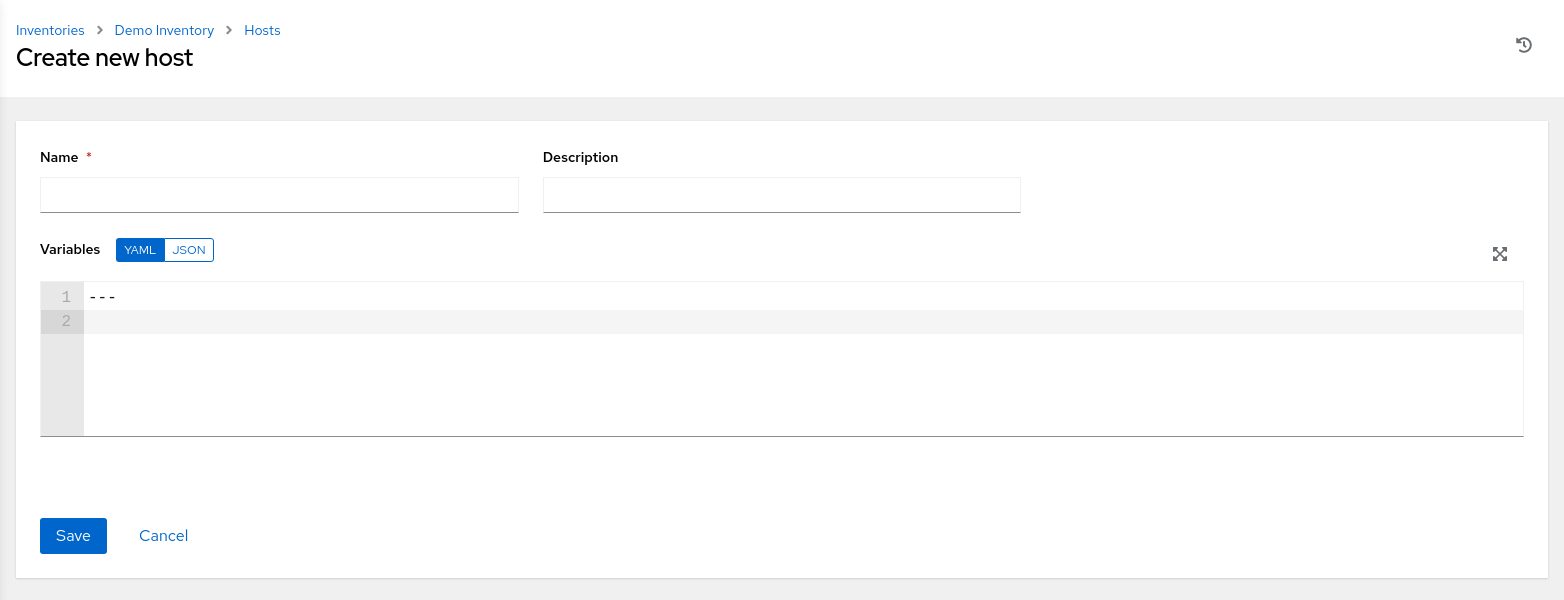
-
Enter a hostname or IP address for a host in the Name text field.
When using hostnames, they must be resolvable on the network where the Oracle Linux Automation Manager resides.
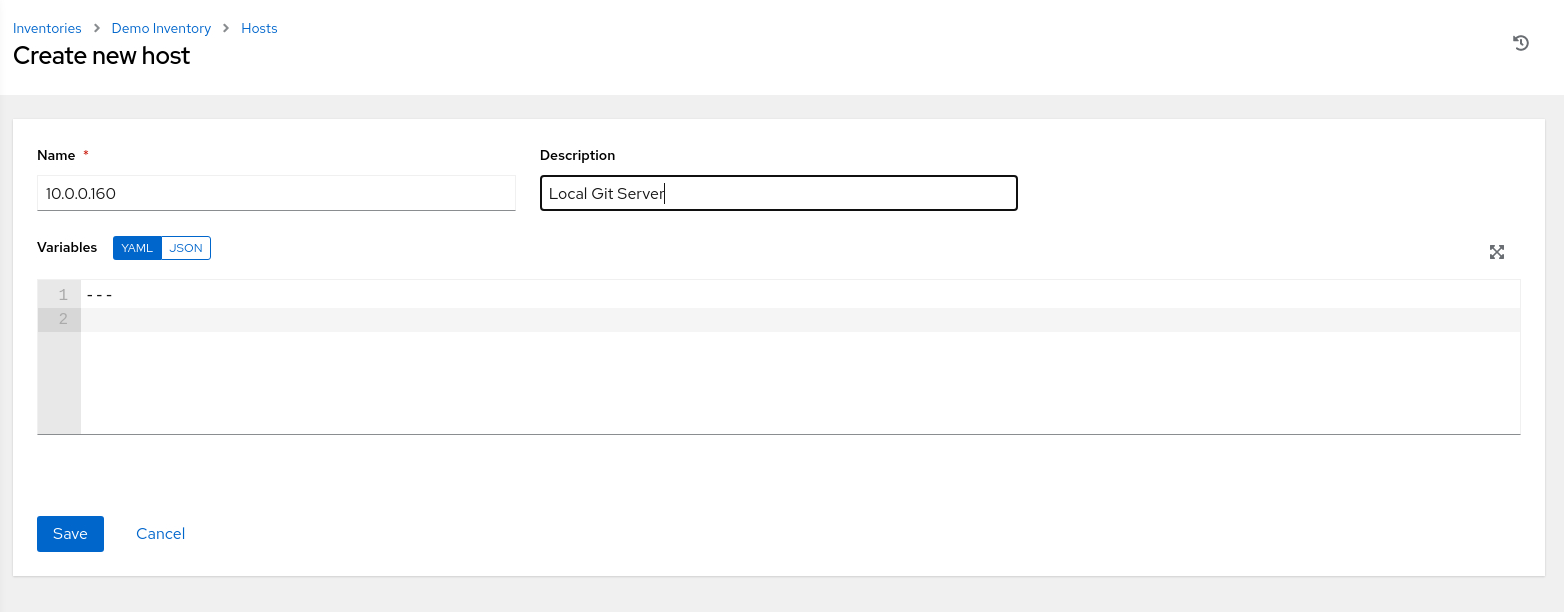
Enter ol-host, which is the hostname of the target remote instance.
-
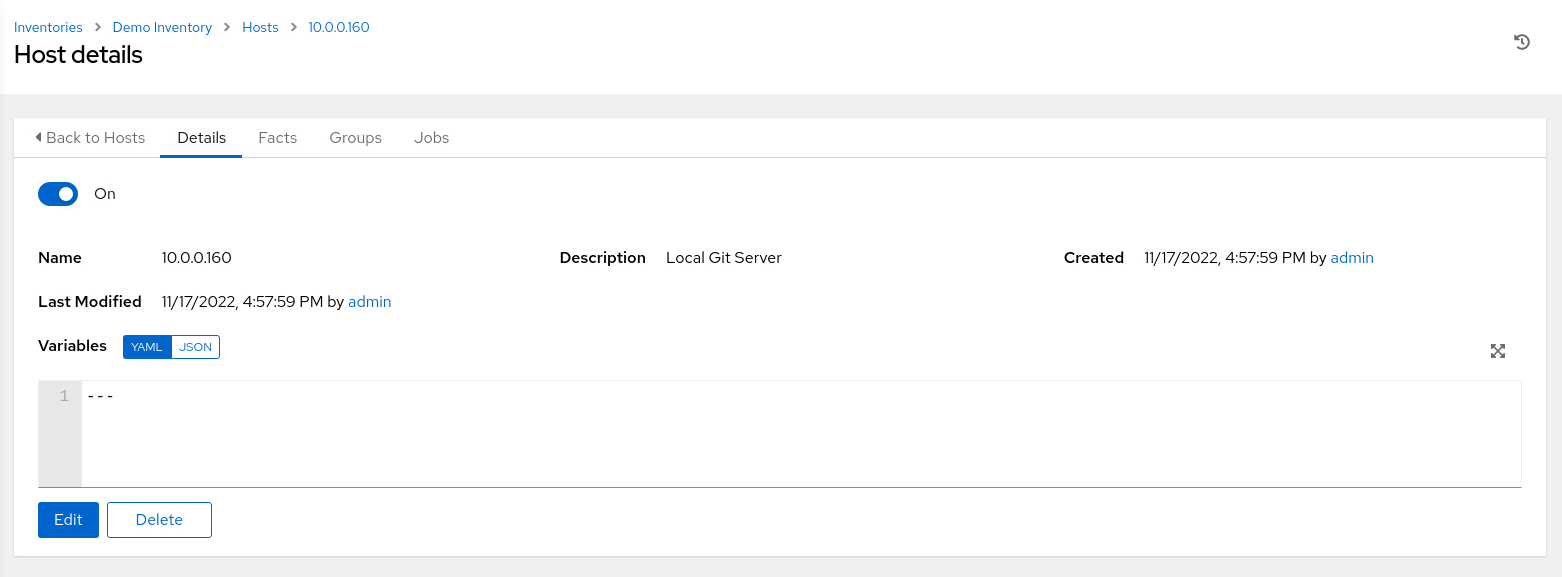
Click the Save button.
The main window displays the Host details page, summarizing information about the newly created host we added to the inventory.
Set up a Credential
Credentials authenticate a user within Oracle Linux Automation Manager against machines using passwords and SSH keys, sync inventory sources, and import playbooks from version control systems such as GitHub. Each credential may contain usernames, passwords, private keys, or other security-related information.
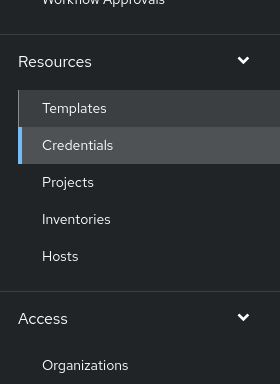
-
Navigate within the menu and click Credentials.
The Credentials page displays a No Items Found message on a newly installed system.
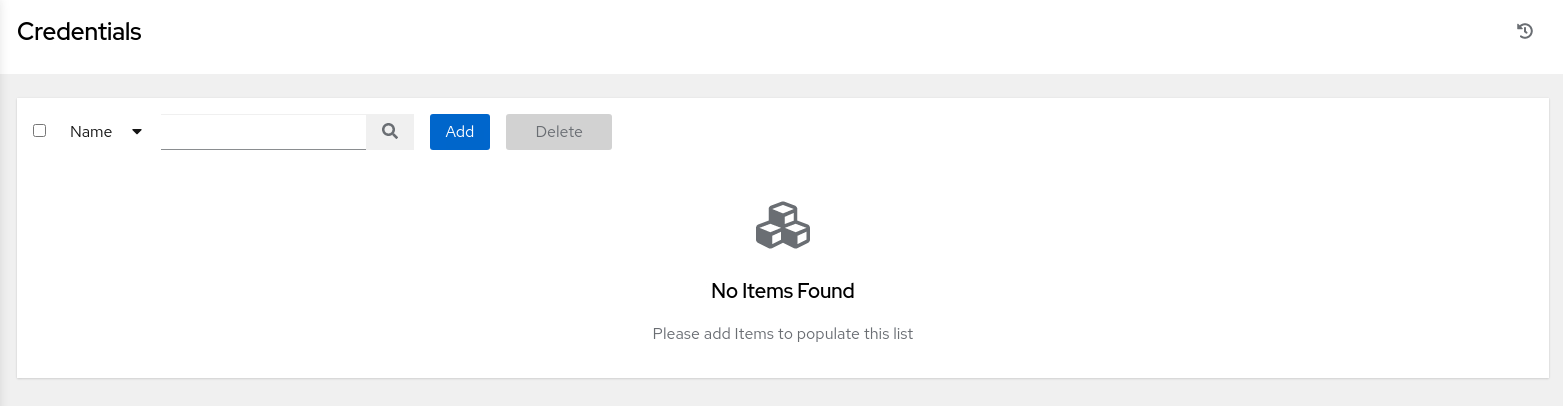
-
Click the Add button.
The Create New Credential page displays.
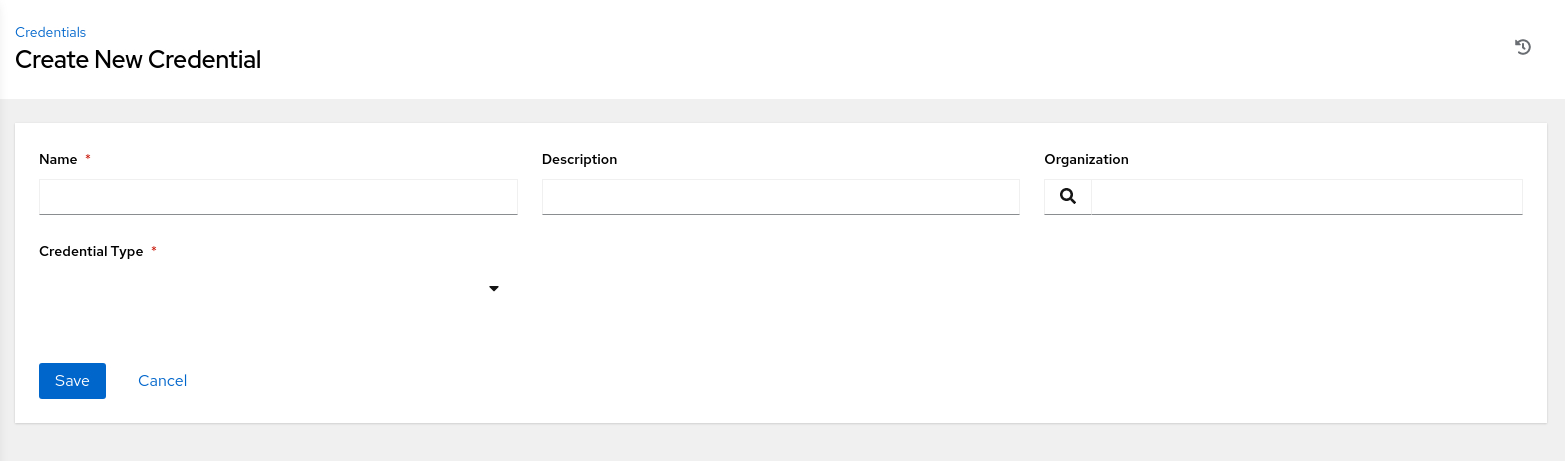
-
Enter the requested information.
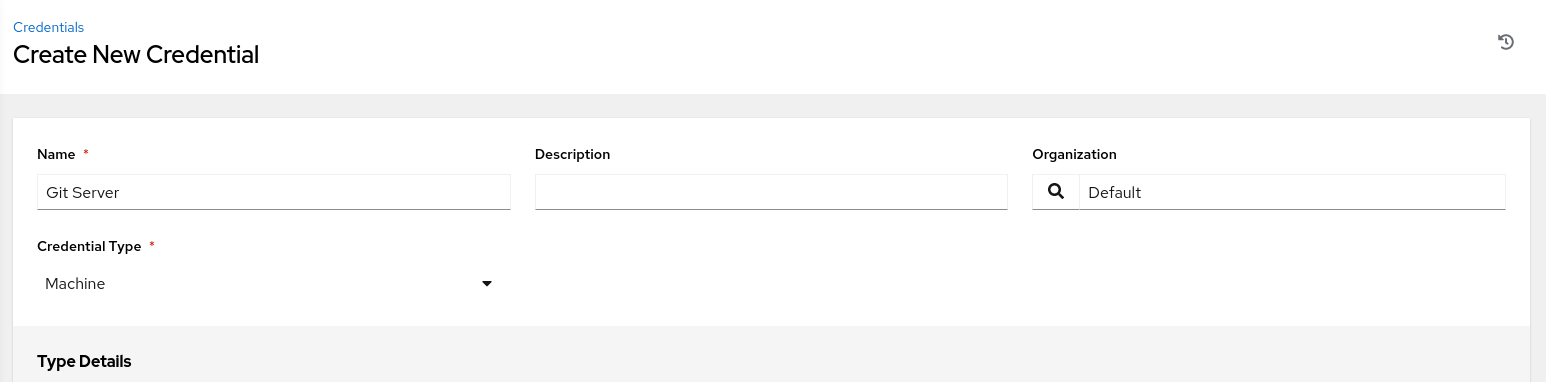
Select the Machine credential type in the Credential Type list of values.
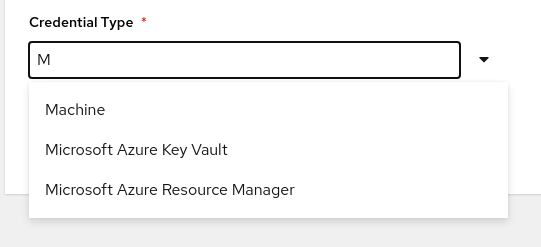
The Create New Credential page expands to allow you to enter information for specific hosts or machines.
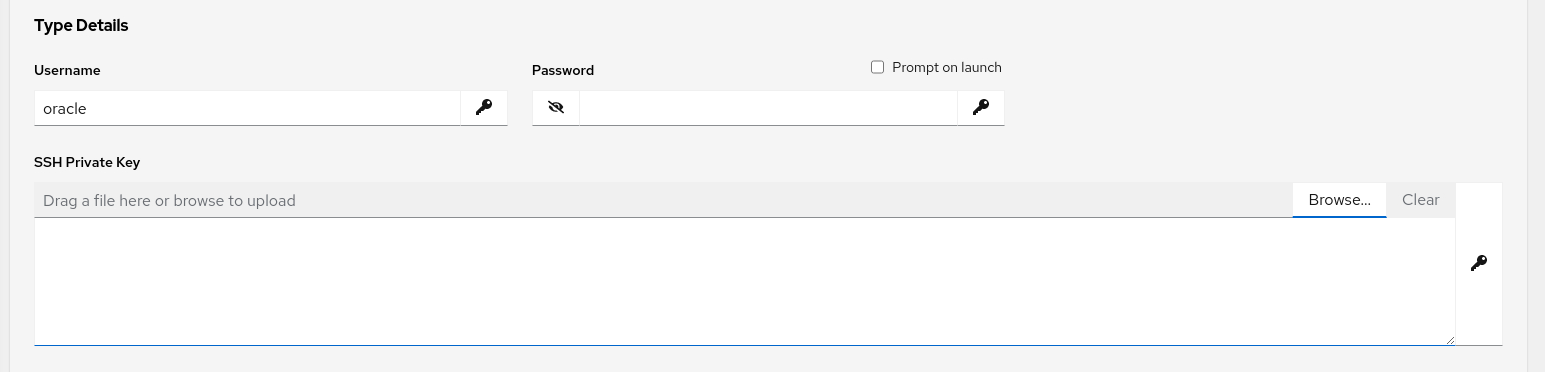
Enter a Username of
opcand browse for the SSH Private Key. Clicking the Browse… button displays an Open File dialog window.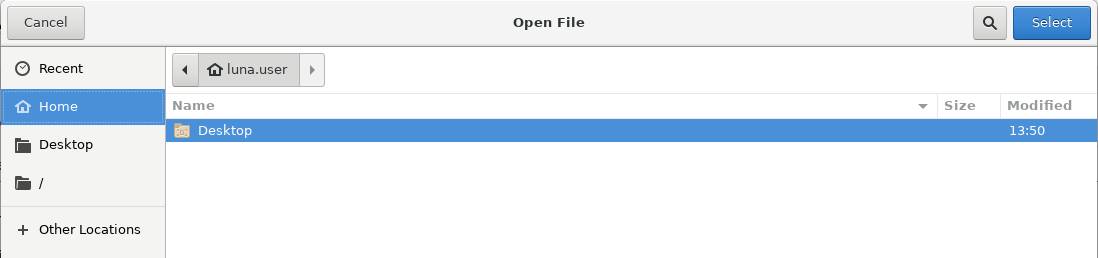
Select Home in the Open File dialog menu.
Right-click on the main window of the dialog and then select Show Hidden Files.
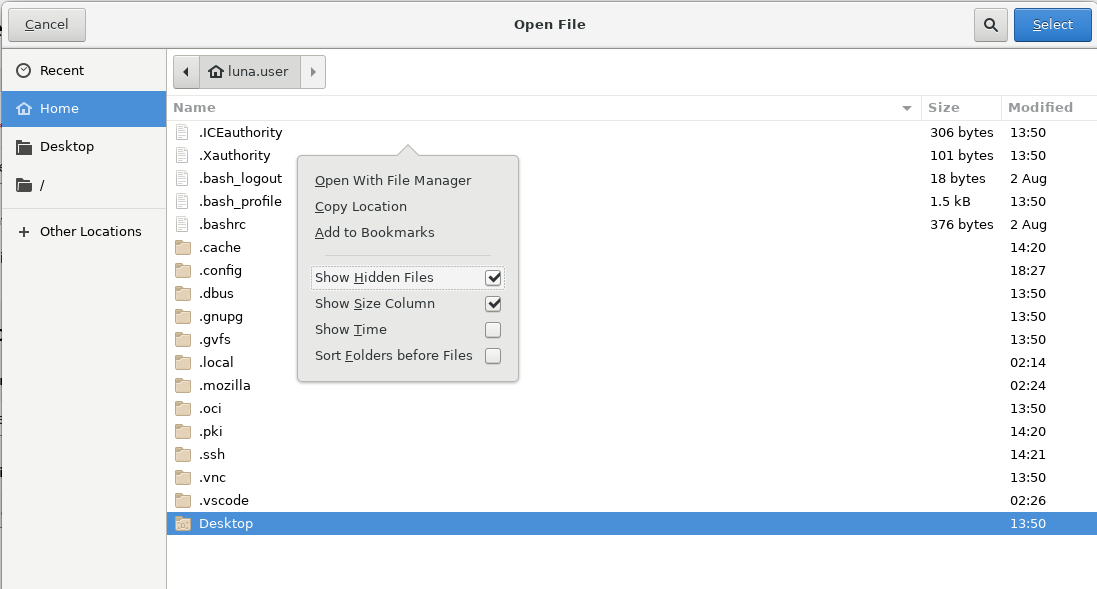
Then select the .ssh folder and the id_rsa file. Clicking the Select button copies the contents of the private key file into the SSH Private Key dialog box. Scroll down and click the Save button.
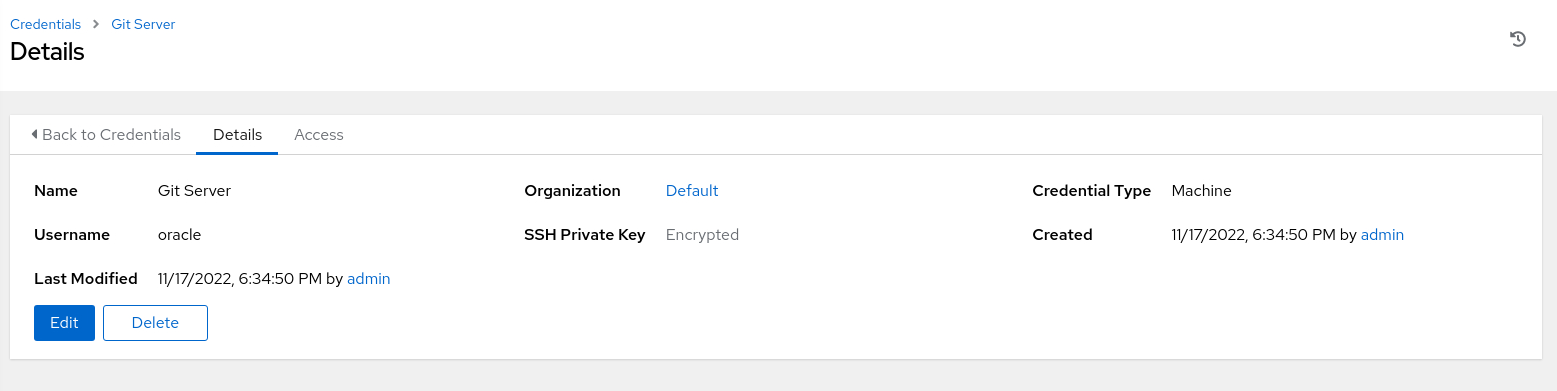
-
The main window updates to display the credential Details page.
This page provides a summary of the newly created credentials.
Create a Project
A Project is a compilation of playbooks grouped based on their actions or the hosts with which they interact.
We have multiple ways to manage these playbooks using Oracle Linux Automation Manager, such as manually or using a git-based source control management (SCM) solution like GitHub or GitLab.
Use Source Control
While Oracle Linux Automation Manager allows storing playbooks locally on the same server, storing them within a supported source control server such as Git is best practice.
Oracle provides a collection of sample Ansible playbooks on GitHub for use with Oracle Linux Automation Manager or Oracle Linux Automation Engine.
If using a private Git repository, you’ll need to add a Source Control credential type under Credentials to allow access. These credentials enable Oracle Linux Automation Manager to pull the project securely over an SSH connection. A Git repository uses the username git by default and a private key from an SSH key pair configured with the Git server.
Create a SCM Project
-
Click Projects in the navigation menu.
-
Then click the Add button.
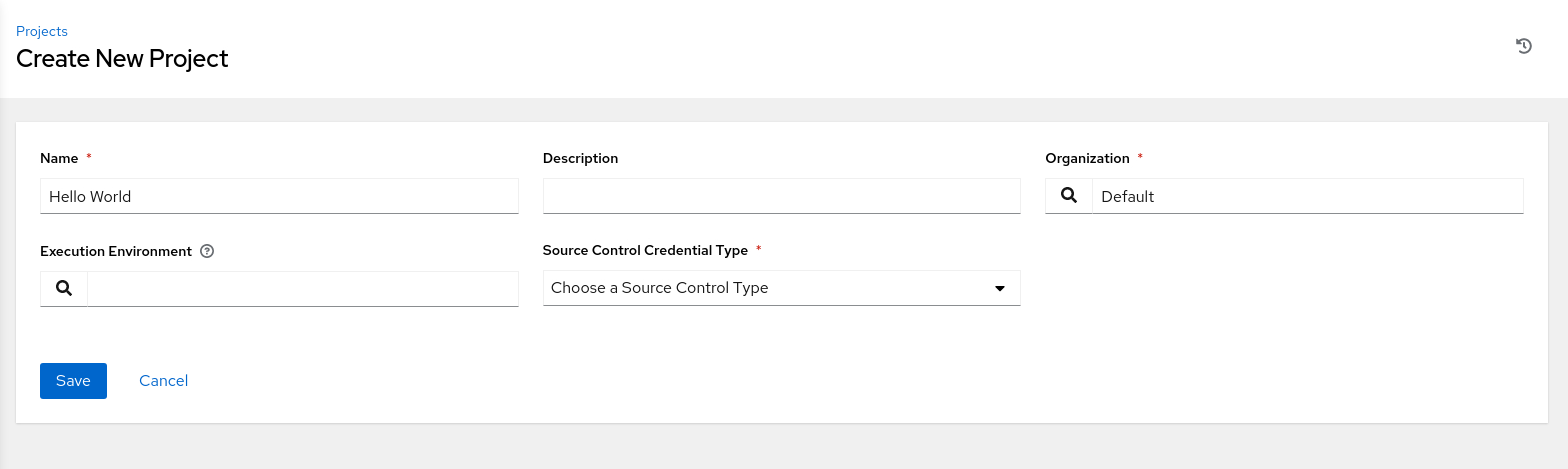
-
Enter the requested information on the Create New Project page.
-
Click the search icon next to the Execution Environment list of values.
-
In the Select Execution Environment pop-up dialog box, click the OLAM EE (2.2) radio button.
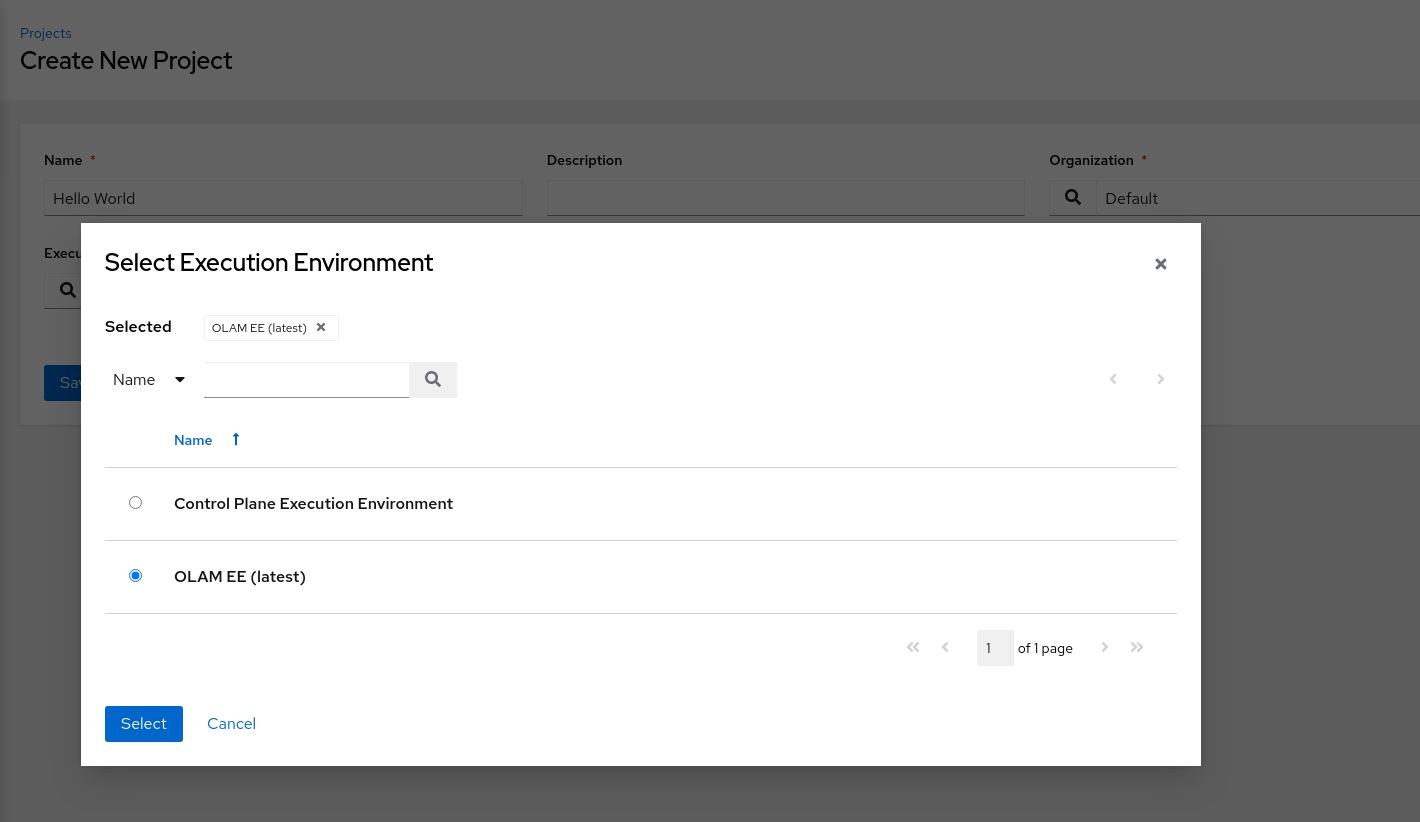
-
Click the Select button to close the dialog box.
-
Select Git from the Source Control Credential Type list of values.

The Create New Project page expands to show the Type Details.
-
Enter the Source Control URL value into the text field.
https://github.com/oracle-devrel/linux-virt-labs.gitClick the more information icon next to this field to see sample values. A Source Control Credential is not necessary for a public repository where the project is available without authentication over the HTTPS protocol.
-
Review each of the additional Options.

Clicking on the more information icon next to each option provides details on its functionality.
-
Click the Save button.
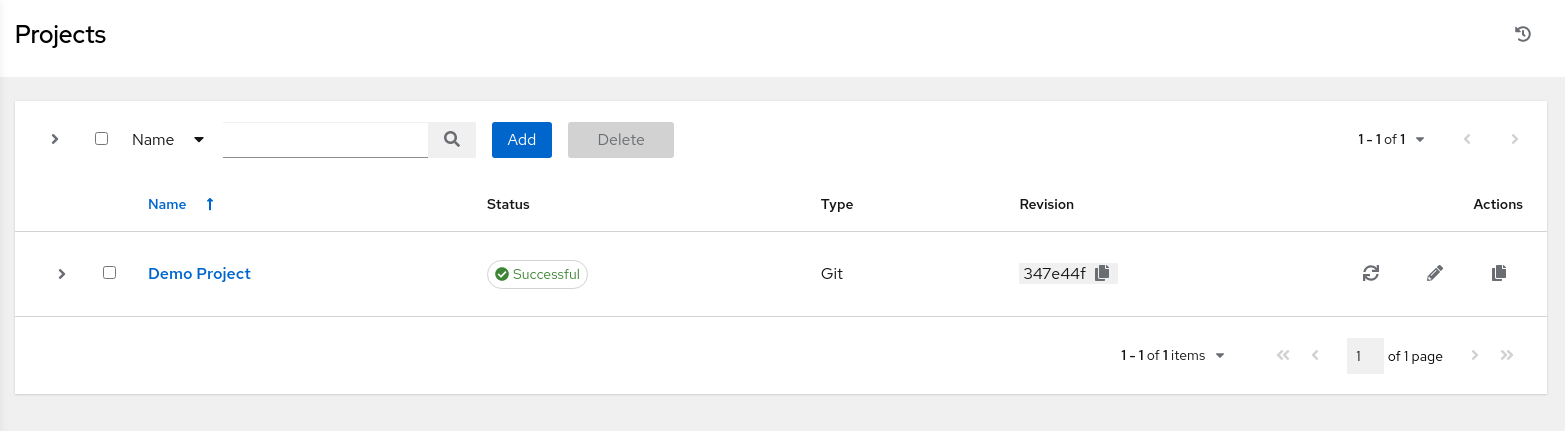
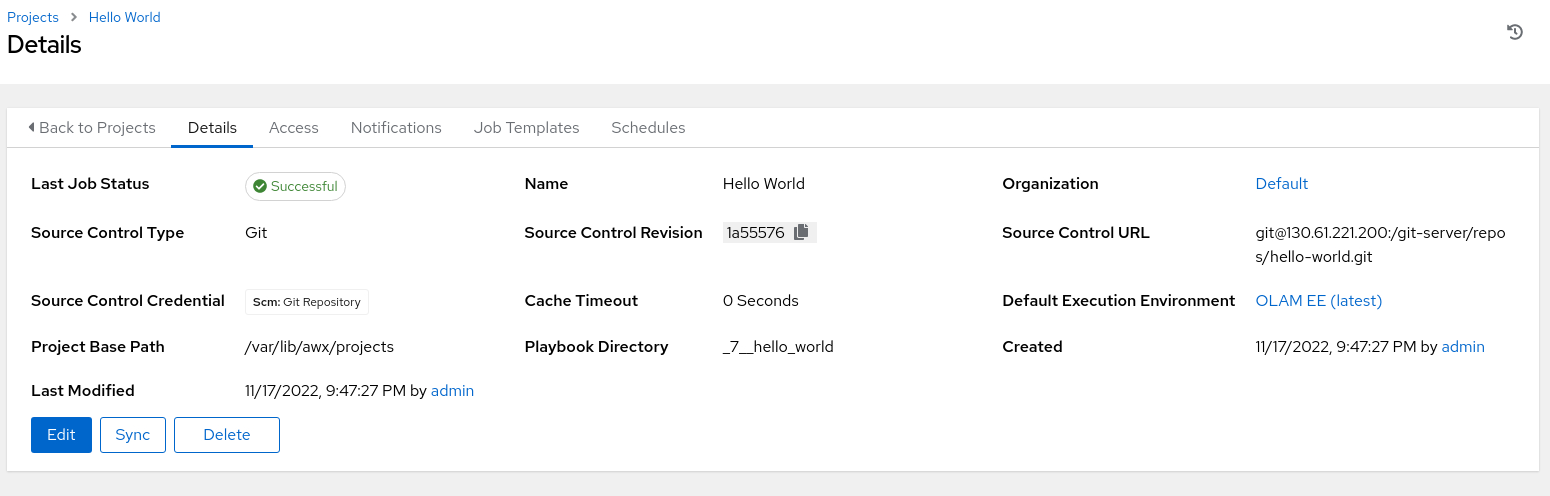
-
The main window displays a project summary on a Details page.
If the project can adequately communicate with the Git server and pull the project, a Successful job status will appear in the summary details.
Set up a Job Template
A Job Template consists of all the parts and pieces required to run a playbook and represents the ansible-playbook command provided in the Oracle Linux Automation Engine.
-
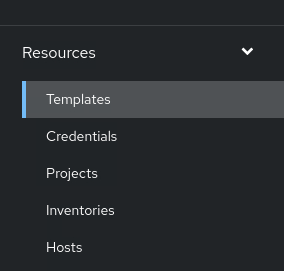
From the navigation menu, click Templates.
-
Click the Add button on the main Templates page.
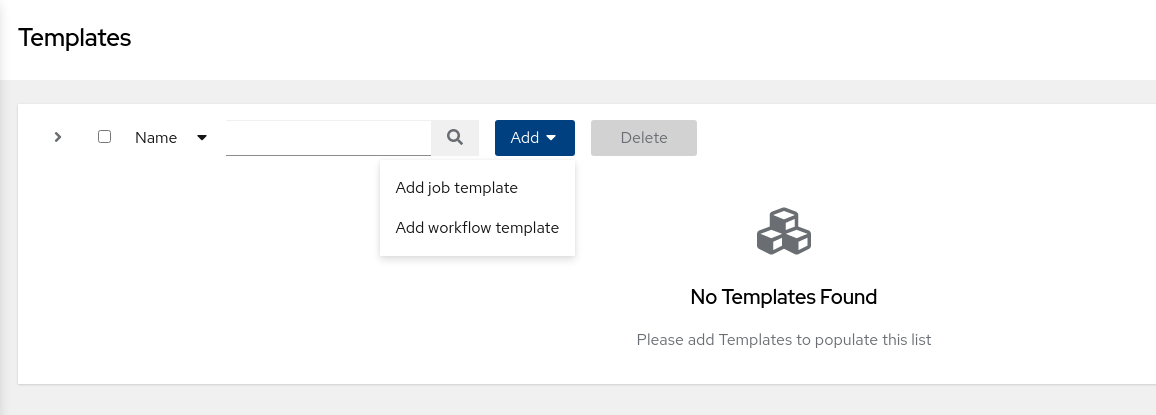
-
Select Add job template from the displayed list of options.
-
Enter the requested information on the Create New Job Template page.
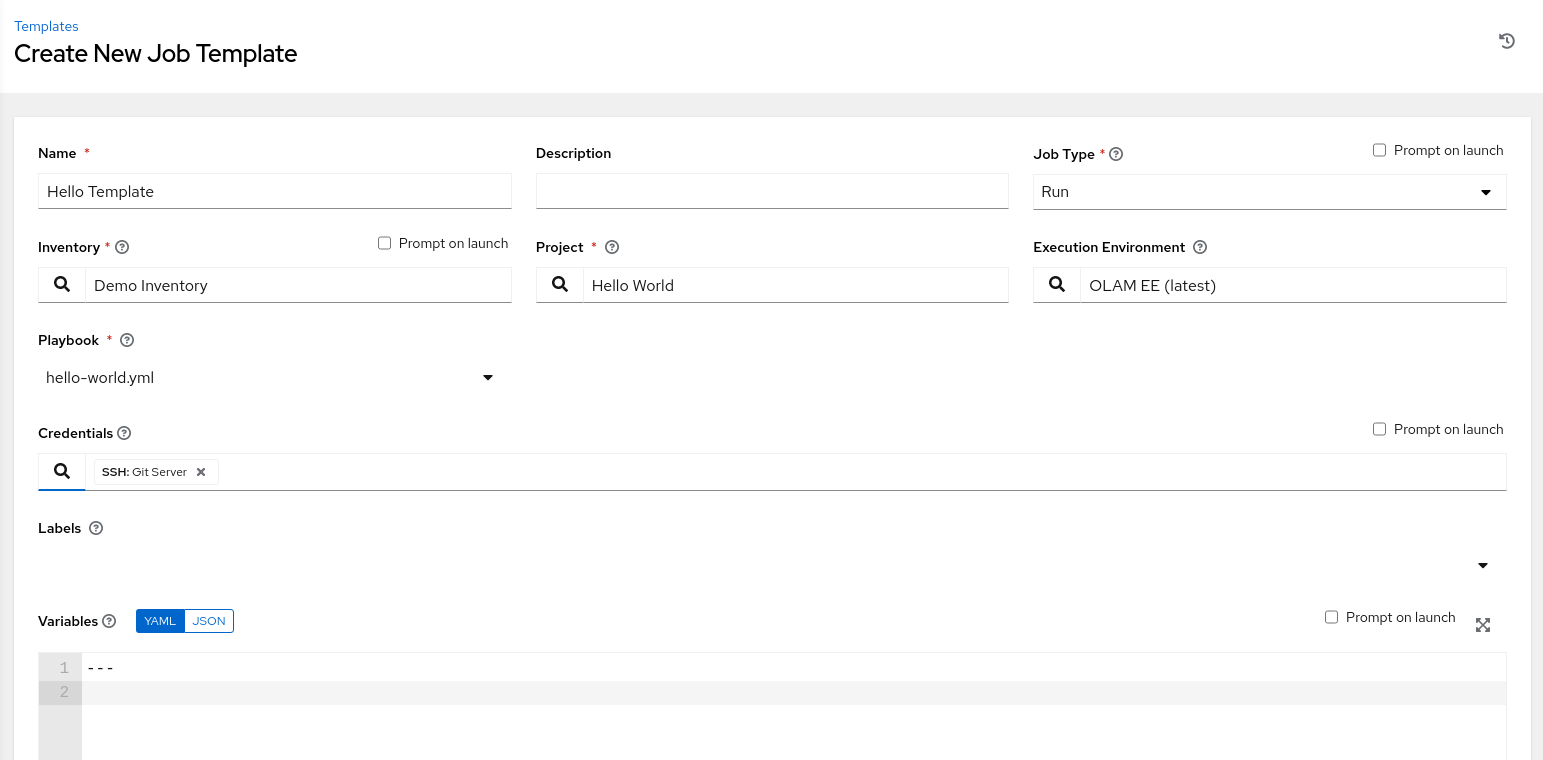
-
Scroll to the bottom and click the Save button.
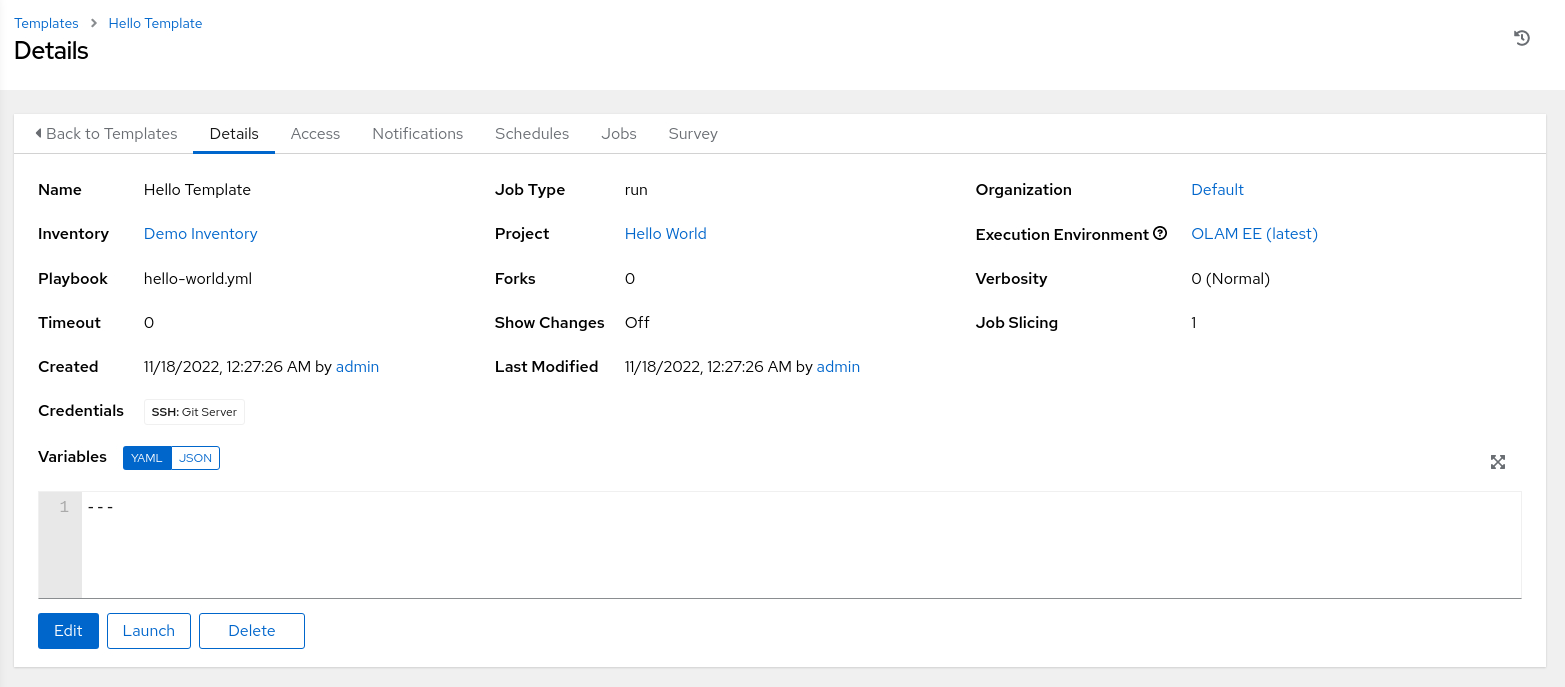
-
The Detail summary page displays the new template.
Run the Job
With the template creation complete, we can now run the playbook.
-
Using the breadcrumbs navigation at the top of the page, click Templates.
This click returns you to the Templates overview page.
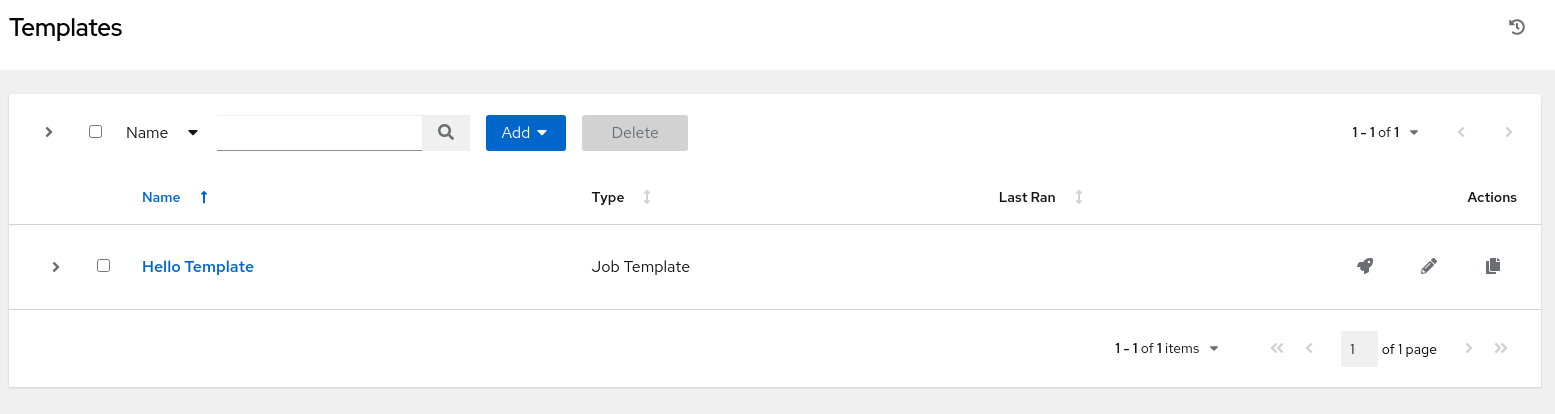
-
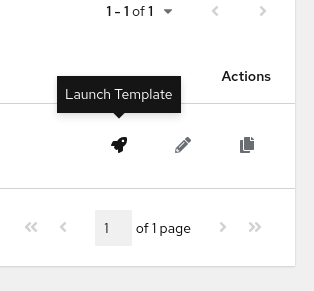
Use the rocket icon under the Actions column and launch the Hello Template job template.
-
After launch, a status page displays the job output and, eventually, the results.
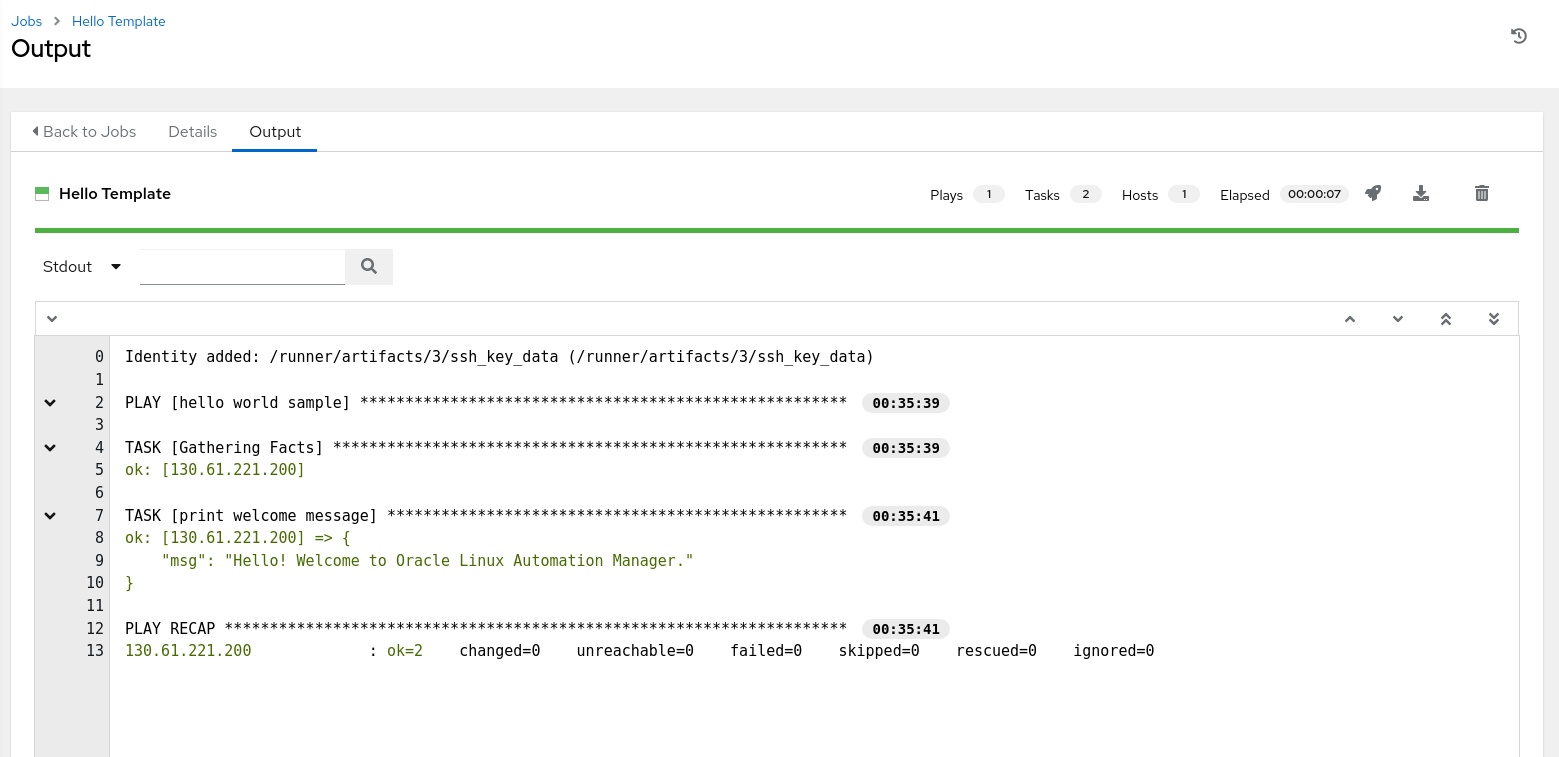
The playbook prints a welcome message to the screen if it runs successfully.
Next Steps
The welcome message confirms you have a working Oracle Linux Automation Manager installation and a successful run of your first job. Now, you’re ready to explore more of our content on automation at the Oracle Linux Training Station.
Related Links
- Oracle Linux Automation Manager Documentation
- Oracle Linux Automation Manager Training
- Oracle Linux Training Station
More Learning Resources
Explore other labs on docs.oracle.com/learn or access more free learning content on the Oracle Learning YouTube channel. Additionally, visit education.oracle.com/learning-explorer to become an Oracle Learning Explorer.
For product documentation, visit Oracle Help Center.
Get Started with Oracle Linux Automation Manager
F74579-06
Copyright ©2022, Oracle and/or its affiliates.