Set Properties for Analyses

You can set analysis properties to specify how results are displayed and how data is handled. You can also set which actions are available when users right-click in a pivot table, table, heat matrix, treemap, or trellis view.

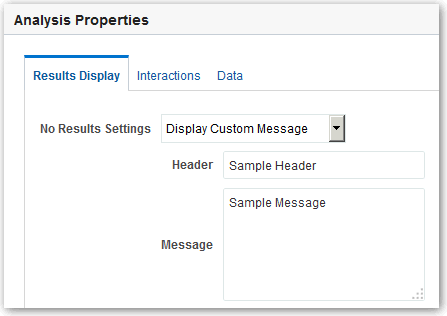
For example, you can create a custom message for the Brand Revenue analysis. This message could display when a filter on the Revenue column is too restrictive and no results are displayed.
  1. Open the analysis for editing.
  2. In the Criteria tab toolbar or the Results tab toolbar, select Edit Analysis Properties to display the Analysis Properties dialog.
  3. On the Results Display tab, select options to affect the display of results. For example, in the No Results Settings field, specify the default or custom message that displays if no results are returned when you run the analysis. You might see the message, for example, if you have a very restrictive filter placed on the columns in the analysis. You don’t see the custom message if you simply create the analysis without including columns.
  4. If you have administrator privileges and want to customize messages with HTML markup, including JavaScript, select Display Custom Message in the No Results Settings field, then select Contains HTML Markup, and then enter the HTML markup you want to apply.
  5. In the dialog, click the Interactions tab.
  6. Specify which actions (for example, Drill) are available when you right-click in a pivot table, table, graph, heat matrix, treemap, or trellis view.
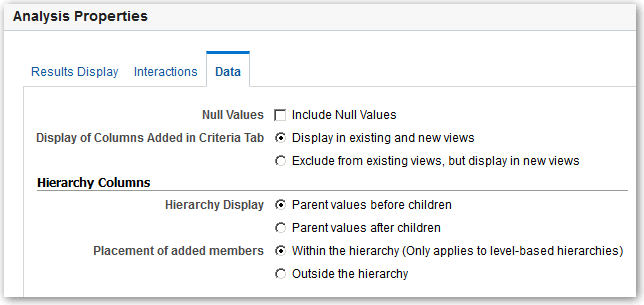
  7. In the dialog, click the Data tab.
  8. Click OK.