Add a Deployment to an Existing Service Manager
Oracle recommends having a single Service Manager per Oracle GoldenGate hub. All deployments created on this hub, should be assigned to the single Service Manager on the host. However, this should not be done for XAG enabled Service Managers.
Note:
In case of a single Service Manager being used for multiple deployments for different databases, you must run theoggca.sh utility from
the respective Oracle GoldenGate build for the specific database,
when the deployments need to be created for database-specific Oracle
GoldenGate build, which is different from the existing Oracle
GoldenGate build.
For example, if you need to add a deployment
for MySQL database to the existing Service Manager that is
setup from PostgreSQL’s Oracle GoldenGate build, then you
need to run the oggca.sh utility from
MySQL’s Oracle GoldenGate build to perform the
deployment.
To add a deployment to an existing Service Manager, run the OGGCA from the command line:
cd $OGG_HOME/bin
./oggca.sh
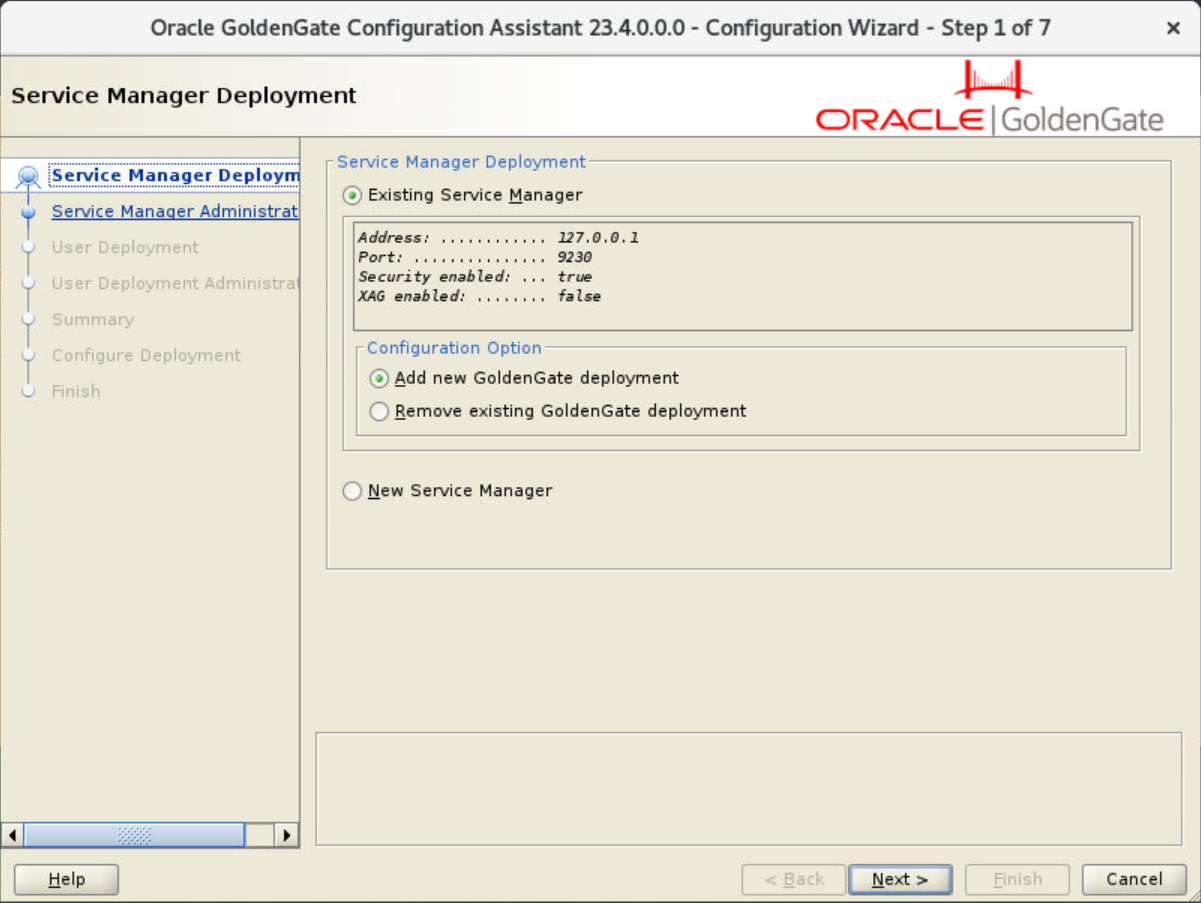
The OGGCA configuration wizard is displayed. Existing Service Manager option is preselected in the Service Manager Deployment screen.

-
From the Configuration Options section, select Add new GoldenGate deployment to add a deployment the existing Service Manager and click Next.
-
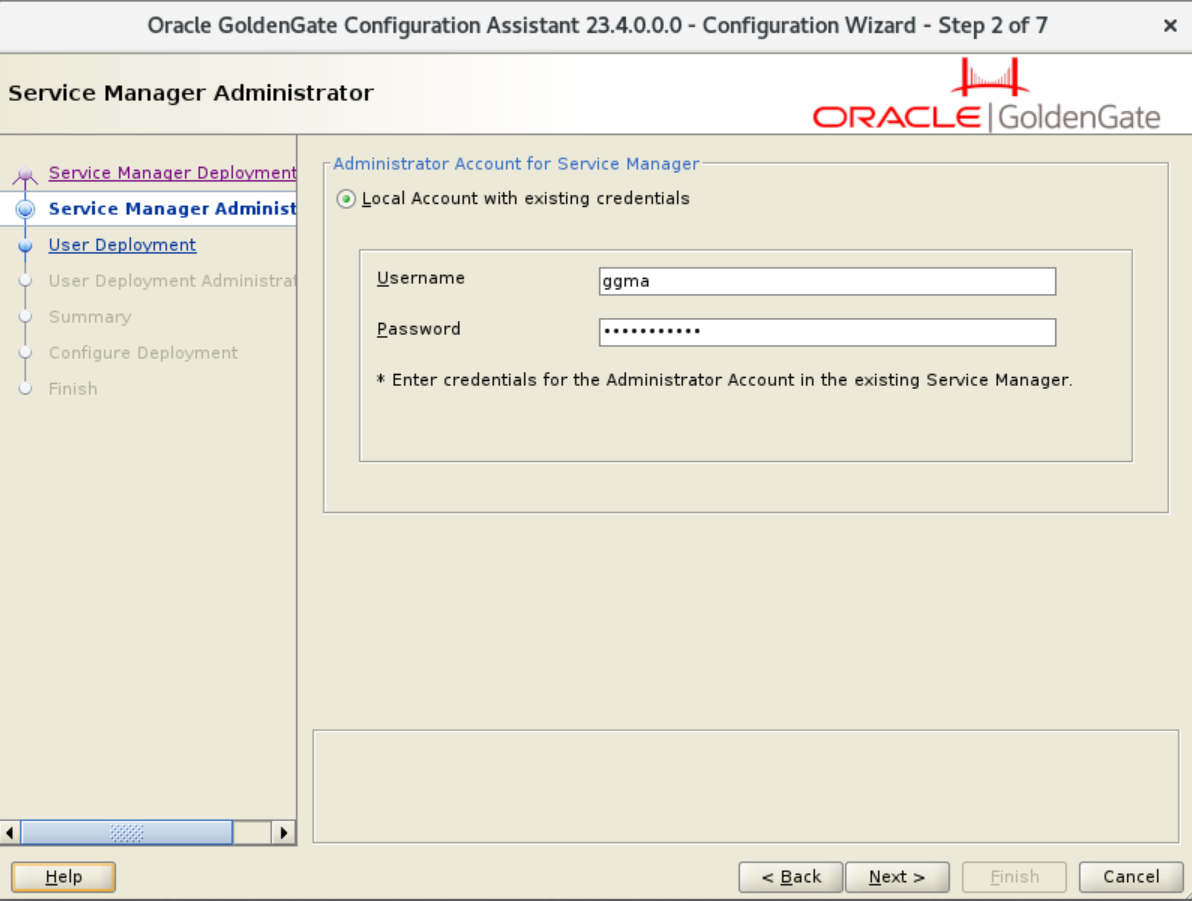
On the Service Manager Administrator Account screen, specify the Service Manager login credentials for the existing Service Manager and click Next, as shown in the following image.

-
On the User Deployment screen, configure the options for the new deployment, as mentioned in the following table:
Option Description Deployment Name
Specify a deployment name.
Deployment Home
Browse and select the location of you deployment.
This location must be outside the Service Manager and Oracle GoldenGate installer locations.Customize
Click the Customize button to specify a different location for the configuration directories such as
OGG_ETC_HOME,OGG_CONF_HOME,OGG_SSL_HOME,OGG_VAR_HOME,OGG_DATA_HOME,OGG_ARCHIVE_HOME, andPerformance Metrics DataStore Home.Ports
Enter the port numbers for the Microservices:
Administration Service
Distribution Service
Receiver Service
Performance Metrics Service.
Data Store Type
Select the type of data store you need for storing Performance Metrics data. Options include BDB, and LMDB.
Data Store Home
Browse and select a location for the data store home directory.
StatsD
Enable this check box to specify the connection details of the StatsD server, which needs to be connected to the deployment. You need to specify the host name and a unique port number of the StatsD server using the options that get enabled after you select the StatsD enable checkbox.
StatsD Host
Enter the hostname or IP address of the StatsD server. This information would be used by the Service Manager to connect to the StatsD host. The StatsD server can be located on the same host machine where Oracle GoldenGate deployment exists, or it could be a remote host.
StatsD Port
Enter the port number for the StatsD host. The default port number is 8125.
Server Certificates
This box is disabled as the server certificate file (.pem) is already selected while configuring the Service Manager options.
Server Private Key
The server certificate private key file (.key) is preselected.
Server CA Certificate
The trusted RootCA certificate is also preselected.
Client Certificates
Browse and select the client certificate file (.pem) if required.
Client Private Key
Browse and select the client certificate private key file (.key) for the associated client certificate.
Client CA Certificate
Browse and select the trusted rootCA certificate that would verify the associated client certificate.
TNS_ADMIN
(Oracle only) Enter the value for this environment variable based on the location of the
tnsnames.oraandsqlnet.orafiles.The
TNS_ADMINparameter specifies the directory path of Oracle Net Services in which files such as thetnsnames.oraandsqlnet.orareside. Thetnsnames.orafile is the configuration file that contains the net service names that are mapped to the connect descriptors of the database services.Replication Schema
Specify the schema name of the Oracle GoldenGate Database administrator user.
Environment Variables
Click this button to open the Environment Variables dialog box. It includes the paths for the preset environment variables,
$OGG_HOME, and$LD_LIBRARY_PATH.Some variables are fixed, others can be extended, and you can add additional variables.
For Db2 z/OS, make sure the set up the
IBMCLIDRIVERandLD_LIBRARY_PATHbefore you start creating the deployment. To set up these environment variables, see Set Environment Variables for Oracle GoldenGate for Db2 z/OS.You may want to check the environment variable settings for the respective database from the databased-specific documentation.
-
On the User Administrator Account screen, enter the login credentials for the new deployment. Make sure to use a strong password. Click Next.
-
Review the configurations for the deployment on the Summary screen. Click Finish and then click Next.
(Optional) You can save the configuration information to a response file. Oracle recommends that you save the response file. You can run the installer from the command line using this file as an input to duplicate the results of a successful configuration on other systems. You can edit this file or a new one from the provided template.
Note:
When saving to a response file, the administrator password is not saved for security reasons. You must edit the response file and enter the password if you want to reuse the response file for use on other systems.
-
View the progress of the deployment set up on the Configure Deployment screen. If the deployment is added successfully, then you'll see a message that the deployment is added successfully. Click Next.
-
Click Close on the Finish screen to exit OGGCA.