Checking Disk Shelf Cable Connections (BUI)

The disk shelf cable checking feature detects such SAS cabling errors as a cable connected to the wrong port on the controller or disk shelf, a missing cable in the redundant path, and a faulty cable. Errors and their resolution can be found in the Active Problems area of the software. Use the following procedure to first check the cable connections on the disk shelf, and then on the controller.

  1. From the Maintenance menu, select Hardware.
  2. Click the right-arrow icon Image showing the detailed view icon next to the disk shelf name.
  3. Click Slot.
  4. Click a slot row for an I/O Module (IOM) or SIM to highlight its location in the image to the left.

    image of disk shelf IOM slot row selected and corresponding IOM highlighted in chassis illustration
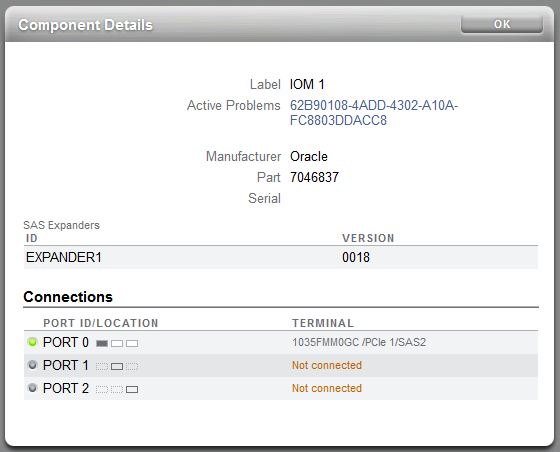
  5. Click its information icon Image showing the information icon to view its Component Details. The Connections section contains the following information:
    • Port ID/Location – Port ID and location within the slot. The boxes to the right of the port ID indicate both the port location and its status:

      • Gray – Connected

      • Clear – Not connected

      • Amber – Faulted

    • Terminal – Device ID, label, and corresponding port on the terminating chassis.


    image of component details for a disk shelf IOM slot
  6. If there is a fault, click the Active Problems link to view details, including the recommended action. Fixed disk shelf cabling faults are automatically cleared. To return to the Maintenance: Hardware screen, click Hardware.
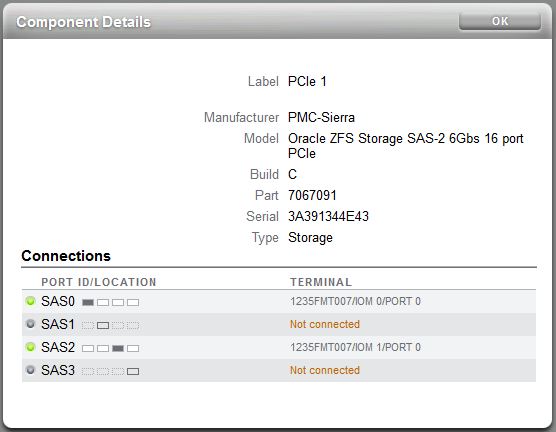
  7. If there is not a fault, click OK in the Components Details dialog box. The following figure shows component details for a controller SAS HBA slot.

    image of component details for a controller HBA slot
  8. Repeat steps 4 through 7 for each applicable slot.
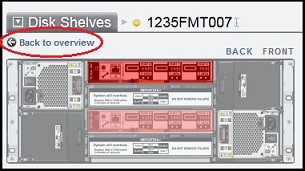
  9. Click Back to overview to return to the Maintenance: Hardware screen.

    image of "back to overview" link
  10. To check the SAS cable connections on the controller, click the right-arrow icon Image showing the detailed view icon next to the controller name.
  11. Repeat steps 3 through 8, except choose a SAS HBA in step 4.

    image of controller SAS HBA slot row selected and corresponding HBA highlighted in chassis illustration