A Installation Screens
This appendix contains images and descriptions of the Oracle GoldenGate-specific screens used by the Oracle Universal Installer (OUI). This information is contained in the following sections:
A.1 Welcome
This screen introduces you to the product installer.
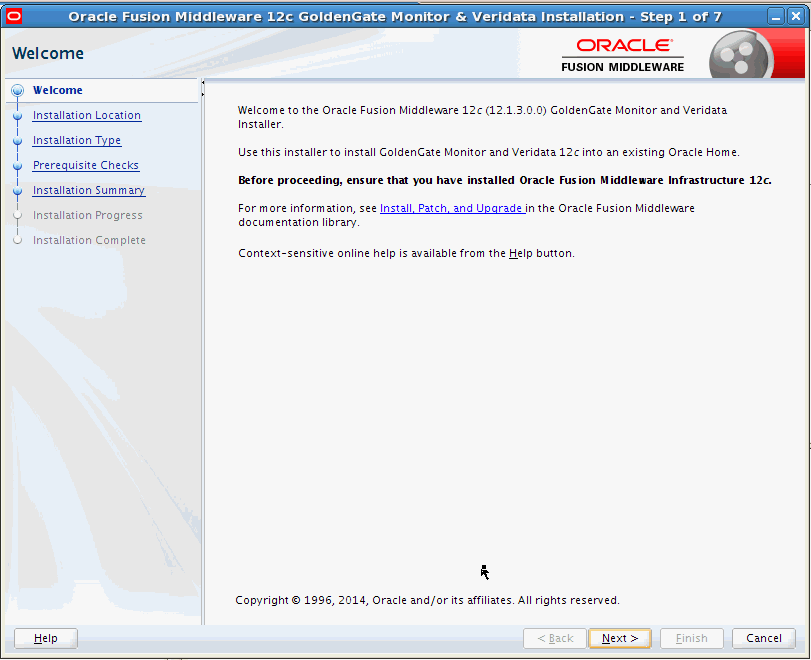
Description of the illustration ''welcome.gif''
This page provides two important pieces of information:
-
A navigation pane on the left that summarizes the tasks the installer will help you complete. Each item in the navigation pane represents a specific installer screen that will prompt you for information required to install the software.
-
Information about any prerequisites you might need to perform before continuing with the installation.
Review the information on this screen carefully to be sure you have performed all the necessary prerequisites.
A.2 Installation Location
Use this screen to specify the location of your Oracle home directory.
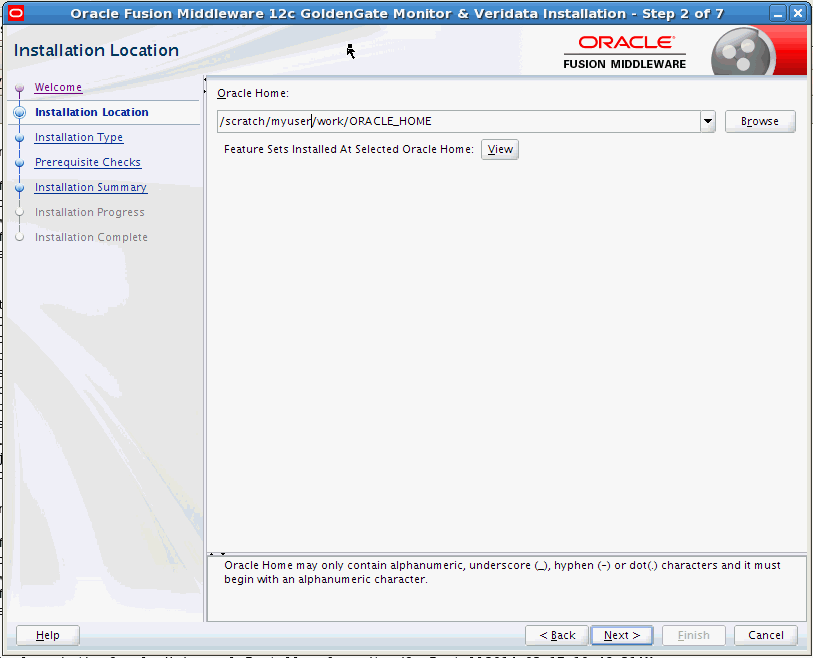
Description of the illustration ''install_loc.gif''
If you have an existing directory into which one or more Oracle products have already been installed, that directory can be viewed in the drop-down list. You can see which products are installed in that particular directory by clicking View next to "Features Sets Installed at Selected Oracle Home."
If you want your product to be installed in a new directory, type the full path of your new directory in the Oracle Home field; the installer will create the specified directory for you.
If you are installing Oracle Fusion Middleware Infrastructure, then the Oracle Common home (oracle_common) directory will be created inside the specified Oracle home directory. The Oracle Common home contains services that are shared across all Oracle Fusion Middleware products.
A.3 Installation Type
Use this screen to specify the installation type, which defines which products and features are installed.
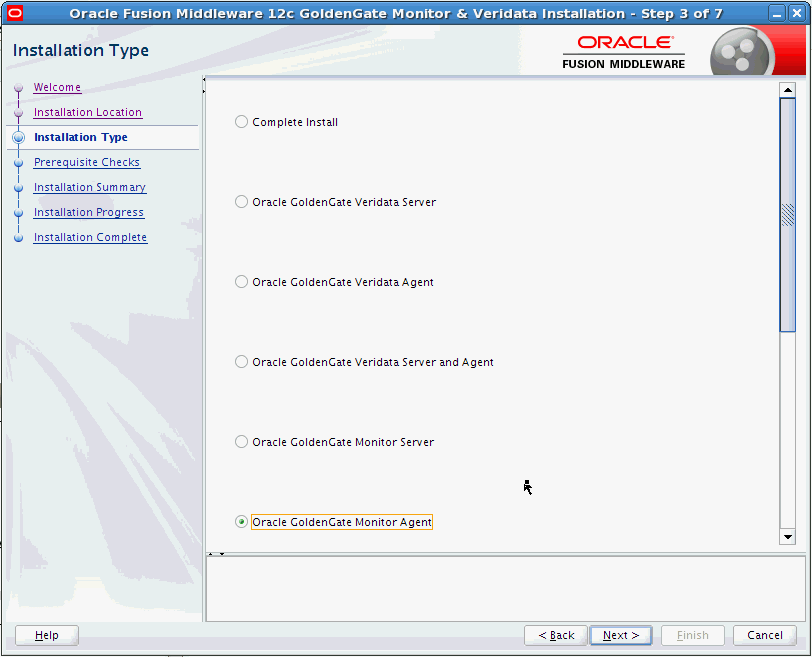
Description of the illustration ''install_type.gif''
The options you see on this screen will differ depending on the product you are installing. For this product, select Oracle GoldenGate Monitor Agent.
A.4 Prerequisite Checks
This screen analyzes the host computer to ensure that specific operating system prerequisites have been met.
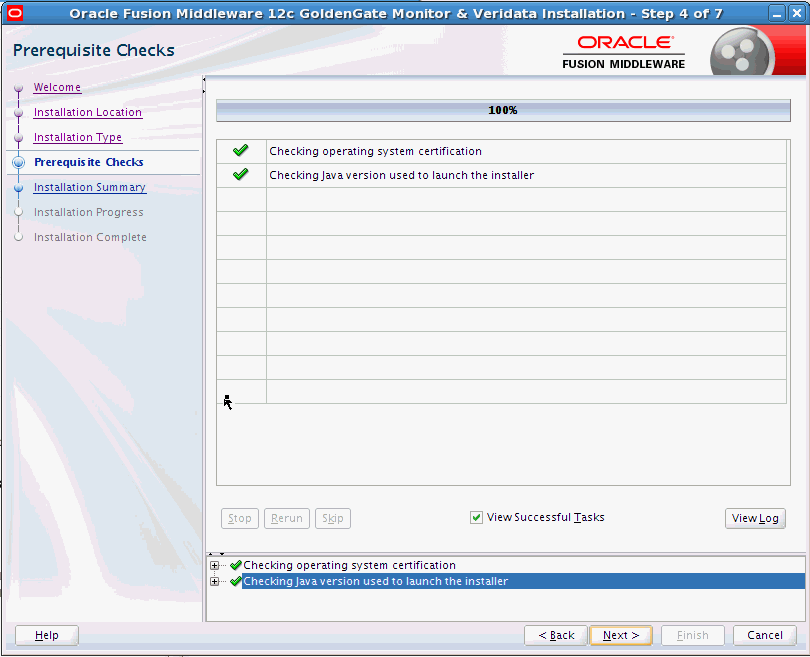
Description of the illustration ''pre_req_checks.gif''
The following table describes the options on this screen:
| Button | Description |
|---|---|
| Stop | Click this button to stop prerequisite checking for all components. |
| Rerun | Click this button if you have encountered any warning or error messages, addressed them appropriately, and want to try the prerequisite checking again. |
| Skip | Click this button to ignore any error or warning messages and continue with the installation. |
| View Successful Tasks | This check box is selected by default, and shows the list of tasks in the main part of the screen as they are completed.
De-select this check box if you do not want to see the list of tasks. |
| View Log | Click this button to open a separate window containing a detailed log file of the prerequisite checking. |
A.5 Installation Summary
This screen contains a list of the feature sets you selected for installation, along with the approximate amount of disk space to be used by the feature sets once installation is complete.
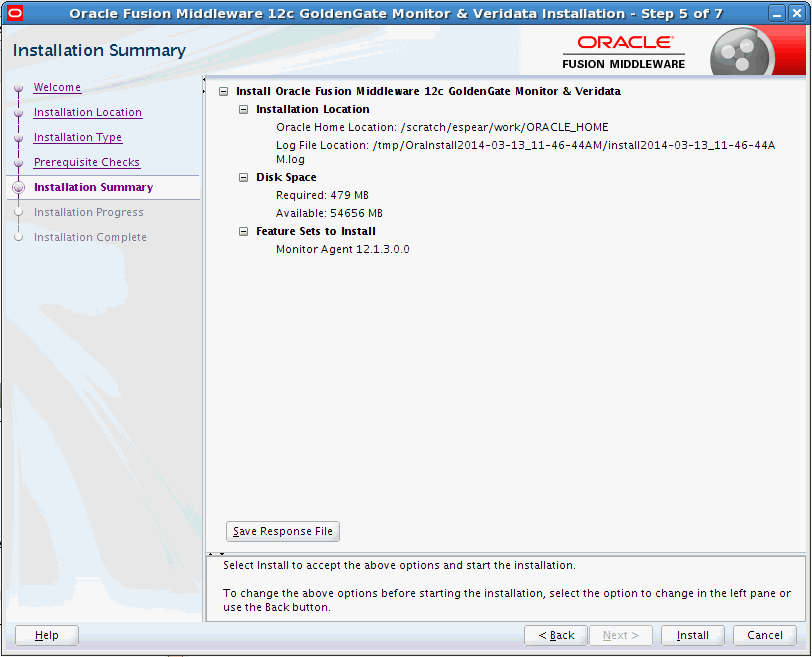
Description of the illustration ''inst_sumamry.gif''
You can click an individual component to display its approximate installed size.
Click Save Response File to save this configuration to a response file, which can be used later in a silent install situation. See Chapter 2, "Using the Oracle Universal Installer in Silent Mode" in Installing with the Oracle Universal Installer for more information about response file and silent installation.
A.6 Installation Progress
This screen shows the progress of the installation. When the progress bar reaches 100%, the installation is complete.
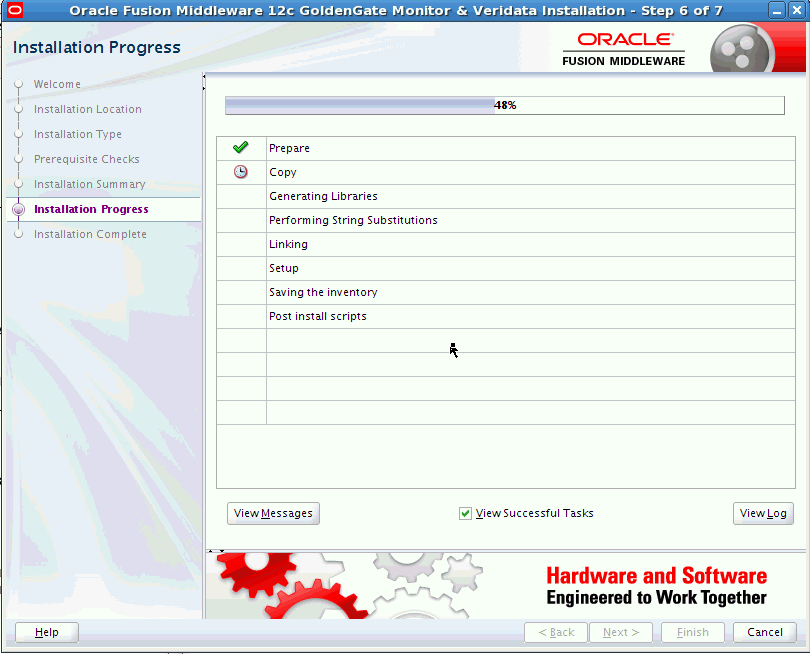
Description of the illustration ''inst_progress.gif''
The following table describes the options on this screen.
| Button | Description |
|---|---|
| View Messages | Click View Messages to see the installer messages at the bottom of the screen, where the billboard is located. Click the button again to return to the billboard. |
| View Successful Tasks | This check box is selected by default, and shows the list of tasks in the main part of the screen as they are completed.
De-select this check box if you do not want to see the list of tasks. |
| View Log | Click View Log to see the installer log; the log will be displayed in a separate window. |
A.7 Installation Complete
This screen appears at the conclusion of the installation and provides a summary of the products and features that were installed.
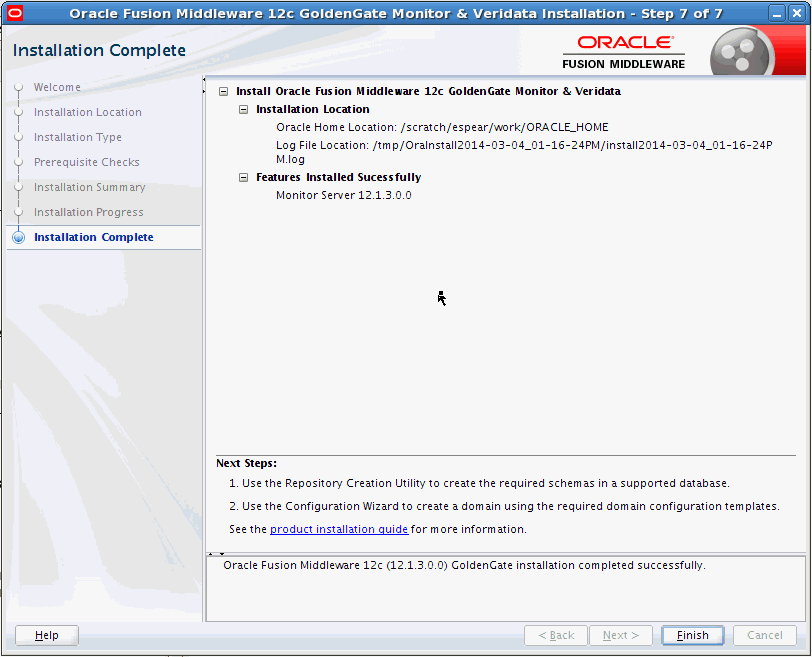
Description of the illustration ''inst_complete.gif''