5 Install HDR on a WebLogic Cluster
You can install HDR on a WebLogic cluster with preconfigured managed servers or a dynamic cluster where managed servers can be added on demand.
-
Create and configure the HDR WebLogic machine and node manager
-
Update the HDR deployment and dependent resources to target the HDR cluster
5.1 Install HDR Using the HDR Installer
Install HDR using the HDR installer, following the instructions given in Chapter 4.
5.2 Create and configure the HDR WebLogic machine and node manager
To create and configure WebLogic machine and node manager:
-
Log in to the WebLogic administration console.
-
In the left pane, click hdr_domain and expand Environment.
-
Click Machines and then click Lock & Edit.
-
Click New.
The Create a New Machine screen is displayed.
-
Enter
hdr_machine(or any other preferred name) in the Name field and click Next. -
Specify the node manager properties.
Typically, node manager runs on localhost with SSL port 5556.
-
Click Finish.
5.3 Create and configure the HDR cluster
To create and configure the HDR cluster:
-
Log in to the WebLogic administration console.
-
In the left pane, click hdr_domain and expand Environment.
-
Click Clusters and then click Lock & Edit.
-
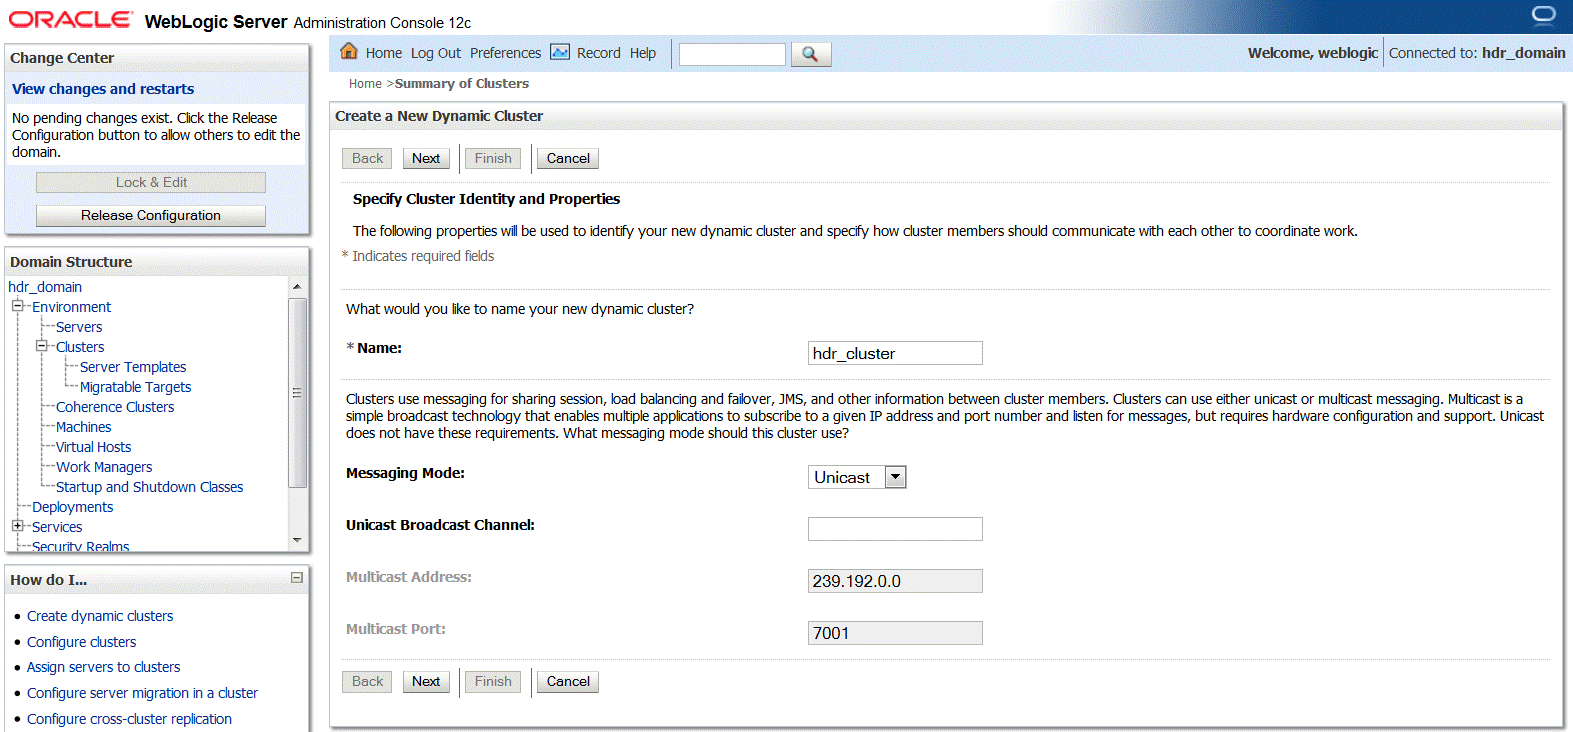
Click New and then click Dynamic Cluster.
The Create a New Dynamic Cluster screen is displayed.
-
Enter
hdr_clusterin the Name field. -
Select Unicast from the Messaging Mode drop-down list.
-
Click Next.
Figure 5-3 Specify Dynamic Server Properties
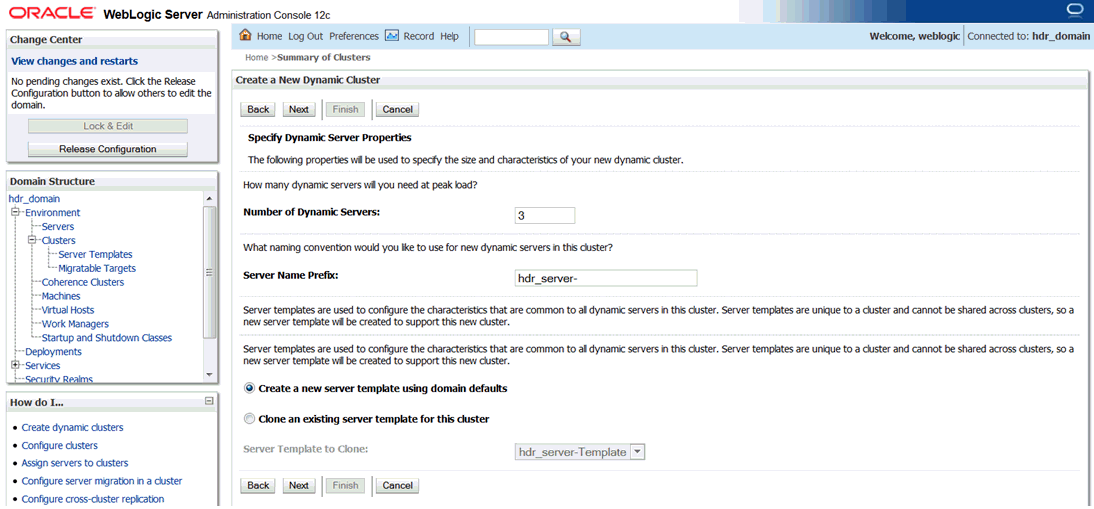
Description of ''Figure 5-3 Specify Dynamic Server Properties''
-
Enter the number of dynamic servers required during the peak load in the Number of Dynamic Servers field.
Note:
The number of dynamic servers configured depends on the available system resources and the scalability requirements. -
Enter a prefix for the dynamic server in the Server Name Prefix field. For example,
hdr_server-.Based on the number of dynamic servers configured, the number of corresponding managed servers are created. For example, if you have configured three dynamic servers, three corresponding managed servers (hdr_server-1, hdr_server-2, and hdr_server-3) are created.
-
Select Create a new server template using domain defaults.
The server template contains configurations such as Protocol, Services, SSL, Tuning, and so on, which are configured at each managed server level.
-
Click Next.
-
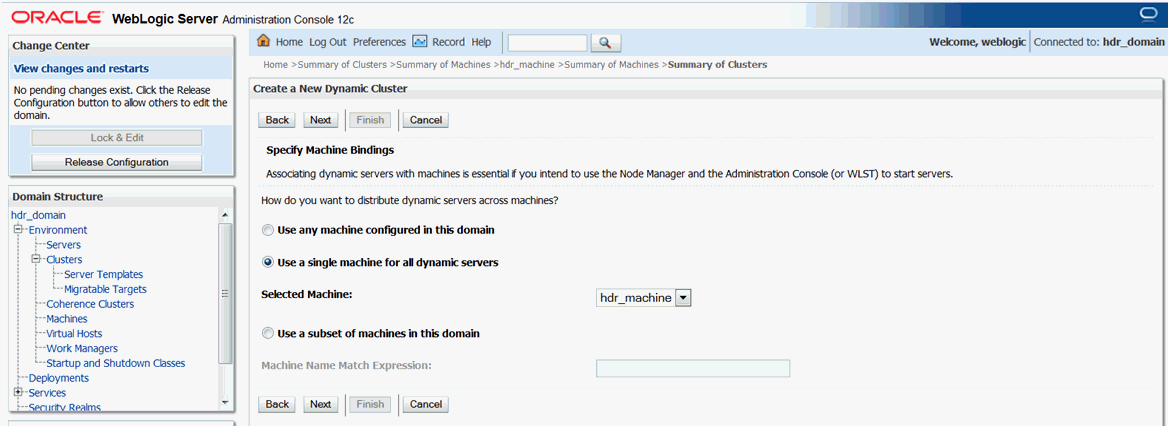
Select Use a single machine for all dynamic servers.
-
Select hdr_machine from the Selected Machine drop-down list and click Next.
-
Enter a listen port in the Listen Port for First Server field. For example,
8001.The first server is assigned to the port specified, and each subsequent server is assigned to an incremental port.
-
Enter an SSL listen port in the SSL Listen Port for First Server field.
-
Click Finish.
5.4 Update the HDR deployment and dependent resources to target the HDR cluster
The existing hdr_server managed server created by the HDR installer can be targeted to hdr_cluster or can be deleted so that HDR can be deployed only on the dynamic cluster servers.
-
Stop the hdr_server managed server.
-
Delete HDR deployment.
-
Select the HDR EAR deployment from the
$HDRHome/hdr_exploded_appfolder and select deployment as application. -
Target HDR deployment by selecting the HDR_Cluster and All servers in the cluster options.
Figure 5-6 Install Application Assistant

Description of ''Figure 5-6 Install Application Assistant''
-
Provide appropriate name for HDR and click Finish.
-
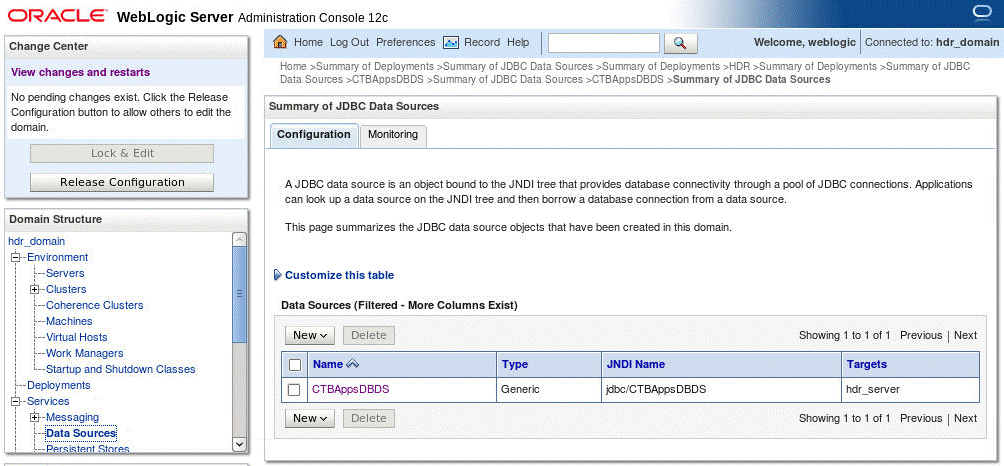
Click hdr_domain and expand Services.
The Summary of JDBC Data Sources screen is displayed.
-
Click Configuration and then select HdrDataSource.
-
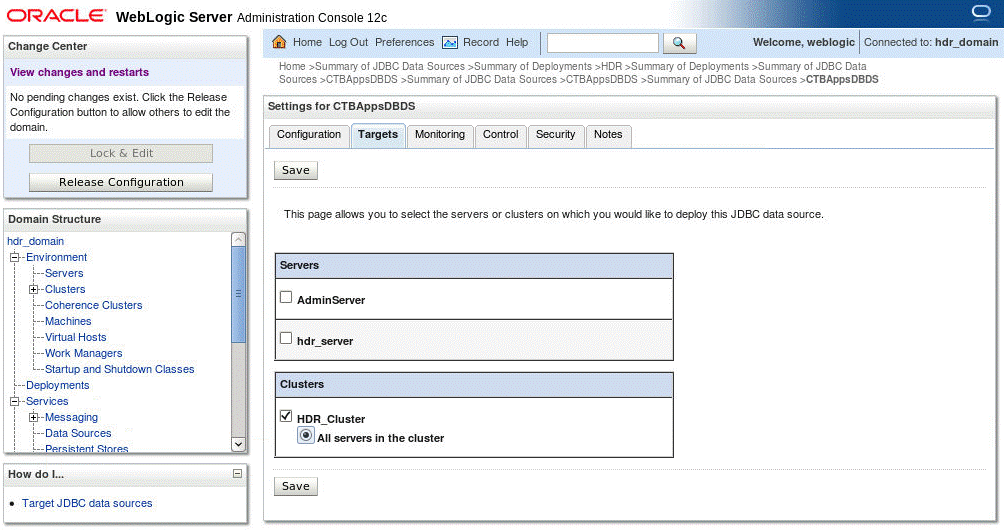
Change the targets of datasource HdrDataSource by selecting the HDR_Cluster and the All servers in the cluster options.
-
Click Save.
-
Click hdr_domain and expand Services.
-
Expand Messaging and select JMS Modules and note all the JMS queue names and jndi names in the JMS module HDRJMSSystemModule .
-
Recreate HDRConnectionFactory.
-
Delete all the JMS queues created in the JMS module HDRJMSSystemModule.
-
Recreate the queues again with same jndi names by selecting the Distributed Queue option.
Figure 5-9 Create a New JMS System Module Resource
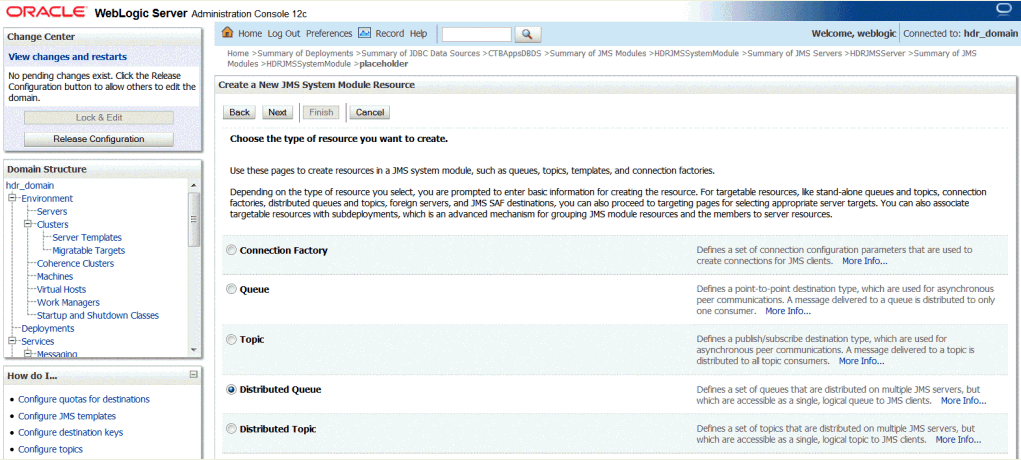
Description of ''Figure 5-9 Create a New JMS System Module Resource''
-
Change the targets of HDRJMSSystemModule by selecting the HDR_Cluster and the All servers in the cluster options.
-
Click hdr_domain and expand Services.
-
Expand Messaging and select JMS Servers.
-
Change the targets of HDRJMSServer by selecting the HDR_Cluster and All servers in the cluster options.
-
Copy the HDR-specific JVM arguments configured in startManagedWebLogic.sh to setDomainEnv.sh.
-
Start the node manages using hdr_domain/bin/startNodeManager.sh
-
Start the dynamic servers in hdr_cluster using the WebLogic admin console.
5.5 Change client-side jndi.properties
To change client-side jndi.properties:
-
Update the HDR client application jndi.properties to use the new cluster provider URL.
-
List all host and port numbers for all managed servers in the cluster as a comma separated value.
For example:
java.naming.provider.url=t3://<host>:8001,<host>:8003,<host>:8003

