|
|
|
|
Run the Cognos Customization for InForm wizard (CRNConfig\setup.exe)—Cognos Content Manager / Cognos Report Server
To customize the Cognos 10 BI software for the InForm environment, you run installation and configuration wizards.
You run the Cognos Customization for InForm wizard (CRNConfig\setup.exe) on the following reporting servers:
- Cognos Content Manager Server
For more information, see Step 5: Run the Cognos Customization for InForm wizard (CRNConfig\setup.exe) on the Cognos Content Manager Server.
- Cognos Report Server
For more information, see Step 5: Run the Cognos Customization for InForm wizard (CRNConfig\setup.exe) on the Cognos Report Server.
- Copy the CRNConfig folder from the InForm installation image to a location that you can access from the Cognos Content Manager Server and the Cognos Report Server.
- On the Cognos Content Manager Server and the Cognos Report Server, run the CRNConfig\setup.exe program file.
The Choose Setup Language window appears.
- Select the language you want the wizard to use during setup. Select either English or Japanese. English is the default. Click Next.
The Welcome page appears.
- Click Next.
The Cognos 10 BI Installation Location page appears.
- Specify the folder in which the Cognos 10 BI Content Manager is installed, and click Next.
The Java Runtime Environment (JRE) Version Information page appears.
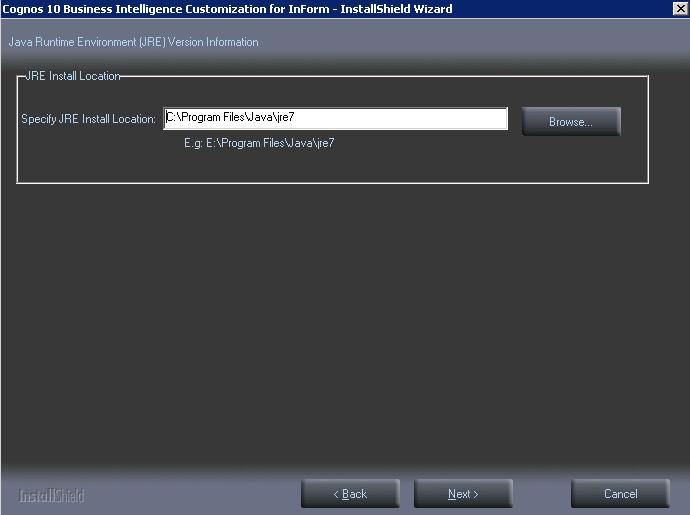
- Browse to the location where the JRE is installed, and click Next.
The Setup Type page appears.
- Select the memory model (Small, Medium, or Large) that is most appropriate for your business, and click Next.
Note: You can change this later if you select the wrong size.
The Cognos Content Store and Application Firewall page appears.
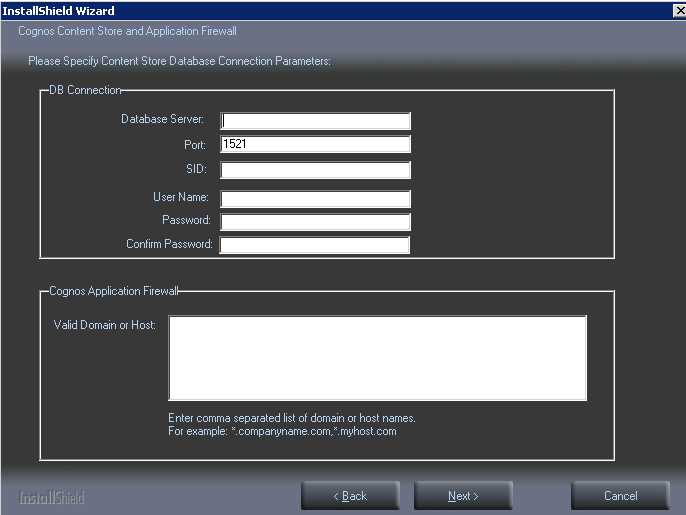
- Enter the following values.
Cognos Content Store and Application Firewall page values
Field
Description
Database server
Fully qualified domain name of the database server where the Cognos 10 BI Content Store schema is installed.
Port
Port number for communicating with the database server.
SID
SID for communicating with the database server.
User Name
User name of the Oracle user in the Cognos 10 BI content store database. You created this user when you configured the Cognos 10 BI content store database.
Password, Confirm Password
Cognos 10 BI user in the Cognos content store database.
Valid Domain or Host
Comma-separated list of domain or host names, for example *.company.com,*.companycorp.com.
- Click Next.
The Custom Authentication Provider Configuration and Single Sign-On Information page appears.
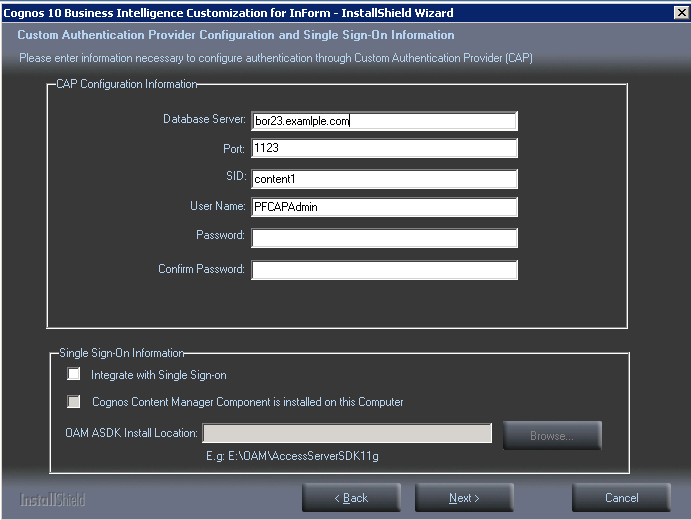
- Enter the following values.
CAP configuration and SSO options
Field
Description
Database server
Fully qualified domain name of the user that contains the TRIAL_URLS table.
Port
Port number for communicating with the database server.
SID
SID for communicating with the database server.
User Name
The name of the PFCapAdmin user.
Password, Confirm Password
Password of the PFCapAdmin user.
Trust the user for InForm Model Generation Service (No Authentication Required)
Select to allow the pfreportinguser to have access to the InForm Model Generation Service.
Integrated with Single Sign-on
Select to enable Single Sign-on.
Note: This selection, and the following two options should be selected only if your application is running in an Oracle-hosted, single sign-on environment.
Cognos Content Manager Component is installed on the computer
Select if you are enabling SSO, and you are installing the CRNConfig wizard on the Content Manager Server.
OAM ASDK Install Location
If you are using SSO, enter the path to the Oracle Access Management Access SDK location.
- Select Trust the user for InForm Model Generation Service (No Authentication Required).
- Click Next.
The Specify the Cognos Web Server (Gateway or IIS server) page appears.

- Type the fully qualified domain name of the Cognos 10 BI Gateway server, or click Browse to select it from the dialog box.
- Click Next.
The LDAP Configuration Information page appears.
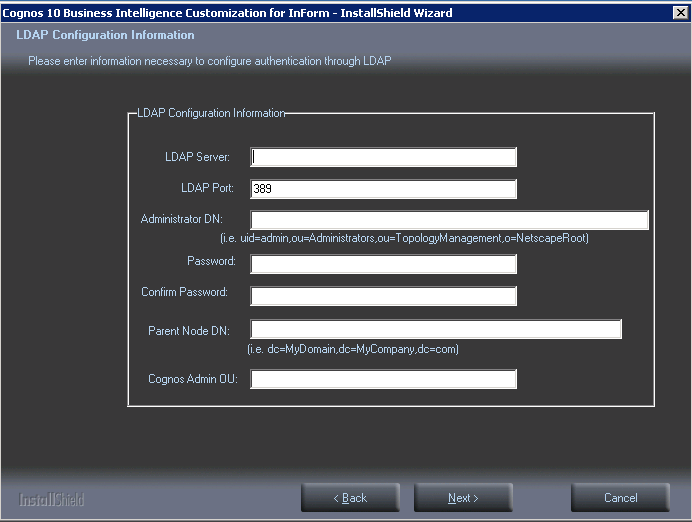
- Enter the following values.
LDAP Configuration page values
Field
Description
LDAP Server
Fully qualified domain name of the server where the Oracle Directory Server is installed.
LDAP Port
Port number used to communicate with the LDAP server.
Administrator DN
Distinguished Name of the administrator of the server. Use the format and values shown beneath the field.
Note: The Administrator DN value corresponds to an LDAP user who has READ and SEARCH access to the Base Distinguished Name (BDN). The BDN specifies the top level or root of the directory structure, which is the starting place for searches.
Password, Confirm Password
Password of the administrator.
Parent Node DN
Distinguished name of the Parent Node. Use the format shown beneath the field. (Do not enter spaces after the commas between the parts of the domain.)
Note: The Parent Node DN is also known as the Base Distinguished Name (BDN). The BDN specifies the top level or root of the directory structure, which is the starting place for searches.
Cognos Admin OU
The Cognos Admin organizational unit.
- Click Next.
The Ready to Install the Program page appears.
- Click Install.
The Setup Status page appears.
The program copies the necessary files and creates the CRNSetup.xml and singlesignonproperties.xml files in an InForm subfolder under the Cognos installation (...\InForm\Config). The name and location of the files appears in a message window. You need to supply the location of these files when you install the Cognos 10 BI Gateway Customization for InForm.
- The Wizard Complete page appears.
- Click Finish.
Copyright © 2014, 2017 Oracle and/or its affiliates. All rights reserved.