|
|
|
|
Install the Cognos 10.2.2 software
You install the Cognos software on the following reporting servers:
- Cognos Content Manager Server
- Cognos Report Server
- Cognos Gateway Server
- Download the bi_svr_64b_10.2.2_win_ml.tar.gz file from the Oracle Download Center, extract the archive file, and navigate to the issetup.exe file in the \Win64 folder.
- Double-click issetup.exe.
The Welcome page of the installation wizard appears.
- Select the language to use for the installation, and click Next.
The License Agreement page appears.
- Read the license agreement, select I accept, and click Next.
The Installation Location page appears.
- In the Installation Directory field, browse to or type the drive and destination folder for Cognos 10 BI Reporting (for example E:\cognos\c10), and click Next.
If the Folder does not exist message appears, click Yes to create the folder.
The Component Selection page appears.
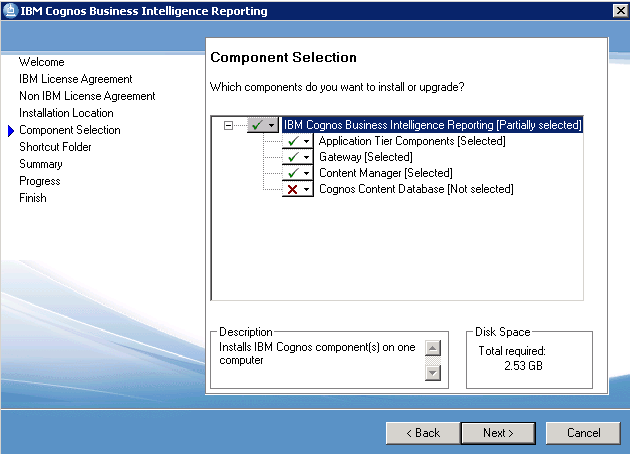
- Select the appropriate component or components depending on your server configuration.
For example, in a distributed environment you would:
- Select Application Tier Components for the Cognos Report Server.
- Select Gateway for the Cognos Gateway Server.
- Select Content Manager for the Cognos Content Manager Server.
- Make sure that the Cognos Content Database is not selected, and click Next.
The Shortcut Folder page appears.
- Accept the default Program folder, and click Next.
The Installation Summary page appears.
- Review the installation summary, and click Next.
The installation program installs the components that you selected. This takes several minutes. When the component installation is complete, the Finish page appears.
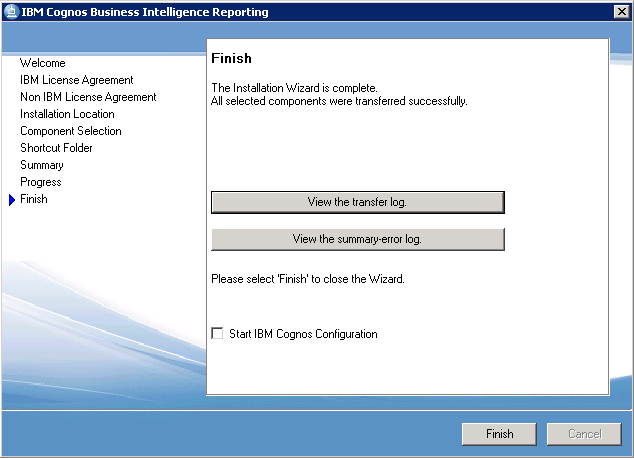
- On the Finish page:
- To view the transfer log or the summary-error log, click the appropriate View button.
- To view the readme file, select View Cognos Readme.
- Verify that Start IBM Cognos Configuration is not selected.
- Click Finish.