Good!
Bad!
Document Generators allow users to download and save a document with data from a Web Determinations interview. The document is usually a transcript of the interview for record keeping, but can be any document that requires data from the interview to be embedded in it, such as a pre-filled form, letter of advice or even a specially formatted web page.
The default Document Generator allows users to save and print a transcript of their Web Determinations interview in the following formats:
This topic describes the process necessary to create and debug a basic Interview containing a Document Generation link. Following all the steps in this tutorial will require the following:
Set up the Document Generation server
Add document generation capabilities
The first and most important step to take before using the default Document Generation plugin, is to deploy the Document Generation server. This server acts as a wrapped for the BI Publisher Document Generation Engine and without it you will only be able to produce XML files from your document links.
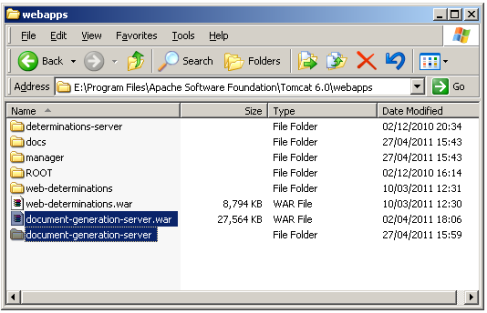
If you already have a working Java application server then please deploy the document-generation-server.war file to this server, making a note of the resultant end-point.
If you don’t have a working Java Application Server, or don’t understand what one is, then the following steps will guide you through installing one.
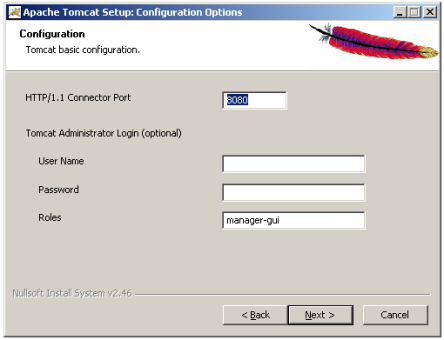
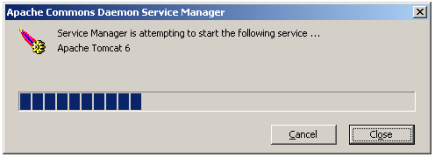
Install Tomcat:
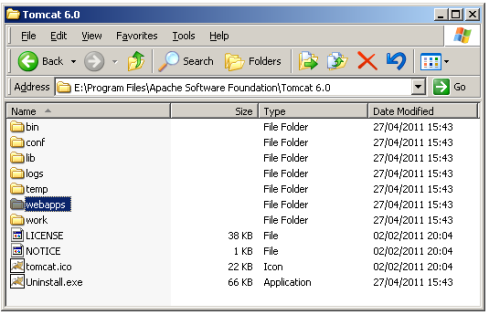
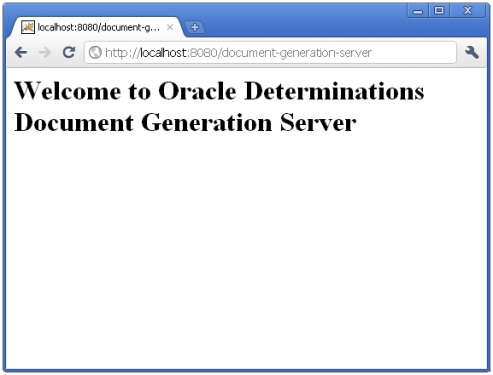
Now that Tomcat has been installed and is running, it’s time to deploy the Document Generation Server as follows:
We are now going to author a very quick rulebase that we can use to test out the new Document Generation capabilities found since 10.3.0.
If you already have a working rulebase that you wish to use, you can skip this section and go directly to Add document generation capabilities.
Instead of walking step by step through the process for authoring the rulebase, you will just be given the information required to replicate it on your system.
The person is eligible for a fake benefit if
The person is of appropriate age and
The person’s earnings are under the threshold
The person is of appropriate age if
The person’s current age > 59
The person’s current age = YearDifference(the person’s date of birth, the current date)
The person’s earnings are under the threshold if
The person’s yearly income <= 25,000
In order to add document generation to our rulebase, we need to do three things:
These things are done in order below for a simple confirmation letter example.
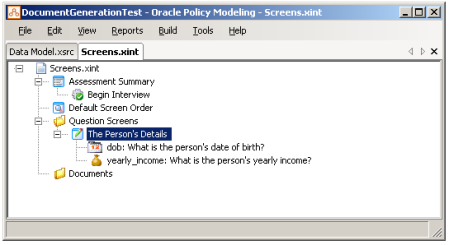
Right click inside the Screens file and you will see the option to add a New Document. You can place this document anywhere inside the Screens file, though it’s recommended that you place it within a specially created Documents folder, to aid organization.
Clicking the New Document option presents you with the following dialog box, the fields for which are explained below: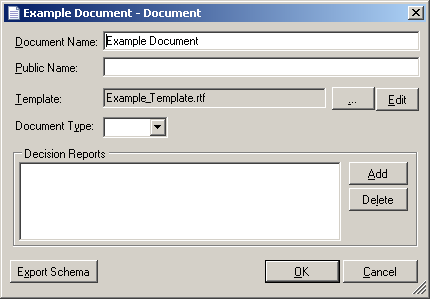
| Field | Description |
|---|---|
| Document Name |
The name by which you will refer to this document – every effort should be made to ensure it is unique unless specifically required otherwise. Good examples would be: “Advice Letter w/Decision Report”, “Claim Form (Ref:ABC1)”. |
| Public Name |
Similar to an Attribute, Entity or Relationship’s public name, this must be unique and if not specified here, will be auto-generated. Good examples would be: “adv_letter_decision_report”, “claim_form_ABC1”. |
| Template |
This is the template file (in rtf format) associated with the document. All templates should be placed in the include\templates\<locale> folder underneath the main rulebase folder. Adding a new document automatically creates a blank document template. |
| Document Type |
Since templates can be used to generate any support document, it is in this drop down that you decide what the format of the final document you generate should be. If you wish to output XML then see the section on adding Document links to screens and specifically the “Generate Xml” flag. |
| Decision Reports |
Adding entries into the Decision Reports list not only ensures that attribute is present, but that a full decision report is also available for it. Take care not to add unnecessary entries here, as they may slow down the document generation process. |
| Export Schema |
This button allows you to export an XSD representation of the Document Definition. This is important as you will generally need to import this XSD file into the BI Publisher Word plugin in order to use the helper functions and dialogs provided. Remember that this XSD file will be different if you make changes to either your rulebase data model or Included Decision Reports. |
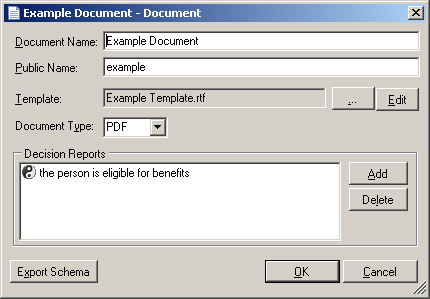
If you are following our rulebase example, you will need to enter the following into your new document.
Templates for the document generation process are automatically created when adding a document and are then enriched using Microsoft Word and the BI Publisher Word plugin. It is beyond the scope of this tutorial to attempt to teach you how to author templates for BI Publisher, but a few important points should be noted.
If you are following our example rulebase, you will need to do the following:
For our example rulebase, we can use the following template contents:

Fake Company Inc.
Dear Sir/Madam,
With regards to the person who filled out an online interview with us recently;
for-each eligibile text end eligibile
This is because you told us your Date of Birth was:
for-each dob value end dob
And your yearly income was:
for-each yearly_income value end yearly_income
Thank you!

Smith Smithson
President, CEO, Sole Employee
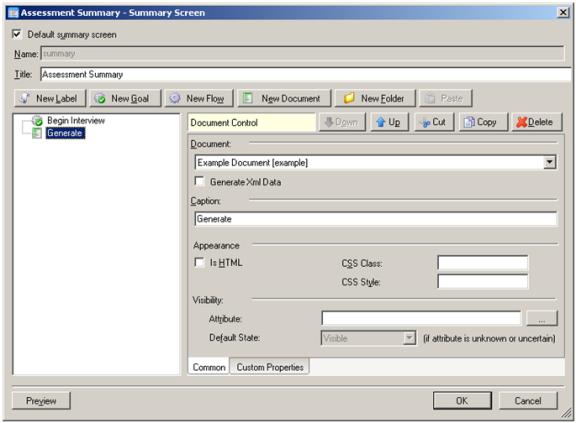
The last step is to give the end user a way to access the document. We do this by adding a Document link to the Summary screen of our rulebase. This link will have a number of options that will already be familiar, and two which are not.
Document
This drop down box allows you to pick the document that you wish to generate when this link is clicked with the list in the format of “Document Name [Public Id]”
Generate Xml Data
When checked, this causes the link to bypass the BI Publisher Document Generation Server, instead returning a raw XML representation of the Session. This is useful not just for debugging purposes, but for importing into the BI Publisher Word plugin.
In our example rulebase, the last step is to add a Document link to our summary screen, as shown below:
When following the document link from the Summary screen, if the BI Publisher template's Conditional Region settings have not been correctly defined (for example, an incorrect data type has been used), then the user may encounter a generic error. In such a case, it will be necessary to visit the BI Publisher template and make the appropriate adjustments, referring to the BI Publisher user documentation for assistance.
There is a lot more to the Document Generation capabilities of Oracle Policy Modeling than could be covered in a short tutorial, but the basic steps covered by this document are fundamental to any use of the default document generation process.
For more information, consult the following topics:
Document Generator plugin overview