B Oracle Data Profiling and Data Quality Installation Screens
This appendix contains images and descriptions for all of the Oracle Data Profiling and Data Quality for Oracle Data Integrator installation screens:
-
Section B.2, "Select Components Screen (Windows Operating Systems Only)"
-
Section B.6, "Metabase Client Details (Windows Operating Systems Only)"
B.1 Welcome
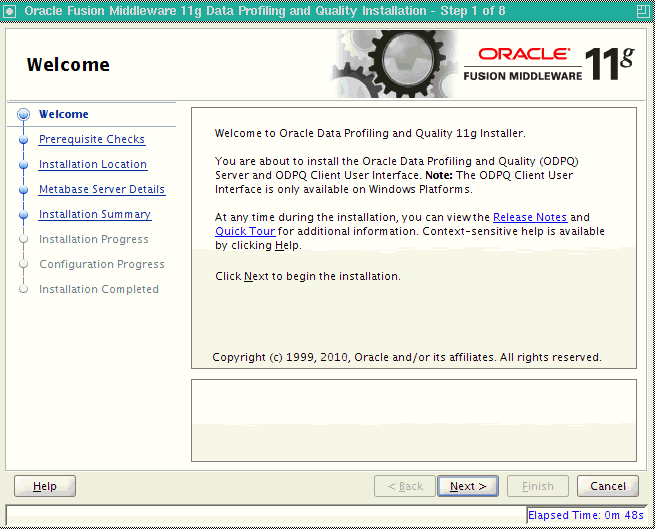
The Welcome screen is displayed each time you start the installer.
Click Next to continue.
B.2 Select Components Screen (Windows Operating Systems Only)
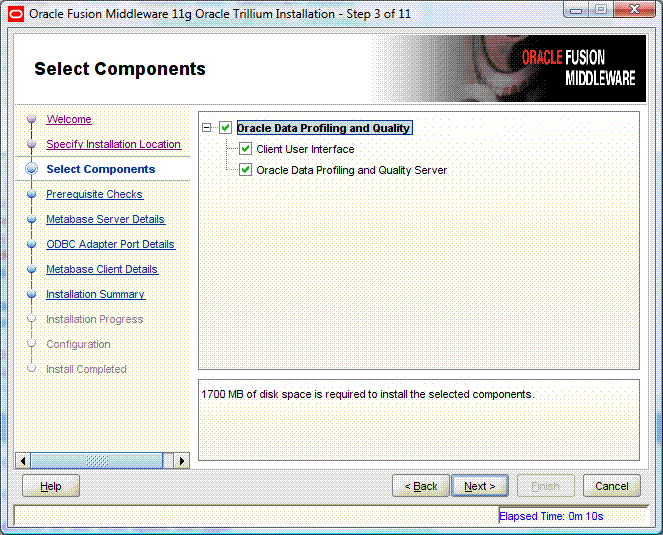
The Select Components screen offers the following options:
| Component | Description |
|---|---|
| Client User Interface | The Oracle Data Profiling and Oracle Data Quality user interface is available for Windows 32-bit operating systems only. This client can be configured to connect to a Metabase Server installed on a separate machine. |
| Oracle Data Profiling and Quality Server | The Oracle Data Profiling and Quality server installation includes the following components:
The Oracle Data Profiling and Quality server installation includes the following components:
|
B.3 Prerequisite Checks
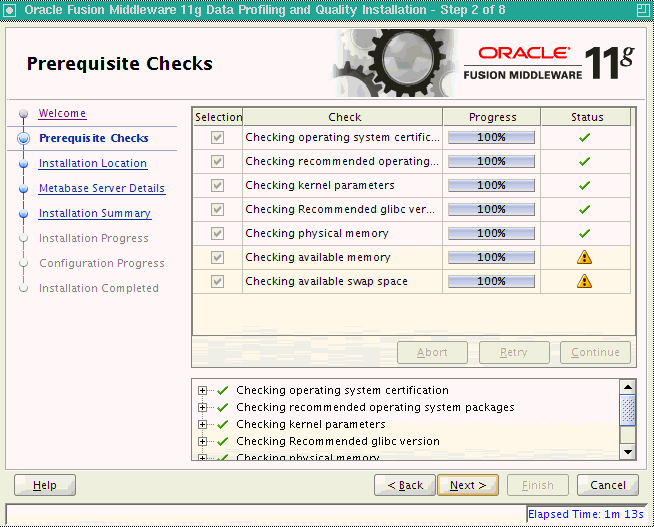
If there is a problem, a short error message appears in the bottom portion of the screen. Fix the error and click Retry to try again.
If you want to ignore the errors or warnings and continue with the installation, click Continue.
Click Abort to stop prerequisite checking for all components.
B.4 Specify Installation Location
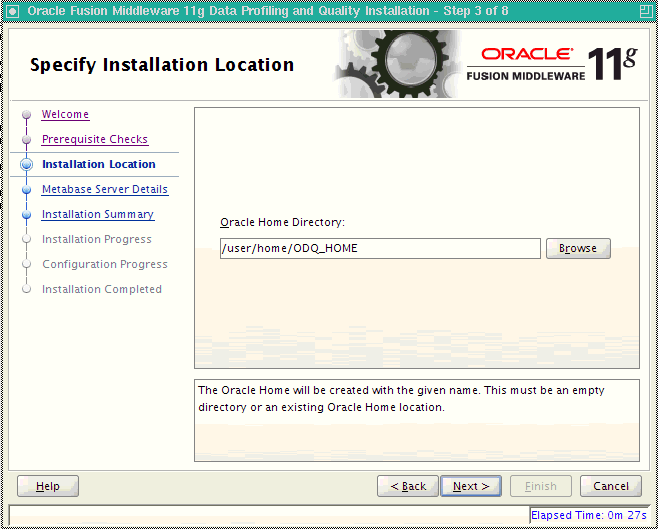
Specify the absolute path to your Oracle home location, this is your Oracle home directory where your products will be installed. This is also referred to as the ODQ_HOME.
This directory must be an existing Oracle home location. If you specify a directory that does not already exist, then the directory will be created.
After supplying the installation locations, click Next to continue.
B.5 Metabase Server Details
UNIX Operating System Metabase Server Details Screen
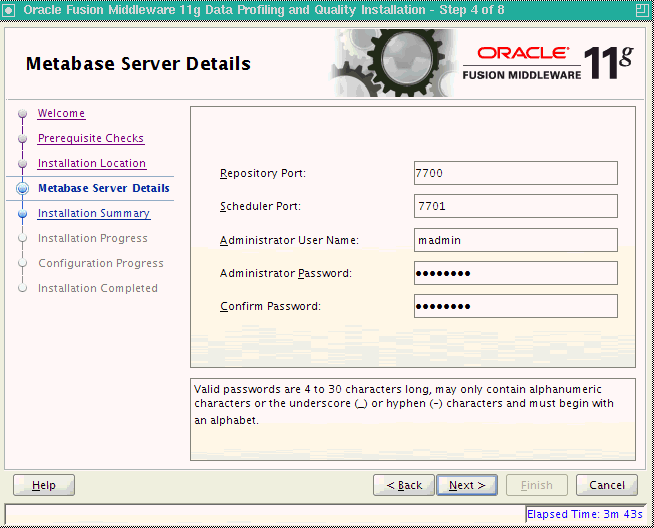
| Element | Description |
|---|---|
| Repository Port | Port for the Metabase repository. This port must be free, valid, and not conflicting with any other port in this install session. Default is 7600. On UNIX operating systems. This port must be greater than 1024. |
| Scheduler Port | Port for the Oracle Data Quality scheduler. This port must be free, valid, and not conflicting with any other port in this install session. Default is 7601. On UNIX operating systems, this port must be greater than 1024. |
| Administrator User Name | Metabase administrator name. The name must be between 4 and 30 characters long and must begin with an alpha character. Default is madmin. |
| Administrator Password | The password must be between 5 and 30 characters long, can only contain alphanumeric, _, § and # characters and must begin with an alpha character. |
| Confirm Password | Confirm the Metabase administrator password. |
Windows Operating System Metabase Server Details Screen
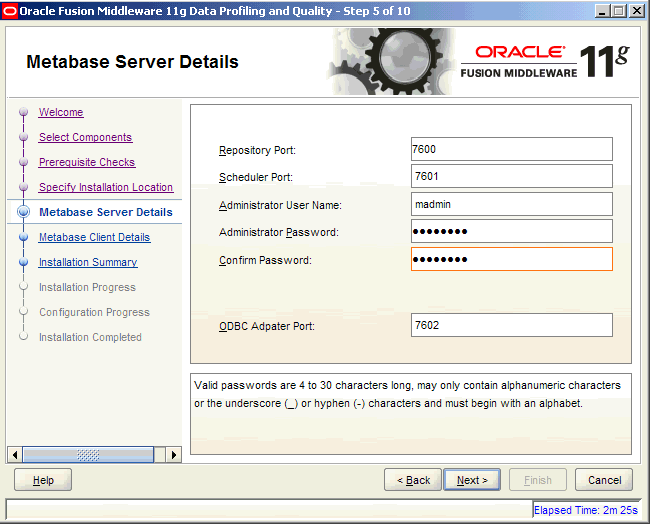
| Element | Description |
|---|---|
| Repository Port | Port for the Metabase repository. This port must be free, valid, and not conflicting with any other port in this install session. Default is 7600. On UNIX operating systems. This port must be greater than 1024. |
| Scheduler Port | Port for the Oracle Data Quality scheduler. This port must be free, valid, and not conflicting with any other port in this install session. Default is 7601. IOn UNIX operating systems, this port must be greater than 1024. |
| Administrator User Name | Metabase administrator name. The name must be between 4 and 30 characters long and must begin with an alpha character. Default is madmin. |
| Administrator Password | The password must be between 5 and 30 characters long, can only contain alphanumeric, _, § and # characters and must begin with an alpha character. |
| Confirm Password | Confirm the Metabase administrator password. |
| ODBC Adapter Port | Oracle Data Quality ODBC Adapter port must be free, valid, and not conflicting with any other port in this install session. Default is 7602. |
B.6 Metabase Client Details (Windows Operating Systems Only)
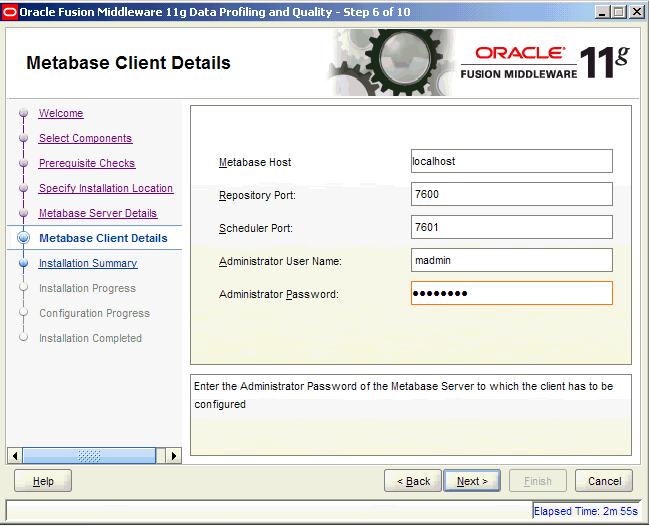
| Element | Description |
|---|---|
| Metabase Host | Host name of the Metabase server. If you are installing the Oracle Data Profiling or Oracle Data Quality for Data Integrator server components on the same machine, enter localhost. |
| Repository Port | Enter the Repository Port of the Metabase Server to which the client will connect. Default is 7600. |
| Scheduler Port | Enter the port number of the Oracle Data Quality scheduler. Default is 7601. |
| Administrator User Name | Enter the Metabase Administrator user name of the Metabase Server to which the client will connect. Default is madmin. |
| Administrator Password | Enter the Metabase Administrator password. |
B.7 Installation Summary
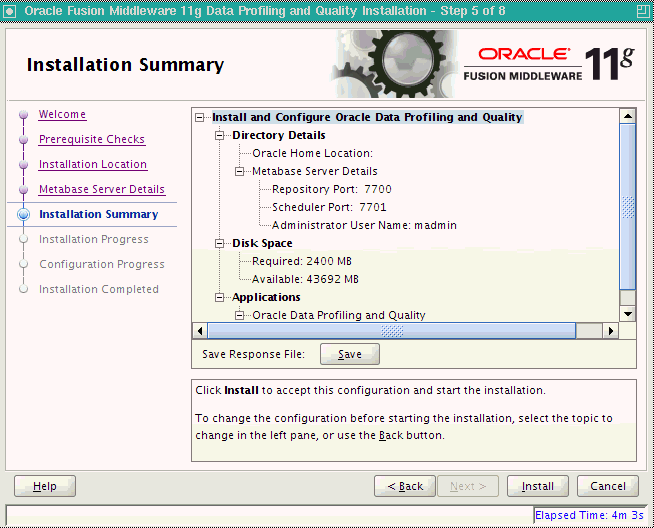
This screen provides a summary of the installation options you have selected. If you want to save this configuration information to a file so that you can repeat the installation from the command line, click Save in the Save Response File field. You will be prompted to provide a path and filename where this configuration information will be saved.
Click Install to accept this configuration and begin the installation. If you want to make any changes to the configuration before starting the installation, use the navigation pane on the left and select the topic you want to edit.
B.8 Configuration Progress
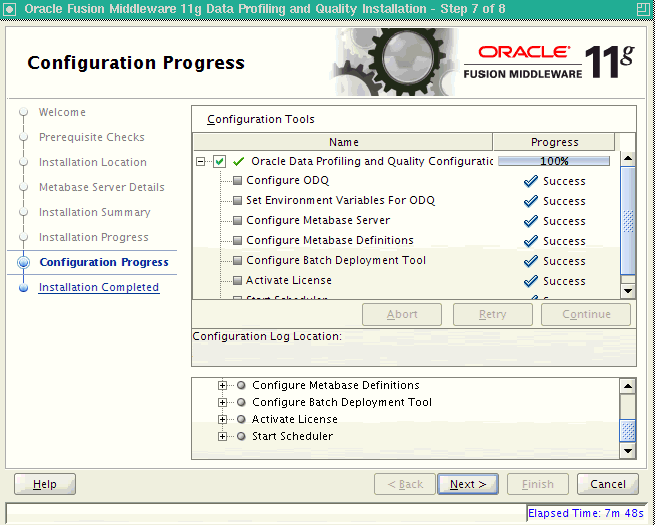
This screen shows you the progress of the configuration. These are the components you selected on the Select Components screen.
If any of the components fails to configure properly, an error message will appear in the bottom pane. You can try to fix the problem and then click Retry to try again.
Click Continue if you want to skip the configuration for the failed component; you can attempt to fix and problem and configure the component manually post-installation.
If you want to stop the automatic configuration for all components, click Abort.
B.9 Installation Completed
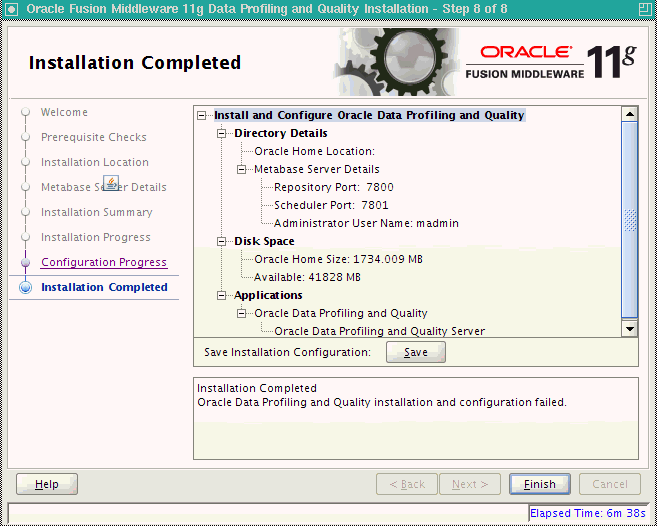
This screen summarizes the installation that was just completed.
If you want to save this configuration to a text file, click Save. This file can be used later if you choose to perform the same installation from the command line.
Click Finish to close the installer.