B Patch Set Assistant Screens
This appendix contains screenshots and descriptions for the Patch Set Assistant screens.
This appendix includes the following topics:
B.1 Welcome
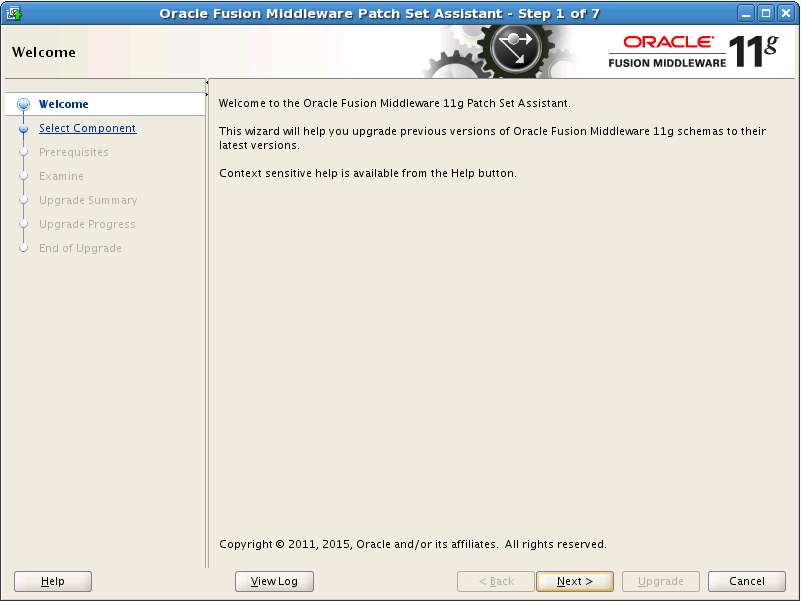
The Welcome screen is displayed each time you start the installer.
You can click View Log at any time during the schema upgrade process to view the log file. A separate window (Log File Viewer) is displayed that contains the messages being written to the log file. The top of the Log File Viewer contains the location and name of the log file. You can click Refresh to see the most recent messages being logged.
B.2 Select Component
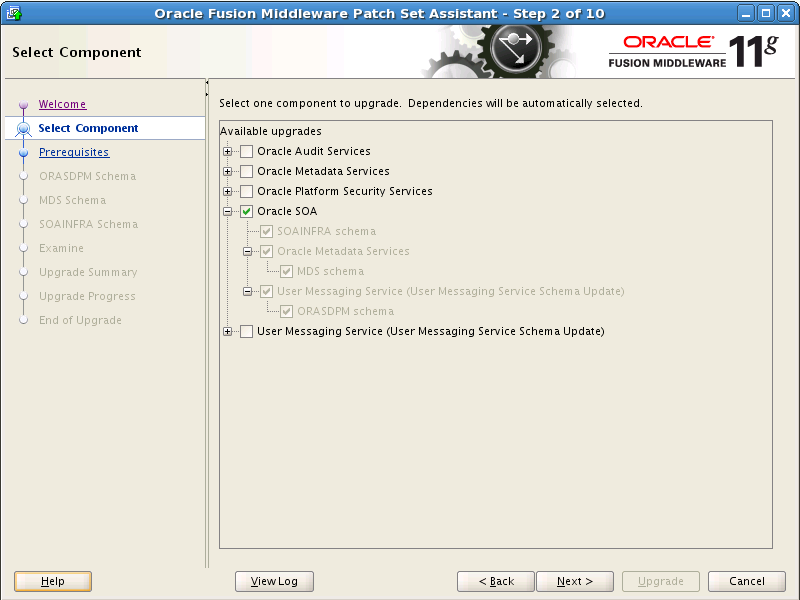
Use this screen to select the component schema you want to upgrade.
The Patch Set Installer lists all components that are found in the Middleware home. For example, if you started the Patch Set Installer from the MW_HOME/oracle_common/bin/psa directory (on UNIX operating systems) or c:\Products\Oracle\Middleware\Oracle_SOA1\bin directory (on Windows operating systems), the Patch Set Installer will list all components found in /home/Oracle/Middleware directory (on UNIX operating systems) or c:\Products\Oracle\Middleware directory (on Windows operating systems).
You can only use Patch Set Assistant to upgrade one top-level component at a time. In the figure above, notice that Oracle SOA is selected, which means Patch Set Assistant would upgrade the SOAINFRA schema as well as the MDS schema, upon which the SOAINFRA schema is dependent. However, the top-level "Oracle Metadata Services" box is not selected even though that schema is going to be upgraded.
If you wanted to upgrade either of the other two top-level schema found in this Middleware home (in this case, "Oracle Audit Services" or "Oracle Platform Security Services") you would have to restart the Patch Set Assistant and select those components separately.
Note:
If you are upgrading from Release 11.1.1.2.0 or 11.1.1.3.0, theprefix_ACTIVITIES schema will not be available in your environment as this schema was not introduced until Release 11.1.1.4.0. Make sure you de-select this schema from the WebCenter Portal component; otherwise the Patch Set Assistant will ask for credentials for this schema.B.3 Prerequisites

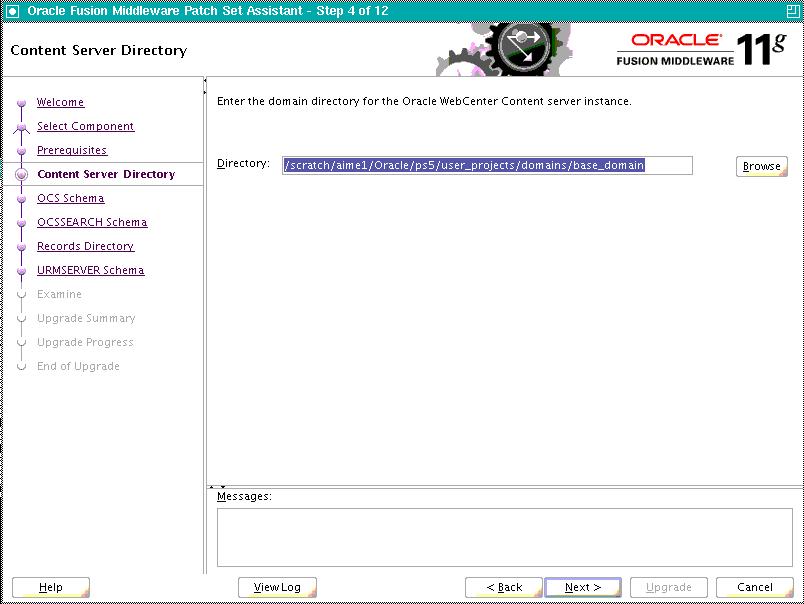
Use this screen to verify that you have satisfied the database prerequisites before you continue. You must check all the boxes acknowledging that all prerequisites for upgrade have been met, or else you will be unable to continue to the next screen. For webcenter content, after the prerequisites screen, a new screen called Content server directory is also present. Specify the domain directory path , where the content server is installed.
Select Database backup completed to verify that you have backed up your database as described in Section 4.4.3, "Back Up Your Database and Database Schemas".
Select Database version is certified by Oracle for Fusion Middleware upgrade to verify that you have read the System Requirements and Supported Platforms for Oracle Fusion Middleware 11gR1 document on the Oracle Fusion Middleware Supported System Configurations page, and that your database is certified for use with Oracle Fusion Middleware.
B.5 Schema Database Credentials
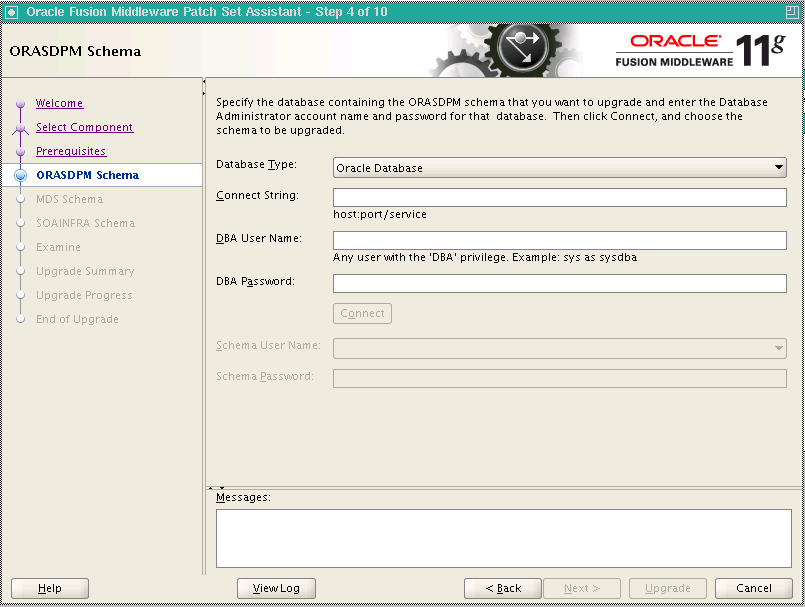
Use this screen to specify database connection credentials and schema information for upgrade. This screen appears once for each component schema that needs to be upgraded; each time after the first time the screen will have all the database credential values filled in for you. If you have schemas on different databases then you will need to alter your database connection information accordingly.
The following table describes the fields on this screen:
| Field | Description |
|---|---|
| Database Type | Select your database type from the drop-down list. Only database types that are valid for the schema are available in this list. The following database types are supported:
In addition, Oracle Data Integrator also supports the following databases:
NOTE: The database type Oracle Database enabled for editions-based redefinition should only be selected when editions created in the EBR database require an upgrade. If this is not the intent, select Oracle Database. |
| Connect String | Specify the connection credentials to your database.
|
| DBA User Name | Specify the user name and role of the database administrator user.
|
| DBA Password | Enter the password for your database administrator user. |
After these values are filled in, click Connect to connect to your database. After the connection succeeds, two additional fields will become active on the screen:
| Field | Description |
|---|---|
| Schema User Name | This drop-down list contains all available product schemas in the database to which you are connected. Select the schema you want to upgrade from the drop-down list.
NOTE: For the Oracle WebCenter Content Server - Complete ( NOTE: If the drop-down list is empty, make sure you have connected to the database as a user with the required privileges. |
| Schema Password | Specify the password for the selected schema. |
B.6 Records Directory (WebCenter Content Only)
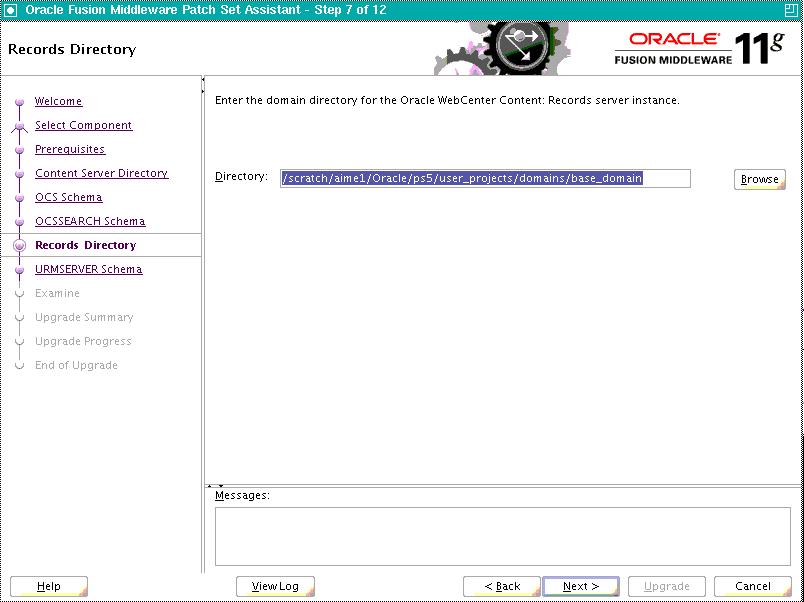
Description of the illustration ''seven.gif''
In this screen, specify the complete path to your domain directory.
B.7 Examine
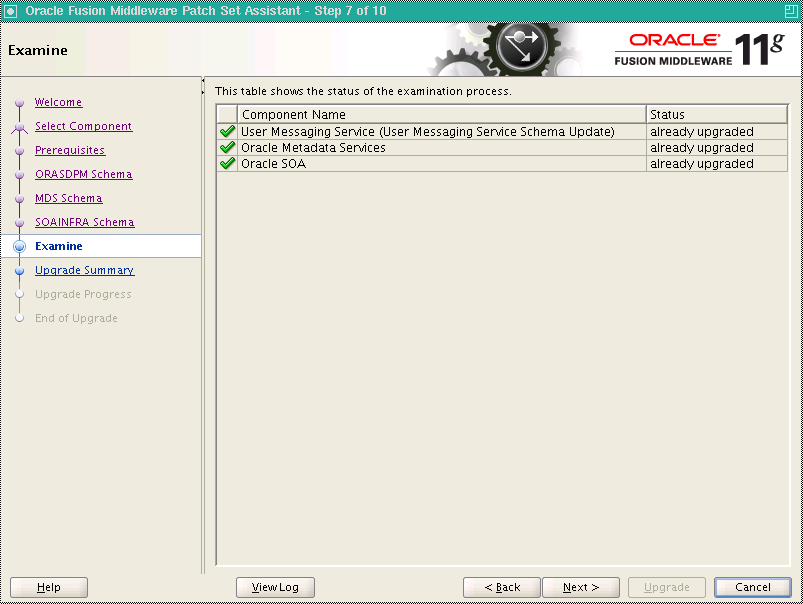
This page displays the status of each component schema for upgrade. The meaning of the status indicators for the components is listed in the following table.
| Status | Description |
|---|---|
| in progress | The Patch Set Assistant is examining whether or not the schema can be upgraded. |
| pending | The schema will be examined when the Patch Set Assistant is finished examining the preceding component. |
| already upgraded | The schema was previously successfully upgraded with the Patch Set Assistant or was created with the latest version of the Repository Creation Utility (RCU). No action will be taken on this schema. |
| failed | The schema can not be upgraded. |
| skipped | The examination of this schema was skipped. This is caused when the examination of a dependent schema fails. |
| succeeded | The examination of the schema was successful and the schema is ready to be upgraded. |
B.8 Upgrade Summary
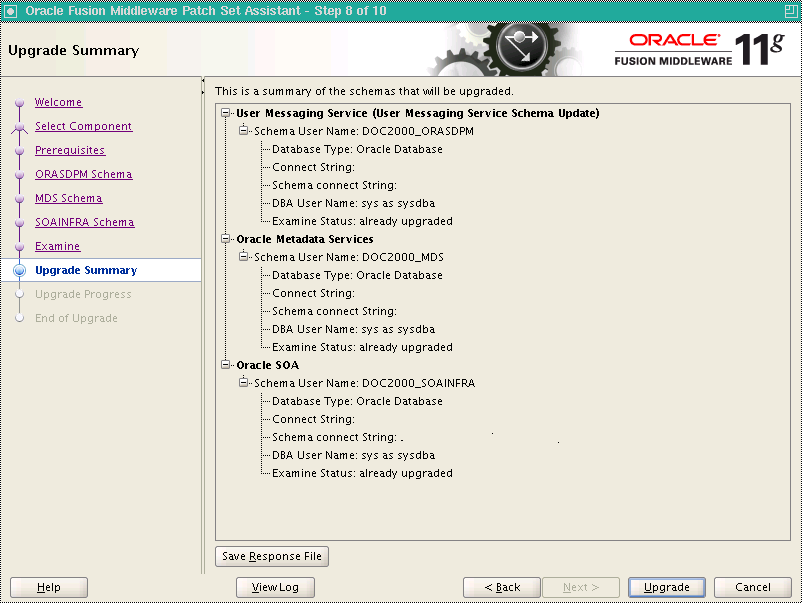
Use this page to review a summary of the options you have selected and to start the upgrade process.
Click Save Response File to save this upgrade information to a response file. This file can be used later of you want to run the Patch Set Assistant from the command line. For more information, see Section 4.5.2, "Using the Patch Set Installer from the Command Line"
B.9 Upgrade Progress
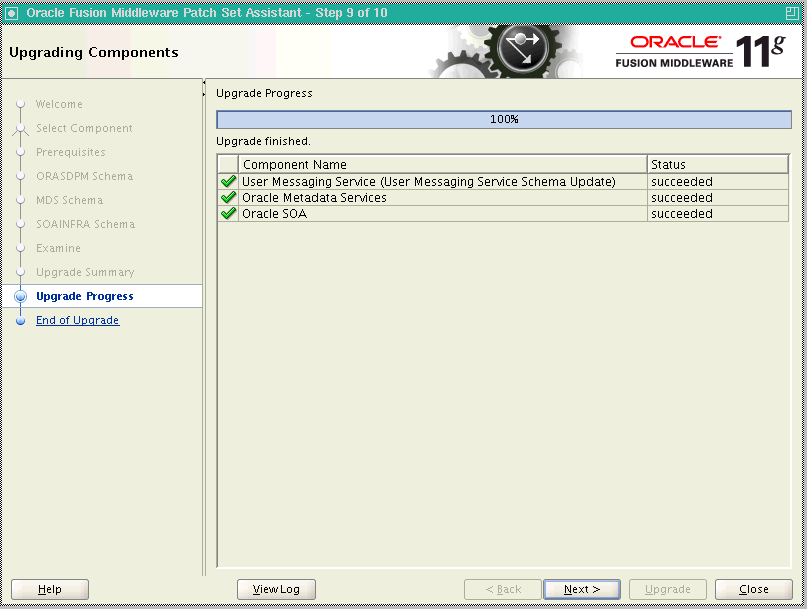
This screen shows you the progress of your schema upgrade. The "Upgrade Progress" bar moves from 0% at the beginning to 100% when the upgrade is complete.
B.10 Upgrade Success
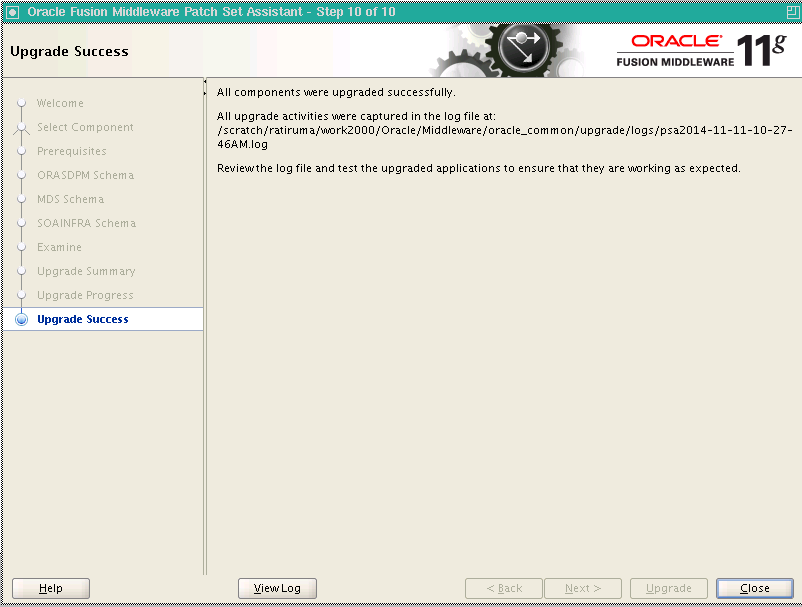
This screen indicates that the upgrade was successful.
Be sure to view the log file located in the MW_HOME/oracle_common/upgrade/logs (on UNIX operating systems) or MW_HOME\oracle_common\upgrade\logs (on Windows operating systems) directory for details about the upgrade. (The exact directory path will be shown on your screen.) You can view the log file with any text editor, or you can click the View Log button.