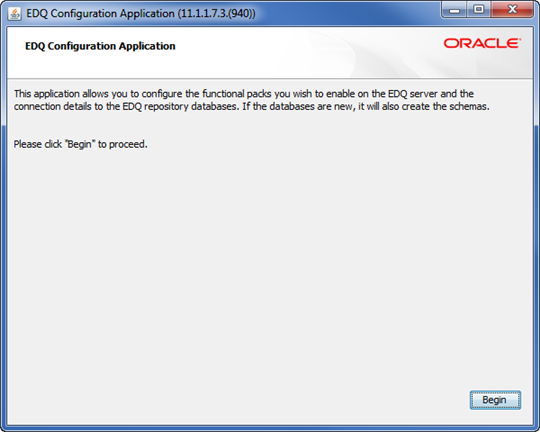
A Installation Screens
This appendix contains screenshots and descriptions for all of the EDQ configuration and installation screens.
This chapter contains the following sections:
A.1 RCU Screens
This section contains screenshots and descriptions for all of the EDQ RCU screens.
A.1.1 Welcome
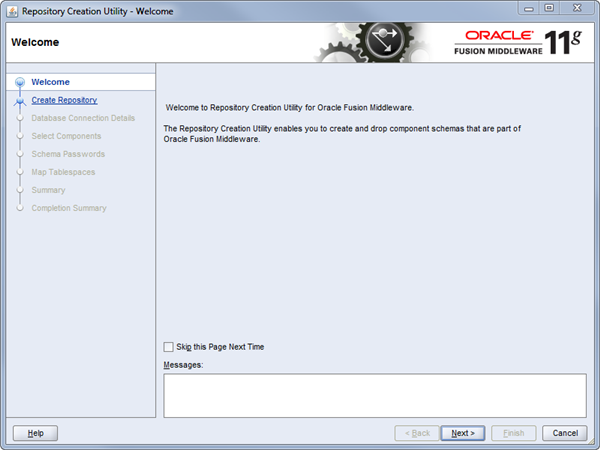
The Welcome screen is displayed each time you start the installer. You can skip this screen in future by selecting the Skip this Page Next Time check box.
A.1.2 Create Repository
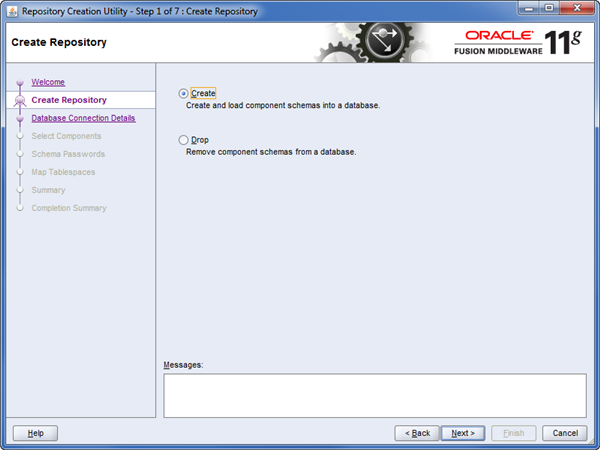
Specify to create a new schema or drop a schema in your database.
A.1.3 Database Connection Details
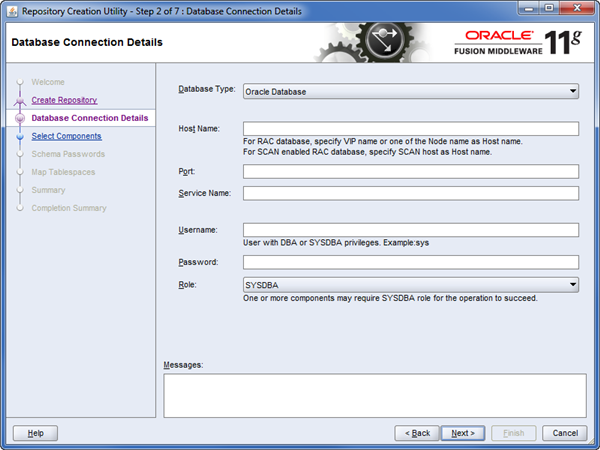
Specify the details to connect to your Oracle database.
A.1.4 Checking Global Prerequisites
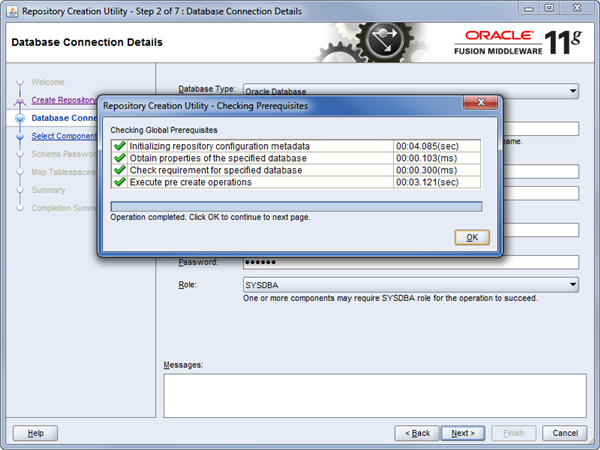
Review the prerequisites that were verified.
A.1.5 Select Components
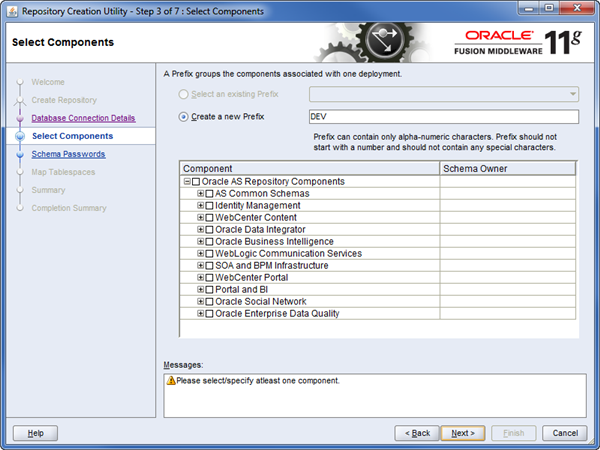
Specify which EDQ components you want to install by selecting or clearing the Oracle Enterprise Data Quality check boxes.
A.1.6 Checking Component Prerequisites
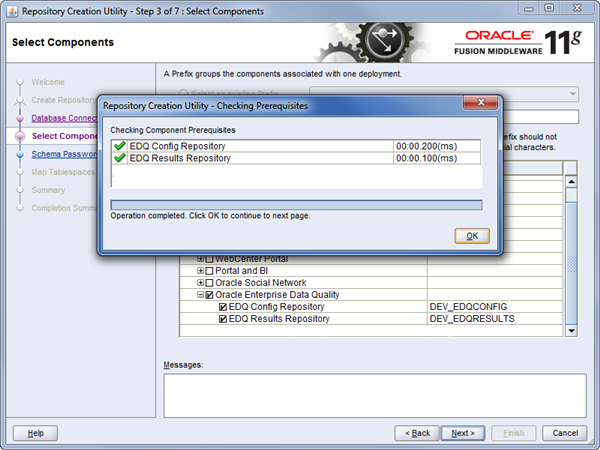
Review the repository prerequisites that were verified.
A.1.7 Schema Passwords
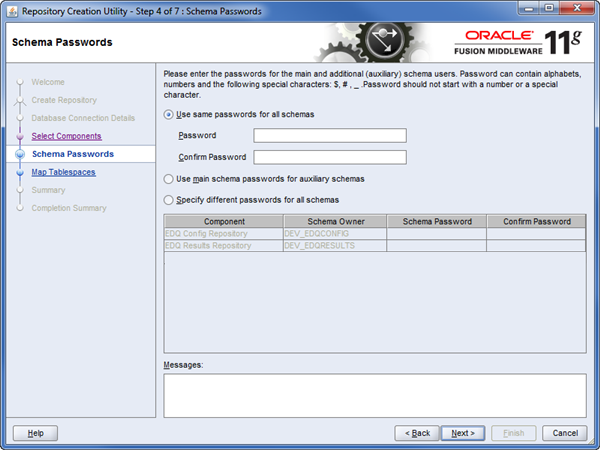
Specify the passwords to use for all of the schemas in your database using the default option.
A.1.8 Map Tablespaces
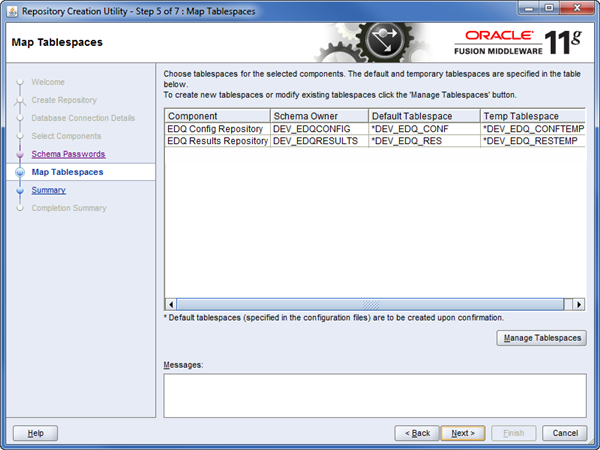
This screen allows you to create tablespaces or modify existing tablespaces; the EDQ default tablespaces are automatically specified.
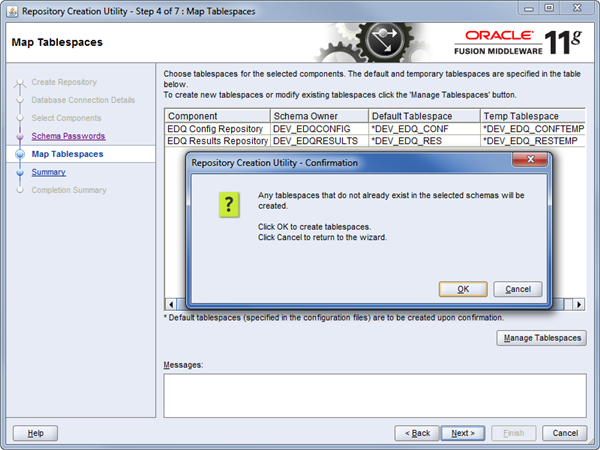
Review the tablespace confirmation.
A.1.9 Summary
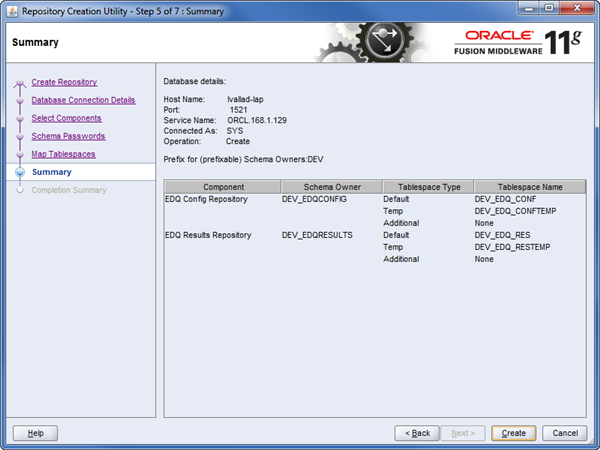
This screen displays your database details and schemas for you to review prior to creating the new EDQ schemas.
A.1.10 Completion Summary

This screen displays your database details and new EDQ schemas status with the location of the creation log files.
A.1.11 Completion
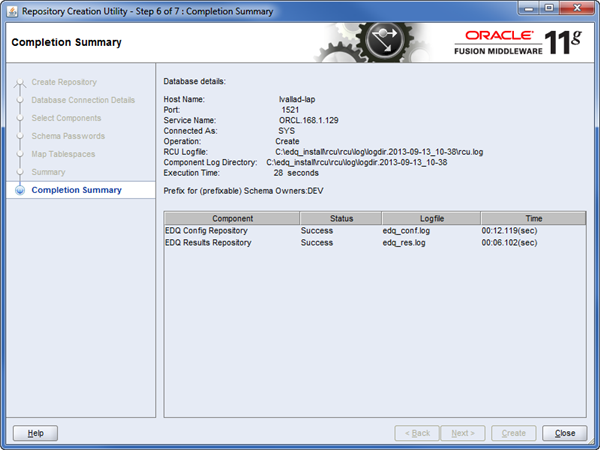
This screen displays the completion details.
A.2 OUI Installation Screens
This section contains screenshots and descriptions for all of the EDQ installation screens.
A.2.1 Welcome
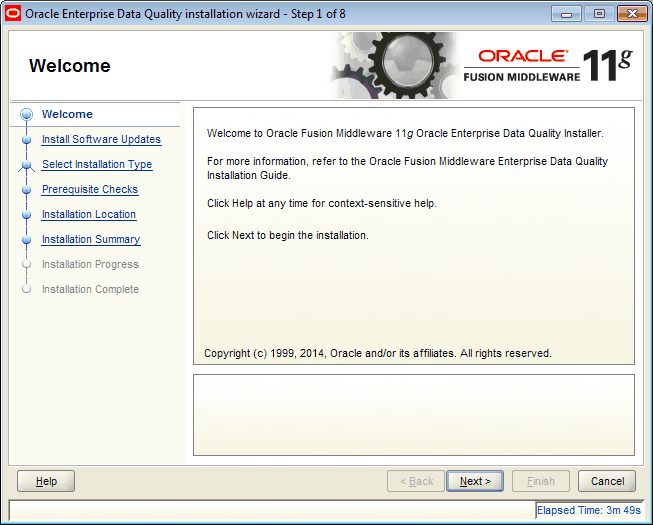
The Welcome screen is displayed each time you start the installer.
A.2.2 Install Software Updates
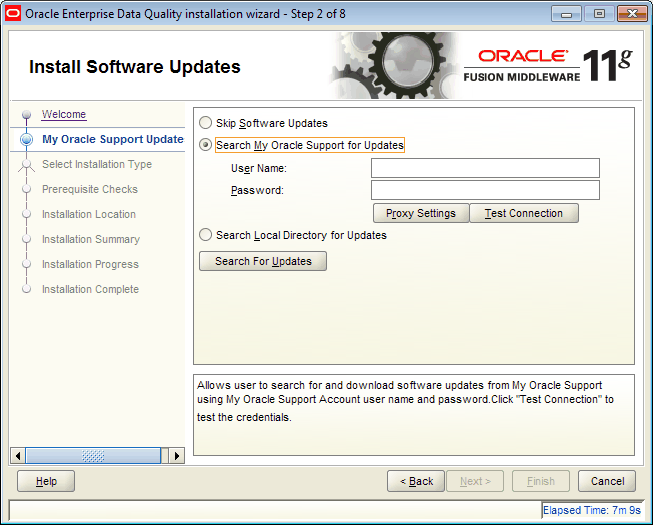
This screen helps to quickly and easily search for the latest software updates, including important security updates, using your My Oracle Support account.
A.2.3 Select Installation Type
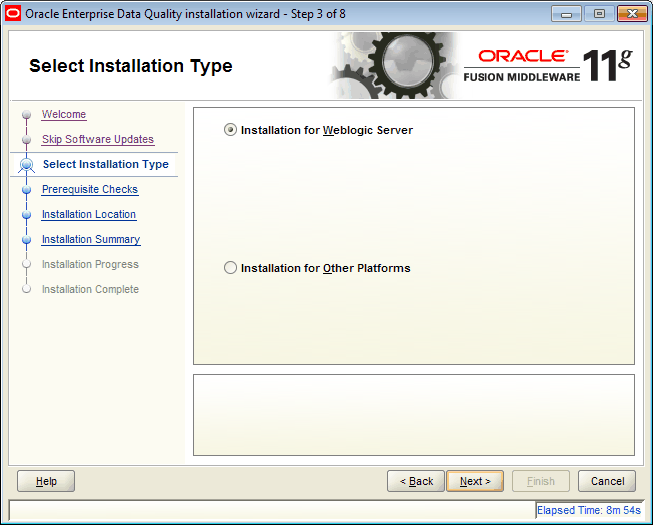
Use the default Installation for WebLogic Server if this is your installed application server or select Installation for Other Platforms if your application server is Tomcat or WebSphere.
A.2.4 Prerequisite Checks
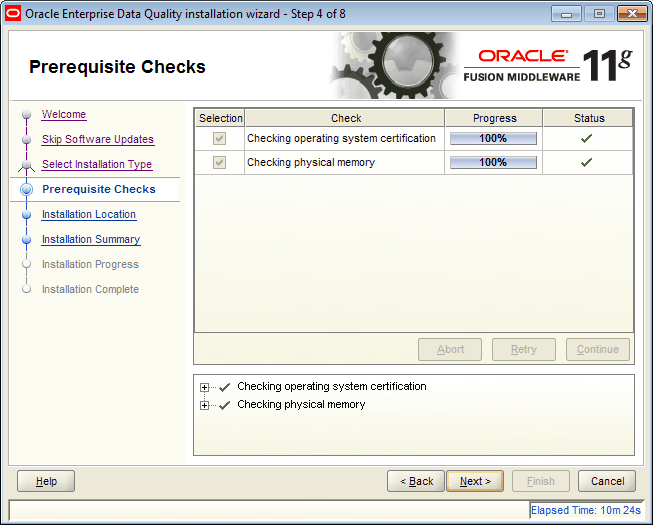
This screen displays a tree view of the operating system and physical memory checks and the status for each.
A.2.5 Installation Location
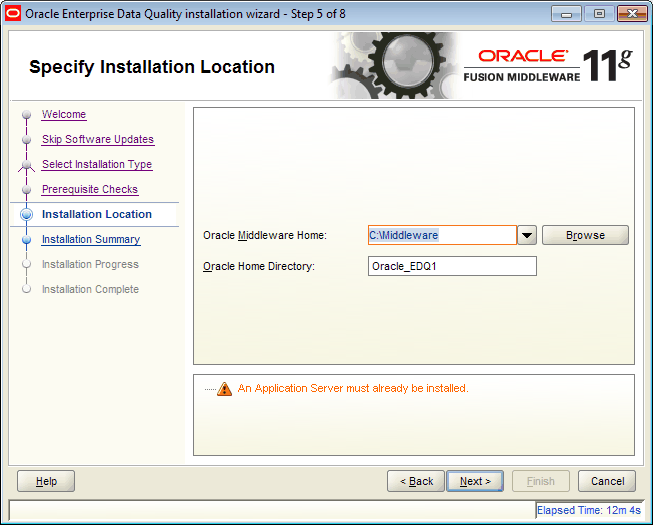
Specify the MW_HOME directory and the EDQ home directory. You must already have a Middleware home directory on your system, see Section 2.1.1, "Choosing a Fusion Middleware Home Directory" and Section 2.1.2, "Choosing the EDQ Installation Directory."
A.2.6 Installation Summary
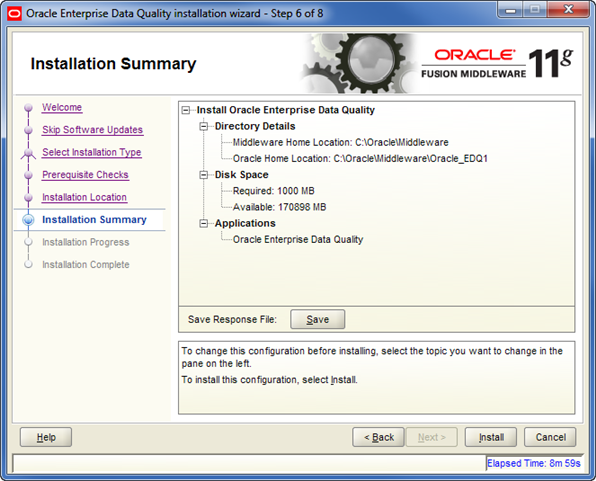
This screen displays a list of directory details, disk space (required and available), and the product components to be installed.
A.2.7 Installation Progress
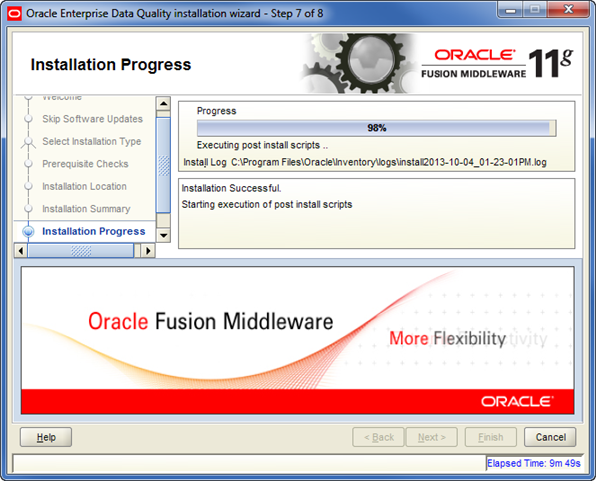
This screen shows the progress of the installation. When the progress bar reaches 100%, the installation is complete.
A.2.8 Installation Complete
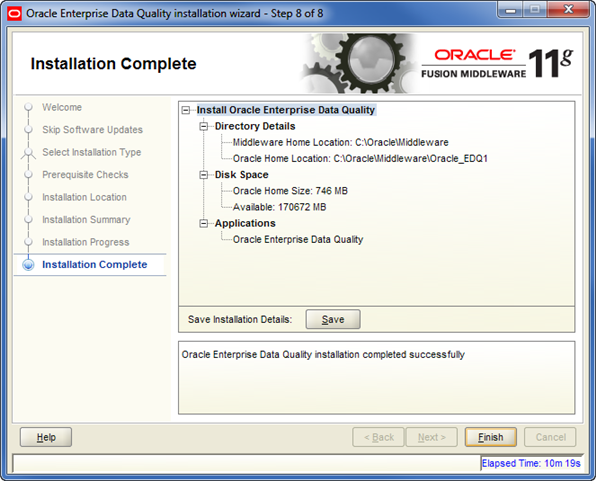
This screen shows the results of the completed installation. You can click Save to save the displayed details to a text file.
A.3 WebLogic Configuration Wizard Screens
This section contains screenshots and descriptions for all of the WebLogic Configuration Wizard screens.
A.3.1 Configuration Wizard Welcome
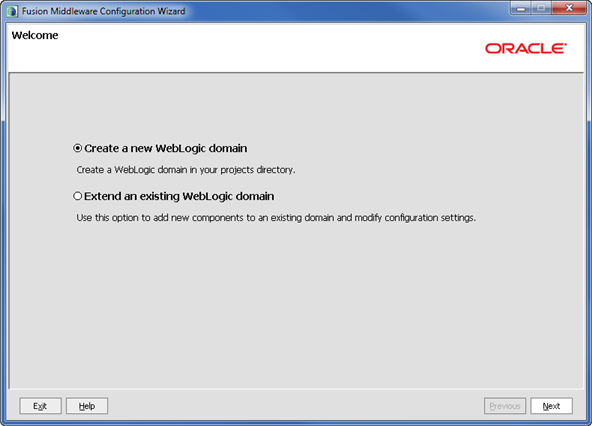
The Welcome screen is displayed each time you start the configuration wizard.
A.3.2 Select Domain Source
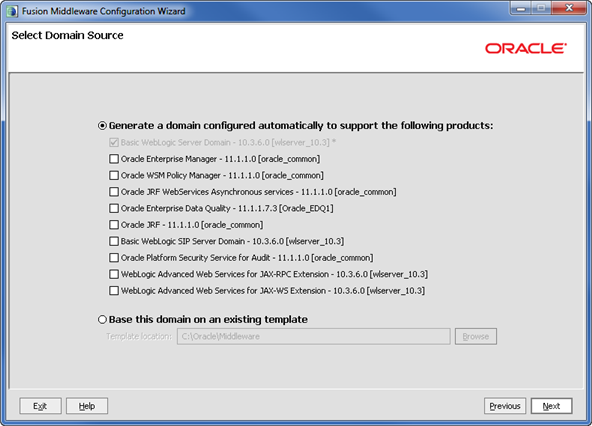
By default, the Basic WebLogic Server Domain - 10.3.6.0 [wlserver_10_3] option is always selected.
Select Oracle Enterprise Data Quality -11.1.1.9.# [Oracle_EDQ1] check box. The Oracle JRF - 11.1.1.0 [oracle_common] check box is automatically selected.
A.3.3 Specify Domain Name and Location
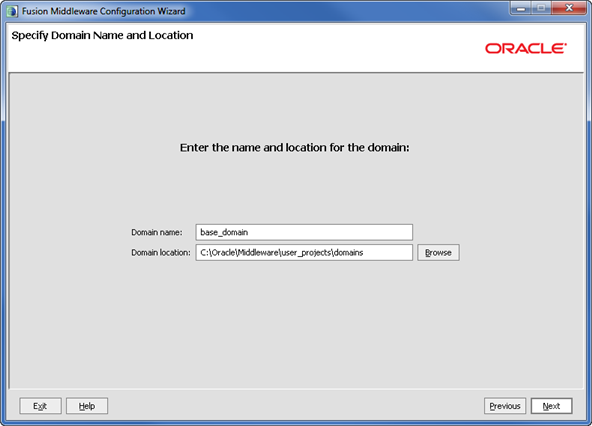
Specify your domain name and location. Oracle recommends that you use edqdomain as your domain name.
A.3.4 Configure Administrator User Name and Password
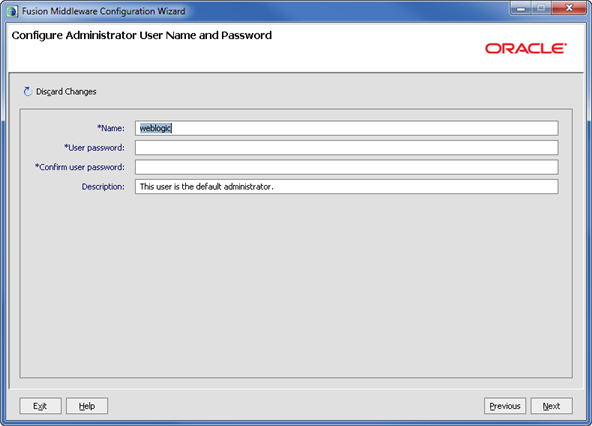
Specify your WebLogic administration user credentials.
A.3.5 Configure Server Start Mode and JDK
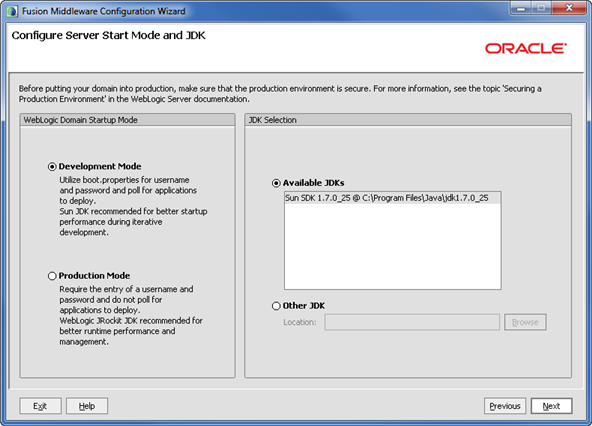
Select the Development Mode for your domain startup operation mode and the JDK release you want to use. Oracle recommends that you use the most current 64-bit JDK.
A.3.6 Configure JDBC Data Sources
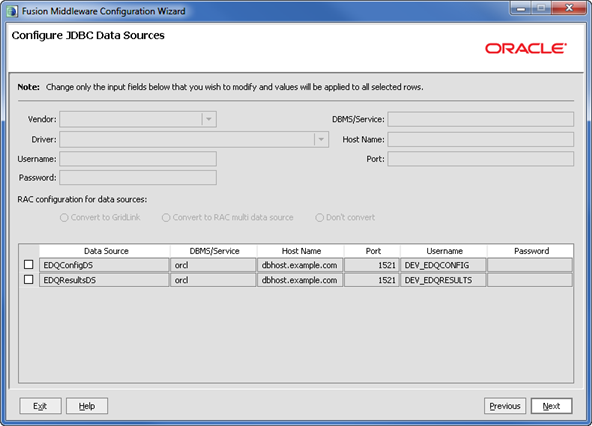
Specify the JDBC data source details.
A.3.7 Test JDBC Data Sources
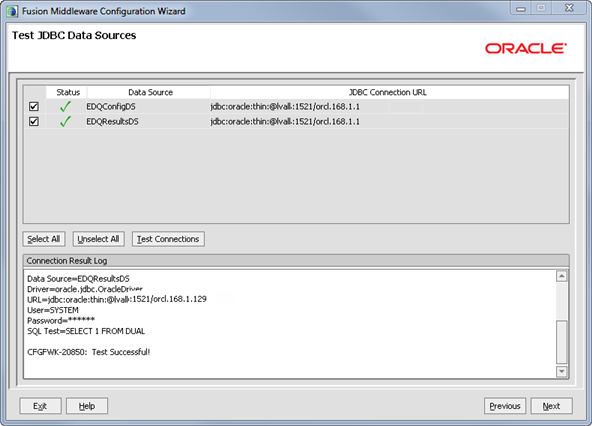
Select the JDBC data sources you want to test, then click Test Connections. If your data sources fail, use the Previous button to return to the previous screen to correct the configuration.
A.3.8 Select Optional Configuration
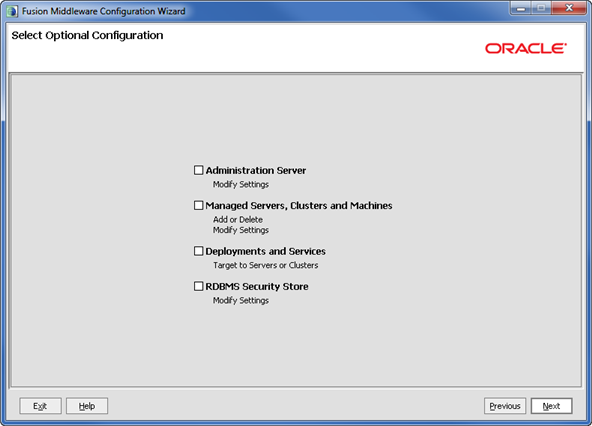
No selections are necessary though Oracle recommends the use of Managed Servers, Clusters, and Machines and Deployments and Services.
A.4 EDQ Configuration Application Screens
This section contains screenshots and descriptions for all of the EDQ Configuration Application screens.
A.4.2 Configuration Directory
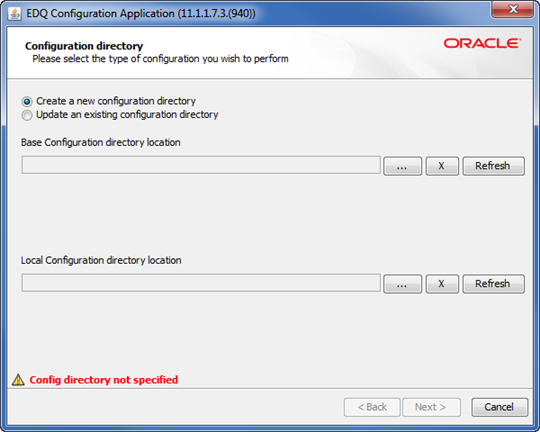
Specify a directory to store your EDQ configuration files.
A.4.3 Functional Packs
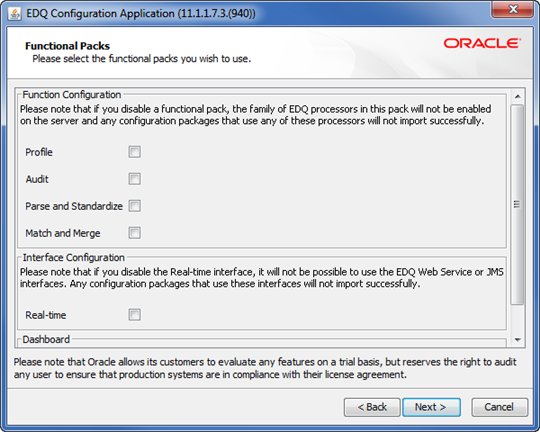
Select the Function and Interface configurations using the check boxes.
A.4.4 Configure Config Repository Database
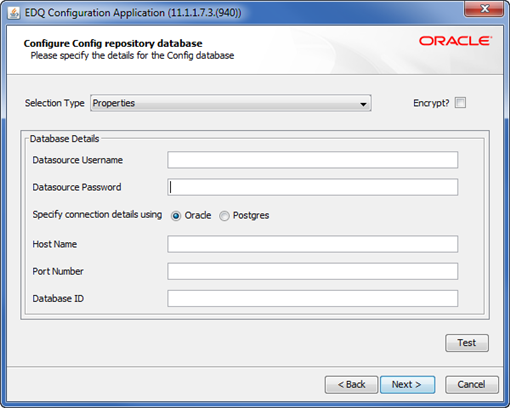
Specify your Config database repository details.
A.4.5 Configure Results Repository Database
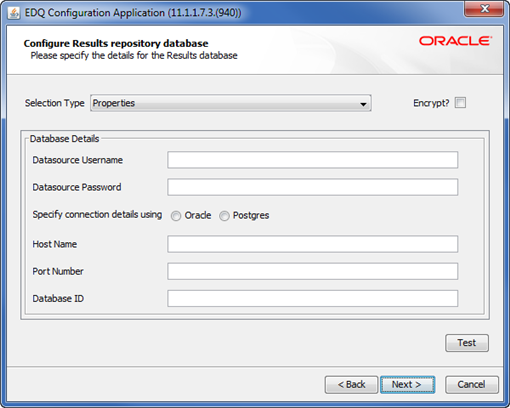
Specify your Results database repository details.
A.4.6 Selected Options
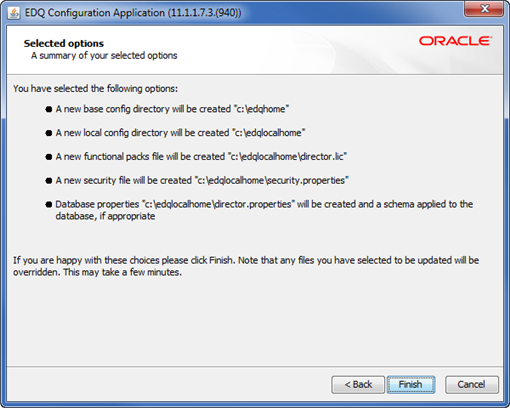
This screen shows you a summary of your selections.
A.4.7 EDQ Configuration Application Completion
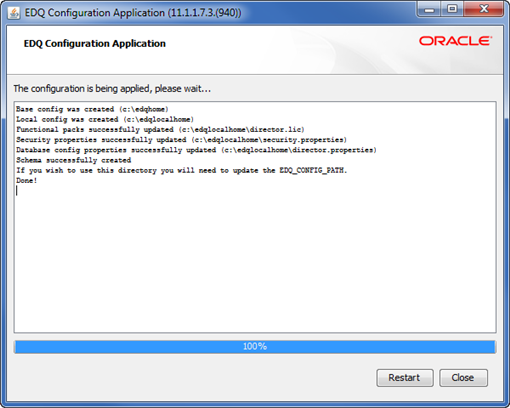
Select Restart or Close to exit the configuration application.
