5 Making the Custom Adapter Available in Oracle JDeveloper
This chapter discusses how to make the custom adapter that is developed available in Oracle JDeveloper.
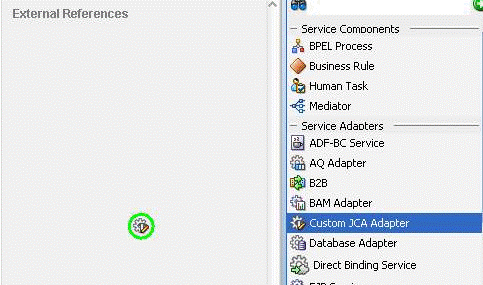
When the Oracle SOA Suite is installed, the Custom Adapter is not available by default in the current release. To make the Custom Adapter available in JDeveloper:
The <JDEV_HOME>\jdeveloper\integration\seed\ soa\configuration\customAdapter-config.xml file contains detailed options, including connection-factory location, interaction-spec className, activation-spec className, and properties.
The properties provided in the file under an activation-spec are the properties for an inbound adapter.
Similarly. the properties provided in the file under an interaction-spec are the properties for an outbound adapter.
The property values are the default values shown by the Custom Adapter.
Users must modify the contents of customAdapter-config.xml to match the options needed by their Custom Adapter. For example, users can change all property names and their default values, add new properties, or even add multiple activation or interaction specs.
The displayResourceKey and resourceBundle attributes are optional. If an activation-spec, interaction-spec, or property element has a displayResourceKey, the attribute value is used as a key to retrieve displayable text from a resource bundle.
If a resource bundle is not available or the key is not found in the bundle, the key itself is used as the displayable text (as the key is not required to have a resource bundle).
However, you can use a resource bundle used by placing the resourceBundle attribute on the connection-factory element.
The contents of the sample customAdapter-config.xml file used in the screenshots below are.
<adapter-config
   xmlns="http://platform.integration.oracle/blocks/adapter/fw/metadata">
   <connection-factory location="eis/Custom/CustomAdapter"
      resourceBundle="oracle.tip.tools.ide.pm.modules.bizintegration.adapter.
      custom.resource.CustomStringResourceBundle"/>
<endpoint-interaction >
    <interaction-spec
       className="oracle.tip.adapter.custom.outbound.CustomInteractionSpec"
        displayResourceKey="CustomInteractionSpec" >
         <property name="PropX" value="x" displayResourceKey="SAMP_PROP_X" />
         <property name="PropY" value="y" displayResourceKey="Sample Property Y"/>
         <property name="Append" value="false"/>
         <property name="NumberMessages" value="1"/>
    </interaction-spec>
</endpoint-interaction>
 <endpoint-interaction >
    <activation-spec
      className="oracle.tip.adapter.custom.inbound.CustomActivationSpec"
        displayResourceKey="CustomActivationSpec">
           <property name="UseHeaders" value="false"/>
           <property name="PhysicalDirectory" value="x"/>
           <property name="Recursive" value="true"/>
           <property name="DeleteFile" value="true"/>
           <property name="IncludeFiles" value="x"/>
           <property name="PollingFrequency" value="60"/>
           <property name="MinimumAge" value="0"/>
   </activation-spec>
 </endpoint-activation>
</adapter-config>
