This procedure describes the process of exporting an XLIFF file from the catalog, importing the translated file back to the catalog, and testing the translation.
Importing and exporting XLIFF files can only be performed by an Administrator.
To import and export an XLIFF file:
- Select the folder in the catalog, click the Translation toolbar button, and then click Export XLIFF.
- Save the XLIFF file to a local directory.
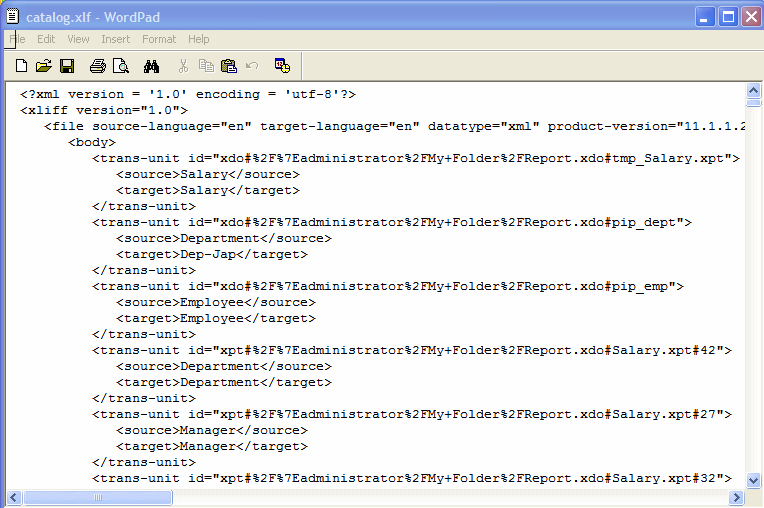
- Open the Translation file (catalog.xlf) and apply translations to the Boilerplate text, as shown in the following figure.
See What Is an XLIFF? in Report Designer's Guide for Oracle Business Intelligence Publisher for details on how to translate an XLIFF file.
- After the file is translated, upload the XLIFF file to the BI Publisher server: Click the Translation toolbar button, then click Import XLIFF. Upload the translated XLIFF to the server.
- To test the translation, select My Account from Signed In As in the global header.
- On the General tab of the My Account dialog, change the Report Locale and the UI Language preferences to the appropriate language and click OK.
- View the objects in the translated folder.
