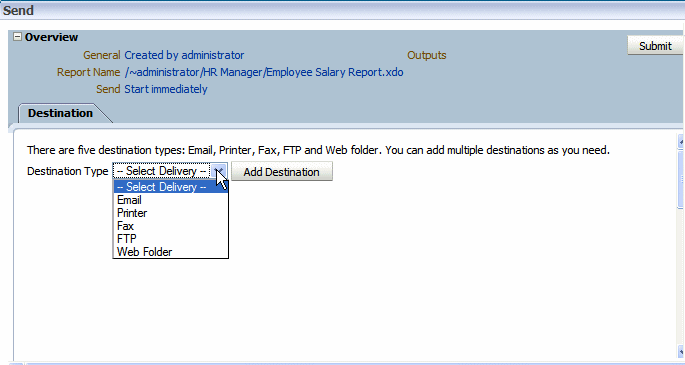
Sending an Output to a New Destination
Follow these steps to send an output to a new destination. For the output to be available from the history table, the Save Output option must be enabled when the job is created.
For more information on setting this option, see Setting Output Options.
Note:
The send functionality does not create any history nor does it save the delivery status. It simply sends the output to the destination selected.
