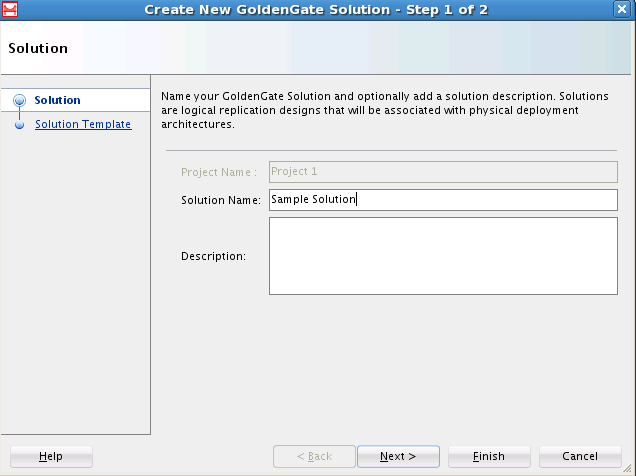
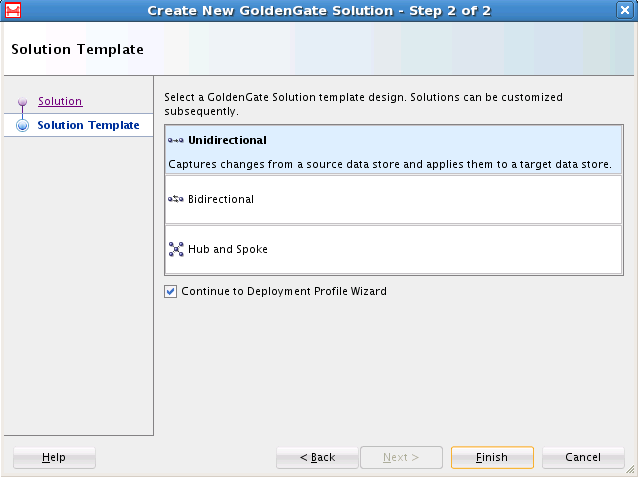
3.2 Understanding Solutions
Solutions represent the replication patterns supported by Oracle GoldenGate and are contained in a project. The concept of replication paths and mapping groups are all part of the logical definition of a solution. Once the logical design is in place, you can create multiple deployment profiles each with its own deployment template to match the physical elements of your replication environments. A single Oracle GoldenGate project can have multiple solutions.
One solution and its table mapping groups can be deployed to any number of physical locations.
A typical solution contains:
-
Deployment Profiles: Describes the deployment architectural template, physical resources and additional deployment options.
-
Mapping Groups: A collection of source and target table mappings and associated replication logic such as filtering and conflict detection rules. Table must be drag-and-dropped from the Resources Navigator to the Mapping Editor. Then, source and target table mapping associations can be automatically generated using Automap or created by drag-and-drop from source to target and target to source. Additionally, wildcard characters (*) can be used in the mappings at the schema and table level. For Oracle multitenant support you must edit the schema name manually to include the database name.
Readily available solution templates are available in Oracle GoldenGate Studio and they greatly reduce the time required to create and deploy a solution.

