Extracting Data into Universal Content Management using Oracle BI Cloud Connector Console

You can extract data from your cloud source into the Universal Content Management (UCM) server using the Oracle BI Cloud Connector Console (BICCC).

Use the Oracle BI Cloud Connector Console URL provided to you in the SR that you logged to deploy Oracle BI Cloud Connector Console and the login details of the applicable user to log into this console. See Create a Service Request to Deploy Fusion Applications Cloud Source System Data, Provision a User For Export and Import of BI Data from Fusion HCM, Provision a User for Oracle Business Intelligence Cloud Connector Access

You can also start Oracle BI Cloud Connector Console using a HTTP URL based on the following format: http://<FA OHS Host>:<FA OHS Port>/biacm

To extract data from a cloud source to UCM:

Note:

Oracle BI Applications on-premises users must extract data to UCM.
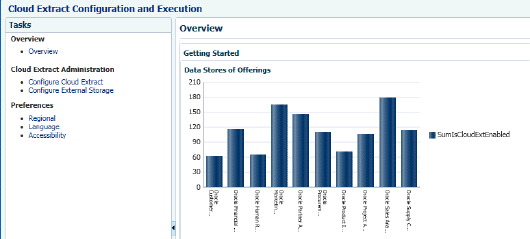
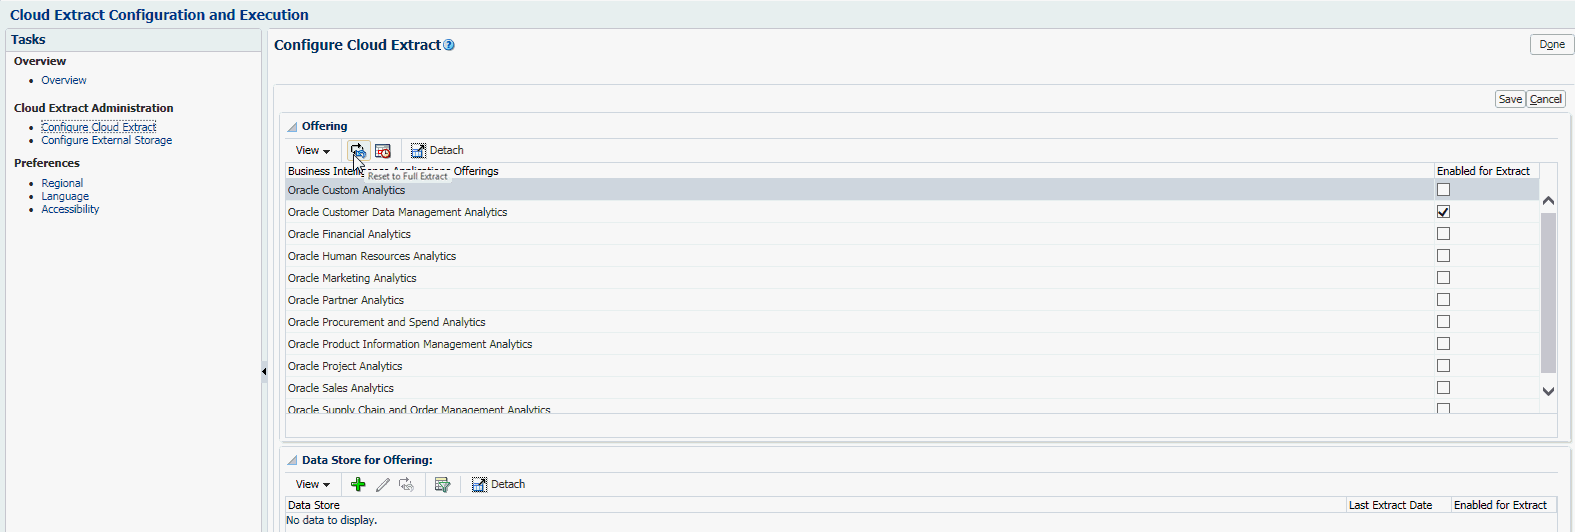
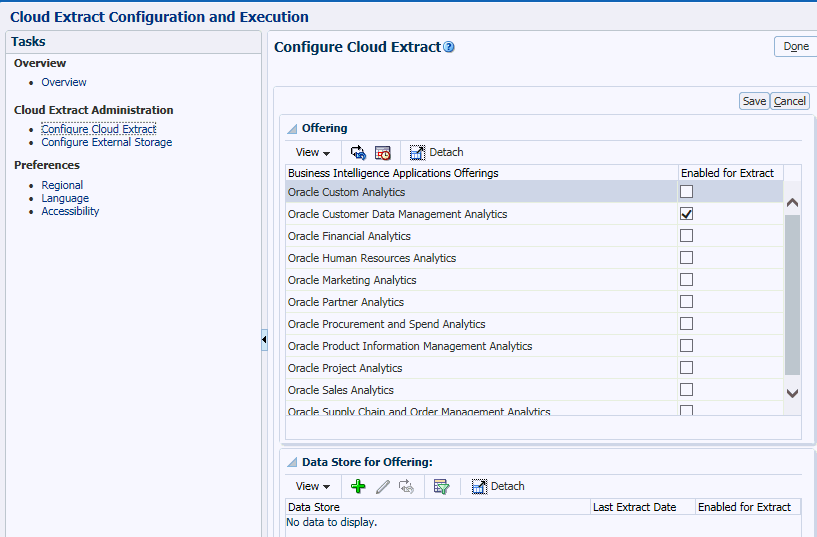
  1. From the landing page, select the Configure Cloud Extract link on the Tasks bar.
  2. In the list of Offerings, select the check box next to the Cloud source system functional areas that you want to deploy.
  3. Click Save, then Done
  4. To reset the last extract date so that a full data load is performed at the next load for the selected Offering, instead of an incremental load, click Reset to Full Extract icon in the tool bar and click OK when the application displays the warning message. You typically use this option if your business requirements have changed or if fact data has been corrupted. You can reset to full extract at offering and VO level.

    Note:

    You set up a Scheduled Load Plan in Oracle BI Applications Configuration Manager (BIACM) to extract from UCM server into Oracle Business Analytics Warehouse. To reset the extraction on Oracle Business Analytics Warehouse, use the BIACM option: Manage Load Plans\Execute\Execute Reset Data Warehouse Scenario. See Manage Load Plans Toolbar Options in Oracle Business Intelligence Applications ETL Guide.
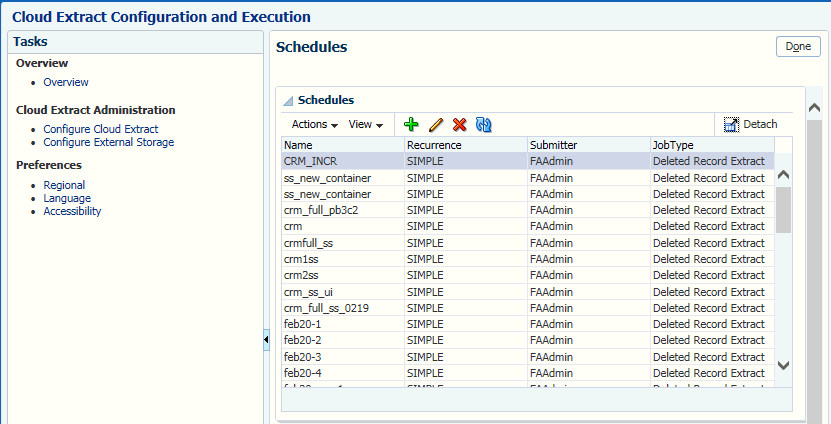
  5. To schedule the extract, click the Schedule icon in the tool bar.
  6. Click the + icon to create a new schedule.
  7. Specify when you want to perform the cloud extract.
  8. Click Schedule, then Done.
  9. Click the Configure External Storage link on the Tasks bar.
  10. Select UCM as the storage type.
  11. View the configuration information displayed on this page and click Save, then Done.