

|
|
|
|
|
|
Working with Properties
The following topics are covered here:
Adding Properties within a Property Set
Reminder about the WebLogic Server SP1
Creating a property within the MyBuyBeansApp property set
Adding a beanie point default value to the MyBuyBeans property set
Adding Properties within a Property Set
This chapter describes how to add a property to a property set by creating a property and by adding a default value.
Reminder about the WebLogic Server SP1
Before you start WebLogic Commerce Server and use the demonstration software described in this document, you must add three WebLogic Server 5.1 Service Pack 1 (SP1) files to your classpaths. The files are either included in the installed WebLogic Commerce Server directory, or you can download them from the BEA Download site. The SP1 JAR files are:
If you do not see these files in a WebLogic Commerce Server software directory, please go to the following Web address: http://www.bea.com/download.html and follow the links to the WebLogic Server download page.
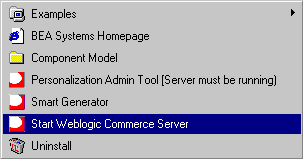
Get Started!
Now that you have installed WebLogic Server 5.1 with SP1 and WebLogic Commerce Server, it's time to get started with the demonstration software.
Creating a property within the MyBuyBeansApp property set
In this section, we add a property to the existing MyBuyBeansApp property set, used to track customer bonus points.
Note: The default port is 7601. Refer to the configuration section of the installation guide for more information about setting the ListenPort in the weblogic.properties file.
Note: Remember that the pages will most likely take longer to load because this is the first time they've been accessed and the system has to compile the page source code. You can see this process in the output displayed in the console. Once a page is compiled, it loads much faster when you access it.
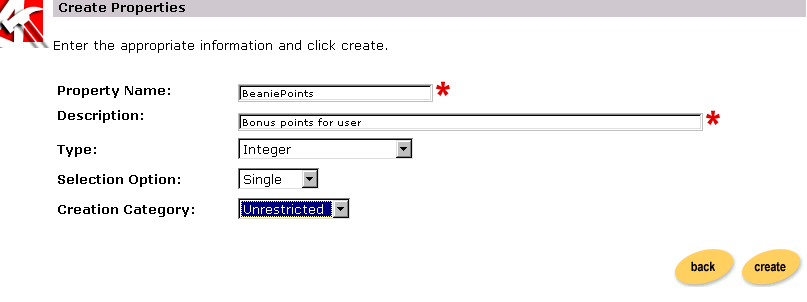
Note: The single option refers to those properties having only one option (e.g., Property: Color, Attribute: red). The multiple option refers to those properties having multiple options (e.g., Property: Color, Attributes: red, green, blue, etc.).
Note: Restricted categories refer to user input via a list, radio buttons, check boxes, etc. Unrestricted categories refer instances in which users populate a form field.
Note: You might need to reload or refresh your browser display to see the BeaniePoints property.
Adding a beanie point default value to the MyBuyBeans property set
Now we'll add a default value so the application will always find a value.


|

|

|
|
|
|
Copyright © 2000 BEA Systems, Inc. All rights reserved.
|