 Read more...
The application to build reflects the Model-View-Controller architecture. The model is provided by EJB Components, while the view and controller are provided by JavaServer Faces.You use the ADF Faces set of JSF-compatible components to build a richer web interface.
 Read more...
JDeveloper includes step-by-step wizards for creating EJB projects, entities, persistence units, session beans, and message-driven beans. You can build entities from online or offline database definitions and from application server data source connections. There is also seamless integration with JPA and TopLink technology to provide a complete persistence package.
-
Download the FOD schema zip file from OTN or right click the following link and choose Save Link As... from context to download the fod_11.zip file on a local directory of your choice.
-
Unzip the fod_11.zip file on a local directory of your choice (i.e. temp)
-
Start JDeveloper by selecting Start > All Programs > Oracle Fusion Middleware 11.1.2 > JDeveloper Studio 11.1.2
-
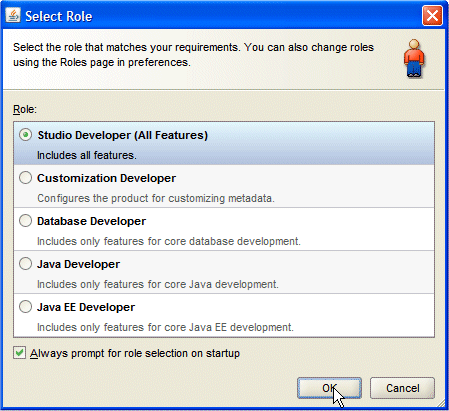
If prompted for a Role, choose Studio Developer (All Features) and click OK.
Close the Tip of the Day window.
Once loaded, the JDeveloper IDE appears. Read more...
The very first time you open JDeveloper, the Start Page displays. You can re-invoke the Start Page later by choosing Help | Start Page.
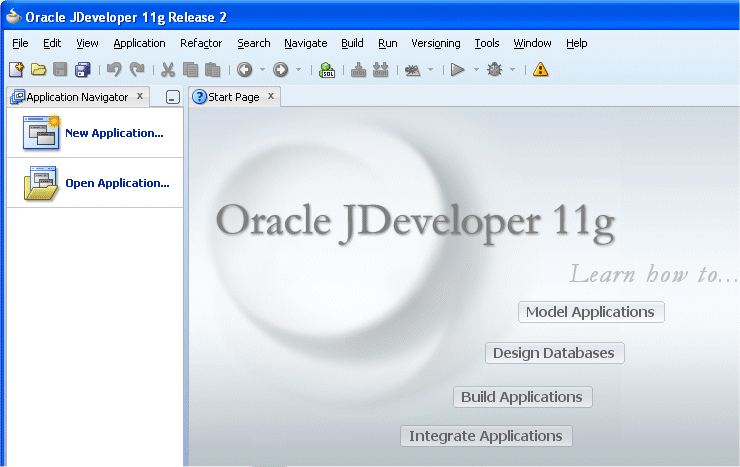
Notice the various options available to help you learn about JDeveloper. After exploring these options, click the X on the Start Page tab to close it. (the X appears when you mouse over the tab).-
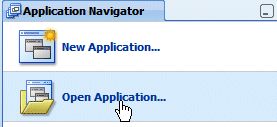
Click the Open Application link (or from the tool menu, choose File | Open).
-
Locate the workspace infrastructure.jws where you've unzipped the fod_11.zip file. i.e.: d:\temp\FOD_11\Infrastructure.
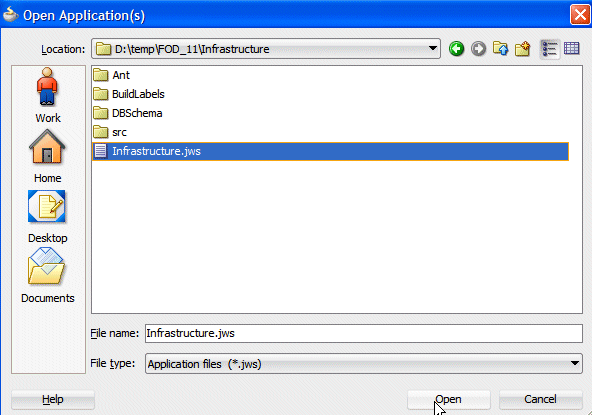
Click Open. If you are prompted to migrate the project, follow the steps of the migration wizard to proceed.
Migrating a project. Read more...
In case you open a workspace that was saved with a previous JDeveloper release, JDeveloper needs to migrate it to the latest versions. Accept the migration for the projects by clicking Next on the Migration wizard.

Click Finish to proceed.
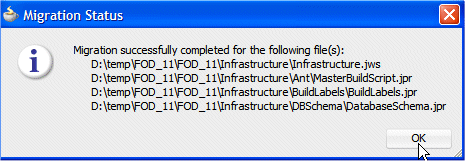
Click OK to dismiss the Migration Status information window. -
In the Application Navigator, expand the MasterBuildScript | Resources nodes and double-click build.properties to open it in the editor.

-
Set the appropriate values in the build.properties file (jdeveloper.home, and all the jdbc.* and db.* settings). The relevant settings are:
Parameter name Value middleware.home Set the middleware.home variable to the directory where you installed JDeveloper i.e. C:/oracle/middleware jdbc.urlBase Base URI for your database, i.e., jdbc:oracle:thin:@localhost jdbc.port Port number for your database, i.e. , 1521 jdbc.sid Database instance name, i.e. ,XE or ORCL db.adminUser Database user with admin privileges, i.e., system. db.demoUser Name of database user and schema to be created, i.e. , fod db.demoUser.password Password for database user to be created, i.e., fusion db.demoUser.tablespace Name of the user tablespace, i.e., USERS db.demoUser.tempTablespace Name of the temporary tablespace, i.e., TEMP 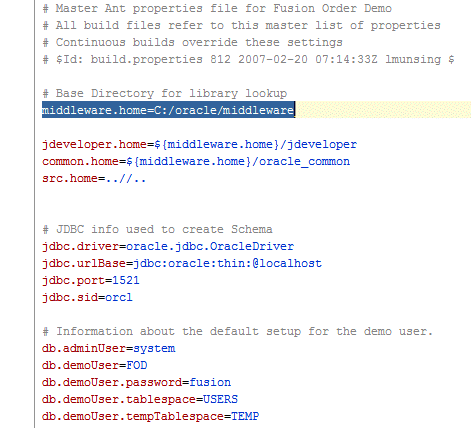
-
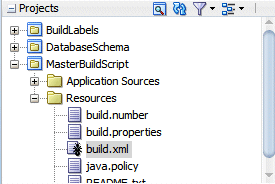
In the MasterBuildScript project, select the build.xml file.
-
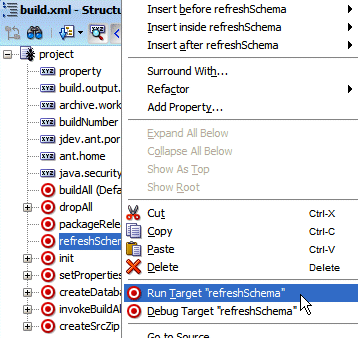
In the Structure window, right-click the refreshSchema target and choose Run Target "refreshSchema".
-
When prompted enter the database system user password.

Click Continue.
-
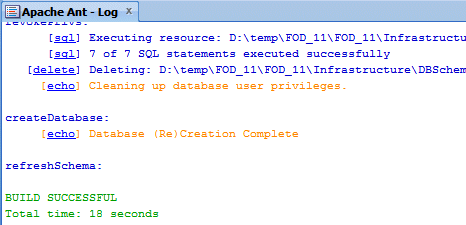
Verify that the log window doesn't report any major error. It should look like this:
-
Next to the Infrastructure application name, click the down arrow
 and select Close Application.
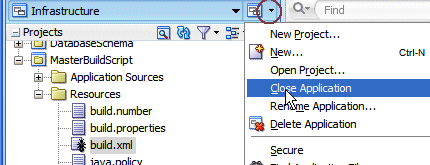
Before you create any component, you must first open the startup application. To do this, perform the following steps:
-
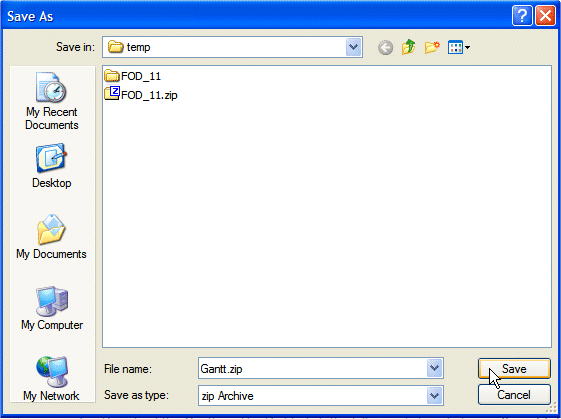
Download the Gantt.zip file. Right click the following link and choose Save Link As... from context to download the gantt.zip file on a local directory of your choice.
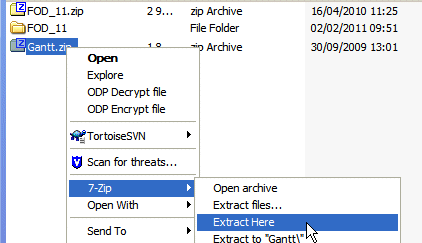
Unzip the Gantt.zip file on a local directory of your choice (i.e. temp)
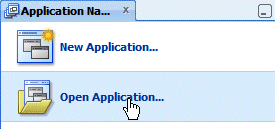
From the Application Navigator, click the Open Application link.
-
Locate the workspace c:\temp\Gantt\BrowseEditApp\BrowseEditApp.jws.
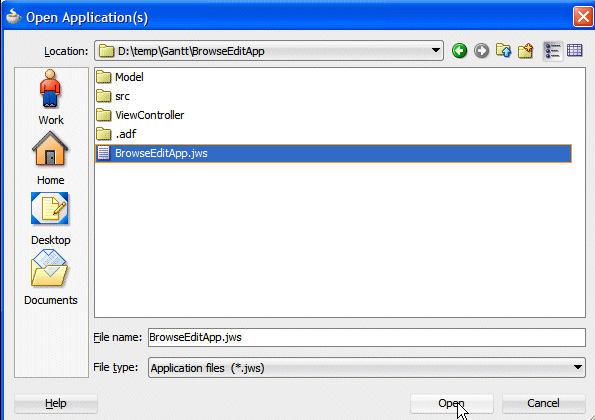
Click Open. If you are prompted to migrate the project, click Yes to confirm.
Migrating a project. Read more... In case you open a workspace that was saved with a previous JDeveloper release, JDeveloper needs to migrate it to the latest versions. Accept the migration for the projects by clicking Next on the Migration wizard.

Click Finish to proceed.

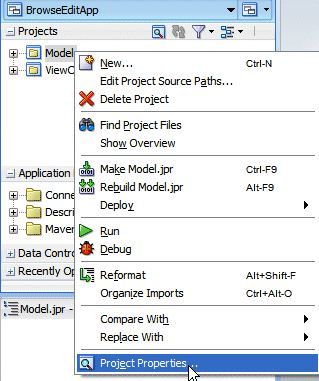
Click OK to dismiss the Migration Status information window. You need to create a Database Connection to the FOD schema. To do this, perform the following steps: Right click the Model project node and select Project Properties from context.
-
In the Project Properties dialog, select the ADF Business Components node and in the Connection field, click the Create icon
 to create a new database connection.
Enter a name for the connection, select the connection type, and enter the username and password. To follow along with this example, use FOD for the connection name, fod for the username and fusion for the password. Note that the values provided here as example may need to be modified to work with your environment.
Property Value Connection Name FOD Username/Password fod /fusion Save Password Checkbox checked Driver Thin Host Name The machine where the schema is installed (e.g. localhost) SID The database where the FOD schema is installed (XE, orcl...)
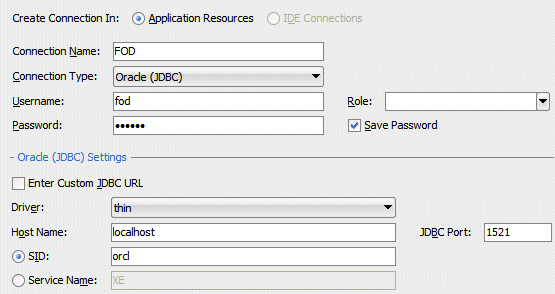
Click Test Connection to confirm that you can connect.

Click OK if the connection was successful. Then OK again to dismiss the Project Properties dialog.
If the connection fails, Read more...
check that the parameters entered are correct and that the Oracle database and listener services are running.
The connection should also appear in the Initialize Business Components Project page.-
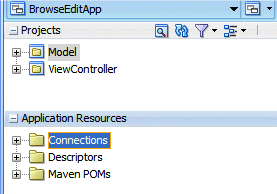
In the Application Navigator, click the Application Resources accordion to open it.
-
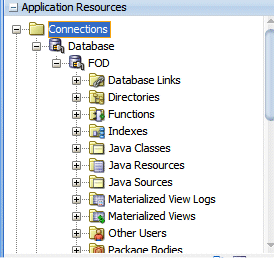
In the Application Resources, expand the Connections and Database nodes to see the FOD connection you just created. You can expand the FOD node to view the database objects.
The starter application uses Orders, OrderItems and ProductsBase entity objects and their corresponding view objects. It also uses additional view objects that you discover when required to use them. To explore and validate the data model, perform the following steps:
Open the Application Navigator and expand the Model project nodes. Notice the existing Entities, Views, Links objects and the FODModule.
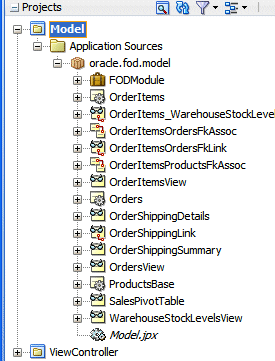
The model project contains all the necessary components needed for the application.
-
To run the module in the tester, in the Application Navigator, right-click FODModule and choose Run.

Wait for the Browser window to open.
Testing the model. Read more...
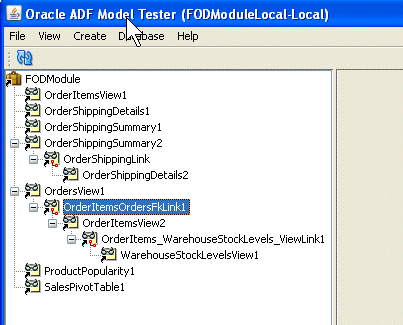
Oracle JDeveloper provides an easy way to test your business components defined in an application module. You can launch the tester by clicking the Run option in the Application Module and the ADF Model Tester opens up. Then select the view component in the hierarchy tree to visualize date retrieved by your entity objects. -
In the Oracle ADF Model Tester, double-click OrdersItemsOrdersFkLink1.
-
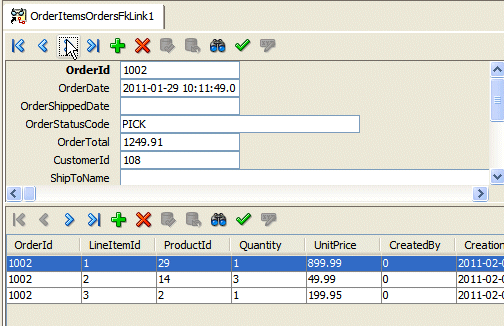
Use the navigation buttons to browse through the Orders
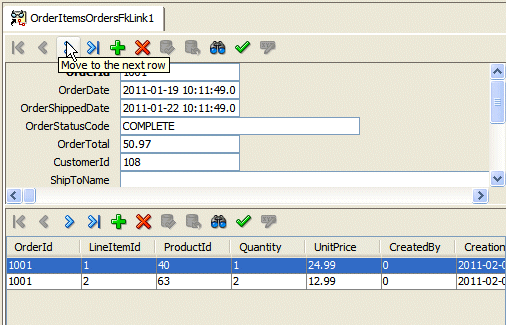 The BC Browser.
 Read more...
Notice that you can Insert Update Delete data through the provided default interface and test the validation rules for your business components.
You can also Commit or Rollback your changes. Navigate back and forth to explore data.
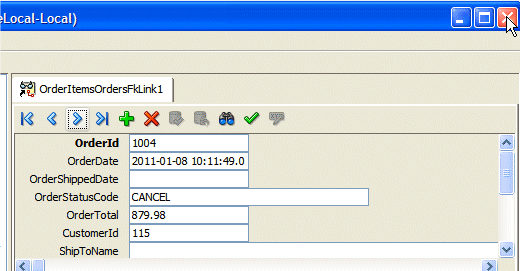
Close the Business Component Browser window.
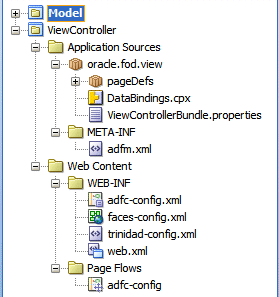
Collapse the Model project. Expand the ViewController project nodes. Notice the existing components that are created by default when creating a Fusion Web Application.
The ViewController project uses Orders, OrderItems and ProductsBase entity objects and their corresponding view objects. It also uses additional view objects that you discover when required to use them. To create the Master/Detail page that will be used as a foundation of your UI project, perform the following steps:
-
In the Application Navigator right click the ViewController node and select New from context.
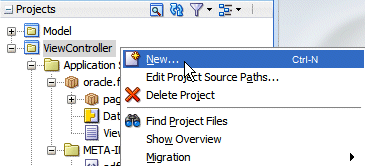
-
In the New Gallery, click the Current Project Features tab, then select the Web Tier | JSF/Facelets category and select the Page item.
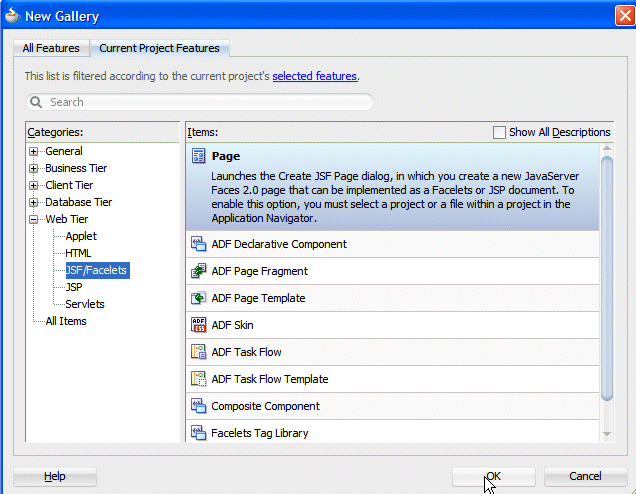
Click OK.
-
Set the File Name field to OrdersAndStocks.
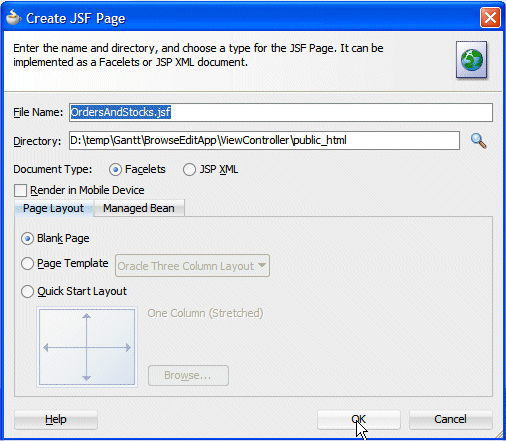
Click OK.
-
The new page opens up in the Design editor. Make sure it's selected.
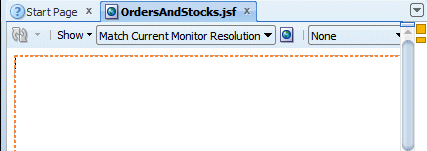
-
From the Component Palette, using the ADF Faces | Layout library, drag and drop a Panel Tabbed component onto the page.
Use the search box above the component list to find specific components.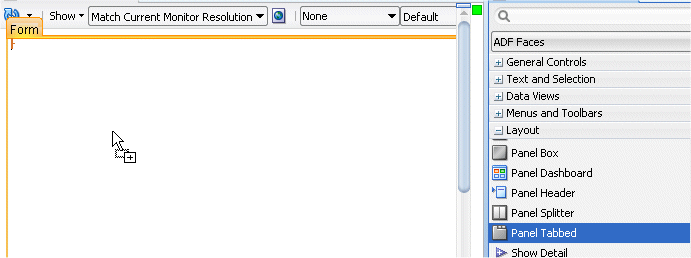
-
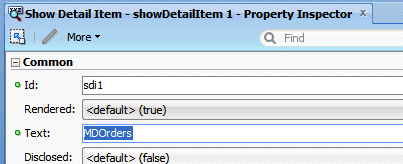
Select the showDetailItem and in the Property Inspector using the Common node, type MDOrders in the text field.
-
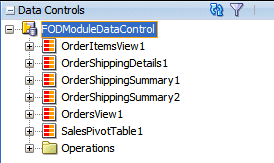
In the Application Navigator, open the Data Controls accordion and expand the FODModuleDataControl node.
-
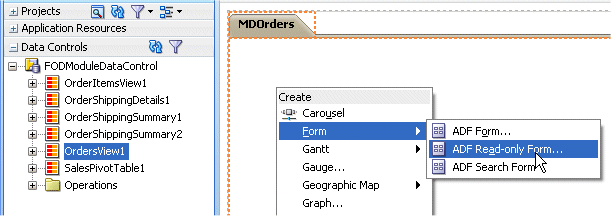
Drag the OrdersView1 node onto the visual editor, and drop it onto the Page. From the Create context menu, select Forms --> ADF Read-only Form.
-
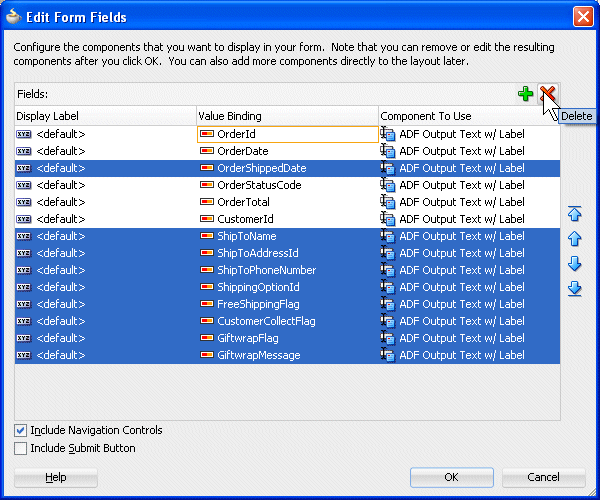
In the Edit Form Fields dialog, check the Include Navigation Controls check box., multi select all the fields, and then unselect the following ones: OrderId, OrderDate, OrderStatusCode, OrderTotal, and CustomerId. Then click Delete
 .
.
Click OK.
More on how to delete fields. Read more...
When the list of fields to delete is greater than the list of fields to keep, it's more convenient to multi select all the fields first and then unselect the ones to keep, before clicking the Delete button.
-
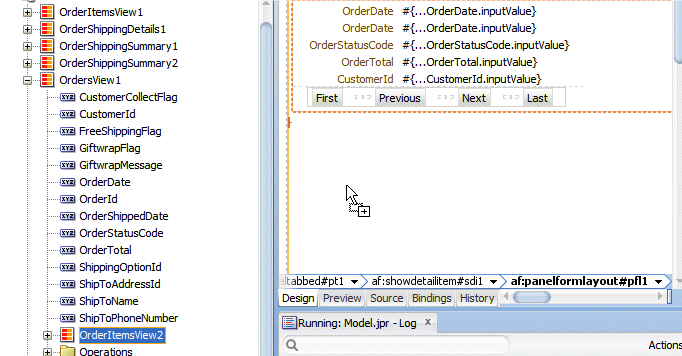
In the Data Controls panel, expand the OrdersView1 node. Drag the OrderItemsView2 node onto the lower part of the form.
-
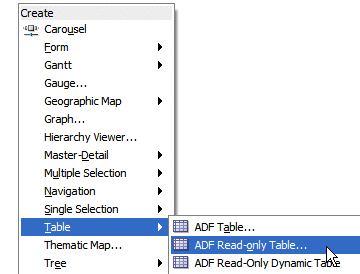
From the Create context menu, select Table --> ADF Read-only Table.
-
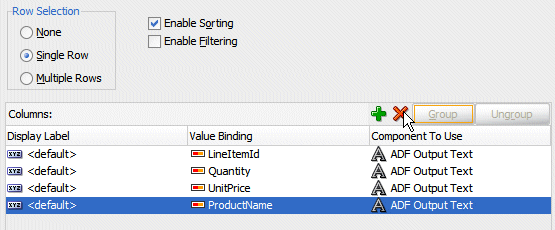
In the Edit Table Columns dialog, select both Single Row and Enable Sorting. Multi select all the columns and deselect the following ones: LineItemId, Quantity, UnitPrice, and ProductName. Then click Delete
 .
.
Click OK.
-
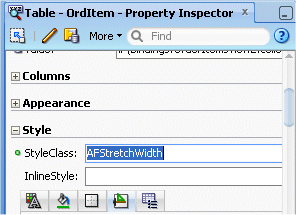
With the new table selected, in the Property Inspector, using the Layout tab in the Style node, set the StyleClass property to AFStretchWidth.
-
Select the Common tab and type OrdItem as the Id.
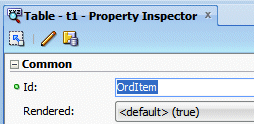 Overwriting the default Id
 Read more...
Changing the Id for a more meaningful one will make it easier later on to identify the component you want to relate to.
-
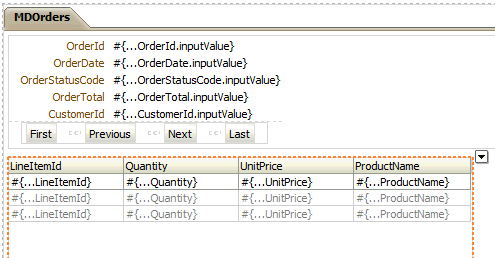
The page should look like this:
-
Click Save All
 icon on the JDeveloper menu bar, (or select File | Save All).
 -
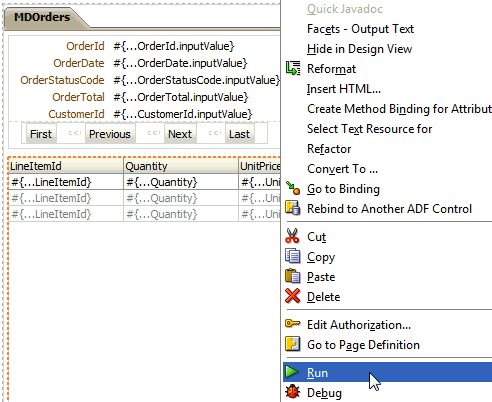
Right-click within the page and select Run from context, or click the Run button
 to run the page.
-
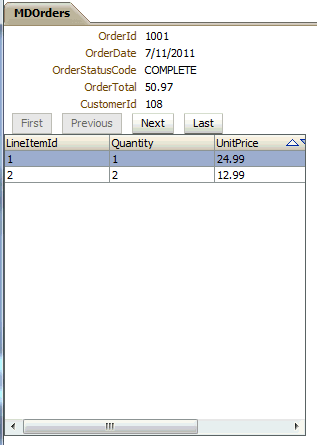
The page loads up in your browser.
-
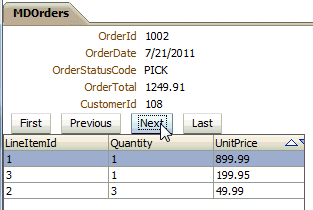
Experiment the Navigation buttons.
-
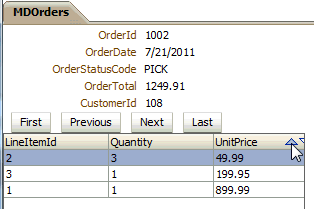
Try the sorting facility on any of the detail columns.
-
Close the browser window.
At this point you have a working page, you are now going to add graphical components such as bart chart, gauge, gantt chart, geographic info and create a Pivot Table.


 Part 2: Starting Using Graphic Components
