Chapter 1 Developing OTDs for Web Server Adapters
The following sections provide instructions on how to develop OTDs for Web Server adapters.
The following topics are covered:
Creating A Sun Java System Application Server OTD
One important component of the Sun Java System Application Server Adapter is the SunJavaSystem AppServer OTD Wizard which allows you to create Object Type Definition (OTD) from EJB class files.
Note –
Java classes provided in the SunJavaSystem AppServer OTD Wizard can contain APIs created using the standard Sun JDK 1.3.x or JDK 1.4.x, but they must be compatible with either versions of the JVM. For example, Java code that is dependent on the JDK 1.3.x characteristic for java.util.TimeZone and java.util.SimpleTimeZone might not work with the same behavior or load correctly for JVM 1.4.x. Consult the Sun Microsystems Javadoc for the latest API documentation for specific restrictions imposed by the J2EE specification.
JNI methods and inner classes are not supported.
Note –
If the home or remote interface class, or their dependent classes contain recursive references, support for the corresponding EJB methods will be limited.
Steps required to create an OTD include:
Select Wizard Type
 To Select Wizard Type
-
From the Project tree, right click the Project and select New ⇒ Object Type Definition from the menu.
-
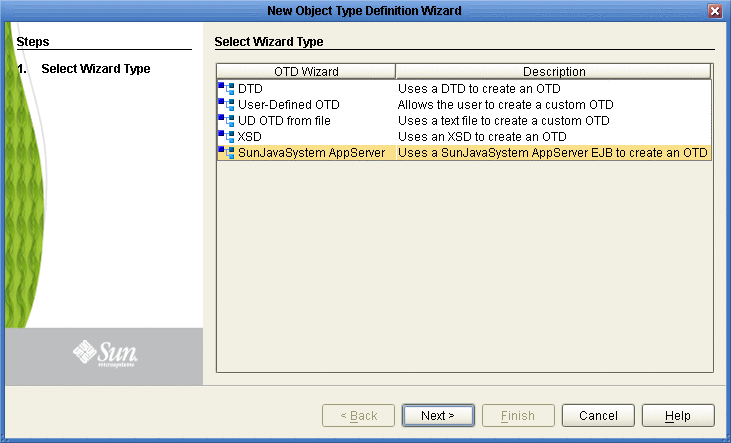
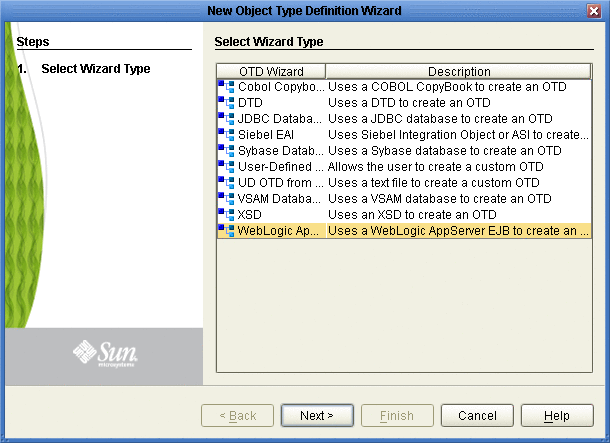
The Select Wizard Type page appears, displaying the available OTD wizards (see the figure below).
-
From the list, select the Sun Java System AppServer OTD Wizard and click Next. The Specify OTD Name page appears.
Specify OTD Name
 Specify OTD Name
-
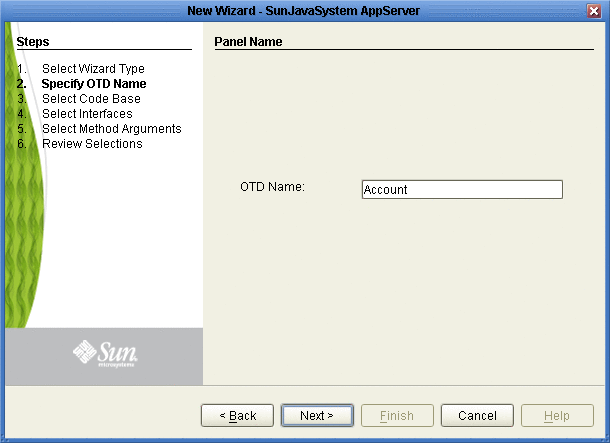
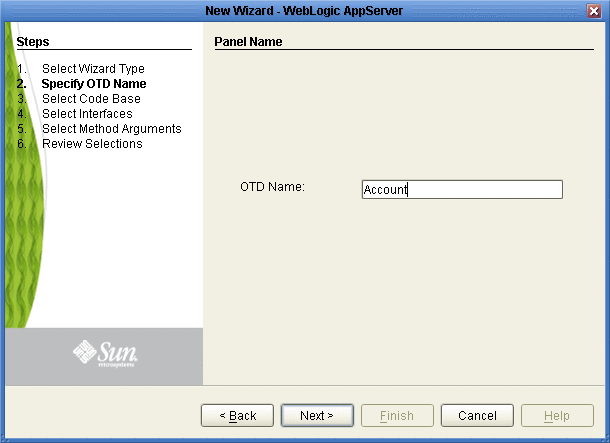
Enter a name for the new OTD (see the figure below).
-
Click Next, the Select Home and Remote Interfaces page appears.
Select Code Base
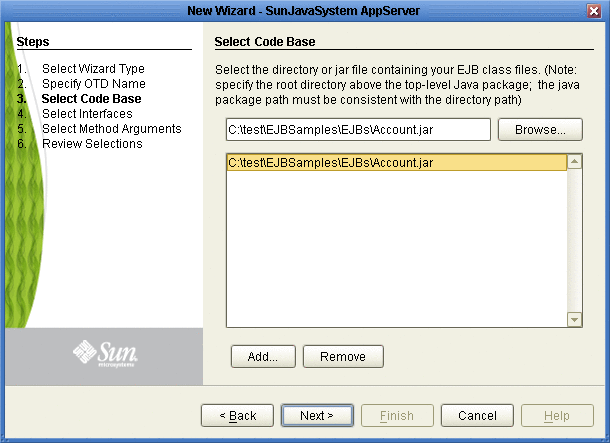
From the Select Code Base page, you can select the directory that contains your EJB class files by selecting the root directory above the top-level Java package, or you can select a specific JAR file containing the EJB class files.
 To Select Code Base
-
To select the root directory or archive file that contains the EJB class files, click Browse and navigate to and select the specific root directory or archive file. The EJB archive file must contain, at a minimum, both the Home and Remote Interface class pair for the EJB. Click Add or Remove to select or unselect any additional archive files to be available for design time (that is, in the JCD) and runtime (that is, in the Project EAR file). With the file or directory selected (at a minimum) click Next (see the figure below).
If you do not specify a JAR file, the program searches through the entire directory looking for all Java Archive files. Searches on top level drives or directories can significantly increase search times. Only recognized Class File Root file names are accepted in the File Name field.
EJB class files must contain a package name for the EJB Home and Remote Interface Classes. The wizard does not support EJB class files that do not provide a package name.
Note –EJB Class files and their dependent files must be located in a directory to be used with the OTD Wizard. The Wizard does not support EJB classes imbedded in archived files, such as EAR, WAR, or SAR files. These files must be extracted to a directory before they can be used to create an OTD.
Select Home and Remote Interfaces
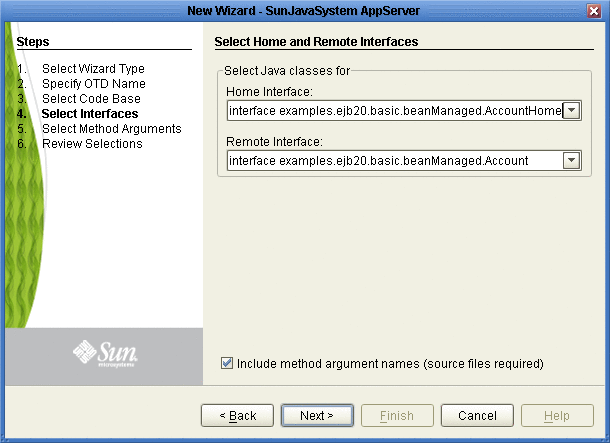
The Select Home and Remote Interfaces page displays the selected Java Home and Remote Interfaces. These fields are automatically populated. Both fields include a drop-down list that allows you to select the appropriate home and remote interface (if more than one choice is available).
 To Select Home and Remote Interfaces
-
Review the selected Home and Remote Interface fields (see the figure below).
-
To add the method argument names to the OTD, select the Include method argument names option. Do not select this option if you do not have the EJB source code. Click Next. The Wizard advances to the Select Methods Arguments page.
If the selected EJB file’s interfaces are valid and the Select Method argument names option was not selected, the wizard advances to the Review Selections page.
Select Method Arguments
 To Select Method Arguments
-
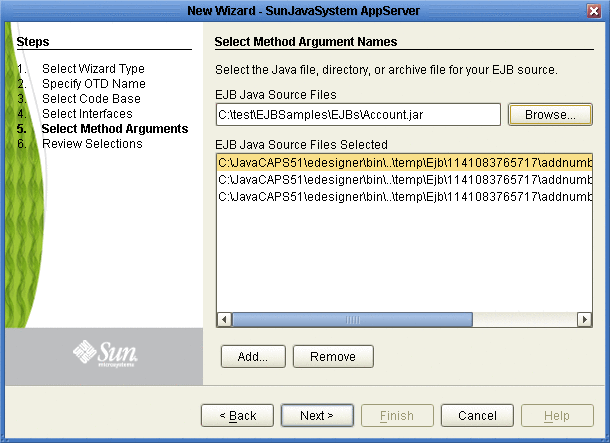
The Select Method Arguments Names page appears. Enter the Java source file, or click Browse to locate the Java source files for the EJB archive supplied. Only a .java file or an archive file (containing .java files) is accepted; if a directory is supplied, then it searches only for .java files (see the figure below).
-
Select the source files and click Open. The files are populated to the EJB Java Source Files Selected field. At least two files must be supplied -- one for the home interface and one for the remote interface, or the EJB bean implementation source. Once the field contains all the necessary EJB source files, click Next.
 Caution –
 It is the user’s responsibility to match the correct source files to the EJB.
Review Selections
 To Review Selections
-
The Review Selections page appears. Review your selection information in the right pane of the page. To change any entries, click Back and return to the appropriate step.
Generate the OTD
 To Generate the OTD
-
Once you are satisfied with your selection information, click Finish. A Confirm duplicate file dialog box might appear at this point, stating that the JAR file is already in the Project. Select Yes, the JAR file is added to your Project. If you click No, an additional copy of the JAR file will be added to the Project.
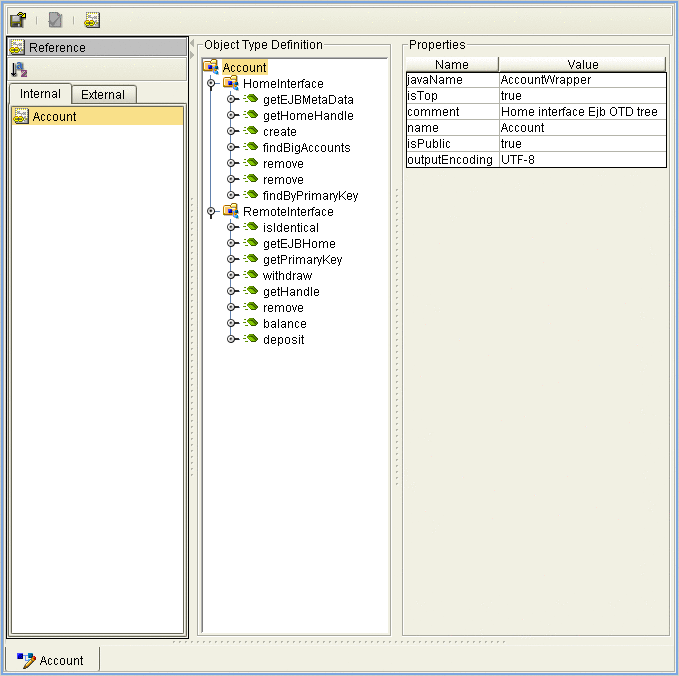
The OTD Editor appears with the generated OTD (see the figure below).
Creating a WebLogic OTD
Steps required to create an OTD include:
-
Select Wizard Type
-
Specify OTD Name
-
Select Code Base
-
Select Home and Remote Interfaces
-
Select method Arguments
-
Review Selections
-
Generate the OTD
 To Create a WebLogic OTD
-
From the Project tree, right click the Project and select New ⇒ Object Type Definition from the menu. The Select Wizard Type page appears, displaying the available OTD wizards (see the figure below).
-
From the list, select the WebLogic AppServer and click Next. The Specify OTD Name page appears.
-
Enter a name for the new OTD (see the figure below).
-
Click Next, the Select Home and Remote Interfaces page appears.
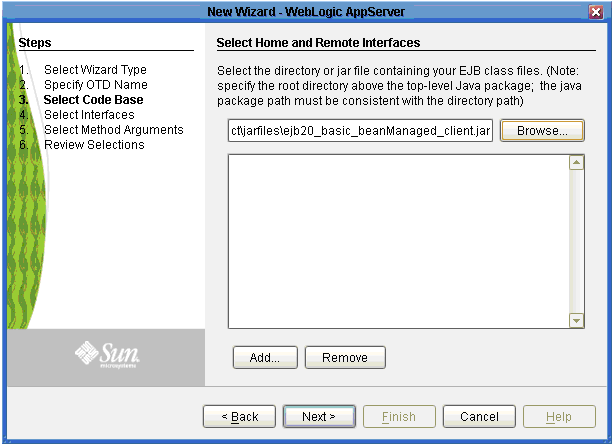
From the Select Code Base page, you can select the directory that contains your EJB class files by selecting the root directory above the top-level Java package, or you can select a specific JAR file containing the EJB class files.
-
To select the root directory or archive file that contains the EJB class files, click Browse and navigate to and select the specific root directory or archive file. The EJB archive file must contain, at a minimum,both the Home and Remote Interface class pair for the EJB. Click Add or Remove to select or unselect any additional archive files to be available for design time (that is, in the JCD) and runtime (that is, in the Project EAR file). With the file or directory selected (at a minimum) click Next.
If you do not specify a JAR file, the program searches through the entire directory looking for all Java Archive files. Searches on top level drives or directories can significantly increase search times. Only recognized Class File Root file names are accepted in the File Name field.
EJB class files must contain a package name for the EJB Home and Remote Interface Classes. The wizard does not support EJB class files that do not provide a package name.
Note –EJB Class files and their dependent files must be located in a directory to be used with the OTD Wizard. The Wizard does not support EJB classes imbedded in archived files, such as EAR, WAR, or SAR files. These files must be extracted to a directory before they can be used to create an OTD.
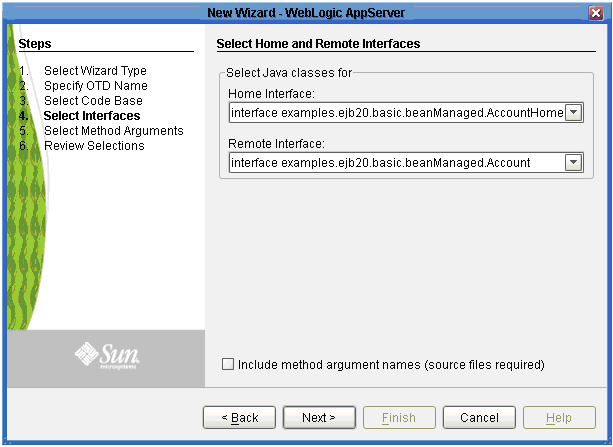
The Select Home and Remote Interfaces page displays the selected Java Home and Remote Interfaces. These fields are automatically populated. Both fields include a drop-down list that allows you to select the appropriate home and remote interface (if more than one choice is available).
-
Review the selected Home and Remote Interface fields
-
To add the method argument names to the OTD, select the Include method argument names option. Do not select this option if you do not have the EJB source code. Click Next. The Wizard advances to the Select Methods Arguments page.
If the selected EJB file’s interfaces are valid and the Select Method argument names option was not selected, the wizard advances to the Review Selections page. The Select Method Arguments Names page appears.
-
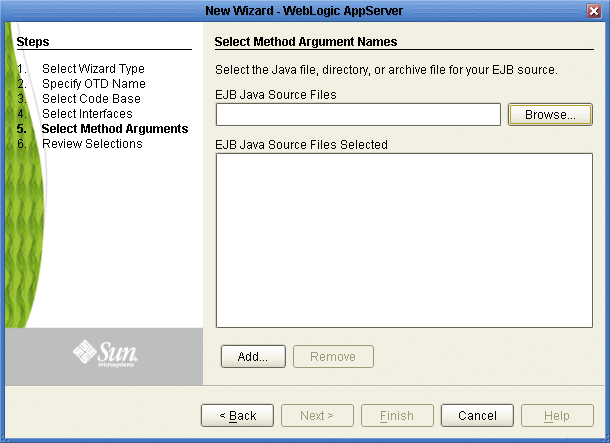
Enter the Java source file or click Browse to locate the java source files for the EJB archive supplied. Only a JAVA file or an archive file (containing JAVA files) will be accepted. If a directory is supplied, then only JAVA files are searched (see the figure below).
-
Click Add to locate and add Java source files to the EJB Java Source Files Selected field. Remove unwanted files from the EJB Java Source Files Selected field by selecting the file and clicking Remove. At least two files must be supplied - one for the home interface and one for the remote interface (or one EJB bean implementation source). Once the field contains all the necessary files, click Next.
 Caution –
 It is the user’s responsibility to match the correct source files to the EJB.
-
The Review Selections page appears. Review your selection information in the right pane of the page. To change any entries, click Back and return to the appropriate step.
-
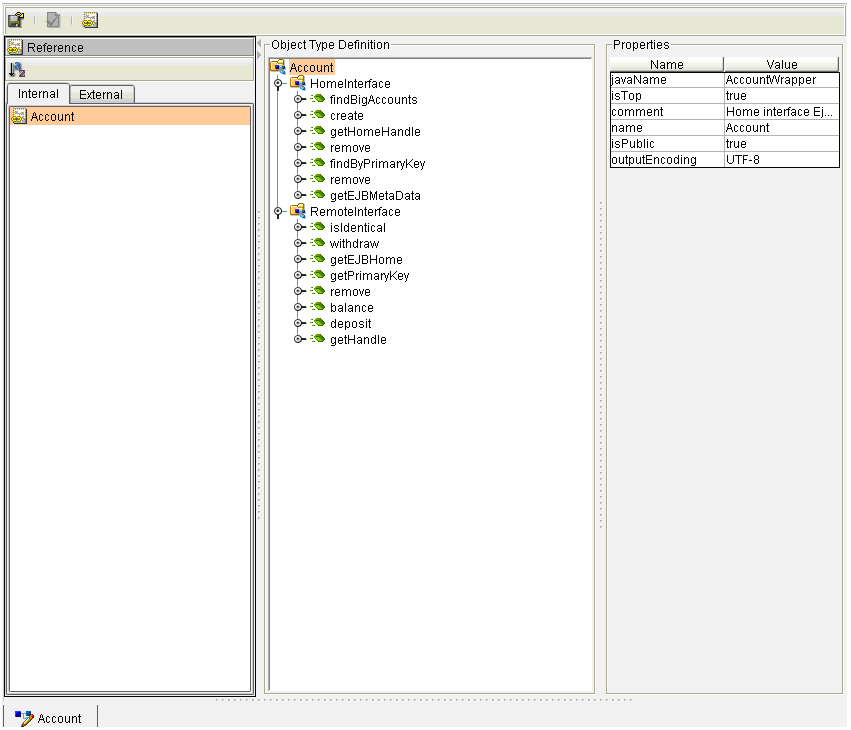
Once you are satisfied with your selection information, click Finish. The OTD Editor appears with the generated OTD (see the figure below).
- © 2010, Oracle Corporation and/or its affiliates
