Organizations
Organizations are hierarchical collections of Users. They are one of the two types of portal resources that can have pages. There is also a special type of Organization called a location, which can define where users are specifically located.
There are two kinds of Organizations:
-
Regular
-
Location
The organization of type Regular can have suborganizations, but an organization of type Location is not allowed to have suborganizations.
Let us consider the example of creating an organization called Admin Organization and a Suborganization called Admin Location.
Defining Organizations
This section outlines the procedure for Create an Organizationand Creating a Suborganization.
 To create an Organizations
-
Login to WebSynergy as Admin user.
-
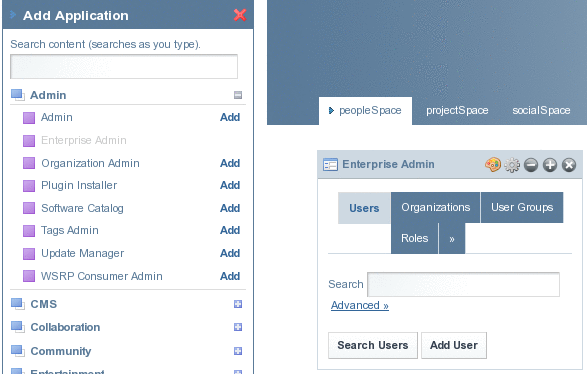
Click Add Applications and expand the Admin folder.
-
Click Add against the Enterprise Admin portlet.
Figure 3–17 Adding Enterprise Admin portlet to the portlet page
-
Click on Organizations.
All the existing Organizations are listed.
Figure 3–18 Organizations (currently existing)

-
Click Add Organization.
-
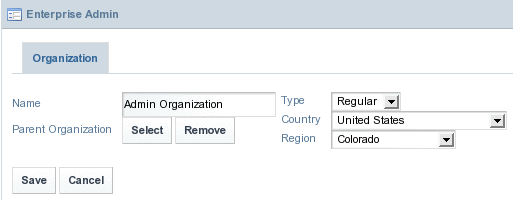
Specify the Name, Type, and Country for the Organization.
The Organization needs to be of type Regular.
Figure 3–19 Creating a new Organization
-
Click Save.
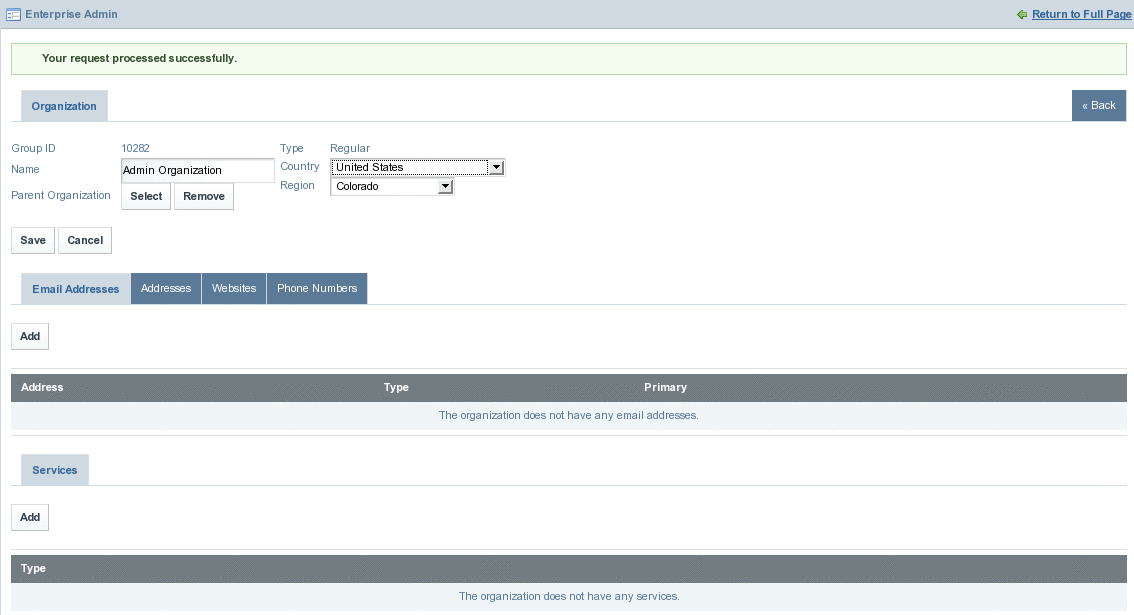
You can specify the other attributes, such as email ID, Address, and website.
Figure 3–20 New Organization
-
Click on Return to Full Page and navigate back to the Organizations tab.
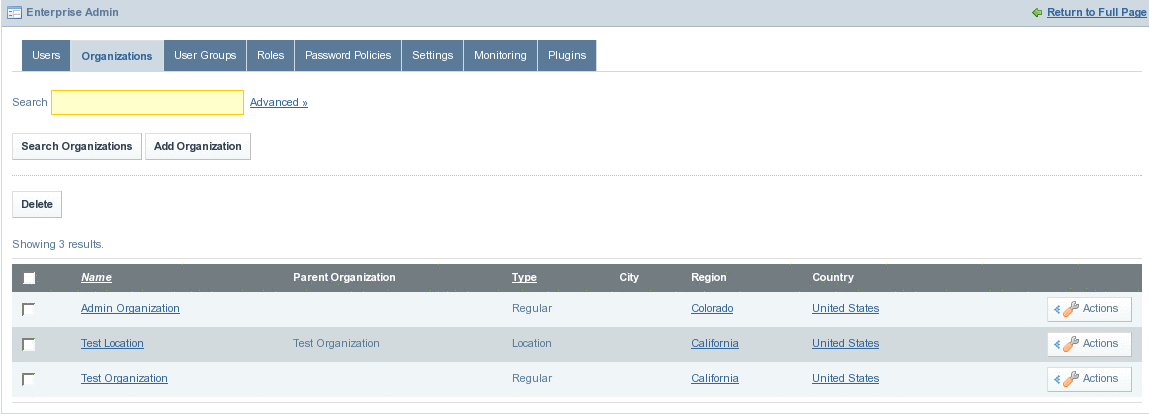
You will find the just created organization in the list of Organizations.
Figure 3–21 Organizations (including the new)
 To create a Suborganization
-
Click on Add Organization button.
-
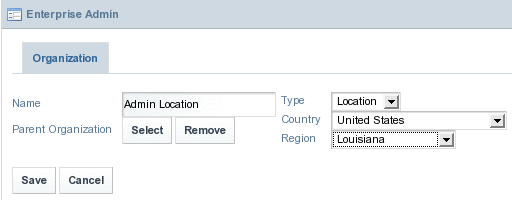
Specify the name of the organization and other details.
Make sure to select Location as the Type attribute.
Figure 3–22 Creating a Suborganization
-
Click Select to select the parent organization.
Figure 3–23 Selecting a Parent Organization
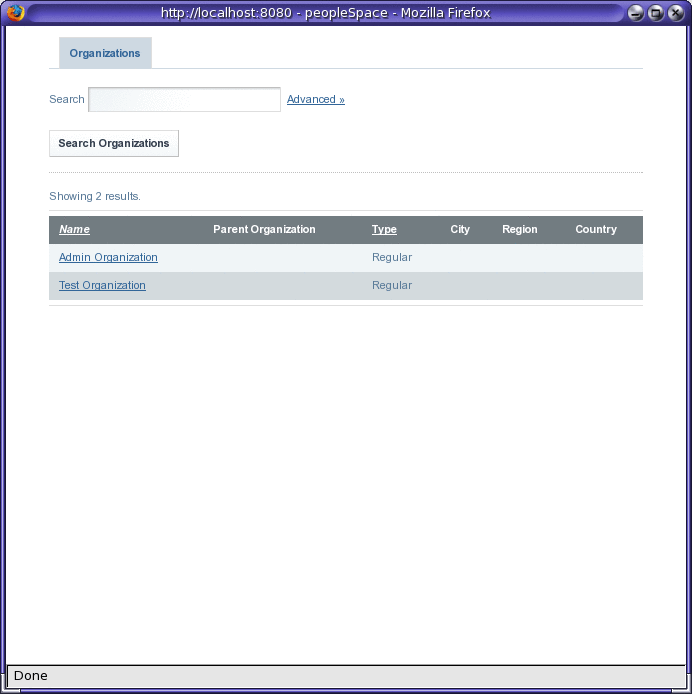
The resultant window lists all the Organizations of type Regular.
Note –The system restricts creating a Location Organization without assigning a parent organization to it.
-
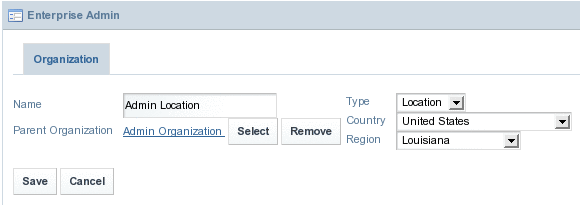
Select an Organization to make it the parent organization.
The selected Organization becomes the parent organization.
Figure 3–24 Suborganization with a Parent Organization
-
Click Save.
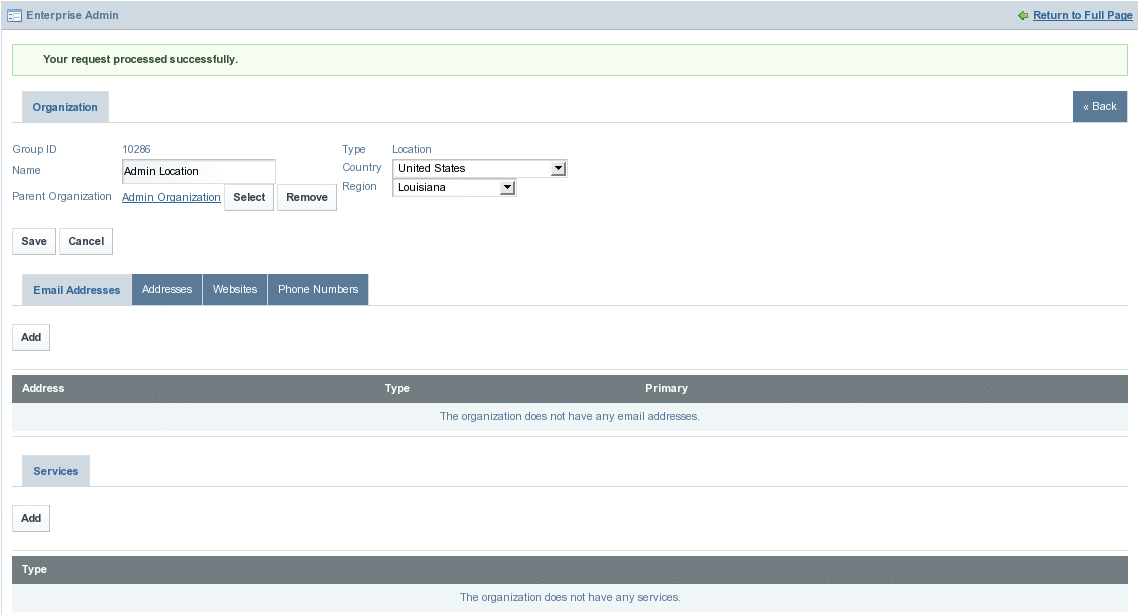
You can add other attributes such as phone number and address.
Figure 3–25 Organization particulars
-
Click on Return to Full Page and navigate back to the Organizations tab.
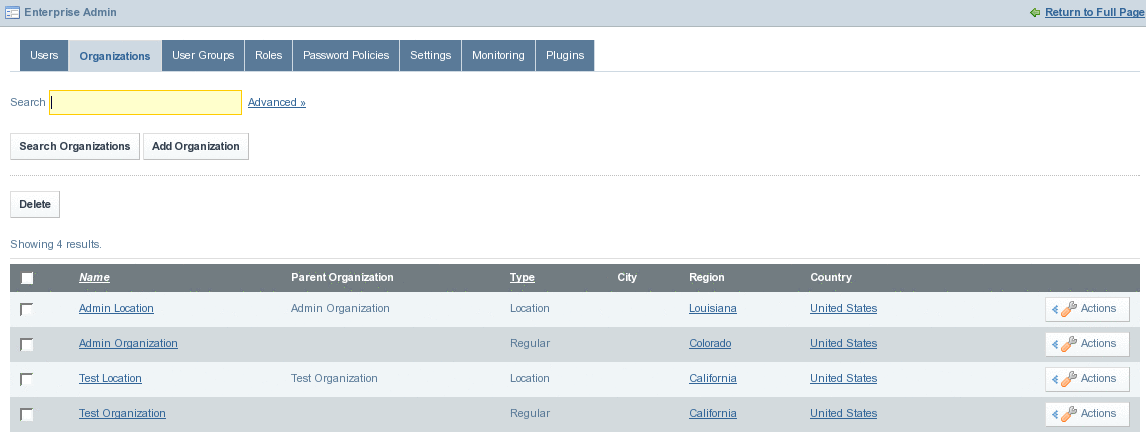
Figure 3–26 Organizations Tab (after adding the Suborganization)
Creating Users Under Organizations
To be done.
 To create Users under Organization
-
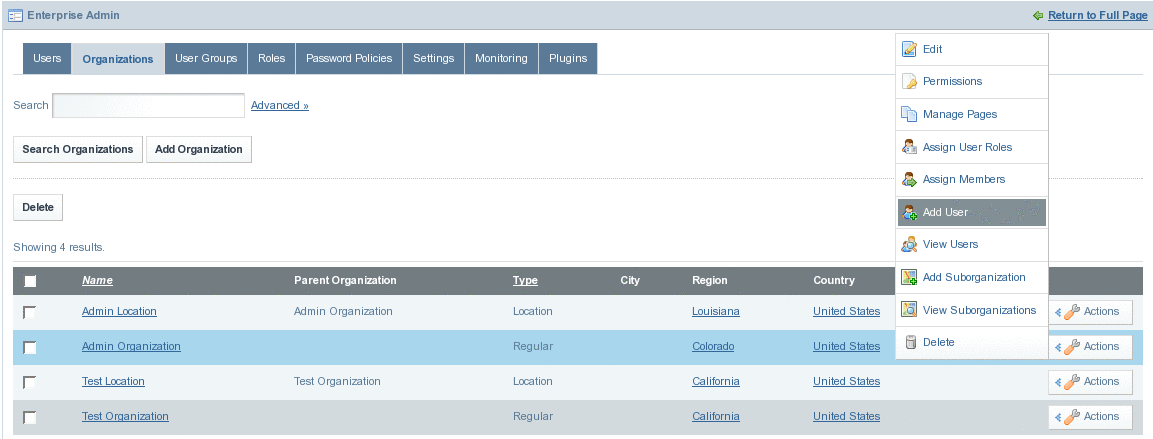
Click on the Actions button against the selected Organization.
We are selecting Admin Organization, as it is our example organization.
Figure 3–27 Adding Users to an Organization
-
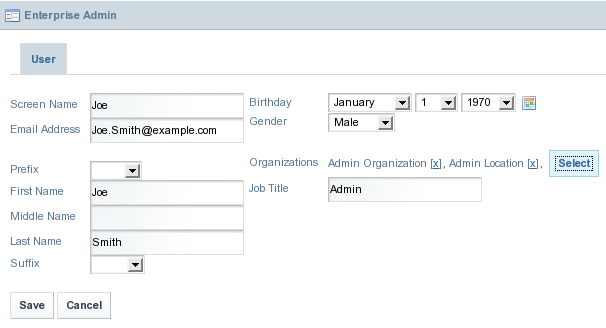
Select Add User from the menu.
Specify the name and other details for the user.
Figure 3–28 Creating a User (belonging to Organizations: Admin Organization)
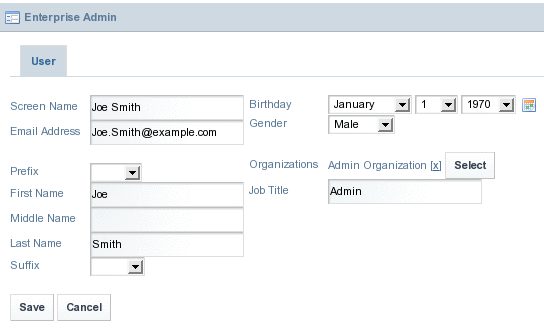
By default, the user is assigned to the same Organization.
-
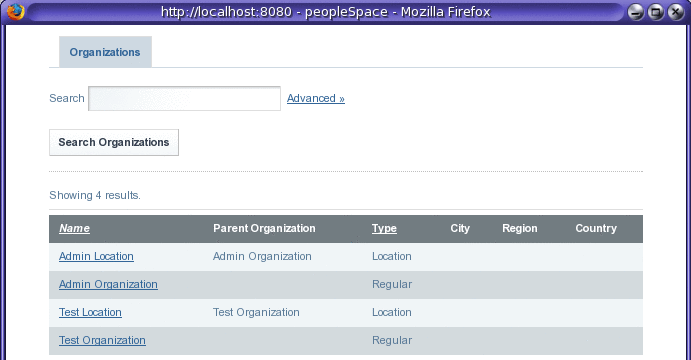
Click Select to add the User to other Organizations.
Figure 3–29 Window to select Organizations
-
Click on an Organization, to add the User to the Organization.
In our example, we are selecting Admin Location.
The user is added to the selected Organization.
Figure 3–30 Creating a User (belonging to Organizations: Admin Organization & Admin Location)
-
Click Save.
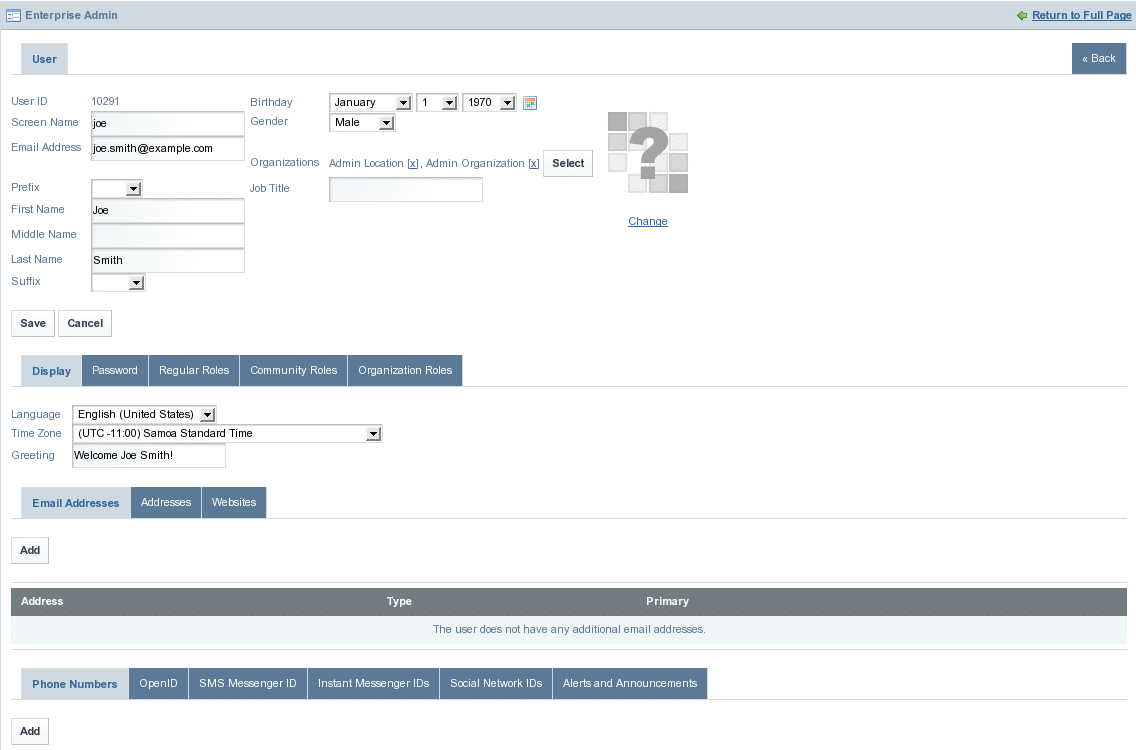
You can specify a password, and can set Regular, Community, and Organization roles for the user.
Figure 3–31 The User (Joe Smith) is created
- © 2010, Oracle Corporation and/or its affiliates
