37 Testing Deployed Gadgets
This section provides information and instructions on working with the deployed dashboard and individual gadgets as a website visitor (authenticated and anonymous).
This chapter contains the following sections:
37.1 Sample Dashboard Deployed on a Website
The dashboard is a container for the gadgets enabled on a given site gadget catalog. A site gadget catalog and dashboard on the same instance of the Gadgets User interface share a dynamic relationship, meaning any gadget enabled in the site gadget catalog is automatically made available on the dashboard's gadget selection panel. When the dashboard is deployed to a web page, the gadgets, layout, and theme that were configured for the dashboard panel are displayed as defaults to visitors (as shown in Figure 37-1).
The deployed dashboard can be personalized, meaning visitors (authenticated and anonymous) can modify their own instances of the dashboard to display their preferred gadgets, layout, and color theme. Changes made by authenticated visitors are automatically saved. Changes made by guests persist only for the duration of the session. For information about personalizing the dashboard, see Section 37.2, "Working with the Dashboard as a Visitor."
Figure 37-1 Sample Dashboard Deployed on a Web Page
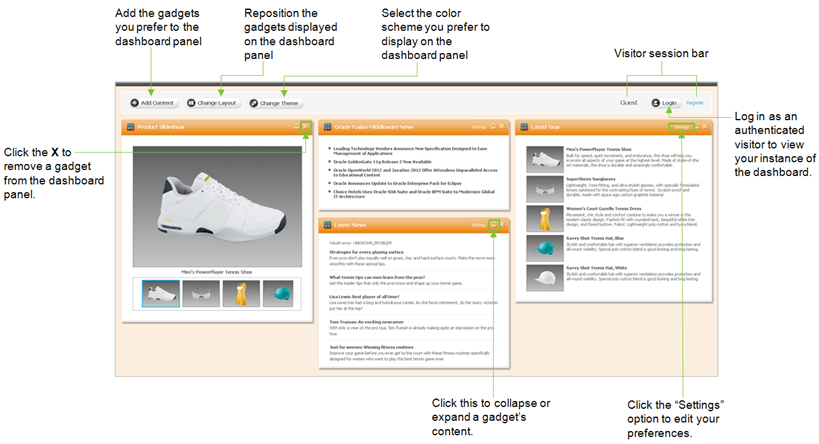
Description of "Figure 37-1 Sample Dashboard Deployed on a Web Page"
37.2 Working with the Dashboard as a Visitor
All visitors can personalize the default dashboard panel to display the gadgets, layout, and color theme they prefer. The changes made by an anonymous visitor are saved to that visitor's browser. These changes are temporary, and when the visitor resets her browser, the dashboard returns to its default appearance. Authenticated visitors have their own instance of the dashboard. When an authenticated visitor modifies the dashboard panel's appearance, the changes are saved to the Gadgets application server.
This section contains the following topics:
37.2.1 Logging in to the Website
When you log in to the website, you are presented with your own customizable instance of the dashboard.
-
Access the web page on which the dashboard is deployed.
-
Click Login.
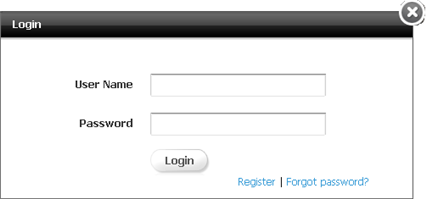
The "Login" form (shown in Figure 37-2) opens above the dashboard panel:
-
Fill in the "Username" and "Password" fields with your credentials for the website. Log in credentials are case-sensitive.
-
Click Login.
Your own instance of the dashboard is displayed (as shown in Figure 37-3).
Figure 37-3 Personal Instance of the Dashboard
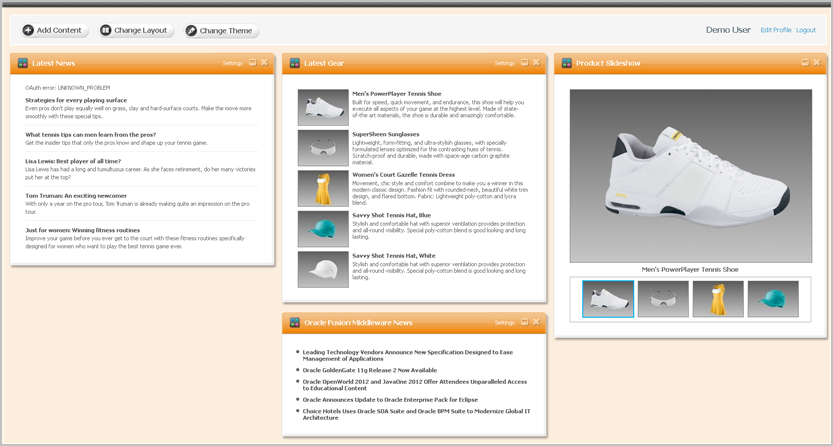
Description of "Figure 37-3 Personal Instance of the Dashboard"
37.2.2 Personalizing the Dashboard
Your options for personalizing the dashboard panel are the following:
-
Section 37.2.2.1, "Adding (or Removing) Gadgets to (from) the Dashboard Panel"
-
Section 37.2.2.3, "Modifying the Color Theme of the Dashboard"
37.2.2.1 Adding (or Removing) Gadgets to (from) the Dashboard Panel
The gadget selection panel contains all the available gadgets, as thumbnails, that visitors can add to the dashboard panel. Adding gadgets to the dashboard panel configures the dashboard to display the content of those gadgets. If a visitor removes a gadget from the dashboard panel, that gadget will still be available from the dashboard's gadget selection panel, as a thumbnail.
To add gadgets to the dashboard panel
-
Access the web page on which the dashboard is deployed.
-
If you are an anonymous visitor, skip to step 3. If you are an authenticated visitor, log in to the website with your assigned credentials to access your own instance of the dashboard.
-
In the dashboard's toolbar, click Add Content.
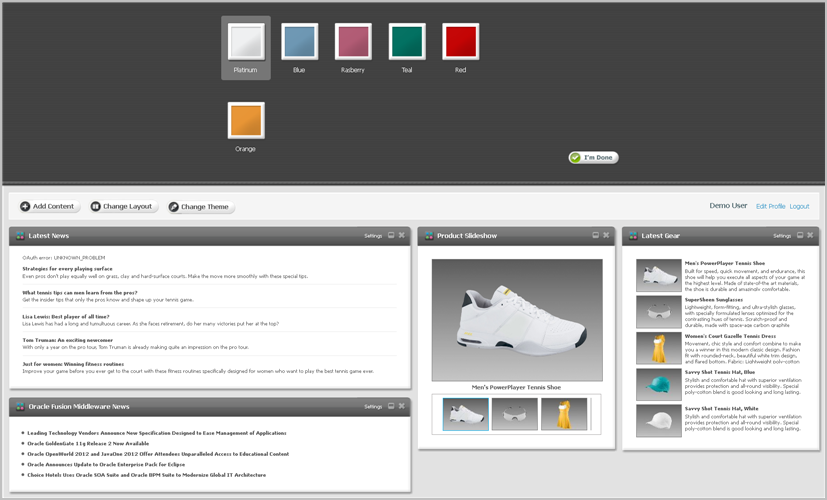
The gadget selection panel opens above the dashboard panel (as shown in Figure 37-4).
Figure 37-4 Dashboard: Gadget Selection Panel
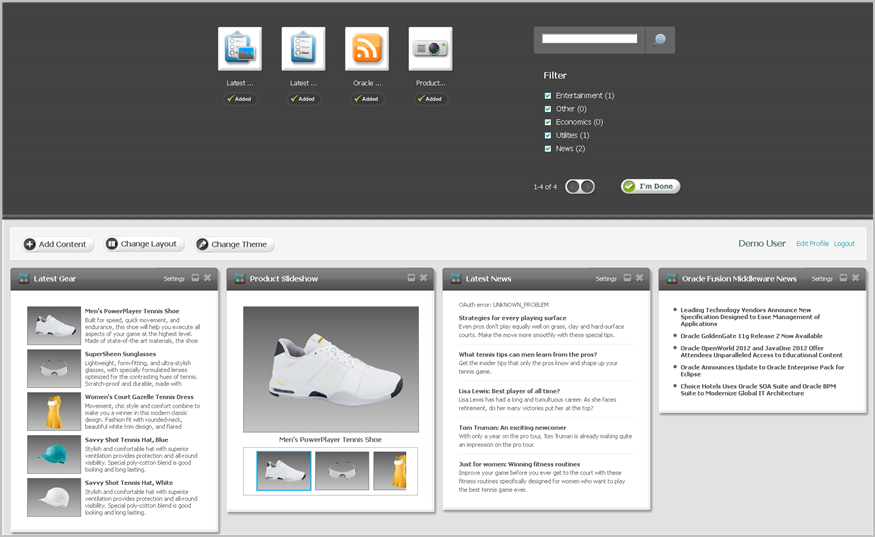
Description of "Figure 37-4 Dashboard: Gadget Selection Panel"
-
In the gadget selection panel, add the desired gadget to the dashboard panel:
-
Navigate to the gadget whose content you wish to display on the dashboard panel.
-
If you wish to preview the gadget's content before adding it to the dashboard panel, click the gadget's thumbnail image.
-
Click Add.
-
Click I'm Done.
The gadget selection panel closes, and the added gadget's content is displayed on the dashboard panel.
-
-
If you wish to reposition a gadget on the dashboard panel, click the gadget's title bar and drag it to the desired slot on the dashboard panel.
To remove a gadget from the dashboard panel
-
Access the web page on which the dashboard is deployed.
-
If you are an anonymous visitor, skip to step 3. If you are an authenticated visitor, log in to the website with your assigned credentials to access your own instance of the dashboard.
-
In the dashboard panel, navigate to the gadget you wish to remove from the dashboard panel, and click the X icon (located in the gadget's title bar).
The gadget is removed from the dashboard panel, but is still accessible to the visitor from the gadget selection panel.
37.2.2.2 Modifying the Layout of the Dashboard
The layout panel enables visitors to reposition the gadgets that are displayed on the dashboard panel.
To modify the layout of the dashboard
-
Access the web page on which the dashboard was deployed.
-
If you are an anonymous visitor, skip to step 3. If you are an authenticated visitor, log in to the website with your assigned credentials to access your own instance of the dashboard.
-
The layout panel opens above the dashboard panel (as shown in Figure 37-5).
Figure 37-5 Dashboard: Change Layout Panel
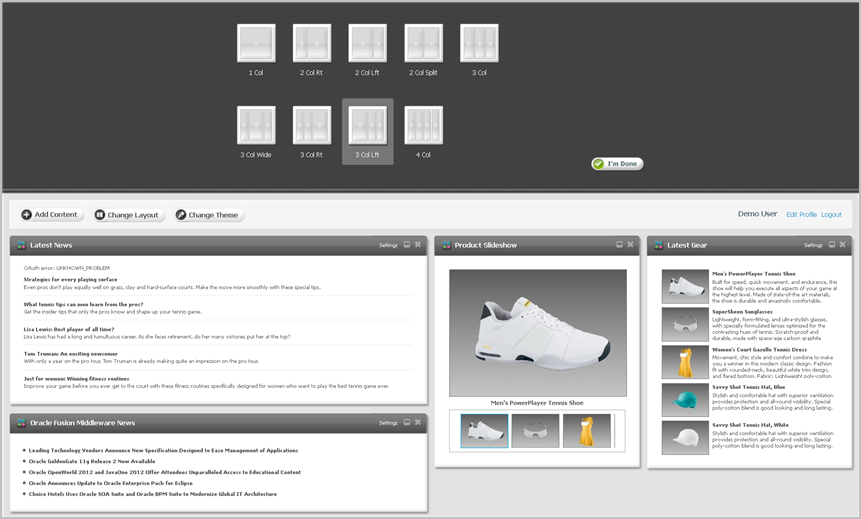
Description of "Figure 37-5 Dashboard: Change Layout Panel"
-
In the layout panel, select the layout you wish to apply to the dashboard panel.
-
Click I'm Done.
The layout you selected is applied to the dashboard panel.
37.2.2.3 Modifying the Color Theme of the Dashboard
Visitors can manage the color scheme of the dashboard panel background and gadget title bars with the color options available from the dashboard's theme panel.
To modify the color theme of the dashboard
-
Access the web page on which the dashboard was deployed.
-
If you are an anonymous visitor, skip to step 3. If you are an authenticated visitor, log in to the website with your assigned credentials to access your own instance of the dashboard.
-
The theme panel opens above the dashboard panel (as shown in Figure 37-6).
-
In the theme panel, select the color you wish to apply to the dashboard panel.
-
Click I'm Done.
The color you selected is applied to the dashboard panel's background and the gadget title bars.
37.2.3 Modifying a Gadget's Visitor Preferences
Certain gadgets, depending on how the gadget was developed, provide visitors with a "Settings" option for editing visitor preferences. For example, a weather gadget may provide visitors with a locale option so the gadget will display the weather forecast for the location the visitor specifies.
To modify a gadget's visitor preferences
-
Access the web page on which the dashboard was deployed.
-
If you are an anonymous visitor, skip to step 3. If you are an authenticated visitor, log in to the website with your assigned credentials to access your own instance of the dashboard.
-
In the dashboard panel, navigate to the desired gadget and select the Settings option on the gadget's title bar. For example, Figure 37-7 shows the modifiable settings for the Latest Gear sample gadget. (If the gadget does not have a Settings option, then the visitor preferences for that gadget are not modifiable.)
Figure 37-7 Visitor Preferences for the 'Latest Gear' Sample Gadget
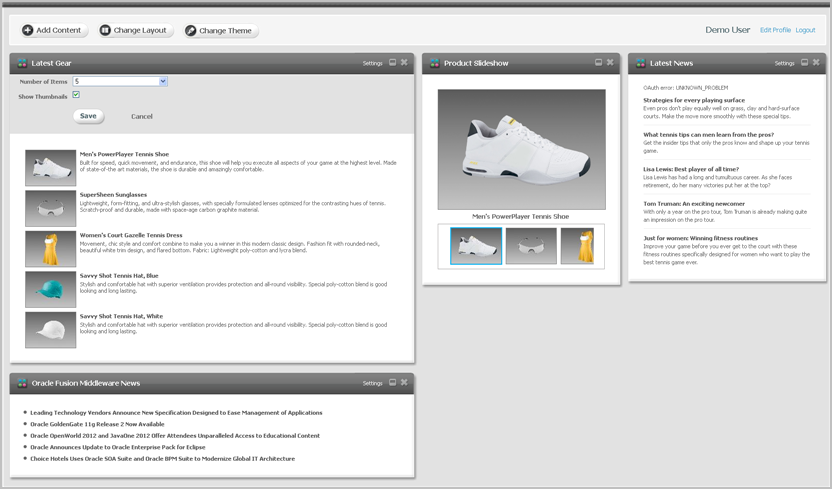
Description of "Figure 37-7 Visitor Preferences for the 'Latest Gear' Sample Gadget"
-
Select the desired preferences for the gadget. For example, the "Latest Gear" gadget enables visitors to select the number of items that will be rendered in its list.
-
Click Save, to save your preferences.
37.3 Sample Gadget Deployed on a Website
All gadgets that are enabled on a given site catalog can be deployed individually on web pages to display the gadget's content to visitors. This is because a site gadget catalog and the "Single Gadget Deployment" screen share a dynamic relationship on the same instance of the Gadgets User interface. When the gadget is deployed it displays the current settings and metadata configured for it in the Gadgets User interface. Figure 37-8 shows two gadgets deployed individually on a sample web page.
Figure 37-8 Individually Deployed Gadgets on a Web Page
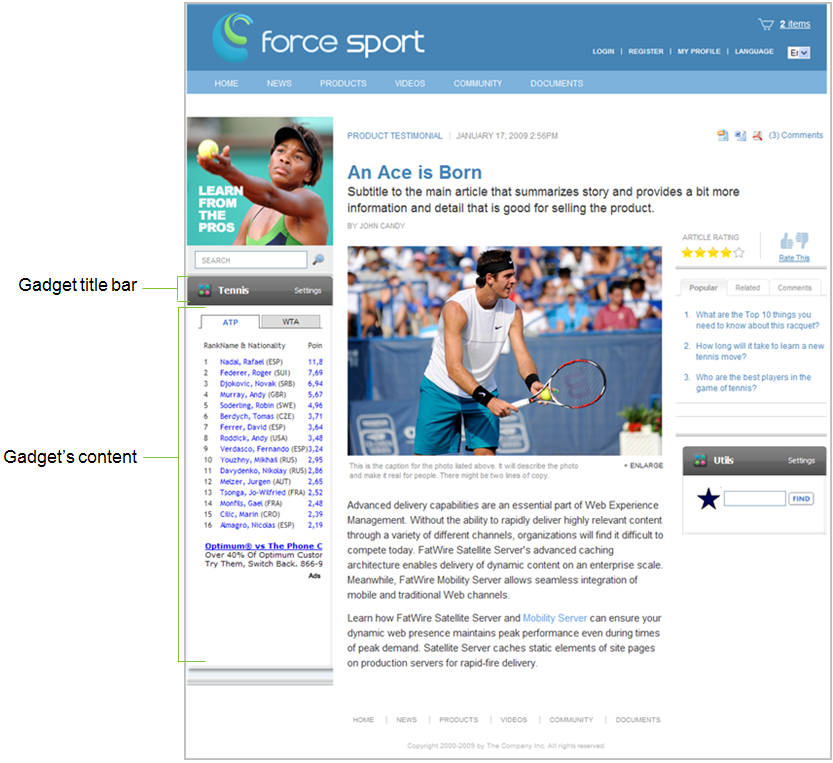
Description of "Figure 37-8 Individually Deployed Gadgets on a Web Page"
37.4 Modifying an Individually Deployed Gadget's Settings
Individually deployed gadgets are displayed to all visitors (authenticated and anonymous). Certain gadgets enable visitors to modify the gadget's settings. All visitors can personalize the visitor preferences of a given gadget (depending on how the gadget was developed). For example, the Latest Gear sample gadget's Settings link enables visitors to display or hide the thumbnail images of the products listed in the content of the gadget. It also enables visitors to specify the amount of products the gadget displays at one time.
Figure 37-9 Latest Gear Gadget Displaying a 'Settings' Link
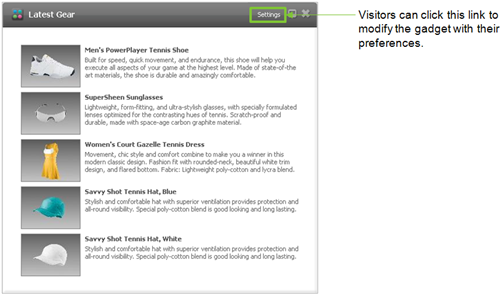
Description of "Figure 37-9 Latest Gear Gadget Displaying a 'Settings' Link"
For instructions about working with a gadget whose settings can be modified, see Section 37.2.3, "Modifying a Gadget's Visitor Preferences."
