Part 1: Set Up and Configure the iOS Environment

-
Download and install the Android Stand-alone SDK tools from http://developer.android.com/sdk/index.html#Other. . You will need to accept the terms and conditions before you download the SDK.

-
Unpack the ZIP file you just downloaded. It will unpack into a directory named android-sdk-macosx. Move it to an appropriate location such as Documents, or Development tools, or where ever you prefer.
-
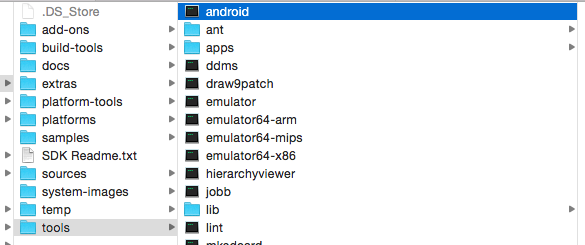
On Windows double-click SDK Manager.exe and on Mac, navigate to android-sdk-macosx/tools and double-click android.
-
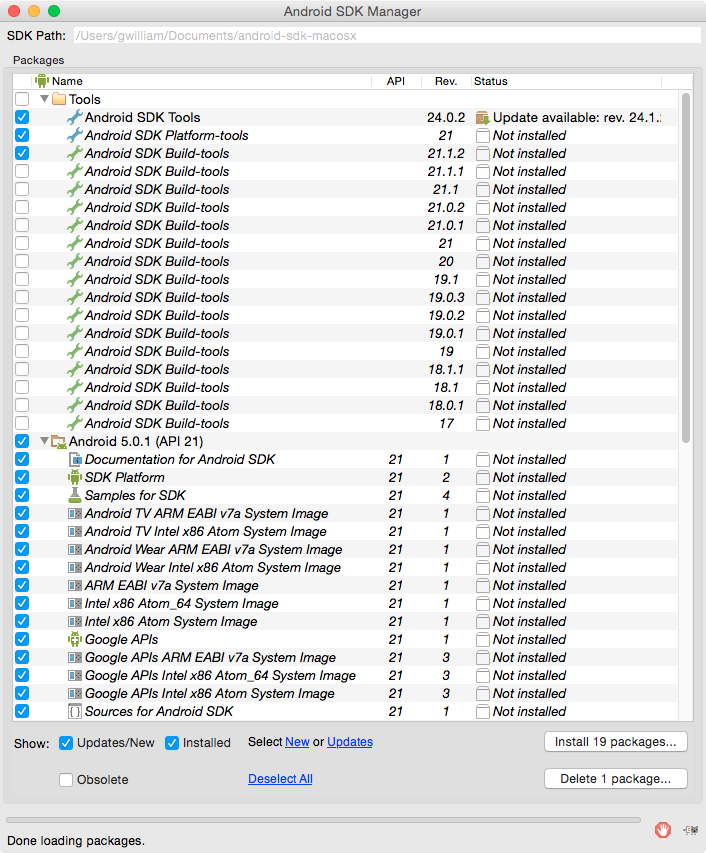
By default, the Android SDK Tools, Android SDK Platform-tools and several other packages are selected to be installed the first time you run the SDK Manager. Click Install to install the default packages. You will need to accept the terms and conditions.
-
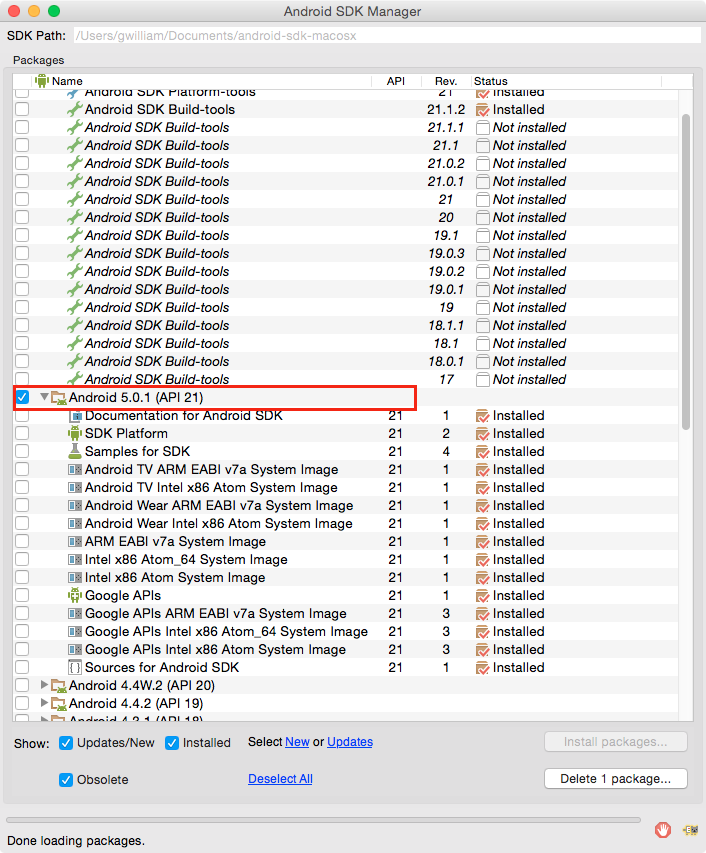
If it wasn't selected and installed by default, select and install the Android 5.0.1 (API 21) components. If it is installed by default, skip to the next step. You will need to accept the software terms to install the packages.
-
You also need to install the Google Cloud Messaging for Android Library. To see this option you must select the Obsolete checkbox at the bottom of the window. Then, scroll toward the bottom of the SDK Manager, select the Google Cloud Messaging for Android Library.
You also need to download and install the package for the emulator accelerator. In can be found in the Extras node and may already be installed (Intel x86 Emulator Accelerator (HAXM) Installer) . If it is not, then select it too.
Then click Install. You will need to accept the license agreement.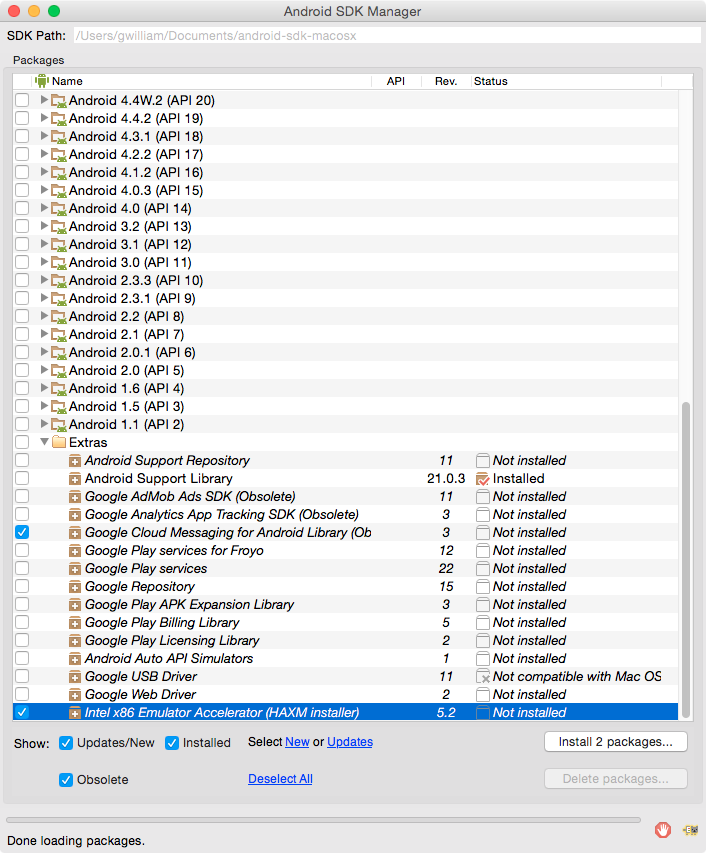
-
To use the Intel x86 Emulator Accelerator, once downloaded, you then must then install the drivers.
On windows, find and double-click IntelHaxm.exe. On Mac, use Finder to locate android-sdk-macozx/extras/intel/Hardware_Accelerated_Execution_Manager and install the correct intelHAXM dmg depending on your OS version.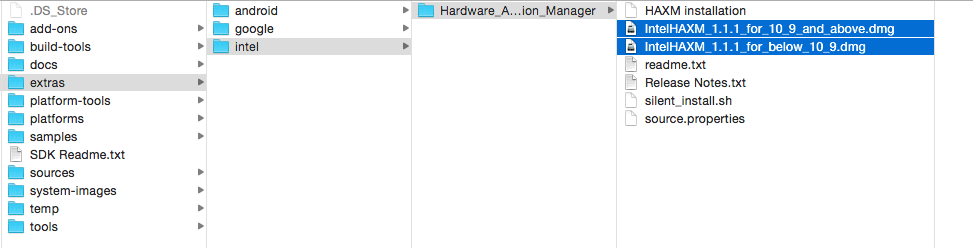
-
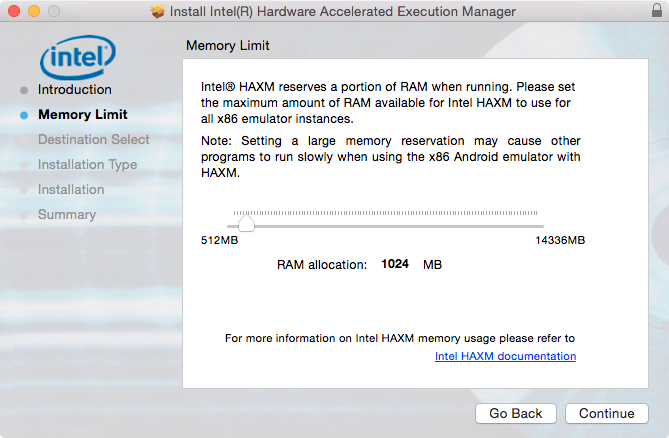
Set the memory reservation to 1024 MB and finish the installation.
-
You will need to have installed Oracle Enterprise Pack for Eclipse before you can continue to the next steps.
-
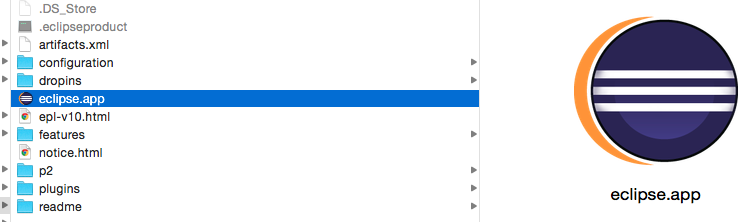
Open OEPE. HINT: On Windows, from the install directory double-click eclipse.exe. On Mac double-click eclipse.app in the install directory.
-
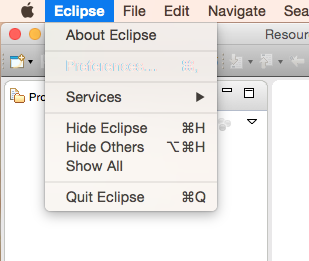
In WIndows select Window > Preferences and on Mac, select Eclipse > Preferences.
-
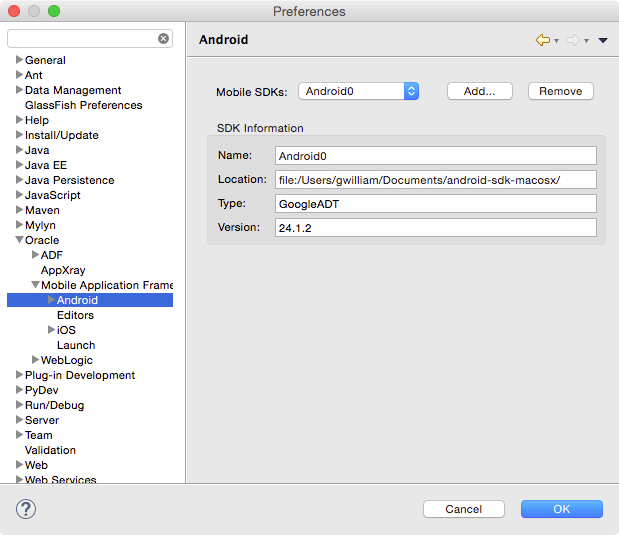
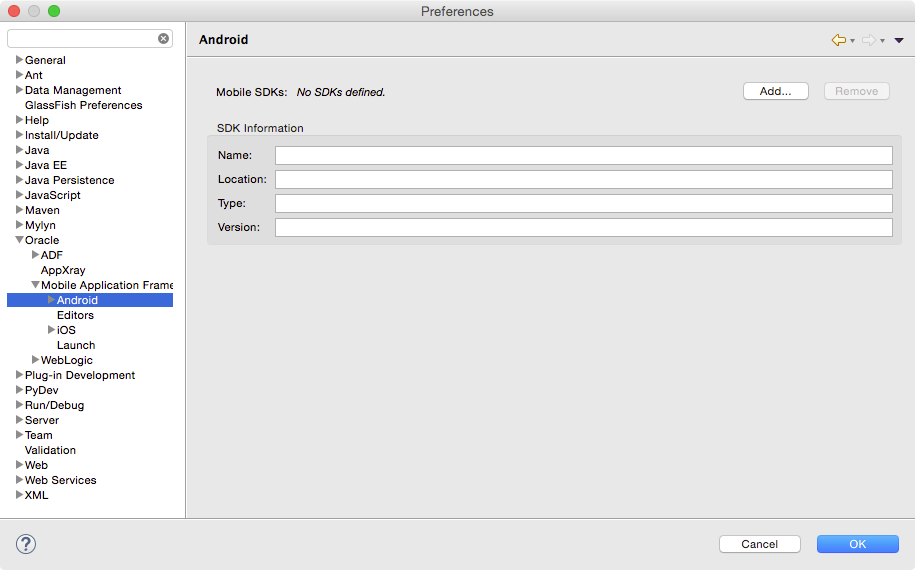
In the Preferences dialog, select Oracle > Mobile Application Framework >Android.
-
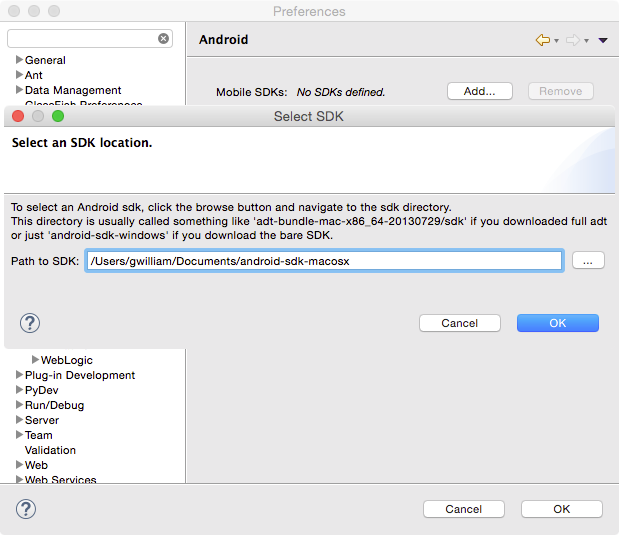
Click Add to add the SDK. You will see a dialog where you can browse to where to installed the Android SDK. Select your install directory including the sdk subdirectory. When you have selected the install directory, click OK to add the SDK.
-
In the Preferences dialog, you will see the SDK details are now populated. Click OK to close the Preferences dialog.
-
If you are on Windows, navigate to the SDK folder within the SDK installation folder. Double-click AVD Manager.exe to open it. This opens the AVD manager directly.
-
If you are on a Mac, navigate the the Android SDK Home /tools and double-click android.This launches the Android SDK Manager.
-
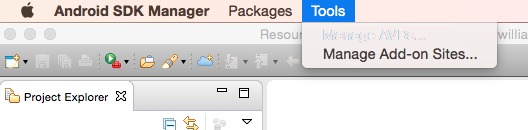
If you are on a Mac, use the Android SDK Manager menu select Tools > Manage AVDs.
-
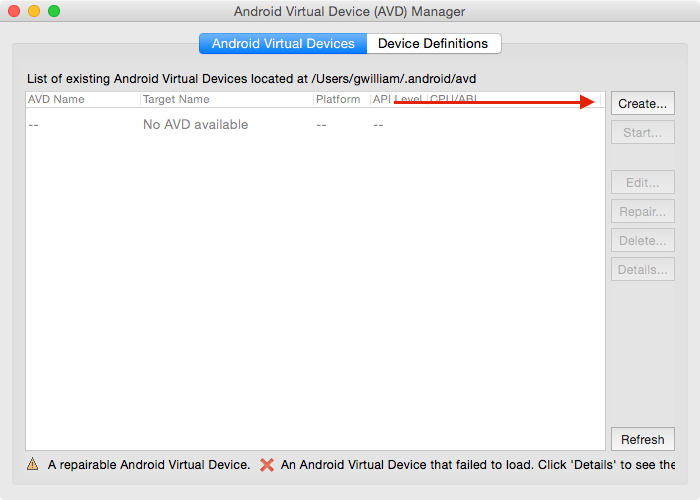
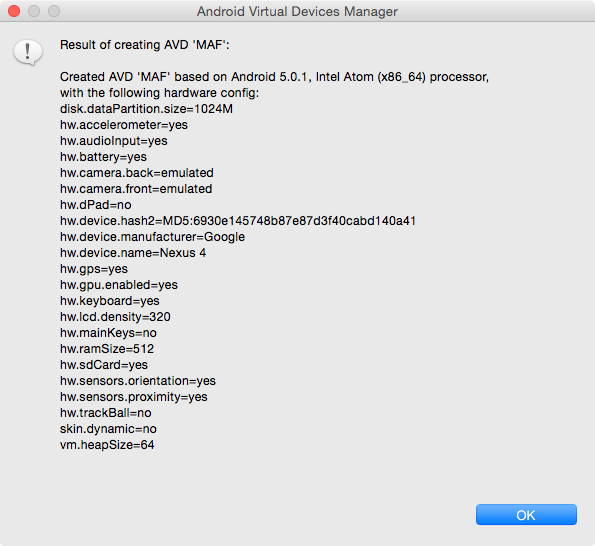
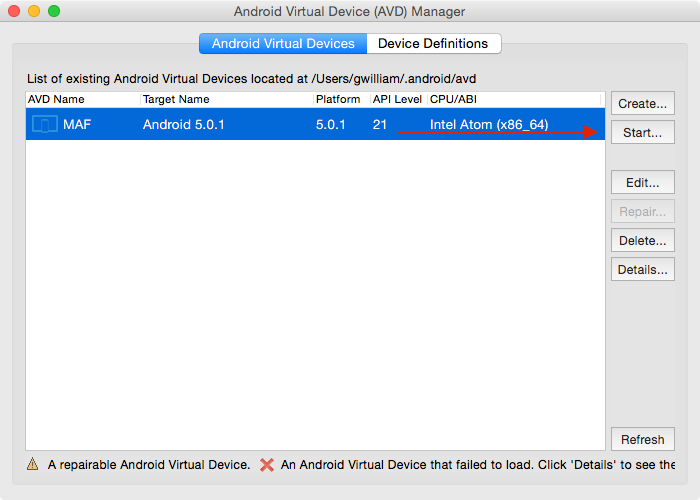
In the Android Virtual Device Manager, click Create to create a new Android Virtual Device and specify the following values to the properties.
AVD Name = MAF
Device = Nexus 4 (4.7", 768 x 1280; xhdpi)
Target = Android 5.0.1 - API Level 21
CPU/ABI = Intel Atom (x86_64)
Skin = No skin
Front Camera = Emulated
Back Camera = Emulated
Memory Options Ram = 512
MiB Internal Storage = 1024 MiB
SD Card = 1024 MiB
Use Host GPU (checked) -
For the remainder, keep the defaults and click the OK button.
You may choose another device type, keeping in mind that newer devices have greater resource demands and you may run into RAM issues on your own machine.

-
A notification of the new AVD is displayed. Click OK to dismiss it.
-
Select the new AVD and click the Start button.
-
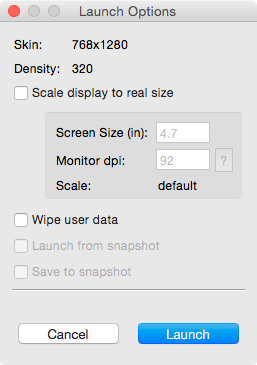
Accept the default values in the Launch Options pane, and click Launch.
-
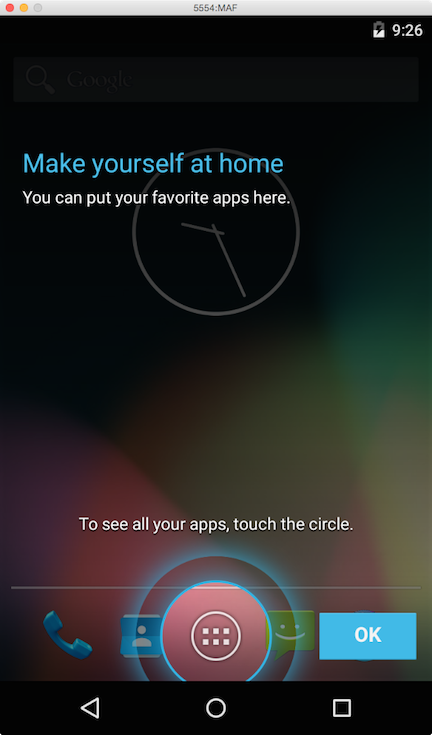
It may take a while for the emulator to be invoked and start running. Depending on the speed of your CPU, 2 minutes is possible. Once it's running, you may minimize the emulator window. (HINT: If the emulator does not start successfully, select the device and click Edit to check the settings.)
-
The setup is now complete.
Before you create, deploy, and test a MAF application, you will need to launch the Android emulator. To deploy the smaller and faster Release packaging, you will want to expand the Android section and fill out the Android Keystore node.