Install Oracle Solaris Using Local or Remote Media
This procedure describes how to boot the Oracle Solaris 11.3 operating system (OS) installation from local or remote media. It assumes that you are booting the installation media from one of the following sources:
-
Oracle Solaris 11.3 (with SRU5) DVD (internal or external DVD)
-
Oracle Solaris 11.3 (with SRU5) ISO DVD image (network repository)
Note - If you are booting the installation media from a PXE environment, see Install Oracle Solaris Using PXE Network Boot for instructions.
- Ensure that the installation media is available to boot.
-
For Distribution DVD, insert the Oracle Solaris 11.3 (with SRU5) DVD into the local or remote DVD drive.
-
For ISO image, ensure that the Oracle Solaris 11.3 (with SRU5) ISO image is available and that the ISO image has been mounted in the Oracle ILOM Remote System Console Plus application using the KVMS menu.
For additional information about how to set up the install media, see Selecting the Boot Media Option.
-
-
Reset or power on the server.
For example, do one of the following to reset the server:
-
From the local server, press the Power button on the front panel of the server (for approximately 1 second) to turn the server off, then press the Power button again to power on the server.
-
From the Oracle ILOM web interface, click Host Management → Power Control, select Reset from the Select Action list box, then click Save.
-
From the Oracle ILOM CLI, type: reset /System
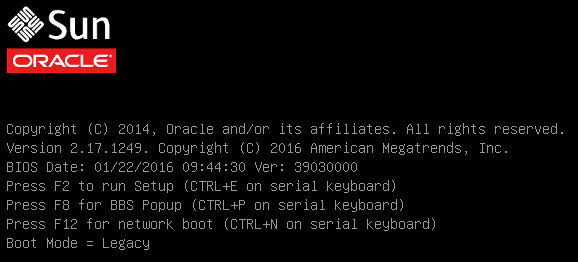
The server begins the boot process and the BIOS screen appears.

Note - The next step occurs very quickly; therefore, be ready to press the F8 key. Watch carefully for messages as they appear on the screen for a brief time. You might want to enlarge the size of your screen to eliminate scroll bars. -
-
In the BIOS screen, press the F8 function key to specify a
temporary boot device for the Oracle Solaris OS installation.
[Boot Pop Up Menu Selected] appears at the bottom of the BIOS screen.
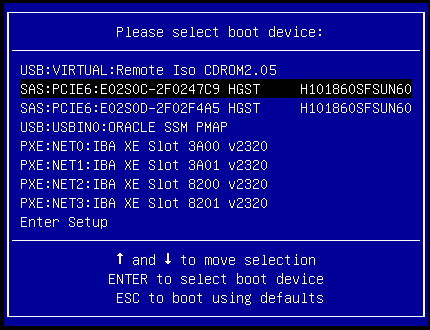
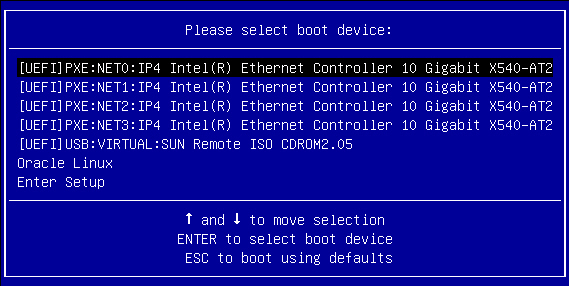
Then the Please Select Boot Device menu appears. The screen that appears will be different depending on whether you have the UEFI/BIOS Boot Mode configured for Legacy BIOS or UEFI.
-
For Legacy BIOS Boot Mode, a screen similar to the following appears:

-
For UEFI Boot Mode, a screen similar to the following appears:

Note - The Please Select Boot Device menu might differ depending on the type of disk controller, and other hardware, such as PCIe network cards, installed in your server. -
-
In the Please Select Boot Device menu, select the menu item
according to the Solaris OS media installation method and the UEFI/BIOS Boot
Mode you elected to use, and then press Enter.
For example:
-
If you elected to use the Oracle ILOM Remote System Console Plus application method in Legacy BIOS Boot Mode, select SATA:DVD:SATA0 P0: TEAC DV-W28SS-W from the Legacy BIOS Boot Mode version of the Please Select Boot Device menu screen.
-
If you elected to use the Oracle ILOM Remote System Console Plus delivery method in UEFI Boot Mode, select [UEFI]USB:VIRTUAL:Remote Iso CDROM2.04 from the UEFI Boot Mode version of the Please Select Boot Device menu screen.
The GRUB menu appears.
-
- Follow the on-screen prompts
to complete the Oracle Solaris installation.
For instructions for completing the Oracle Solaris 11.3 installation (with SRU5), refer to the Oracle Solaris 11.3 installation documentation at http://docs.oracle.com/cd/E53394_01/index.html.