4 Operations
AXF Explorer operations are performed using drag-and-drop procedures similar to the Windows operating system. This chapter discusses the use of AXF Explorer and includes the following information:
Operations Overview
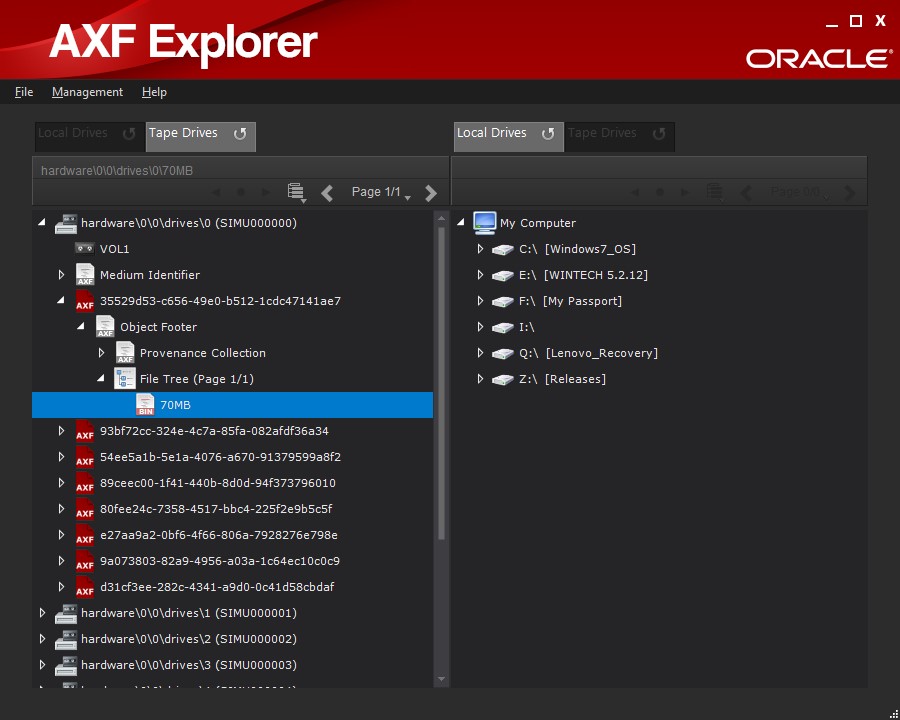
On the main screen, clicking the Plus icon next to a local drive or a tape drive will expand the drive (or tape) folder and file tree, enabling viewing of the folders and files contained on that specific drive (or inserted tape). Clicking the Plus icon next to a specific AXF file will expand the file to display the contents and enable copying of files.
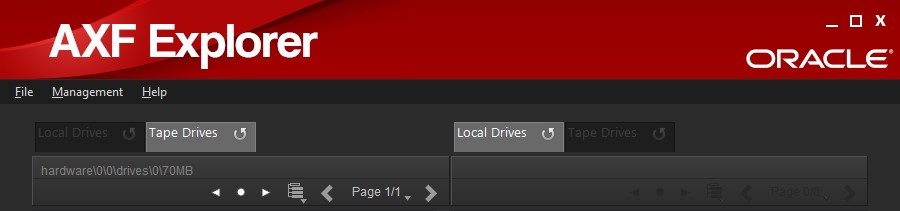
The two tabs located at the top of the right and left viewing panes are used for switching between Local Drives and Tape Drives views on either side of the display. Operations may be performed from either side of the display to the opposite side (right to left, or left to right) without concern of which side is displaying what drives. The Refresh button on each tab will refresh the current display. The button is active when the tab is active.
The number of file components displayed within the file navigation tree of an AXF object is set to a fixed value per page. You modify this setting on the Configuration screen. Each page will only display a subset of files, keeping the file navigation tree easy to read.
The navigation arrows just under the Drive tabs (on both sides of the screen) enable changing pages when the file tree is selected (and the tree is expanded), or when a file or folder in the file tree is selected. The number of pages will be displayed between the two arrows. The number on the left indicates the current page and the number on the right is the total number of pages. In addition, a slide control will also be active and can be used for navigating directly to a specific page.
The left arrow, circle, and right arrow icons to the left of the page navigation control how tape searching is performed.
Operational Restrictions
When AXF Explorer is first run, all tape drive accessible areas are restricted and only local drives are accessible. This prevents accidental operation of a tape drive while it is being used by another program.
To enable tape drive access, click Enable Tape Drive Access. A confirmation message appears warning you that tape scanning operations may possibly cause data corruption. Click OK to confirm the action and enable reading the tape drives.
After confirming the warning, AXF Explorer will prompt you for the master password. The correct password must be entered before tape drive access is allowed. Contact Oracle Support if you do not have the master password.
AXF Explorer Icons
The AXF Explorer GUI uses icons to identify different components as described in the following table:
| Icon | Function | Description |
|---|---|---|
|
AXF Object Seek |
Searches to the previous or next AXF object from a particular block position on a tape. |
|
|
Disk Drive |
Local disks in the system. |
|
|
Tape Drive |
Tape drives in the library. |
|
|
Tape |
Tapes found within a tape drive. |
|
|
Local Disk Folder |
Standard folders on local disks. |
|
|
AXF File |
AXF formatted files that AXF Explorer can read. |
|
|
AXF Metadata |
References sections of the AXF object containing metadata. |
|
|
File Tree |
The AXF object's file tree. |
|
|
AXF Folder |
File tree folders located within and AXF object. |
|
|
Inaccessible File |
These files are inaccessible due to fragmentation. Operations cannot be performed on these files because they do not exist on the current tape. |
|
|
Fragmented File (first) |
This identifies the first fragment of a file. Additional fragments will be on other tapes. |
|
|
Fragmented File (inner) |
This identifies an inner fragment of a file. There may be one or more inner fragments. Additional fragments will be on other tapes. |
|
|
Fragmented File (last) |
This is the last fragment of a file. All previous fragments will be on other tapes. |
|
|
Complete File |
Complete files are not fragmented and can be fully extracted. |
Informational Tooltips
Pausing your mouse over a component displays a tooltip containing information about the selected (hovered) component.
The Tape Drive tooltip displays the following information about the tape drive:
- Device Name
-
The name of the drive.
- Serial Number
-
The serial number of the drive.
- Firmware
-
The firmware release level of the drive.
The Tape Volume tooltip displays the following information about the tape within the drive:
- Identifier
-
The ISO or ANSI standard volume label.
- Volume ID
-
The unique identification code to identify the logical tape volume.
- Implementation ID
-
Indicates the format used by the tape (AXF or Legacy)
- Owner ID
-
The owner identifier of the tape volume.
The Medium tooltip displays the following information about the Medium Identifier Element in an AXF object. It contains the AXF volume signature and specific information for the storage medium.
- Medium Label
-
The current volume serial number for the medium.
- Block Size
-
Identifies the block size for the current storage medium.
- Medium UUID
-
The universally unique identifier for the medium. This typically will not change when the medium is reformatted or reused.
The Medium Provenance holds the historical record for each storage medium. There may be one or more provenance records. The tooltip displays the following information:
- Medium Label
-
The current volume serial number for the medium.
- Block Size
-
Identifies the block size for the current storage medium.
- Prepared Time
-
The date and time when the application prepared this storage medium for use. This value is expressed in UTC (Universal Time Code) format.
The Application tooltip provides the following information related to the system that created the AXF storage medium.
- Application Name
-
The name of the application that created the AXF storage medium.
- Version
-
The application release level.
- Description
-
A description of the application.
- Serial Number
-
The application's serial number.
The Origin Environment tooltip provides the following information about the environment of the system or device that created the AXF storage medium.
- Manufacturer
-
The manufacturer of the device.
- Make
-
The make of the device.
- Model
-
The model of the device.
- Firmware
-
The firmware release level of the device.
- Description
-
A description of the device.
- Serial Number
-
The serial number of the device.
- Medium UUID
-
The universally unique identifier for the medium.
- Medium Label
-
The medium label (equivalent to the barcode)
- Operating System
-
The operating system the device runs on.
- Root Path
-
Contains the parent or root path for the AXF object contents.
- Location
-
Provides information regarding the location where the current AXF object instance was created.
The Medium Preparer tooltip provides the following information about the owner (person) who created the AXF storage medium.
- Name
-
The name of the owner.
- Facility
-
The name of the facility.
- Description
-
The description of the owner.
- Operator
-
The name of the operator.
The Object Footer tooltip provides the following information about the AXF object footer metadata.
- Object Name
-
The name of the object.
- Category
-
The category the object belongs to.
- UUID
-
The universally unique identifier for the AXF object.
- Instance Preparation Time
-
The time at which the instance was created.
- Collection Sequence
-
A reference to a collection of objects (currently set to 1)
- Collection UUID
-
The universally unique identifier for the collection.
- Number of Files
-
The number of files in the AXF object's file tree.
- Number of Directories
-
The number of folders in the AXF object's file tree.
- Object Payload Size
-
The size of the object.
- Header Position
-
The starting position of the object header metadata in bytes or block number.
- Footer Position
-
The starting position of the object footer metadata in bytes or block number.
- Previous Header Position
-
The position of the previous object header metadata in bytes or block number.
- Previous Footer Position
-
The position of the previous object footer metadata in bytes or block number.
- Object Index Position
-
The absolute block position pointing to the most recent object index structure written to the medium.
- File Footer Present
-
Indicates whether the file footer is present.
- File Footer Checksum Type
-
Identifies the checksum type used in the file footer structure.
The Source Environment tooltip provides the following information about the environment of the system or device that created the AXF object.
- Manufacturer
-
The manufacturer of the device.
- Make
-
The make of the device.
- Model
-
The model of the device.
- Firmware
-
The firmware release level of the device.
- Description
-
A description of the device.
- Serial Number
-
The serial number of the device.
- Medium UUID
-
The universally unique identifier for the medium.
- Medium Label
-
The medium label (equivalent to the barcode)
- Operating System
-
The operating system the device runs on.
- Root Path
-
Contains the parent or root path for the AXF object contents.
- Location
-
Provides information regarding the location where the current AXF object instance was created.
The Destination Environment tooltip provides the following information about the environment of the system or device that holds the AXF object.
- Manufacturer
-
The manufacturer of the device.
- Make
-
The make of the device.
- Model
-
The model of the device.
- Firmware
-
The firmware release level of the device.
- Description
-
A description of the device.
- Serial Number
-
The serial number of the device.
- Medium UUID
-
The universally unique identifier for the medium.
- Medium Label
-
The medium label (equivalent to the barcode)
- Operating System
-
The operating system the device runs on.
- Root Path
-
Contains the parent or root path for the AXF object contents.
- Location
-
Provides information regarding the location where the current AXF object instance was created.
The Object Owner tooltip provides the following information about the owner (person) who created the AXF object.
- Name
-
The name of the owner.
- Facility
-
The name of the facility.
- Description
-
The description of the owner.
- Operator
-
The name of the operator.
The File Information tooltip provides the following information about a file stored within the AXF object.
- Filename
-
The name of the file.
- File ID
-
The file identifier index.
- Size
-
The size of the file.
- Position
-
The block position within the AXF object where the file is located.
- Checksum Type: Checksum
-
The checksum type and value calculated for the file.
The File Fragment tooltip provides the following information about a fragmented file stored within the AXF object.
- Filename
-
The name of the file.
- File ID
-
The file identifier index.
- Fragment Number
-
The fragment number where the file fragment resides.
- Fragment Size
-
The size of the fragment.
- Fragment Position
-
The block position within the AXF object where the fragment is located.
- Original Size
-
The original non-fragmented size of the file.
Searching for AXF Objects
AXF Explorer normally searches to the end of a tape and locates all AXF Objects on the tape by following each pointer to the previous object. The seek operation may take an extended time to reach the end of tape. There may be instances where you may not want to wait that long to access an AXF Object. The seek time can be reduced by providing AXF Explorer with a starting block position on the tape to search. Using this method, you can seek to a previous or next AXF object starting from the set block position one object at a time.
AXF Object Search Controls
The control buttons for setting the starting tape block position and searching to the previous or next object will appear when clicking a tape drive item in the tree.
The following three buttons are for seeking within an AXF object:
- Left Arrow
-
The left arrow button searches to the previous AXF object from the starting block position of the tape.
- Center Button
-
The center button (a filled in circle) sets the starting block position to search from and (or) view the current block position.
- Right Arrow
-
The right arrow button searches to the next AXF object from the starting block position on the tape.
Setting the Starting Block Position
Clicking the center button will display the dialog box to set the starting block position where the search for an AXF object will begin. The current start block position value will also be shown. The following two options are available for searching objects:
- Scan Entire Tape
-
AXF Explorer performs the standard AXF scanning operation by searching to the end of the tape and locating all AXF objects.
- Start Scan at Block
-
AXF Explorer starts scanning operations from the specified block position. Only the result of a single discovered AXF object is displayed in the tree.
Searching to the Previous or Next AXF Object
After specifying a starting block position, click either Search Previous Object or Search Next Object. The drive will search to the specified starting block position and attempt to locate the AXF object. If successful, the AXF object will be added to the file tree. Only one AXF object will be discovered and added. After an AXF object has been located, you can click Search Object again to locate the next previous or next object.
When scanning for the previous AXF object, the method used to locate the next object in sequence is determined by the Previous Object Seek Method setting.
File Tree Page Selection and Navigation
Each folder in the file tree can only display a certain maximum number of files per page. When selecting either the file tree or a desired file or folder, the file tree navigation buttons will activate. The selected folder must be expanded in order for the navigation panel to become active.
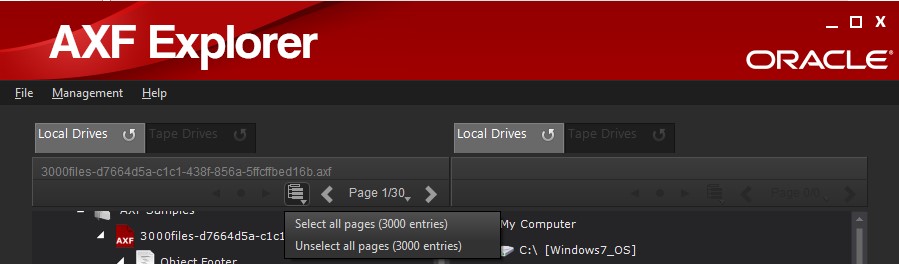
File Tree Multiple Page Selection
For AXF objects containing file trees that span many pages (especially for complex objects), you can select every file without having to manually select them on a page-by-page basis. The name of the AXF object is displayed above the multiple selection list button. The multiple selection list contains the following two submenus:
- Select All Pages
-
Selects every file and folder enter that falls under the currently selected file tree.
- Unselect All Pages
-
Deselects every file and folder entry that falls under the currently selected file tree.
File Tree Page Navigation
The current page and the total number of pages available will be visible as soon as the File Tree Navigation panel is active. Clicking the arrow buttons will take you to the previous or next page.
To jump to a specific page, click the Page link between the two arrows which will reveal a page selection control. Slide the control to the appropriate page and the file tree will then display it. The targeted page number will be visible to the left of the control.
Extracting Metadata
The Metadata for a tape instance or an AXF object can be saved to the local drive. The metadata types that you can save for a tape instance are:
-
Medium Identifier
-
Provenance Collection
-
Provenance
-
Application
-
Origin Environment
-
Medium Preparer
The metadata types you can save for an AXF object are:
-
Object Footer
-
Provenance Collection
-
Provenance
-
Application
-
Source Environment
-
Destination Environment
-
Object Owner
To save the metadata, locate the desired metadata type using the navigation tree by expanding the tree of the tape instance or AXF object. You can select multiple objects by holding down the CTRL key (for individual object selection) or the SHIFT key (to select a range of objects) and then clicking the specific metadata types, or on the first and then the last metadata type in a range.
On the opposite panel (either right or left) locate the destination drive and folder (if applicable). Expand it as necessary using the Plus icon next to the drive and (or) folder.
After the source metadata type(s) and destination drive and folder have been selected, drag and drop the object to the desired destination location. The Copy Status dialog box will be displayed indicating that the copy operation is being performed.
If the saved metadata belongs to a tape instance, the file will be stored using the following file name format:
[tape label]_[metadata type]_[provenance number]_[sub-provenance type].xml
If the saved metadata belongs to an AXF object, the file will be stored using the following file name format:
[AXF Object UUID]_[metadata type]_[provenance number]_[sub-provenance type].xml
A provenance number and sub-provenance type will only exist in the file name if the Metadata Type is a provenance.
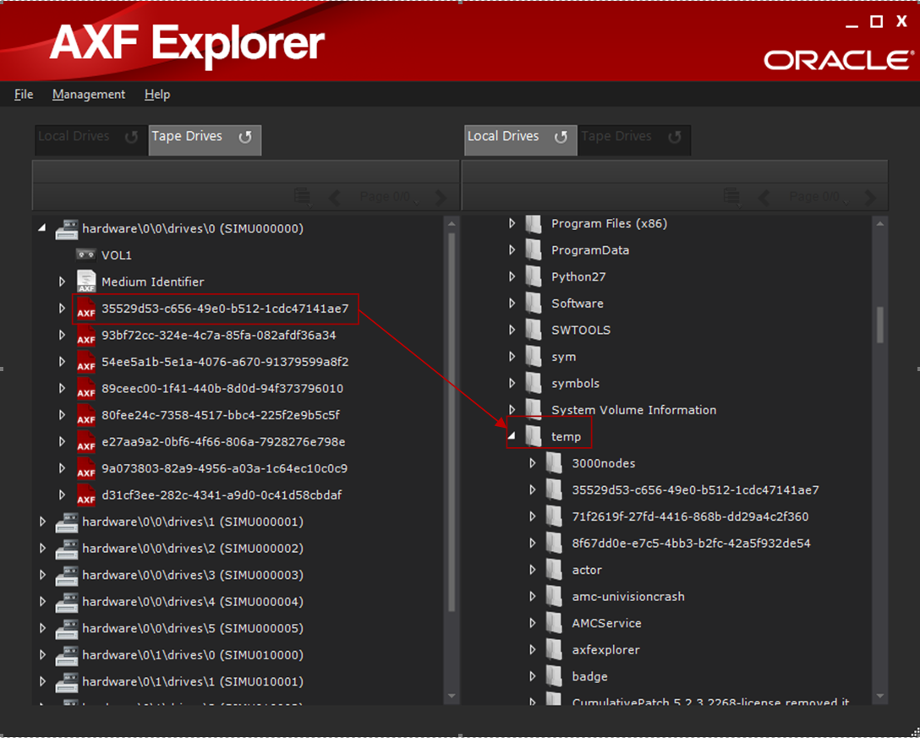
Performing Copy Operations
Complete files stored within an AXF object can be individually extracted and saved to a local drive. Fragmented files located across multiple tapes can be extracted and combined real-time to recreate the original file. Additionally, the entire content (files and metadata) for an AXF object can be saved.
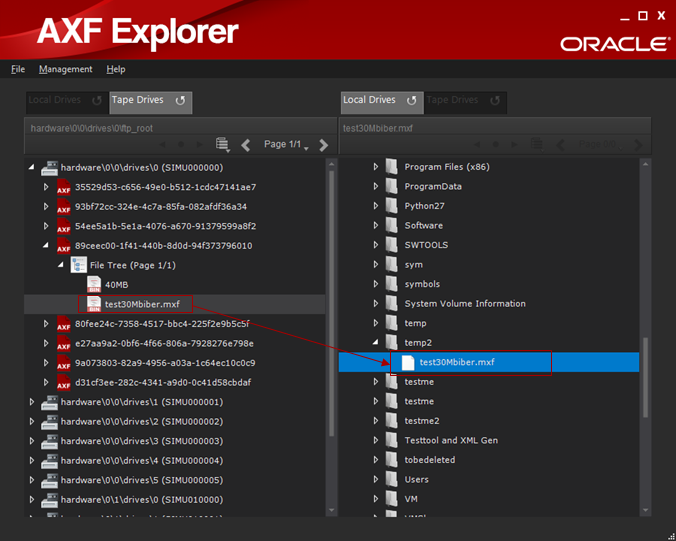
Copying files and Folders
To copy a file (or multiple files) or folder from one drive to another, first locate the desired AXF file using the navigation tree. After you locate the desired file or folder, click the Plus icon to expand the AXF file to display the files it contains. Files or folders can be selected to be copied to the targeted destination. When selecting a folder, it indicates your intention is to copy all of its files and underlying sub-folders to the selected destination.
You select multiple objects by holding down the CTRL key (for individual object selection) or the SHIFT key (to select a range of objects) and then clicking the mouse button on the specific objects, or on the first and then the last object in a range respectively.
On the opposite panel (either right or left) locate the destination drive, tape, and folder (if applicable) and expand it as necessary using the Plus icon next to it.
After the source object(s) and destination drive and folder have been selected, click the object, drag and drop it to the desired destination location. A Copy Status dialog box displays indicating that the copy operation is being performed.
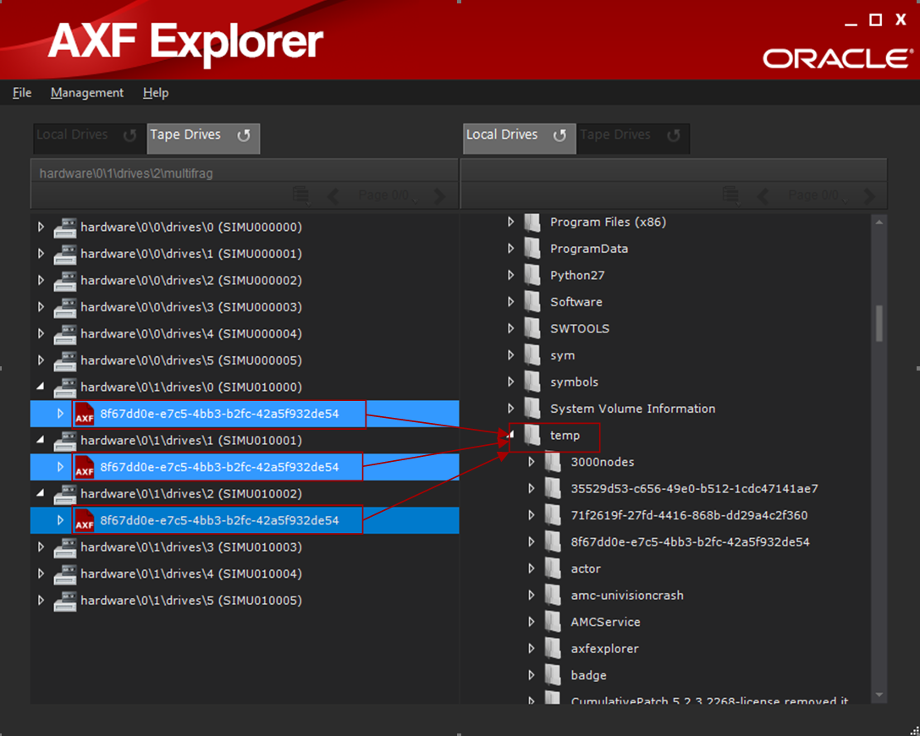
Rebuilding Fragmented Files
Files split across multiple tapes result in AXF objects that contain only partial fragments of the whole file. There are 3 types of fragmented files which depict their position in an AXF object:
-
First
-
Inner
-
Last
For a fragmented file there can only be a single first fragment and a single last fragment. However, there can be multiple inner fragments. Each of these fragments must be joined together to recreate the original file.
Fragmented files can be copied out of AXF objects. Each fragment must then be written to the same location on the local drive. The order (or sequence) in which the fragments (first, inner, or last) are selected does not influence the way they are written when re-creating the file. Each fragment will be saved with the same name. However, they will not overwrite a previously extracted fragment. AXF Explorer will join them accordingly. After all fragments belonging to the file have been extracted, the file will be complete.
Fragment rebuilding is also possible when performing a full AXF object dump containing more than one selected AXF object (of the same UUID or Object Name-Category) into the same folder.
Extracting the Contents of an Entire AXF Object
The entire contents (consisting of metadata, files, and folders) of an AXF object can be extracted and saved to local disk. When an AXF object dump is performed, a separate folder is first created and designated with either the UUID or Object Name-Category. The folder name depends on the configuration setting for the Show AXF Tape Object Name As parameter. A data subfolder is created to hold the extracted file contents and a metadata subfolder is created to hold the AXF object metadata.
To dump the entire AXF object to local disk, first locate the desired AXF object using the navigation tree. You select multiple objects by holding down the CTRL key (for individual object selection) or the SHIFT key (to select a range of objects) and then clicking the mouse button on the specific objects, or on the first and then the last object in a range respectively.
On the opposite panel (either right or left) locate the destination drive, tape, and folder (if applicable) and expand it as necessary using the Plus icon next to it.
After the source object(s) and destination drive and folder have been selected, click the object, drag and drop it to the desired destination location. A Copy Status dialog box displays indicating that the copy operation is being performed.
The file fragments spanned across multiple disks will be rebuilt during the copy.
When the copy operation has completed successfully, the Copy Status dialog box will disappear and the object will be shown in the new location.
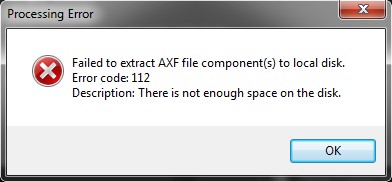
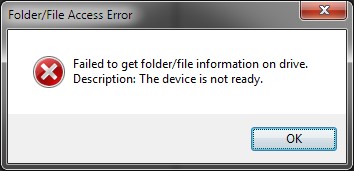
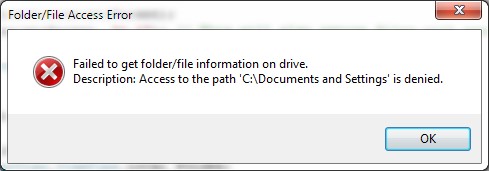
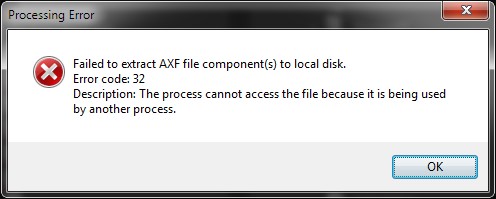
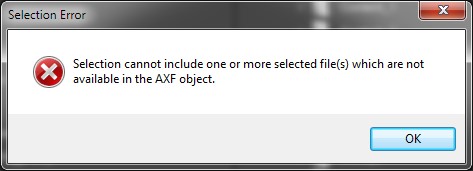
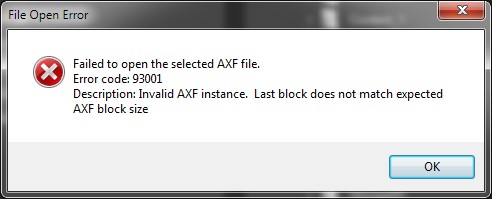
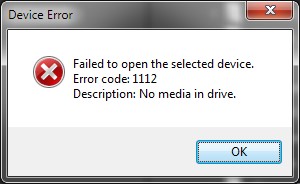
Error Notifications
A dialog box displays when an error is encountered. The following list describes possible errors and their meanings:
-
The selected drive cannot be accessed to retrieve the drive's contents.
-
A particular folder cannot be accessed while attempting to retrieve its file contents. A possible cause of this error is insufficient file permissions.
-
The source file or destination file cannot be opened because it has been locked or is in use by another process.
-
AXF Explorer cannot extract the selected file component(s) because they are not available within the fragmented AXF object.
-
The selected AXF file is corrupt or invalid.
-
There is no media inserted in the tape drive.
-
A write error occurred because no space remains on the target drive.