This example walks you through the steps to importing data into a Planning application when the member names in the source system match the member names in Planning.
When you create a Planning application, a default import format is automatically created, with the name appname_1. You use this import format to map a source data file to the Planning application. This import format assumes that the order of dimensions in the CSV file are: Account, Entity, Amount, and then any custom dimensions in alphabetical order. If you want to use a different file format, you adjust the format.
![]() Review the default Import Format:
Review the default Import Format:
On Import Format, confirm the settings.
Note:
The File Delimiter drop-down list specifies the character that separates values in the file.
The Field Number column specifies the order of fields in the load file. The import format assumes the order of dimensions are Account, Entity, Amount, and then any user defined dimensions. All dimensions must be in alphabetical order.
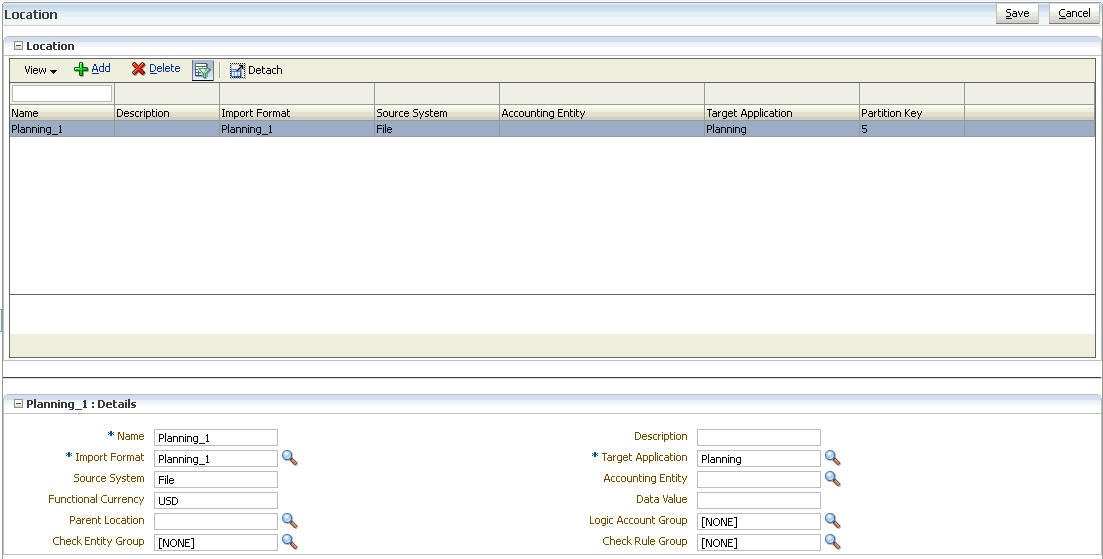
The Location is used as a container to load data from Data Management. When you create a Planning application, a default Location is automatically created with the name appname_1.
Data load mappings define relationships between source dimension member values and target dimension members in one dimension. The mappings are used to derive the target members for each dimension based on the source value. The Data Management component uses the data load mappings during the data load to dimensionalize the data that is loaded to the target dimension. You must create a data load mapping for each target dimension.

After creating a data load mapping, you define a data load rule. Data load rules are defined within locations.
![]() On the Workflow tab, click Data Load Rule.
On the Workflow tab, click Data Load Rule.
Under Details on the Data Load Rule window, you define the rule.
To run the data load rule, using the mapping that you created, click Execute.