| Oracle Unified Messaging Installation Guide Release 2.1.2 for Sun SPARC Solaris 2.6 A86091-02 |
|
![]()
![]()
This chapter describes Unified Messaging installation and configuration procedures for both new installations and upgrades. Topics covered include:
The Oracle Product Installation CD-ROM is in RockRidge format. If you are using the Solaris Volume Management software (installed by default on Sun SPARC Solaris 2.x), the CD-ROM is mounted automatically when you put it into the disk drive. If you are not using the Solaris Volume Management software, use the following procedure to mount the CD-ROM manually. You must have root privileges to mount or unmount the CD-ROM manually. Be sure to unmount the CD-ROM before removing it from the drive.
$ su root
# mkdir mount_point_directory
# mount options device_name mount_point_directory
# exit
$ cd /cdrom/cdrom0
C Shell:
% setenv DISPLAY <hostname>:0.0
Bourne or Korn Shell:
$ DISPLAY=<hostname>:0.0;export DISPLAY
% /usr/openwin/bin/xhost +
See the UNIX man pages for more information on xhost.
$ ./runInstaller
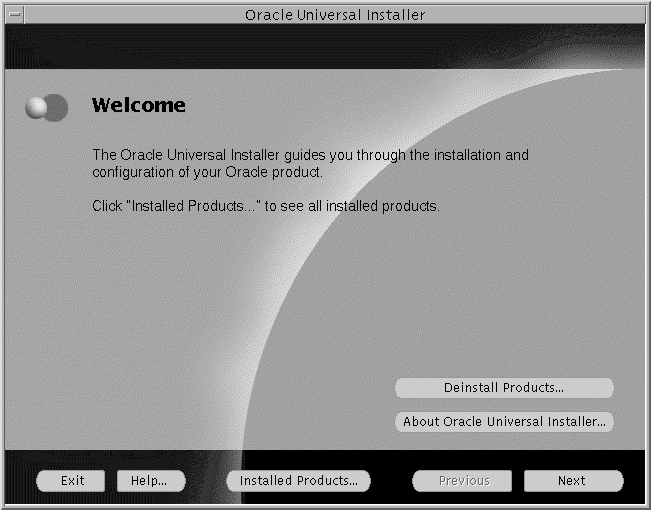
The ./runInstaller command launches the Oracle Universal Installer and the Welcome dialog box displays.
This table gives you information about the Oracle Universal Installer screen buttons.
Enter the location of the source and destination. The Source is where the Unified Messaging stage is located. The Destination is where the ORACLE_HOME is located and where Unified Messaging will be installed.
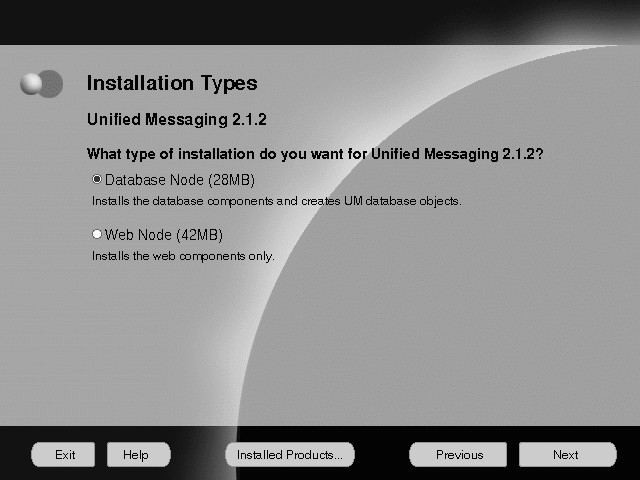
Select your installation type.
| Installation Type | What it Does |
|---|---|
|
Database Node |
Installs the database components and creates UM database objects. |
|
Web Node |
Installs the web components only. |
Click Next. The Summary screen appears.
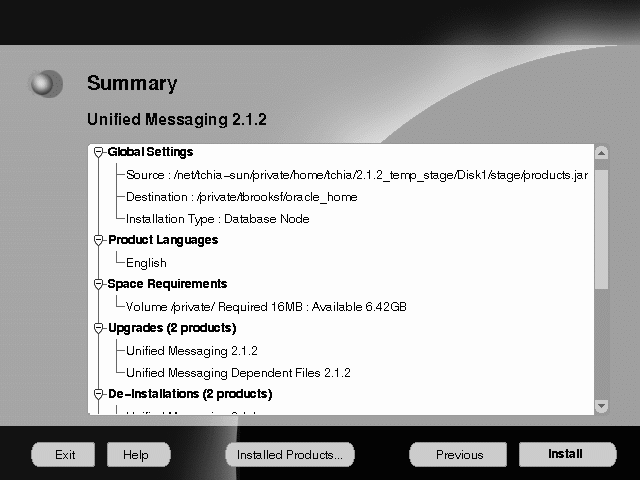
The Summary screen enables you to verify your installation settings. These settings include the source and destinations locations you specified; the installation type you selected; the product language; the space requirement for installation and the space currently available; and the Unified Messaging products that will be installed.
To change your source or destination location, or installation type, click Previous to return to the appropriate screen. Otherwise, click Install to begin installation. The progress screen displays.
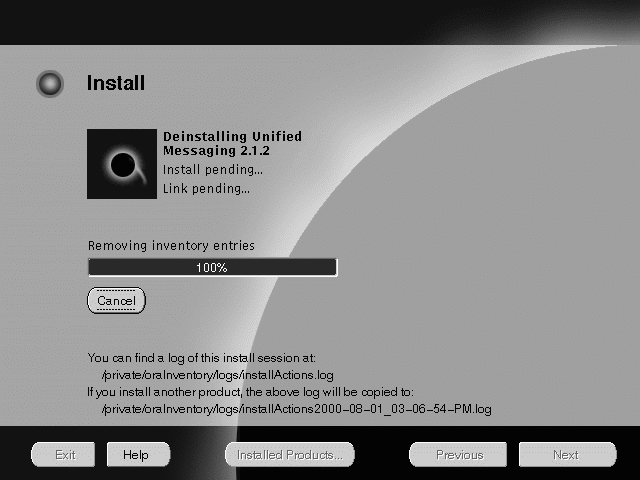
This screen shows the progress of your installation. To stop installation, click Cancel.
The products are installed in the specified location. When installation is complete, the Configuration Tools screen appears.
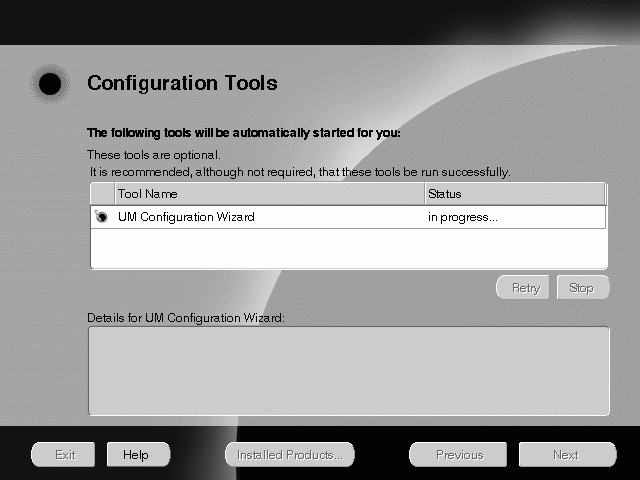
If installation was successful, the UM 2.1.2 Configuration Assistant launches.
.login file (for the C shell) or the.profile file (for the Bourne or Korn Shell):
|
login (C shell) |
|
|
profile (Bourne or Korn shells) |
|
.profile or .login file.
ksh/bsh -- export JAVA_HOME=<jre install directory>
csh -- setenv JAVA_HOME <jre install directory>
$ORACLE_HOME/um/bin/um_install.sh
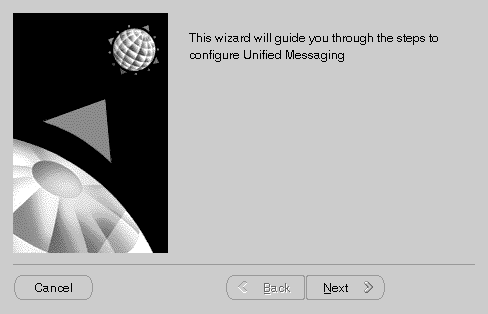
This table gives you information about the Configuration Assistant screen buttons. Click Next to proceed through the steps to configure Oracle Unified Messaging 2.1.2.
| Screen Button | What it Does |
|---|---|
|
Cancel |
Exits you out of the Configuration Assistant. |
|
Next |
Takes you to the next screen. |
The ORACLE_HOME for Oracle UM 2.1.2 screen appears.

On this screen you must specify the location of your Oracle Home, where Unified Messaging is to be installed.
Enter the directory path of the ORACLE_HOME where Unified Messaging is installed and click Next. The ORACLE_SIDs for UM 2.1.2 screen displays.
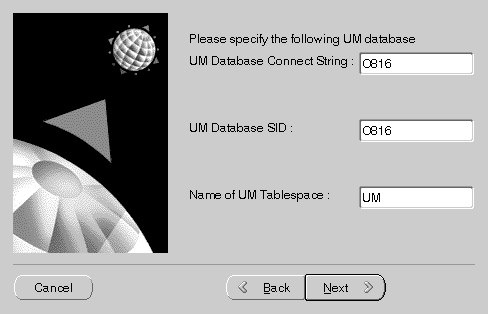
On this screen you must enter the Oracle SID and connect string for Unified Messaging, as well as the Unified Messaging tablespace name.
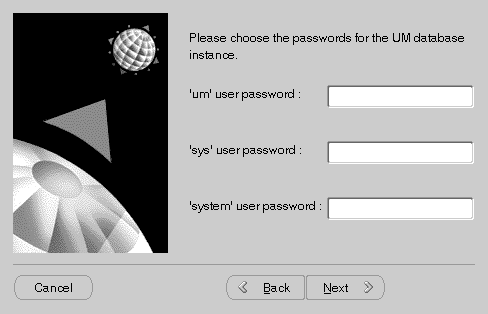
In this screen, you must enter three Unified Messaging database passwords.
Enter the passwords in the corresponding fields and click Next. The ES Parameters screen displays.

In this screen, you must specify Oracle eMail Server parameters.
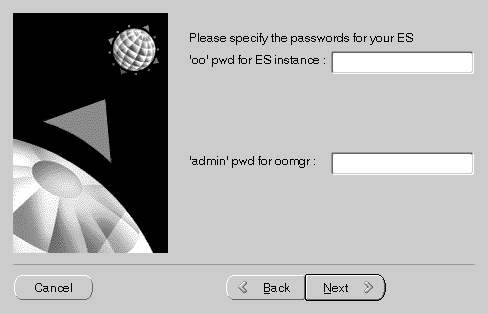
In this screen, you must specify passwords for your Oracle eMail Server installation.
Enter the passwords and click Next. The LDAP Servers screen displays.

In this screen you must specify your LDAP Servers Parameters.
PAB - Private Address Book
GSM - Global System for Mobile
Enter the parameters and click Next. The LDAP Domains screen displays.
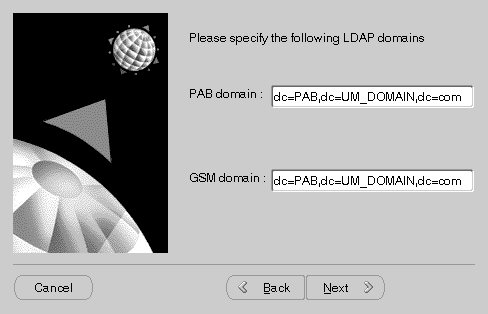
In this screen you must specify your LDAP domains.
Enter the LDAP domains and click Next. The last screen displays.
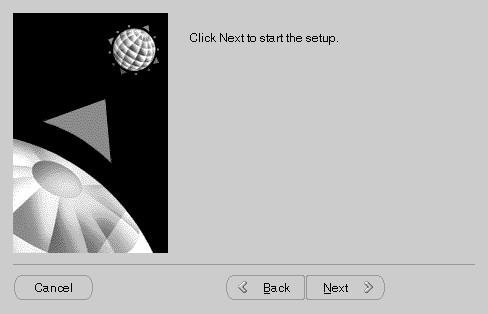
Click Finish to exit the Configuration Assistant.
Once you have completed installation, you must now complete the post-installation tasks. See "Post Installation Tasks" to begin post-installation tasks.
|
|
 Copyright © 2000 Oracle Corporation. All Rights Reserved. |
|
