Release 2 (9.0.3)
Part Number B10243-01
Core |
Platform |
Contents |
Index |
| Oracle9i Application Server Migrating to Oracle9iAS Release 2 (9.0.3) Release 2 (9.0.3) Part Number B10243-01 |
|
This chapter explains how to use the Oracle9iAS Migration Assistant. This chapter contains these sections:
This section details the overall functionality of the Assistant. The Migration Assistant is designed to:
Before starting the Assistant, read the section for each migration option you plan to use.
This section explains how to prepare for and complete a migration. It contains these topics:
Using the Oracle9iAS Migration Assistant (GUI Version)
Using the Oracle9iAS Migration Assistant (Command Line Version)
Perform the tasks in this section before you begin migrating to Release 2 (9.0.3). If you have a Release 1 (1.0.2.1.x) installation, you must first migrate to Oracle9iAS Release 1 (1.0.2.2.x).
|
See Also:
Oracle9i Application Server Migration Guide in the Release 1 (1.0.2.2.x) Oracle9i Application Server documentation library |
Before you begin the migration process:
If Release 2 (9.0.3) is installed on the same computer as the Release 2 (9.0.2) Infrastructure, you may also need to apply infrastructure patches to the Release 2 (9.0.2) installation.
Note:
Before you start the Assistant, be prepared with the password for the SSL certificate key file for the Oracle HTTP Server, if a password other than the default 'welcome' password was assigned. See Table 2-4 for password requirements. This password is used to generate the wallet during SSL conversion. If you enter the password incorrectly 3 times, components containing the SSL-related information are set to non-migratable status (excluded from the migration).
If you want to use SSL with the Oracle HTTP Server in the Release 2 (9.0.3) environment, ensure that the following directives are configured (uncommented) in the httpd.conf file before you start the Assistant:
SSLCertificateFile and SSLCertificateKeyFile are necessary for any SSL-enabled web site, and if the configuration being migrated is an SSL configuration, these will be configured in httpd.conf in the source installation.
You must also ensure that the trust points are specified by some directive in the Release 1 installation. See "Migration of SSL Settings from Oracle9iAS Release 1 (1.0.2.2.x)" for instructions on how to do this.
|
Note: The screen images in this section show the migration process on a UNIX system (different from Windows only in the separation character used in the directory paths). |
ORACLE_HOME_2/migration (UNIX), ORACLE_HOME_2\migration (Windows).
MigAssistant.sh (UNIX)
MigAssistant.bat (Windows)
The Oracle Home screen appears (Figure 5-1).
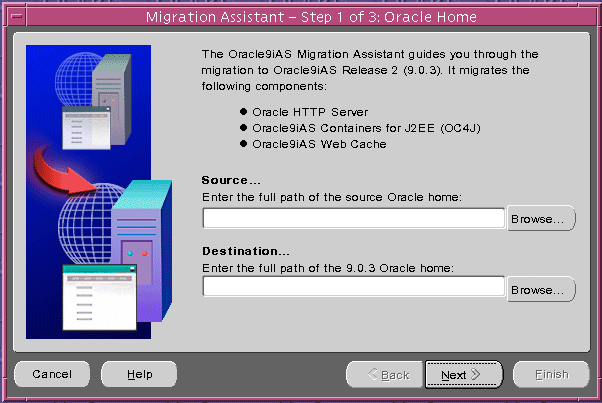
ORACLE_HOME_1. You can:
ORACLE_HOME_2. You can:
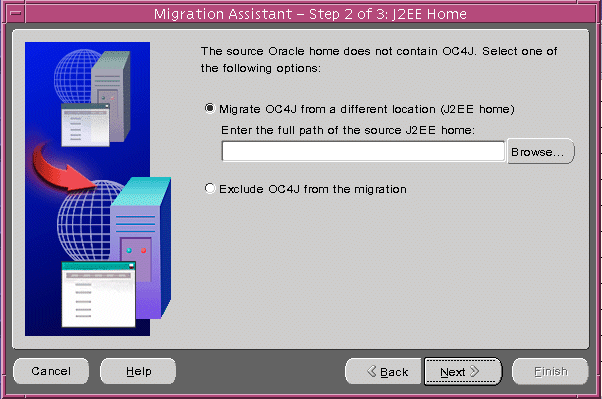
If OC4J was not found in the Source... path you specified, the J2EE Home screen appears (Figure 5-2).
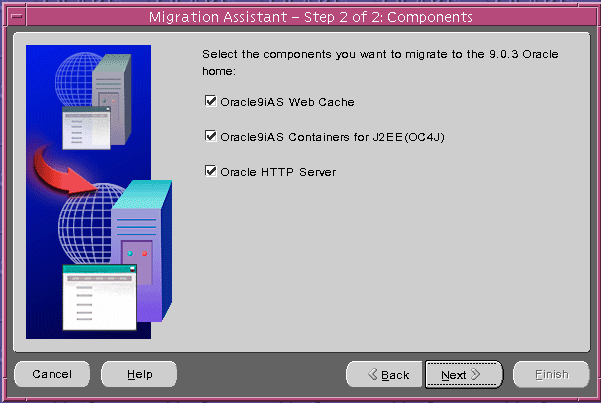
The Components screen appears (Figure 5-3). By default, all of the components are selected for migration.
If OC4J was selected, the OC4J screen appears (Figure 5-4). By default, all applications are selected for migration. See "OC4J Migration Candidates" for information on how the configuration files and applications are identified for migration.
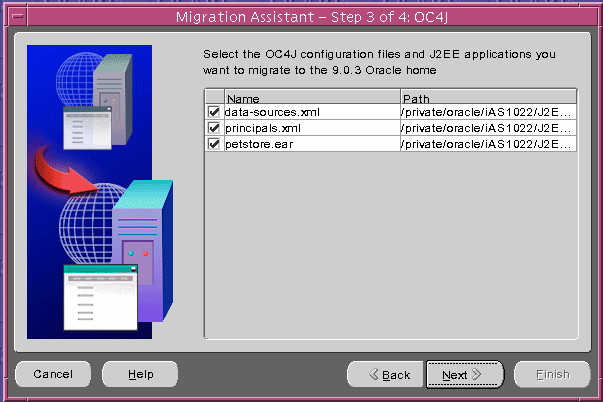
If any migrated application uses datasource tags, you must select data-sources.xml for migration. If you do not, the migration will fail.
Warning:
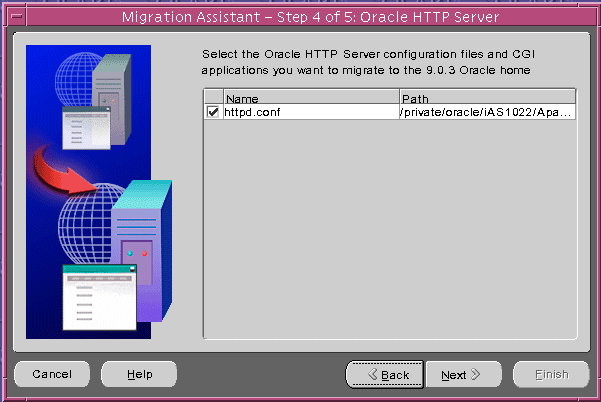
If Oracle HTTP Server was selected, the Oracle HTTP Server screen appears (Figure 5-5). By default, all of the configuration files, CGI applications, and static documents found are selected for migration. See "Oracle HTTP Server Migration Candidates" for information on how the configuration files and applications are identified for migration.
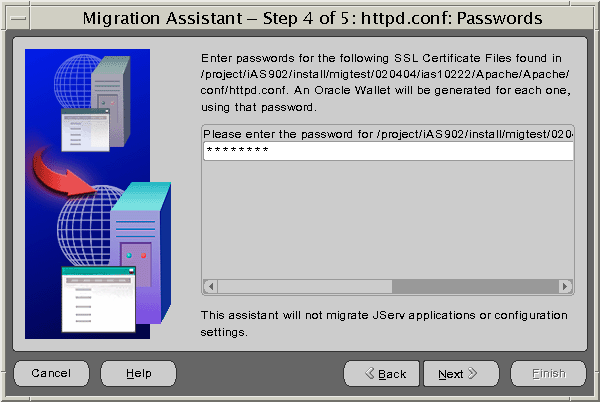
If an SSL certificate file was found with a password other than the default 'welcome', the httpd.conf: Passwords screen appears (Figure 5-6).
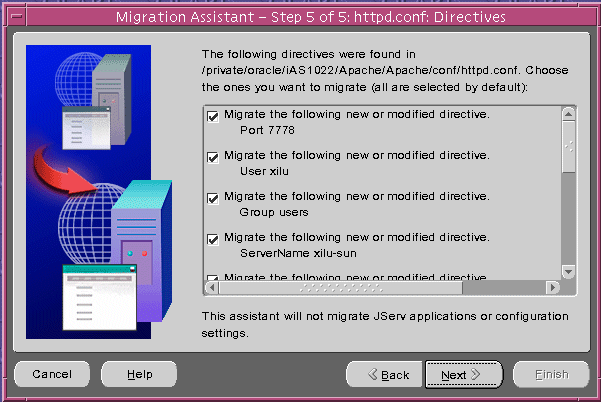
The httpd.conf: Directives screen appears (Figure 5-7), which is populated with the directives you can choose to migrate. By default, all directives except for mod_proxy are selected for migration. See "The Oracle HTTP Server Directive Migration Process" for information on how the Assistant compiled this list of directives.
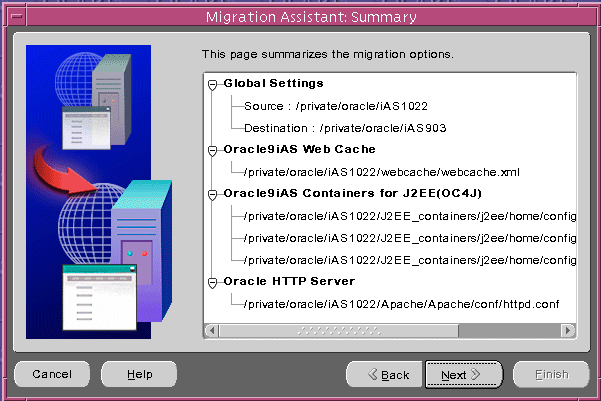
The Summary screen appears (Figure 5-8), showing your choices of Oracle homes, configuration files, and applications.
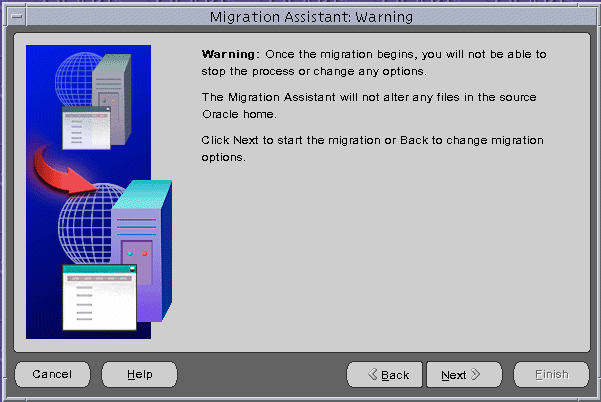
The Warning screen appears (Figure 5-9).
|
Warning: If you click Next now, the Assistant will begin to apply the current migration selections. Once the migration begins, you can click Cancel to stop the Assistant. It will finish the migration in progress (Oracle HTTP Server, OC4J or Web Cache), and then stop. No other selected migrations will start. To undo a migration, you must manually restore the configuration files in the 9.0.3 instance from a backup. For a description of backups and file names, see:
|
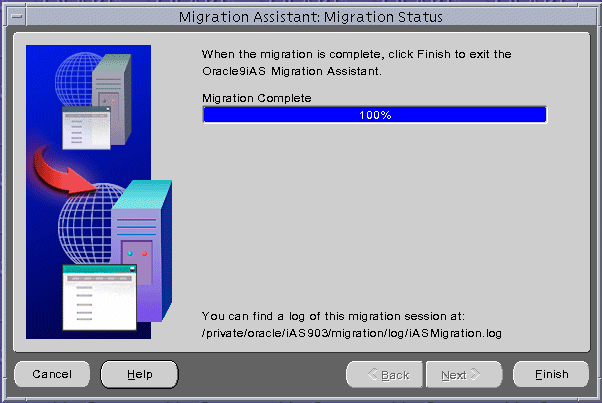
The Migration Status screen appears with a progress bar showing the percentage of the migration completed (Figure 5-10).
ORACLE_HOME_2/migration (UNIX), or ORACLE_HOME_2\migration (Windows).
MigAssistantCmd.sh (UNIX)
MigAssistantCmd.bat (Windows)
The following prompt appears:
Source Oracle home?
ORACLE_HOME_1.
The following prompt appears:
Target Oracle home?
ORACLE_HOME_2.
A prompt resembling the following appears.
Select components to migrate
Migrate all components?[YES]n
The next prompt appears.
Migrate all files for PlugIn Oracle9iAS WebCache?[YES]n
Migrate webcache.xml[YES]
Migrate all files for PlugIn Oracle9iAS Containers for
J2EE(OC4J)?[YES]n
Migrate data-sources.xml[YES]
Migrate principals.xml[YES]
Migrate all files for PlugIn Oracle HTTP Server?[YES]n
Migrate httpd.conf[YES]
Questionaire
PlugIn Oracle HTTP Server httpd.conf
Please enter the password for ORACLE_HOME_
1/conf/ssl.crt/server.crt[welcome]
welcome, or type the password and press Enter.
A summary of selections resembling the following appears:
Press Enter to accept the default password welcome, or type the password and press Enter.
A summary of selections resembling the following appears:
Summary page
PlugIn Oracle9iAS Web Cache
webcache.xml
Plugin Oracle9iAS Containers for J2EE(OC4J)
data-sources.xml
principals.xml
PlugIn Oracle HTTP Server
httpd.conf
Start migration...
Migration processing begins. Status messages resembling the following appear:
Migrating plugin Oracle9iAS Web Cache
Outcome Status code 0
Status description SUCCESS
Migrating plugin Oracle9iAS Containers for J2EE(OC4J)
Outcome Status code 0
Status description SUCCESS
Migrating plugin Oracle9iAS HTTP Server
Outcome Status code 0
Status description SUCCESS
ORACLE_HOME_2/migration/log/iASMigration.log (UNIX)
ORACLE_HOME_2\migration\log\iASMigration.log (Windows)
The log files summarize all migration activity and errors.
ScriptAlias directive.
mod_osso.conf or mod_oc4j.conf
mod_plsql configuration files
orion-web.xml, orion-ejb-jar.xml, orion-application.xml. See "OC4J Elements Not Migrated" and Appendix A, "Files Reference" for examples of files not migrated.
If the migration is unsuccessful, you can run the Migration Assistant again. Follow these steps:
firstRun from the Release 2 (9.0.3) Oracle home directory.
"Using the Oracle9iAS Migration Assistant (GUI Version)"
or
"Using the Oracle9iAS Migration Assistant (Command Line Version)" .
|
|
 Copyright © 2002 Oracle Corporation. All Rights Reserved. |
|