| Oracle® Enterprise Service Bus Quick Start Guide 10g (10.1.3.1.0) Part Number B28212-01 |
|
|
View PDF |
| Oracle® Enterprise Service Bus Quick Start Guide 10g (10.1.3.1.0) Part Number B28212-01 |
|
|
View PDF |
This chapter describes the installation of Oracle JDeveloper. It contains the following topics:
Follow these steps to install Oracle JDeveloper:
Download jdevstudio1013.zip.
Extract the contents of jdevstudio1013.zip file to your local machine such as C:\jdevstudio1013.
Navigate to the C:\jdevstudio1013 folder and double-click jdeveloper.exe. The Oracle JDeveloper 10g Start Page is displayed along with the Migrate User Settings message box that asks if you want to migrate from a previous version.
Click No. The Oracle JDeveloper 10g Start Page is displayed along with the Tip of the Day dialog box.
Click Close. The Oracle JDeveloper 10g Start Page is displayed.
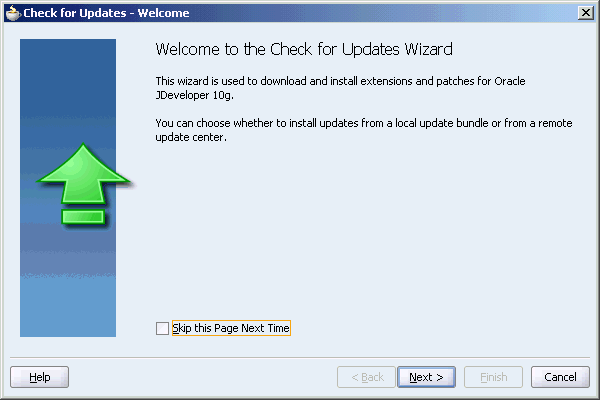
Click Help, Check for Updates. The Check for Updates Welcome Page is displayed, as shown in Figure 4-1.
Figure 4-1 The Check for Updates Welcome Page
Note:
Certain features that are not fully tested in Oracle JDeveloper have been marked as "Preview" features, but will be supported in a later release.You can start the Oracle JDeveloper in the preview mode using the following command:
<JDEV_HOME>/jdev/bin/jdev.exe -J"-Dpreview_mode=true"
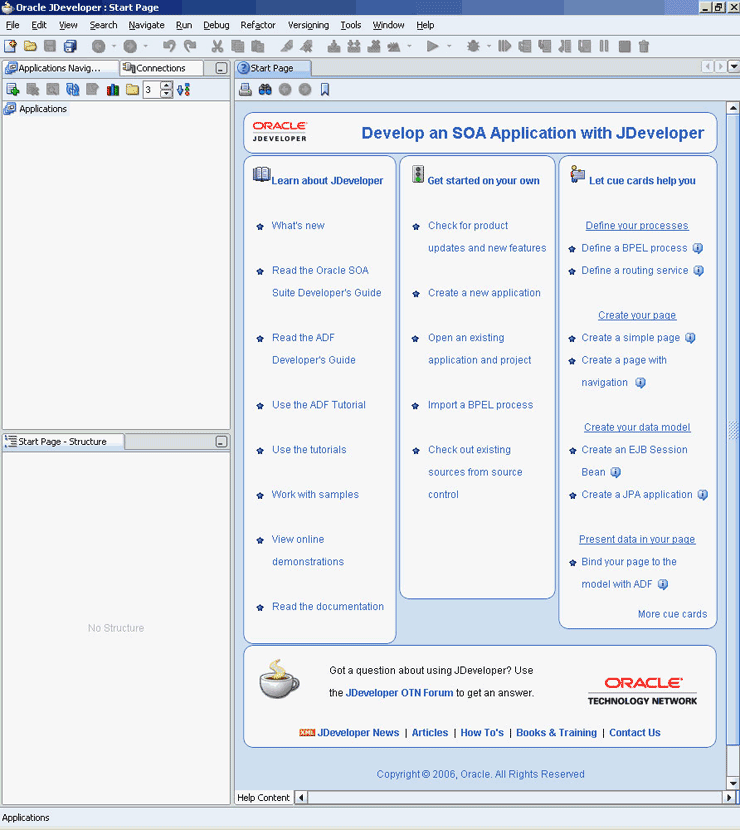
To open Oracle JDeveloper, navigate to the C:\jdevstudio1013 folder and double-click jdeveloper.exe. The Oracle JDeveloper Start Page is displayed.
Figure 4-2 Oracle JDeveloper – Initial Display
To close the Oracle JDeveloper, click Exit on the File menu.
You must configure Application Server connection for SOA Suite. Perform the following steps to configure Application Server connections and to test it:
Identify the OPMN port.
Note:
To determine the OPMN port, check theopmn.xml file in the Oracle_Home\opmn\conf\ directory, where Oracle_Home is the name of the Oracle home where you installed Oracle Enterprise Service Bus SOA Suite.Navigate to the C:\jdevstudio1013 folder and double-click jdeveloper.exe. The Oracle JDeveloper 10g Start Page is displayed.
Click the Connections Navigator tab. The Connections pane is displayed.
Right-click Application Server, and select New Application Server Connection. The Create Application Server Connection Welcome wizard is displayed.
Click Next. The Create Application Server Connection Type page is displayed.
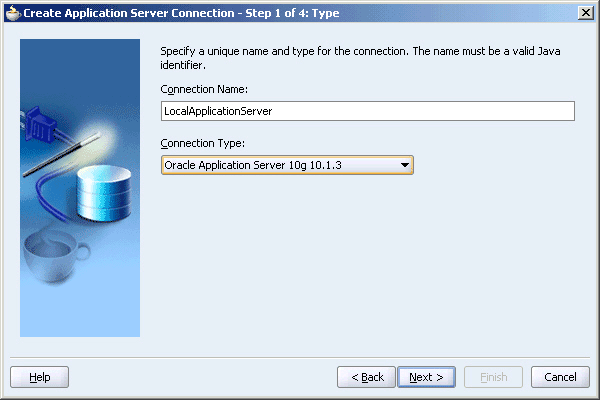
Enter LocalApplicationServer in the Connection Name field and select Oracle Application Server 10g 10.1.3 from the Connection Type list, as shown in Figure 4-3.
Figure 4-3 The Create Application Server Connection Type Page
Click Next. The Create Application Server Connection Authentication page is displayed.
Enter the OC4J username and password, and select the Deploy Password checkbox.
Click Next. The Create Application Server Connection page is displayed.
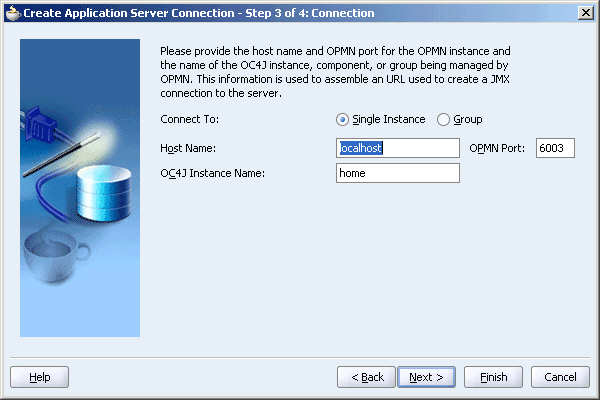
Enter the local host name in the Host Name field, and the port number in the OPMN Port field, as shown in Figure 4-4.
Figure 4-4 The Create Application Server Connection Page
Note:
The port number that you enter in this step is the same as the port number you identified using theopmn.xml file in step 1.Click Finish. The Application Server connection is displayed in the Connections Navigator page.
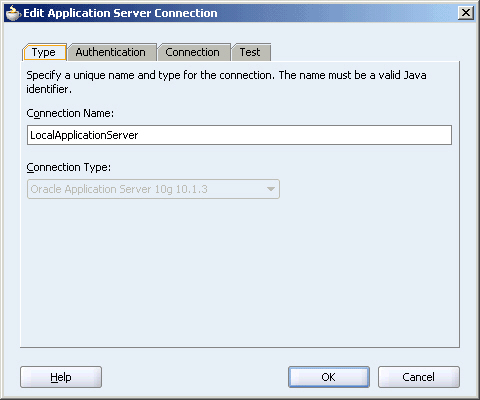
Right-click LocalApplicationServer and click Properties. The Edit Application Server Connection dialog box is displayed, as shown in Figure 4-5.
Figure 4-5 The Edit Application Server Connection Dialog Box
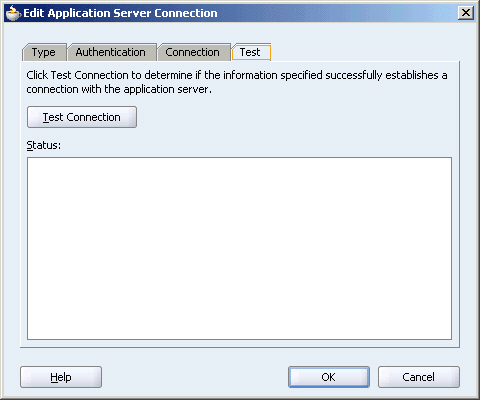
Click the Test tab. The Test page is displayed, as shown in Figure 4-6.
Figure 4-6 The Edit Application Server Connection Test Page
Note:
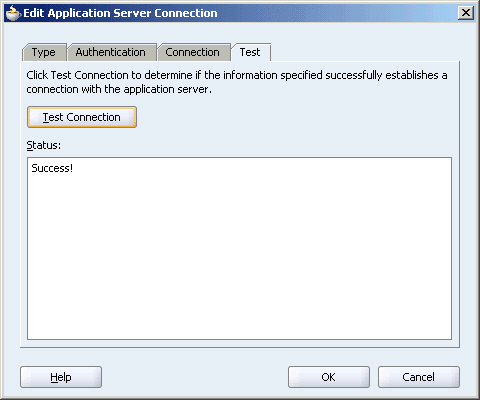
Ensure that the ESB Server is started before you do this.Click Test Connection. Success is displayed in the status page, as shown in Figure 4-7.
Figure 4-7 The Edit Application Server Connection Success Page
Click OK. You have successfully configured the application server connection and also tested it.
Perform the following steps to configure Integration Server connections and to test it.
Navigate to the C:\jdevstudio1013 folder and double-click jdeveloper.exe. The Oracle JDeveloper Start Page is displayed.
Click the Connections Navigator tab. The Connections pane is displayed.
Right-click Integration Server, and select New Integration Server Connection. The Create Application Server Connection Welcome page is displayed.
Click Next. The Create Integration Server Connection Name page is displayed.
Enter LocalIntegrationServer in the Connection Name field, and click Next. The Create Application Server Connection page is displayed.
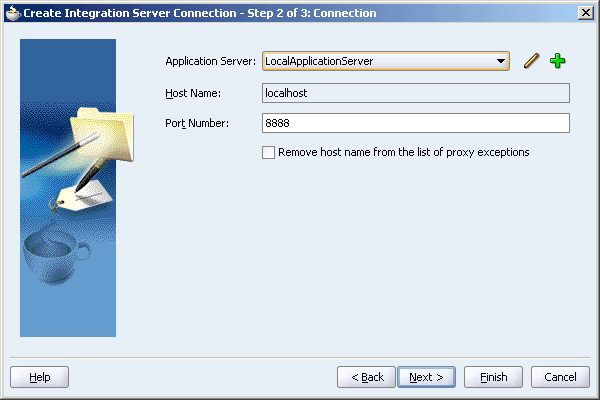
Select LocalApplicationServer from the Application Server list, enter the host name in the Host Name field, and 8888 in the Port Number field, as shown in Figure 4-8.
Figure 4-8 The Create Integration Server Connection Page
Click Finish. The Integration Server connection is displayed in the Connections Navigator page.
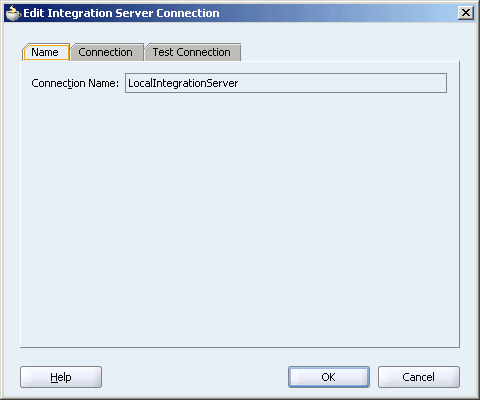
Right-click LocalIntegrationServer and click Properties. The Edit Integration Server Connection dialog box is displayed, as shown in Figure 4-9.
Figure 4-9 The Edit Integration Server Connection Dialog Box
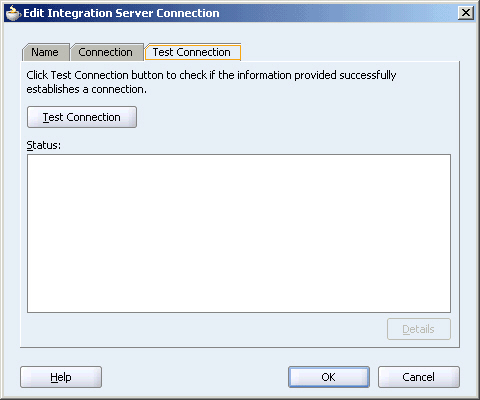
Click the Test Connection tab. The Test page is displayed, as shown in Figure 4-10.
Figure 4-10 The Edit Integration Server Connection Test Page
Note:
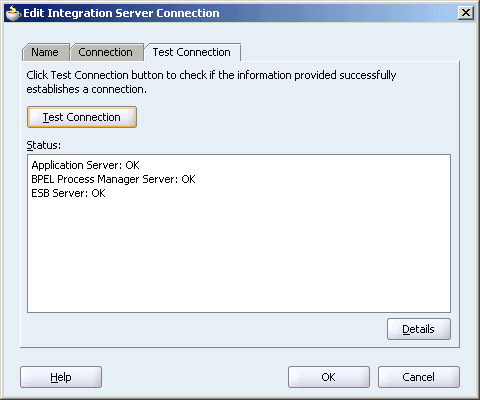
Ensure that the ESB Server is started before you do this.Click Test Connection. The Edit Integration Server Connection Success page is displayed, as shown in Figure 4-11.
Figure 4-11 The Edit Integration Server Connection Success Page
OK. You have successfully configured the integration server connections and also tested it.