| Oracle® Retail Back Office Installation Guide Release 14.1 E54457-02 |
|

 Previous |
 Next |
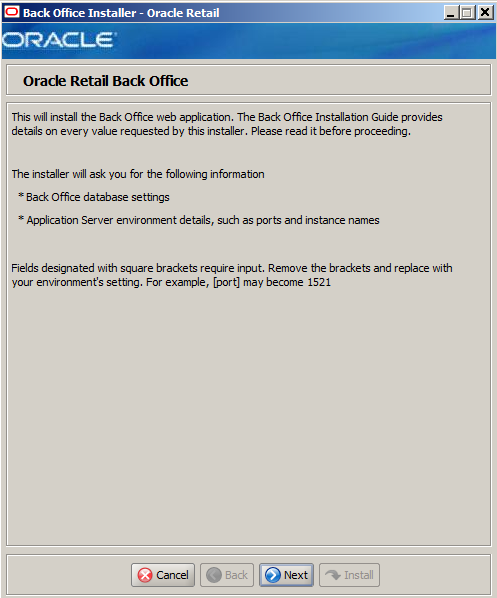
You need specific details about your environment for the installer to successfully deploy the Back Office application. Depending on the options you select, you may not see some windows or fields.
For each field in a window, a table is included in this appendix that describes the field.
|
Note: The paths shown in the window examples in this appendix use the path format for Microsoft Windows. In the table describing those fields, examples paths for both Microsoft Windows and Novell SLEPOS are shown. |
|
Note: You must choose to accept the terms of the license agreement in order for the installation to continue. |
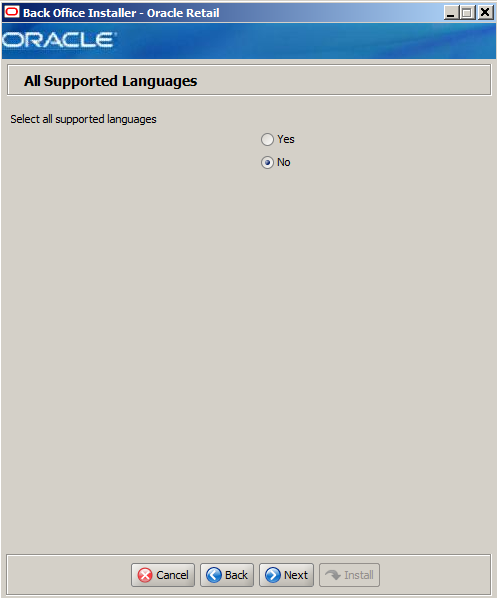
The field in this window is described in the following table:
| Details | Content |
|---|---|
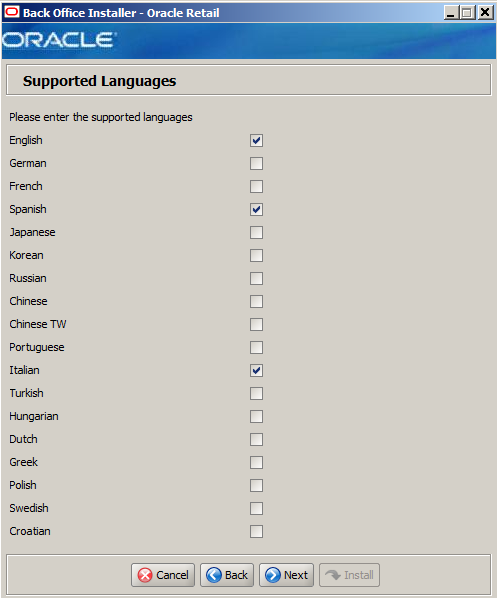
| Field Title | Select all supported languages |
| Field Description | Choose whether all languages are initially selected on the Supported Languages screen:
|
| Example | No |
The field in this window is described in the following table:
| Details | Content |
|---|---|
| Field Title | Please enter the supported languages |
| Field Description | Select the languages that will be available for the Back Office application.
The languages selected in this window determine the available choices in the Enter Default Locale window. |
| Example | English, Spanish, Italian |
The field in this window is described in the following table:
| Details | Content |
|---|---|
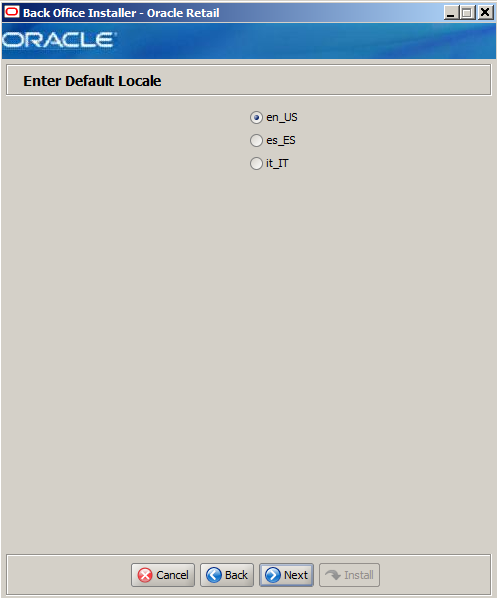
| Field Title | Enter Default Locale |
| Field Description | Locale support in Back Office enables the date, time, currency, calendar, address, and phone number to be displayed in the format for the selected default locale.
The choices for default locale are dependent on the selections made in the Supported Languages window. For each selected language, the default locale for that language is displayed in the Enter Default Locale window. For example, if English, French, and Italian are selected in the Supported Languages window, en_US, fr_FR, and it_IT are the available choices for the default locale. |
| Example | en_US |
The field in this window is described in the following table:
| Details | Content |
|---|---|
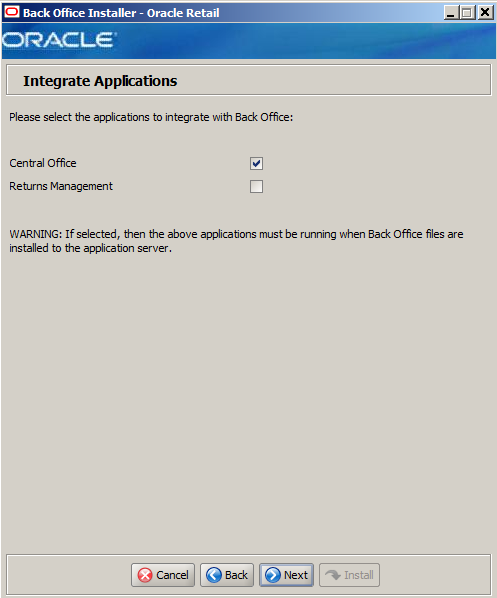
| Field Title | Please select the applications to integrate with Back Office |
| Field Description | Select the applications to integrate with Back Office.
Note: The selected applications must be running when Back Office is installed to the application server. |
| Example | Central Office |
The fields in this window are described in the following tables:
| Details | Content |
|---|---|
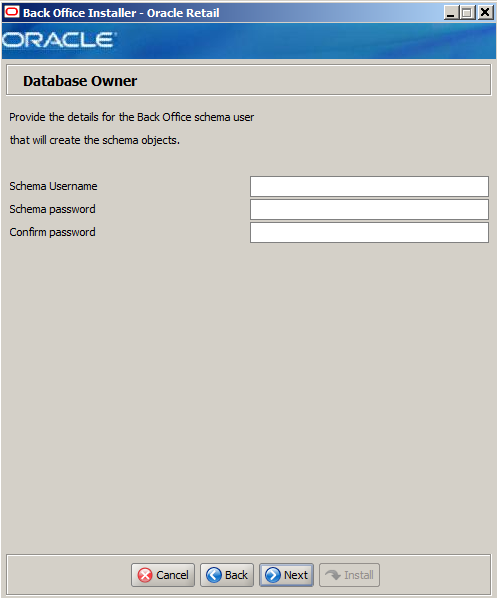
| Field Title | Schema Username |
| Field Description | Schema user name that manages the objects in the schema. This user has Create, Drop, and Alter privileges in the schema, that is, Data Definition Language (DDL) execution privileges. For information on creating this user, see "Create the Database Schema Owner and Data Source Connection Users" in Chapter 3.
Note: This user creates the database objects used by Back Office. |
| Details | Content |
|---|---|
| Field Title | Schema Password |
| Field Description | Password for the database owner. |
| Details | Content |
|---|---|
| Field Title | Confirm Password |
| Field Description | Reentered Schema Password used to confirm the password.
Note: The passwords in the Schema Password and Confirm Password fields must match. |
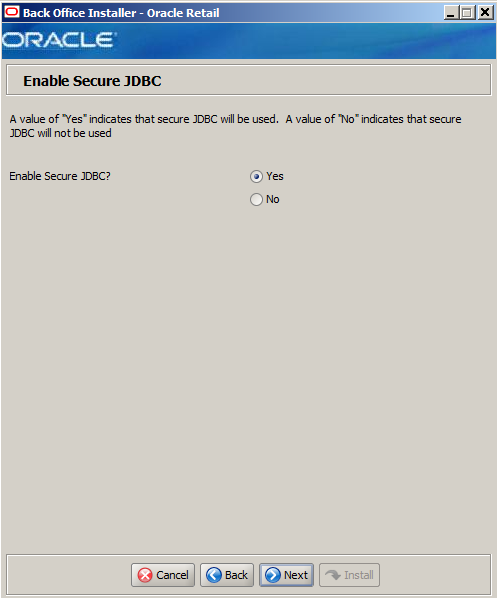
The field in this window is described in the following table:
| Details | Content |
|---|---|
| Field Title | Enable Secure JDBC? |
| Field Description | Select whether secure JDBC is to be used for communication with the database. |
| Example | Yes |
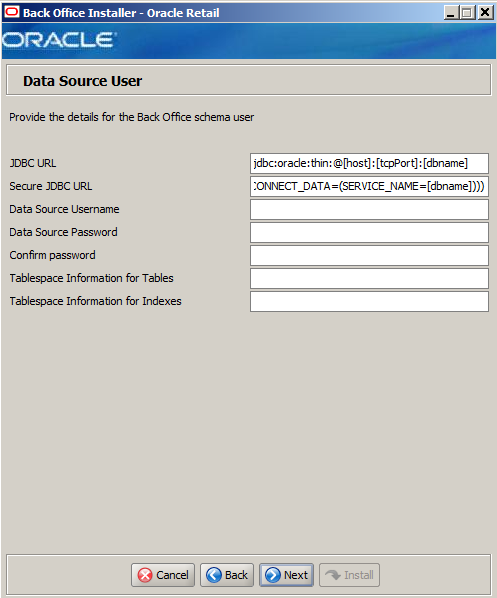
The fields in this window are described in the following tables:
| Details | Content |
|---|---|
| Field Title | JDBC URL |
| Field Description | URL used by the Back Office application to access the database schema. See Appendix D for the expected syntax.
Note: If Yes is selected in the Enable Secure JDBC window, this URL is only used by the installer. |
| Example | jdbc:oracle:thin:@[host]:[tcpPort]:[dbname] |
| Details | Content |
|---|---|
| Field Title | Secure JDBC URL |
| Field Description | Secure URL containing the specific parameters used by Back Office to access the database schema. See Appendix D for the expected syntax.
This field is only displayed if Yes is selected in the Enable Secure JDBC window. |
| Example | jdbc:oracle:thin:@(DESCRIPTION=(ADDRESS=(PROTOCOL=tcps)(HOST=[host])(PORT=[tcpsPort]))(CONNECT_DATA=(SERVICE_NAME=[dbname]))) |
| Details | Content |
|---|---|
| Field Title | Data Source Username |
| Field Description | Database user name that can access and manipulate the data in the schema. This user can have Select, Insert, Update, Delete, and Execute privileges on objects in the schema, that is, Data Manipulation Language (DML) execution privileges. For information on creating this user, see "Create the Database Schema Owner and Data Source Connection Users" in Chapter 3.
Note: This schema user is used by Back Office to access the database. |
| Details | Content |
|---|---|
| Field Title | Data Source Password |
| Field Description | Password for the data source user. |
| Details | Content |
|---|---|
| Field Title | Confirm Password |
| Field Description | Reentered Data Source Password used to confirm the password.
Note: The passwords in the Data Source Password and Confirm Password fields must match. |
| Details | Content |
|---|---|
| Field Title | Tablespace Information for Tables |
| Field Description | Name of the tablespace, associated with the data source user, which is used for tables. If this field is blank, tables are installed in the default tablespace. |
| Details | Content |
|---|---|
| Field Title | Tablespace Information for Indexes |
| Field Description | Name of the tablespace, associated with the data source user, which is used for indexes. If this field is blank, indexes are installed in the default tablespace. |
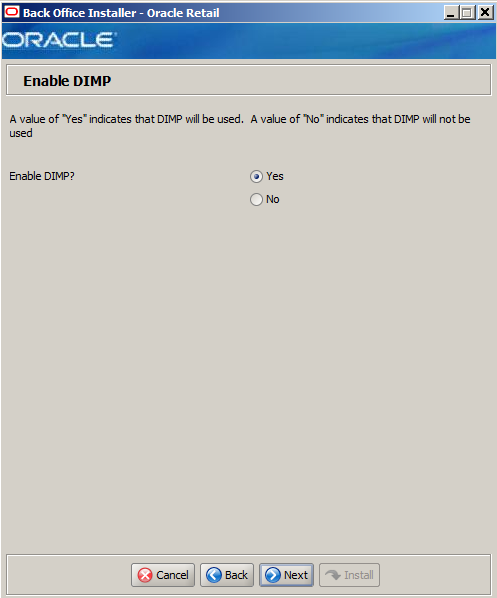
The field in this window is described in the following table:
| Details | Content |
|---|---|
| Field Title | Enable DIMP? |
| Field Description | Select whether DIMP will be used. For information on DIMP, see "Enable Data Import" in Chapter 3. |
| Example | Yes |
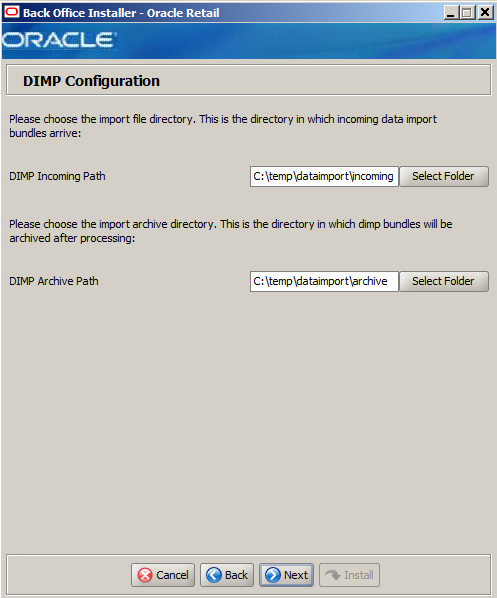
This window is only displayed if Yes is selected in the Enable DIMP window.
The fields in this window are described in the following tables:
| Details | Content |
|---|---|
| Field Title | DIMP Incoming Path |
| Field Description | Directory where the incoming data import bundles arrive. |
| Example |
|
| Details | Content |
|---|---|
| Field Title | DIMP Archive Path |
| Field Description | Directory where the incoming data import bundles are archived after processing. |
| Example |
|
This window is only displayed if Yes is selected in the Enable DIMP window.
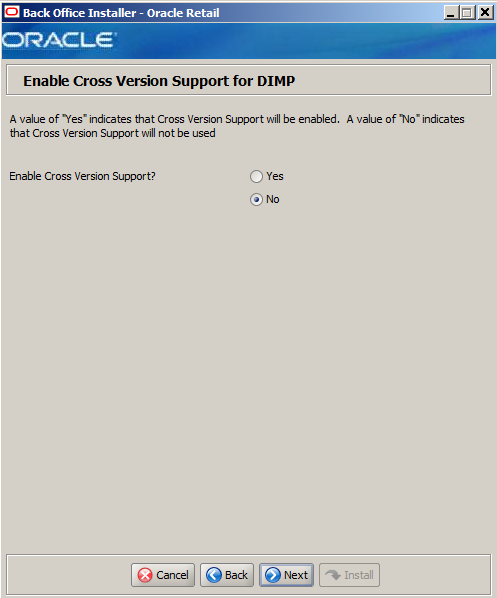
The field in this window is described in the following table:
| Details | Content |
|---|---|
| Field Title | Enable Cross Version Support? |
| Field Description | Select whether Cross Version Support for DIMP is enabled.
For more information on cross version support, see "Enable Cross Version Support" in Chapter 3. |
| Example | Yes |
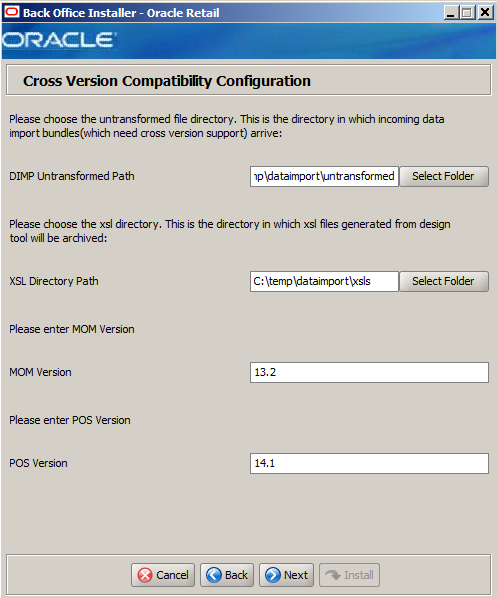
This window is only displayed if Yes is selected in the Enable Cross Version for DIMP window.
The fields in this window are described in the following tables:
| Details | Content |
|---|---|
| Field Title | DIMP Untransformed Path |
| Field Description | Directory that contains the incoming data import bundles that need transformation. |
| Example |
|
| Details | Content |
|---|---|
| Field Title | XSL Directory Path |
| Field Description | Directory where the XSL files generated from the design tool are archived. |
| Example |
|
| Details | Content |
|---|---|
| Field Title | MOM version |
| Field Description | Release of the Merchandising Operations Management products being used. |
| Example | 13.2 |
| Details | Content |
|---|---|
| Field Title | POS version |
| Field Description | Release of Oracle Retail Point-of-Service being used. |
| Example | 14.1 |
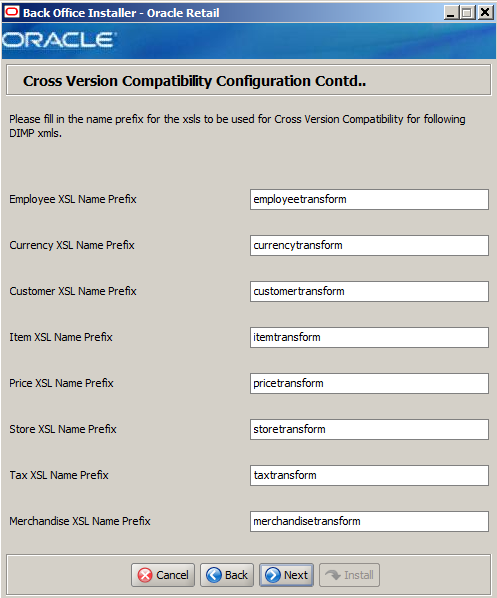
This window is only displayed if Yes is selected in the Enable Cross Version for DIMP window.
The fields in this window are described in the following tables:
| Details | Content |
|---|---|
| Field Title | Employee XSL Name Prefix |
| Field Description | Prefix for the XSL file name for the employee DIMP. |
| Example | employeetransform |
| Details | Content |
|---|---|
| Field Title | Currency XSL Name Prefix |
| Field Description | Prefix for the XSL file name for the currency DIMP. |
| Example | currencytransform |
| Details | Content |
|---|---|
| Field Title | Customer XSL Name Prefix |
| Field Description | Prefix for the XSL file name for the customer DIMP. |
| Example | customertransform |
| Details | Content |
|---|---|
| Field Title | Item XSL Name Prefix |
| Field Description | Prefix for the XSL file name for the item DIMP. |
| Example | itemtransform |
| Details | Content |
|---|---|
| Field Title | Price XSL Name Prefix |
| Field Description | Prefix for the XSL file name for the price DIMP. |
| Example | pricetransform |
| Details | Content |
|---|---|
| Field Title | Store XSL Name Prefix |
| Field Description | Prefix for the XSL file name for the store DIMP. |
| Example | storetransform |
| Details | Content |
|---|---|
| Field Title | Tax XSL Name Prefix |
| Field Description | Prefix for the XSL file name for the tax DIMP. |
| Example | taxtransform |
| Details | Content |
|---|---|
| Field Title | Merchandise XSL Name Prefix |
| Field Description | Prefix for the XSL file name for the merchandise DIMP. |
| Example | merchandisetransform |
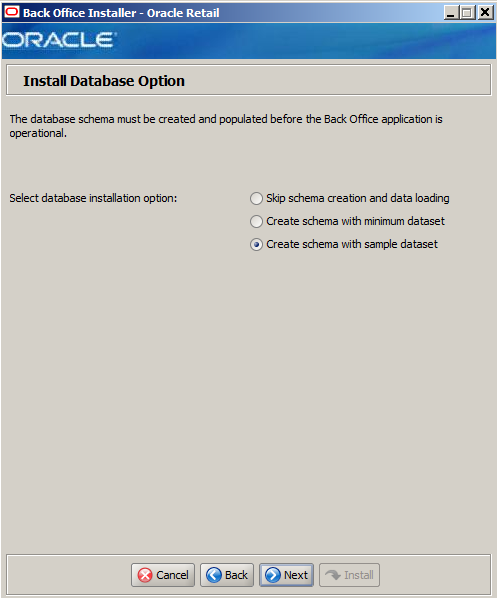
The field in this window is described in the following table:
| Details | Content |
|---|---|
| Field Title | Select database installation option |
| Field Description | The database schema must be created and populated before starting Back Office. This window gives you the option to have the installer create and populate the database schema or leave the database schema unmodified.
For more information, see "Install Database Options" in Chapter 3. |
| Example | Create schema with sample dataset |
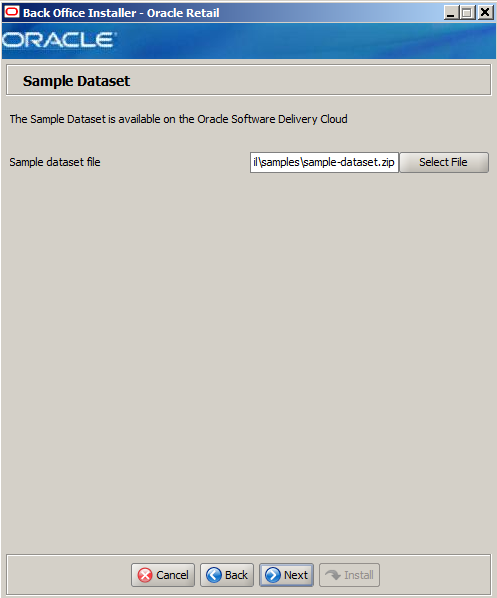
This window is only displayed when Create schema with sample dataset is selected in the Install Database Option window.
The field in this window is described in the following table:
| Details | Content |
|---|---|
| Field Title | Sample dataset file |
| Field Description | Enter the path to the sample dataset to be loaded into the database schema.
You can obtain the
For more information on the sample dataset, see "Install Database Options" in Chapter 3. |
| Example |
|
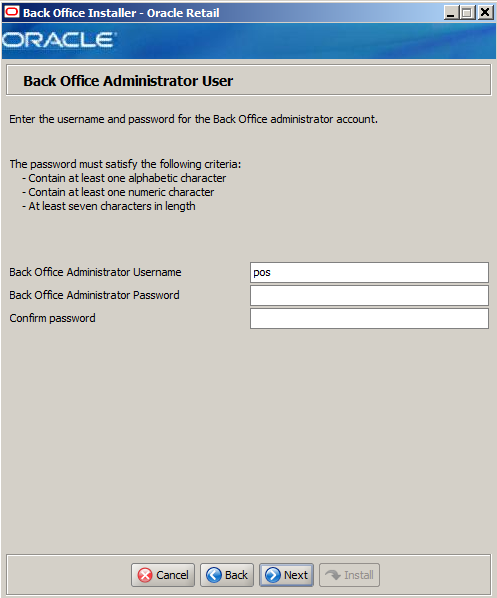
The fields in this window are described in the following tables:
| Details | Content |
|---|---|
| Field Title | Back Office Administator Username |
| Field Description | Administrator user for the Back Office application. |
| Example | pos |
| Details | Content |
|---|---|
| Field Title | Back Office Administrator Password |
| Field Description | Password for the administrator user. |
| Details | Content |
|---|---|
| Field Title | Confirm Password |
| Field Description | Reentered Back Office Administrator Password used to confirm the password.
Note: The passwords in the Back Office Administrator Password and Confirm Password fields must match. |
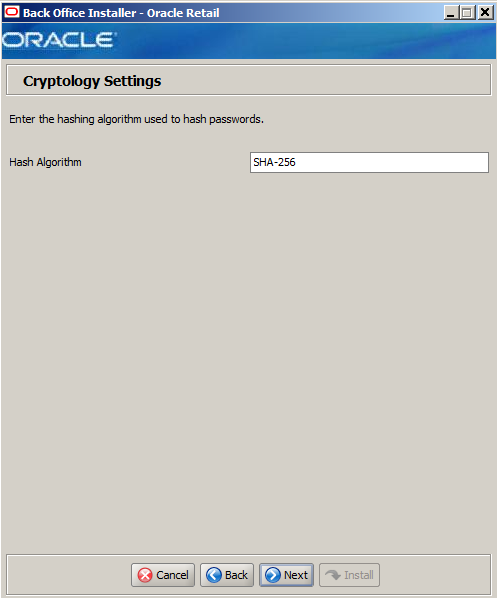
The field in this window is described in the following table:
| Details | Content |
|---|---|
| Field Title | Hash Algorithm |
| Field Description | Enter the name of the algorithm used to hash passwords. |
| Example | SHA-256 |
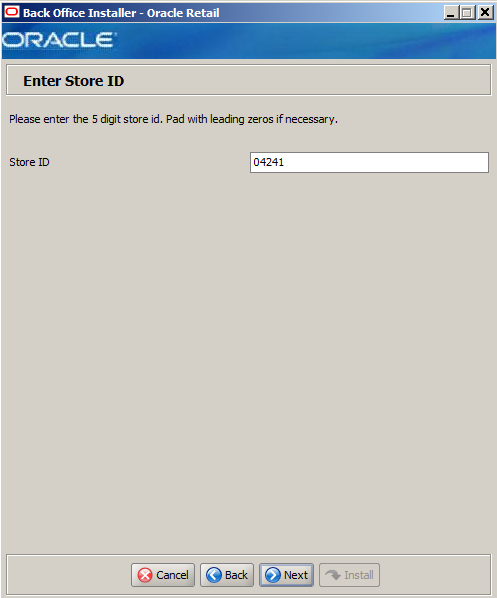
The field in this window is described in the following tables:
| Details | Content |
|---|---|
| Field Title | Store ID |
| Field Description | ID for this store.
Note: The store ID must be five digits. It can be padded with leading zeroes if necessary. The store ID can only contain the numeric characters 0 through 9. |
| Example | 04241 |
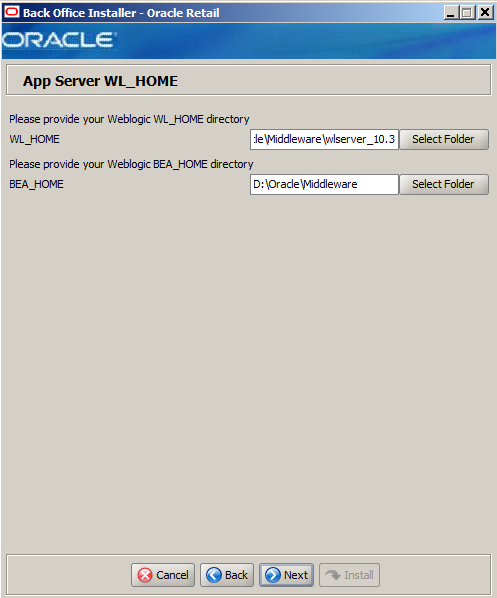
The fields in this window are described in the following tables:
| Details | Content |
|---|---|
| Field Title | WL_HOME |
| Field Description | Home directory for the Oracle WebLogic installation. |
| Example |
|
| Details | Content |
|---|---|
| Field Title | BEA_HOME |
| Field Description | Home directory for the Oracle BEA installation. |
| Example |
|
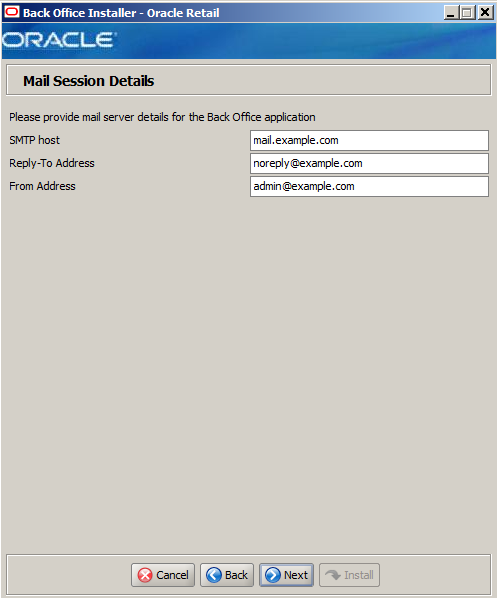
The fields in this window are described in the following tables:
| Details | Content |
|---|---|
| Field Title | SMTP host |
| Field Description | Host where the SMTP server is running. |
| Example | mail.example.com |
| Details | Content |
|---|---|
| Field Title | Reply-To Address |
| Field Description | Reply-to address in e-mails generated by Back Office. |
| Example | notreply@example.com |
| Details | Content |
|---|---|
| Field Title | From Address |
| Field Description | From address in e-mails generated by Back Office. |
| Example | admin@example.com |
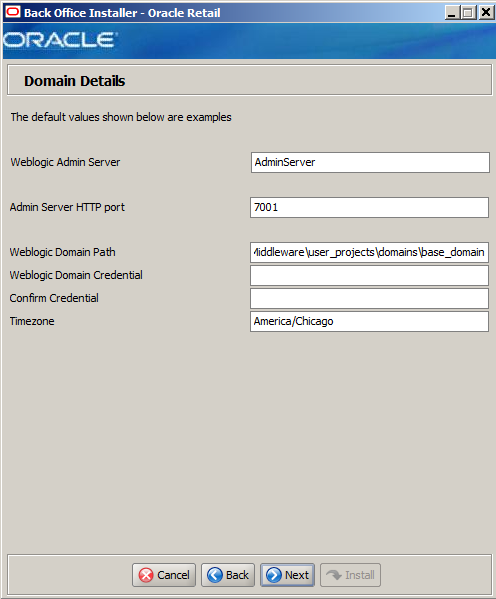
The fields in this window are described in the following tables:
| Details | Content |
|---|---|
| Field Title | Weblogic Admin Server |
| Field Description | Name of the admin server to which the Back Office application is being deployed. |
| Example | AdminServer |
| Details | Content |
|---|---|
| Field Title | Admin Server HTTP port |
| Field Description | HTTP port used by the administration server. This port was selected when the administration domain was created. |
| Example | 7001 |
| Details | Content |
|---|---|
| Field Title | Weblogic Domain Path |
| Field Description | Path to the domain to which the Back Office application is being deployed. |
| Example |
|
| Details | Content |
|---|---|
| Field Title | Weblogic Domain Credential |
| Field Description | Password shared between domains in order to establish a trust relationship.
Note: Use the same password for all Oracle Retail applications in the trust relationship in your configuration. |
| Details | Content |
|---|---|
| Field Title | Confirm Password |
| Field Description | Reentered Weblogic Domain Credential used to confirm the password.
Note: The passwords in the Weblogic Domain Credential and Confirm Password fields must match. |
| Details | Content |
|---|---|
| Field Title | Timezone |
| Field Description | Time zone for the Back Office domain. |
| Example | America/Chicago |
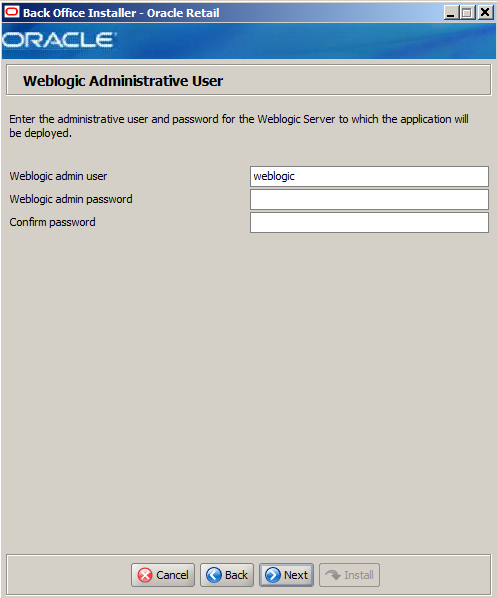
The fields in this window are described in the following tables:
| Details | Content |
|---|---|
| Field Title | Weblogic admin user |
| Field Description | User name of the administrative user for the WebLogic server to which the Back Office application is being deployed. |
| Example | weblogic |
| Details | Content |
|---|---|
| Field Title | Weblogic admin password |
| Field Description | Password for the WebLogic administrative user. You chose this password when you created the WebLogic server. |
| Details | Content |
|---|---|
| Field Title | Confirm password |
| Field Description | Reentered Weblogic Admin Password used to confirm the password.
Note: The passwords in the Weblogic Admin Password and Confirm Password fields must match. |
The field in this window is described in the following table:
| Details | Content |
|---|---|
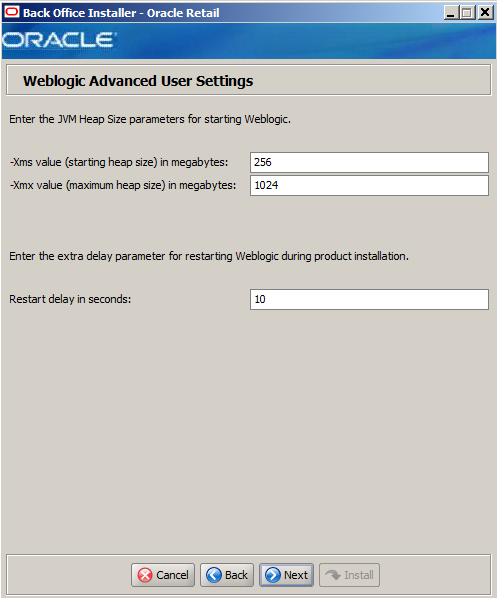
| Field Title | Enter Advanced User settings for Weblogic? |
| Field Description | Sets whether you want to specify the JVM heap size and delay time for starting the WebLogic server.
|
| Example | No |
This window is only displayed if Yes is selected in the Weblogic Advanced User Configuration Mode window.
The fields in this window are described in the following tables:
| Details | Content |
|---|---|
| Field Title | Xms value (starting heap size) in megabytes |
| Field Description | Enter the starting JVM heap size in megabytes. |
| Example | 512 |
| Details | Content |
|---|---|
| Field Title | Xmx value (maximum heap size) in megabytes |
| Field Description | Enter the maximum JVM heap size in megabytes.
Note: If the entered heap size cannot be allocated by the system, the installation fails. The WebLogic server log can be examined to identify the issue. |
| Example | 2048 |
| Details | Content |
|---|---|
| Field Title | Restart delay in seconds |
| Field Description | Enter extra delay in seconds for restarting WebLogic during product installation. |
| Example | 10 |
The field in this window is described in the following table:
| Details | Content |
|---|---|
| Field Title | Select WebLogic deployment type |
| Field Description | Select how the Back Office application is deployed.
For more information, see "Managed Servers" in Chapter 3 for Microsoft Windows or "Managed Servers" in Chapter 4 for Novell SLEPOS. |
| Example | Deploy to Admin Server |
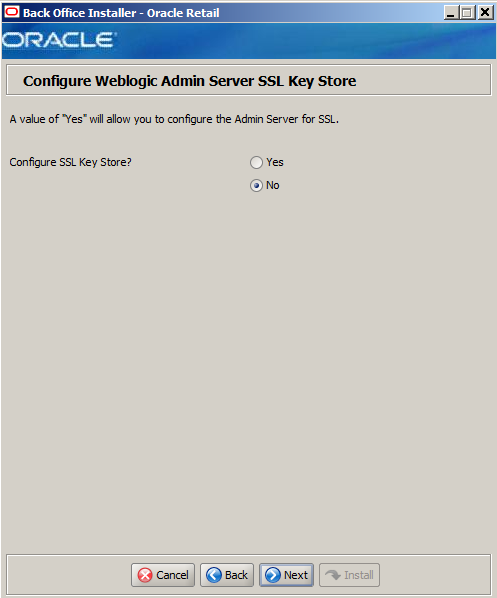
This window is only displayed if Deploy to Admin Server is selected in the Weblogic Deploy Server Type window.
The field in this window is described in the following table:
| Details | Content |
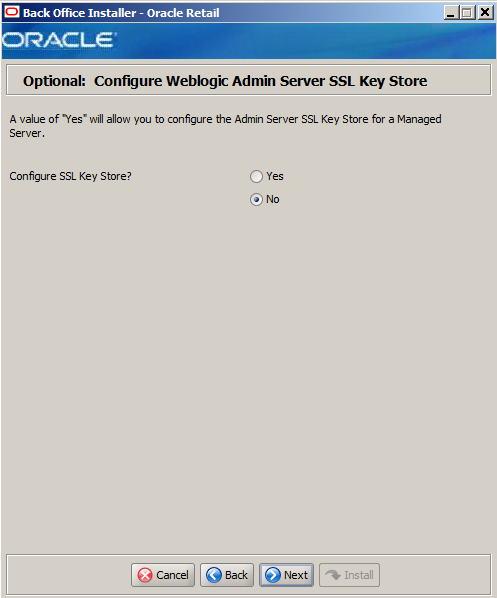
|---|---|
| Field Title | Configure SSL Key Store? |
| Field Description | Select whether the Admin Server will be configured for SSL:
|
This window is only displayed if Yes is selected in the Configure Weblogic Admin Server SSL Key Store window.
The fields in this window are described in the following tables:
| Details | Content |
|---|---|
| Field Title | Key Store File |
| Field Description | Path to the Key Store file. |
| Example |
|
| Details | Content |
|---|---|
| Field Title | Key Store Password |
| Field Description | Enter the password used to access the client Key Store. |
| Details | Content |
|---|---|
| Field Title | Confirm Password |
| Field Description | Reentered Key Store Password used to confirm the password.
Note: The passwords in the Key Store Password and Confirm Password fields must match. |
| Details | Content |
|---|---|
| Field Title | Key Alias |
| Field Description | Alias used to access the Key Store file. |
| Example | myalias |
| Details | Content |
|---|---|
| Field Title | Key Password |
| Field Description | Enter the password used to access the client Key Store. |
| Details | Content |
|---|---|
| Field Title | Confirm Password |
| Field Description | Reentered Key Password used to confirm the password.
Note: The passwords in the Key Password and Confirm Password fields must match. |
| Details | Content |
|---|---|
| Field Title | Trust Store File |
| Field Description | Path to the Trust Store file. |
| Example |
|
| Details | Content |
|---|---|
| Field Title | Trust Store Password |
| Field Description | Enter the password used to access the Trust Store. |
| Details | Content |
|---|---|
| Field Title | Confirm Password |
| Field Description | Reentered Trust Store Password used to confirm the password.
Note: The passwords in the Trust Store Password and Confirm Password fields must match. |
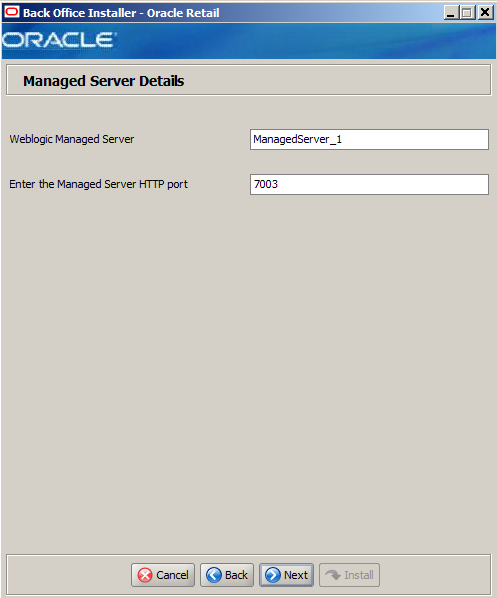
This window is only displayed if Deploy to Managed Server is selected in the Weblogic Deploy Server Type window.
The fields in this window are described in the following tables:
| Details | Content |
|---|---|
| Field Title | Weblogic Managed Server |
| Field Description | Name of the managed server. |
| Example | ManagedServer_1 |
| Details | Content |
|---|---|
| Field Title | Enter the Managed Server HTTP port |
| Field Description | HTTP port number used to access the managed server. |
| Example | 7003 |
This window is only displayed if Deploy to Managed Server is selected in the Weblogic Deploy Server Type window.
The field in this window is described in the following table:
| Details | Content |
|---|---|
| Field Title | Configure SSL Key Store? |
| Field Description | Select whether the Managed Server will be configured for SSL:
|
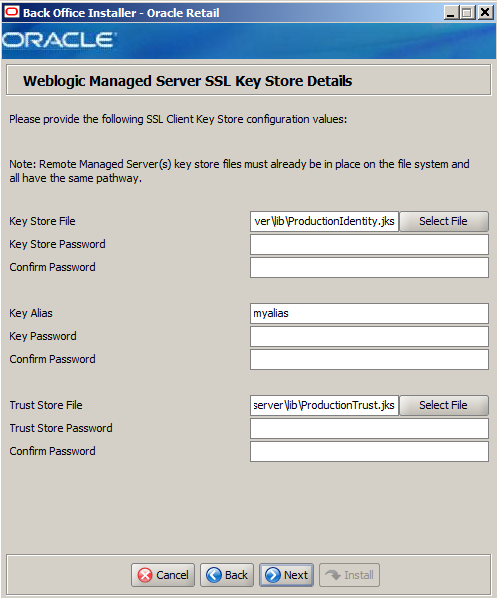
This window is only displayed if Yes is selected in the Configure Weblogic Managed Server SSL Key Store window.
The fields in this window are described in the following tables:
| Details | Content |
|---|---|
| Field Title | Key Store File |
| Field Description | Path to the Key Store file. |
| Example |
|
| Details | Content |
|---|---|
| Field Title | Key Store Password |
| Field Description | Enter the password used to access the client Key Store. |
| Details | Content |
|---|---|
| Field Title | Confirm Password |
| Field Description | Reentered Key Store Password used to confirm the password.
Note: The passwords in the Key Store Password and Confirm Password fields must match. |
| Details | Content |
|---|---|
| Field Title | Key Alias |
| Field Description | Alias used to access the Key Store file. |
| Example | myalias |
| Details | Content |
|---|---|
| Field Title | Key Password |
| Field Description | Enter the password used to access the client Key Store. |
| Details | Content |
|---|---|
| Field Title | Confirm Password |
| Field Description | Reentered Key Password used to confirm the password.
Note: The passwords in the Key Password and Confirm Password fields must match. |
| Details | Content |
|---|---|
| Field Title | Trust Store File |
| Field Description | Path to the Trust Store file. |
| Example |
|
| Details | Content |
|---|---|
| Field Title | Trust Store Password |
| Field Description | Enter the password used to access the Trust Store. |
| Details | Content |
|---|---|
| Field Title | Confirm Password |
| Field Description | Reentered Trust Store Password used to confirm the password.
Note: The passwords in the Trust Store Password and Confirm Password fields must match. |
This window is only displayed if Deploy to Managed Server is selected in the Weblogic Deploy Server Type window.
The field in this window is described in the following table:
| Details | Content |
|---|---|
| Field Title | Configure SSL Key Store? |
| Field Description | Select whether the Admin Server will be configured for SSL:
|
This window is only displayed if Yes is selected in the Optional: Configure Weblogic Admin Server SSL Key Store window.
The fields in this window are described in the following tables:
| Details | Content |
|---|---|
| Field Title | Key Store File |
| Field Description | Path to the Key Store file. |
| Example |
|
| Details | Content |
|---|---|
| Field Title | Key Store Password |
| Field Description | Enter the password used to access the client Key Store. |
| Details | Content |
|---|---|
| Field Title | Confirm Password |
| Field Description | Reentered Key Store Password used to confirm the password.
Note: The passwords in the Key Store Password and Confirm Password fields must match. |
| Details | Content |
|---|---|
| Field Title | Key Alias |
| Field Description | Alias used to access the Key Store file. |
| Example | myalias |
| Details | Content |
|---|---|
| Field Title | Key Password |
| Field Description | Enter the password used to access the client Key Store. |
| Details | Content |
|---|---|
| Field Title | Confirm Password |
| Field Description | Reentered Key Password used to confirm the password.
Note: The passwords in the Key Password and Confirm Password fields must match. |
| Details | Content |
|---|---|
| Field Title | Trust Store File |
| Field Description | Path to the Trust Store file. |
| Example |
|
| Details | Content |
|---|---|
| Field Title | Trust Store Password |
| Field Description | Enter the password used to access the Trust Store. |
| Details | Content |
|---|---|
| Field Title | Confirm Password |
| Field Description | Reentered Trust Store Password used to confirm the password.
Note: The passwords in the Trust Store Password and Confirm Password fields must match. |
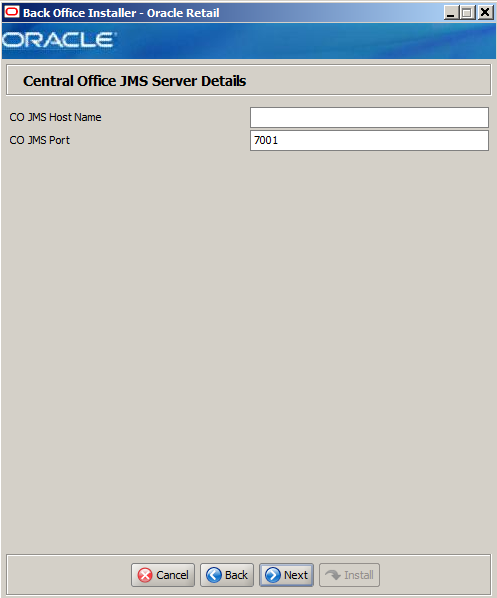
This window is only displayed if Central Office is selected in the Integrate Applications window.
The fields in this window are described in the following tables:
| Details | Content |
|---|---|
| Field Title | CO JMS Host Name |
| Field Description | Name of the Central Office JMS server.
Note: Always use the actual host name and not the IP address or "localhost". There may be problems integrating with Point-of-Service if the actual host name is not used. |
| Details | Content |
|---|---|
| Field Title | CO JMS Port |
| Field Description | Port number used by the Central Office JMS server. |
| Example | 7001 |
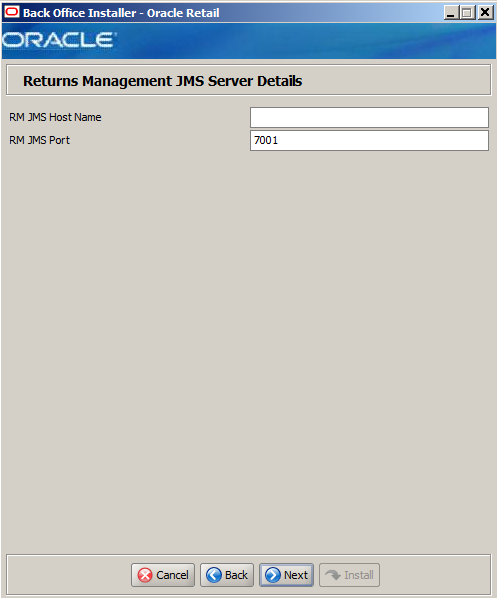
This window is only displayed if Returns Management is selected in the Integrate Applications window.
The fields in this window are described in the following tables:
| Details | Content |
|---|---|
| Field Title | RM JMS Host Name |
| Field Description | Name of the Returns Management JMS server.
Note: Always use the actual host name and not the IP address or "localhost". There may be problems integrating with Point-of-Service if the actual host name is not used. |
| Details | Content |
|---|---|
| Field Title | RM JMS Port |
| Field Description | Port number used by the Returns Management JMS server. |
| Example | 7001 |
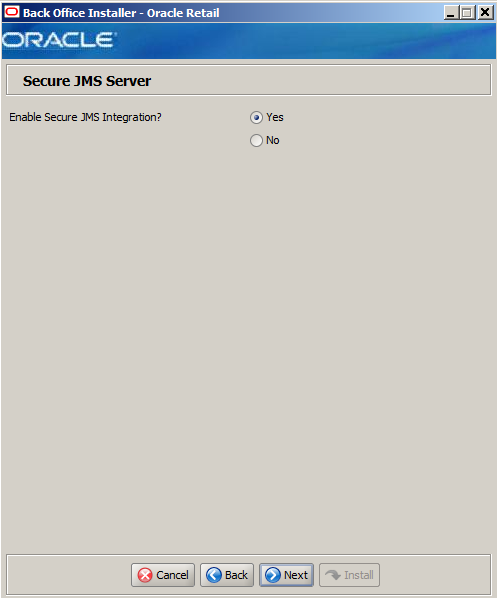
The field in this window is described in the following table:
| Details | Content |
|---|---|
| Field Title | Enable Secure JMS Integration? |
| Field Description | This window gives you the option to use secure integration with the JMS server. |
| Example | Yes |
The field in this window is described in the following table:
| Details | Content |
|---|---|
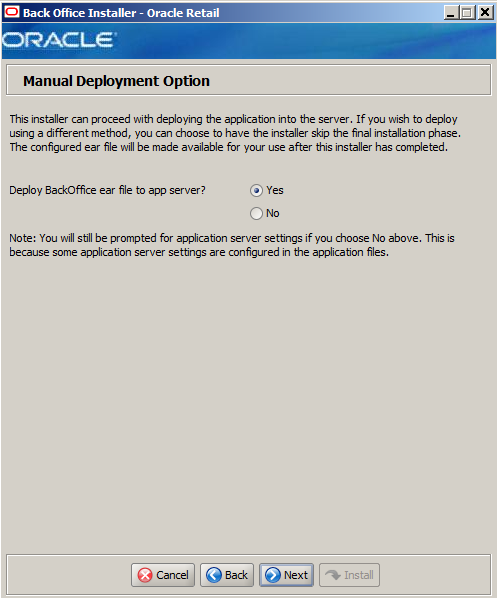
| Field Title | Deploy BackOffice ear file to app server? |
| Field Description | By default, the installer will deploy the ear file and copy files under the application server ORACLE_HOME. This window gives you the option to leave ORACLE_HOME unmodified and configure the application in the staging area for use in a manual installation at a later time. This option can be used in situations where modifications to files under ORACLE_HOME must be reviewed by another party before being applied.
If you choose No, see "Manual Deployment of the Back Office Application" in Chapter 3 for the manual steps you need to perform after the installer completes. |
| Example | Yes |
The fields in this window are described in the following tables:
| Details | Content |
|---|---|
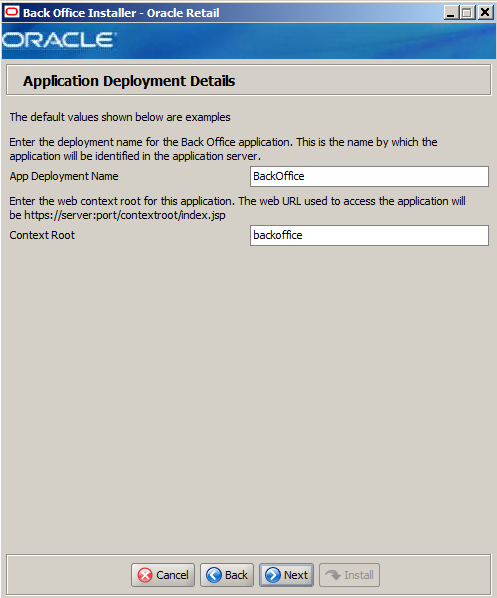
| Field Title | App Deployment Name |
| Field Description | Name by which the Back Office application will be identified in the application server. |
| Example | BackOffice |
| Details | Content |
|---|---|
| Field Title | Context Root |
| Field Description | Path under the HTTPS URL that will be used to access the Back Office application. |
| Example | backoffice |
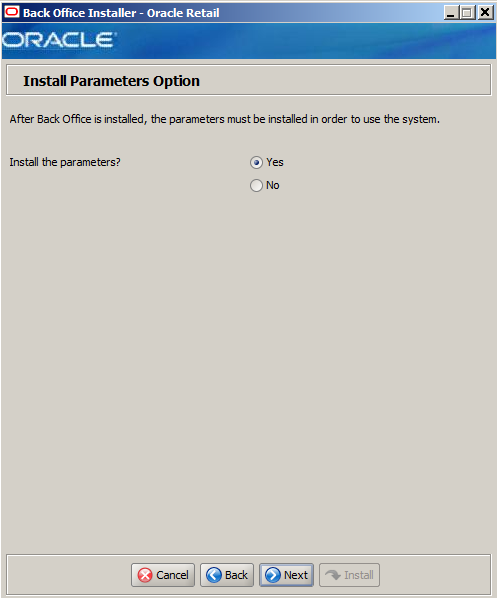
This window is only displayed if No is selected in the Manual Deployment Option window.
The field in this window is described in the following table:
| Details | Content |
|---|---|
| Field Title | Install the parameters? |
| Field Description | The application parameters must be set up before Back Office can be used. This window gives you the option to set up the parameters manually. If you choose No, see "Install Parameters" in Chapter 3 for the manual steps you need to perform after the installer completes. |
| Example | Yes |
The field in this window is described in the following table:
| Details | Content |
|---|---|
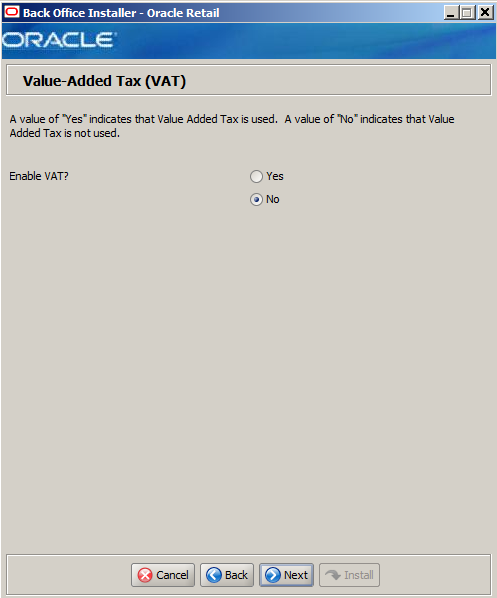
| Field Title | Enable VAT? |
| Field Description | Sets whether Value-Added Tax is used in Back Office.
|
| Example | No |
The field in this window is described in the following table:
| Details | Content |
|---|---|
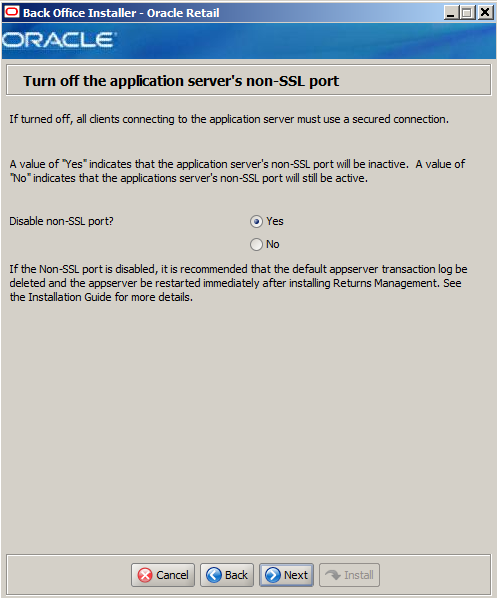
| Field Title | Disable non-SSL port? |
| Field Description | Sets whether connecting to the application server requires a secured connection.
Note: It is recommended that you disable the non-SSL port in order to increase the security of your environment.
If you select Yes, see "Disable Non-SSL Port" in Chapter 3. |
| Example | Yes |
The field in this window is described in the following table:
| Details | Content |
|---|---|
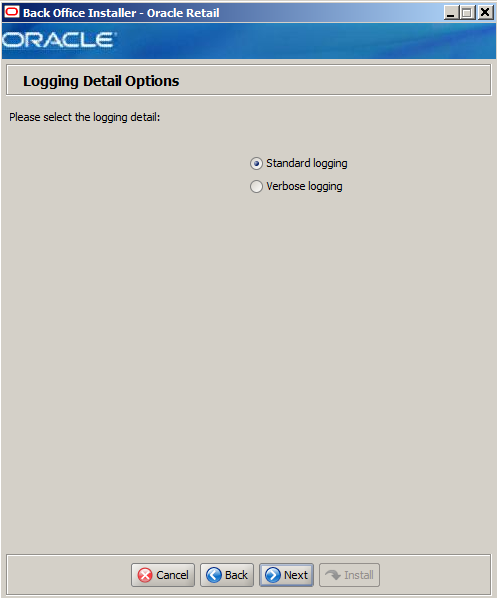
| Field Title | Please select the logging detail |
| Field Description | Choose the level of logging.
|
| Example | Standard logging |