

|
The Contacts stores names, addresses, phone numbers, email addresses, and notes about personal contacts.
The contacts portlet allows you to manage names, addresses, phone numbers, email addresses, and other information in a personal address book. In the single portlet instance, clicking on the small Rolodex icon will bring up the contacts summary view. This page allows you to add new contacts and keyword search for contacts in your address book by first name. See Figure 4-1.

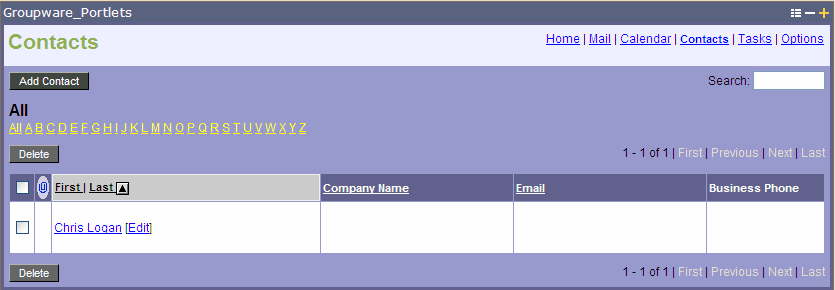
To maximize the portlet and access all of the available features, click on the arrow icon to the right of the Rolodex icon. This will open the main Contacts page. From this view you can see summary information about each contact including first and last names, company name, email address and phone number. To view detailed information about a contact, click on the name or company name. See Figure 4-2.

By default, the Contacts page shows all contacts in descending order by last name. You can reverse the order by clicking on the arrow next to the Last link. You can also sort contacts by company name or email address by clicking on the appropriate header.
You can also filter contacts by the first letter of the last name by clicking on the appropriate letter of the alphabet.
A limited number of contacts are displayed on each page. You can modify the number of contacts to be shown per page in the Options Portlet. For more information, see “Personalizing the Portlets” on page 7-1. To scroll through pages of contacts, click on the First, Previous, Next, or Last links. The total number of contacts in your address book is noted to the left of these links. To jump to a specific contact, type the number in the input box and click Go. For example, if you have 60 contacts in your address book, and type in the number 35, then you will jump to the thirty-fifth (35th) contact in the list.
You can also search for contacts by first name by typing it in the search input bar and click OK. All of the contacts that match your search term will appear.
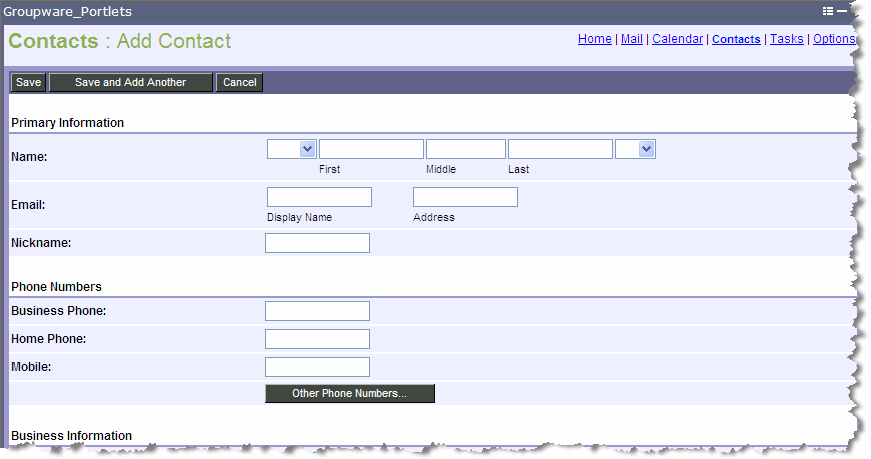
Add a new contact to your address book by clicking Add Contact. On this page you can enter detailed information about a person including name, home and business addresses, multiple phone numbers, and email addresses and even personal information such as spouse's name, anniversary, important dates, or other comments. You can also attach files to a contact, such as a photograph or logo. See Figure 4-3.

Once you are finished entering in all the pertinent information, click Save. This will return you to the mail Contacts page. To immediately add another contact, click Save and Add Another. This will return you to the Add Contact page.
To edit the information about a contact, select it and hit the Edit link next to the person's name. This will open the Edit Contact page where you can change or delete any information contained in any field. Click Save when you are finished to save your changes.
To delete contacts from your address book, check them off in the boxes to the left of each contact and click Delete.


|