Using Oracle Enterprise Repository with WLI Applications

     Previous  Next    Open TOC in new window    View as PDF - New Window  Get Adobe Reader - New Window
Content starts here

WLI Integration with Oracle Enterprise Repository

Before you begin, ensure that you have installed Oracle WebLogic Integration on your system and defined a workspace.

Create the Tutorial: Request Quote Process Application

Complete the following steps:

  1. From the Start menu, click All Programs > Oracle WebLogic > Oracle Workshop for WebLogic 10gR3 to start the Oracle Workshop for WebLogic IDE. The Workspace Launcher dialog is displayed.
  2. From Oracle Workshop for WebLogic menu, click File > New > Other. The Select a Wizard dialog is displayed.
  3. Expand WebLogic Integration, and select Tutorial:Request Quote Process Application, and click Next.
  4. In the Request Quote Process Application dialog, enter the following:
    1. In the Ear Project Name field, enter ProcessApp_Ear.
    2. In the Web Project Name field, enter ProcessApp_Web.
    3. In the Utility Project Name field, enter ProcessApp_Util.
  5. Select the Add Weblogic Integration System and Control Schemas in Utility Project check box to add the System schemas to the Schemas folder under the Utility project.
  6. Click Finish.
  7. In the displayed Open Associated Perspective? dialog, click Yes to switch from J2EE (default) Perspective to Process Perspective.
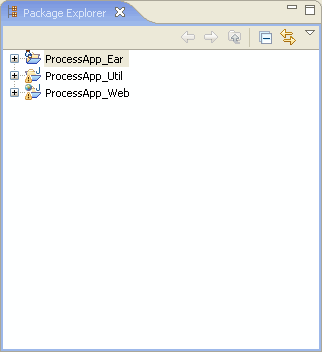
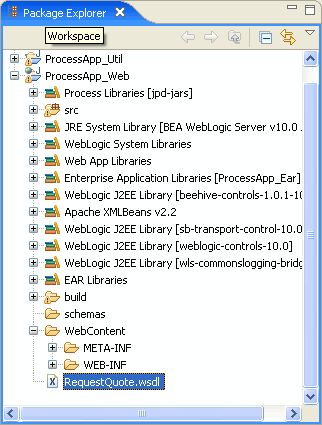
  8. The Tutorial Process Application is created and displayed in the Package Explorer pane (see Figure 2-1).

    Figure 2-1 Process Application


    Process Application

For more information about Tutorial:Request Quote Process Application, see Tutorial:Designing your First Business Process.

Publish a Software Asset to Oracle Enterprise Repository

  1. Right-click ProcessApp_Web, and select Submit Service Assembly Model to Enterprise Repository.
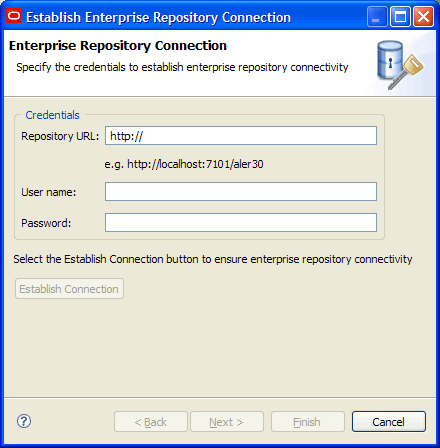
  2. The Establish Enterprise Repository Connection dialog appears (see Figure 2-2).

    Note: You can also establish the Oracle Enterprise Repository connection, by selecting Window > Preferences > Oracle Enterprise Repository from the Oracle Workshop for WebLogic menu.
    Figure 2-2 Enterprise Repository Connection


    Enterprise Repository Connection

  3. In the Establish Enterprise Repository Connection dialog enter the following:
    • Repository URL: The URL of the repository server. The URL must include the host, port, and the Oracle Enterprise Repository server name. For example, http://localhost:7001/aler30.
    • User Name: The user name to gain access to the repository.
    • Password: The password to gain access to the repository.
  4. Click Establish Connection.
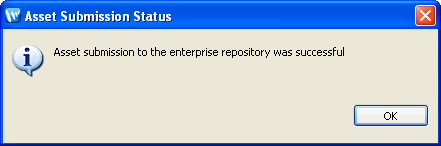
  5. The Connection to the enterprise repository was successful message appears after the connection is established with Oracle Enterprise Repository.

  6. When the connection is established, click Next to select your workspace preferences.
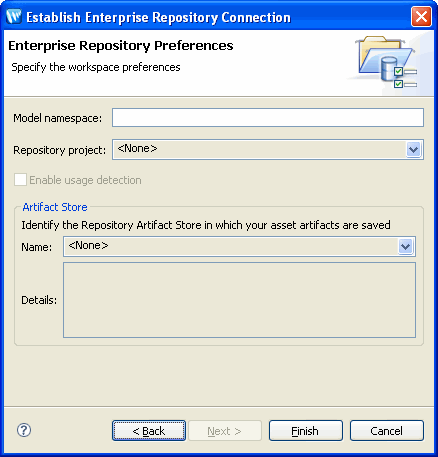
  7. The Enterprise Repository Preferences dialog appears (see Figure 2-3).

    Figure 2-3 Enterprise Repository Preferences


    Enterprise Repository Preferences

  8. Specify the following workspace preference:
    1. Enter Example in the Model namespace field.
    2. Note: Enter a Model Namespace to use as the default, for all of your projects. The Namespace provides a means to organize your models, with the Namespace pre-pended to the names of all the assets in the model in the repository. However, you can change the Namespace on a project-by-project basis (such as when submitting assets), and the new Namespace will only be saved for that project, but will not affect the Workspace Preference name.
    3. For the Repository project, accept the default setting.
    4. Note: Select a Repository project in Oracle Enterprise Repository that the submitted model will be associated with. Asset usage is tracked in the repository and attributed to repository projects, which typically represent software development programs, business initiatives, and so on.
    5. Clear the Enable usage detection check box.
    6. Note: If you selected an Oracle Enterprise Repository project as the workspace default, usage detection is enabled for the default Oracle Enterprise Repository project. For more information about workspace preferences, see Setting Eclipse Preferences for Oracle Enterprise Repository.
    7. Accept the default setting for Artifact Store.
    8. Note: The Artifact Store area displays the name of a preconfigured Artifact Store that the submitted assets will be associated with. Artifact Stores contain the files relevant to assets in Oracle Enterprise Repository and are configured in the Oracle Enterprise Repository console by an administrator. The Details box may also display some additional information about the Artifact Store.
    9. Click Finish to exit.
  9. There are no enterprise repository service reference matches dialog appears. Click OK.
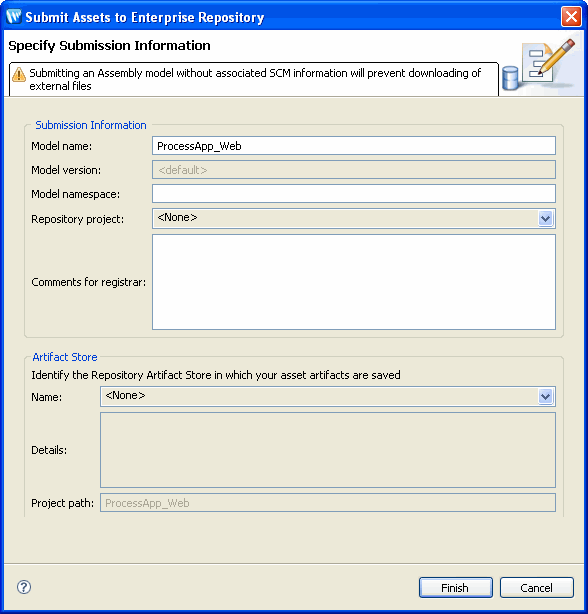
  10. The Submit Assets to Enterprise Repository dialog appears (see Figure 2-4).

    Note: This dialog appears, when you submit a project and the repository tries to match the unresolved references in the current project with any services which are already there in Oracle Enterprise Repository and if the matching process fails.
    Figure 2-4 Submit Assets to Enterprise Repository


    Submit Assets to Enterprise Repository

  11. In the Submit Assets to Enterprise Repository window, accept the default setting, and click Finish. For more information on submitting assets, see Submitting Assets to Oracle Enterprise Repository.
  12. After the asset is submitted to the enterprise repository, the Asset submission to the enterprise repository was successful dialog appears (see Figure 2-5)
  13. Figure 2-5 Asset Submission Status


    Asset Submission Status

  14. Click OK.

Discover and Consume a Software Asset from Oracle Enterprise Repository

  1. Right-click ProcessApp_Web, and select Import WSDL.
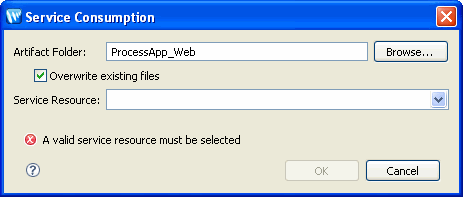
  2. The Service Consumption window appears (see Figure 2-6).

    Figure 2-6 Service Consumption


    Service Consumption

  3. In the Service Resource field, select Enterprise Repository from the drop-down list.
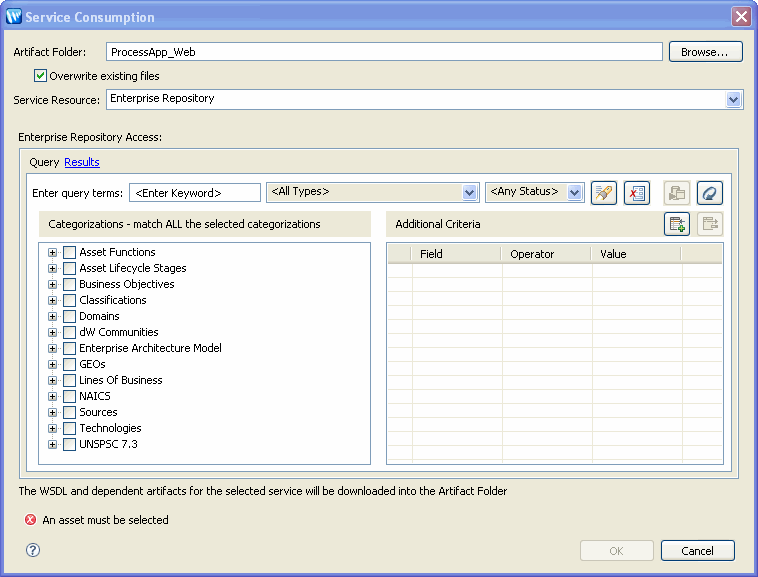
  4. The Enterprise Repository Access view appears (see Figure 2-7).

    Figure 2-7 Enterprise Repository Access View


    Enterprise Repository Access View

  5. Enter Example (The name you gave for the Model namespace) in the Enter query terms field, and click Enterprise Repository Access View tab.
  6. The Result Pane shows all assets that satisfy the search criteria established in the Query pane. It displays information for all query results, such as the asset name, asset type and registration status. For more information, see Viewing and Querying Assets in the Repository.

  7. In the Result Pane, select Example, as shown in Figure 2-8, and click OK.
  8. Figure 2-8 Result Pane


    Result Pane

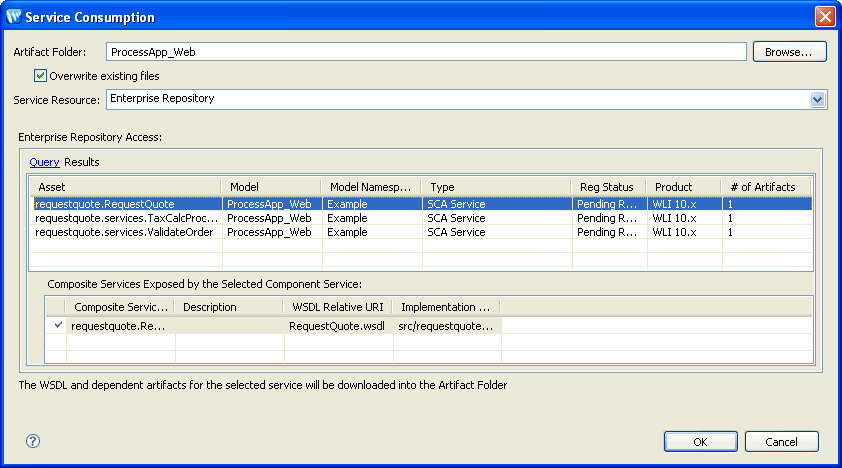
    The software asset (WSDL) is generated under ProcessAPP_Web (see Figure 2-9).

    Figure 2-9 WSDL


    WSDL


  Back to Top       Previous  Next