Publishing Locate
Under the Catalog main menu tab, you can use publishing wizards to publish data to BEA AquaLogic Service Registry.
![[Note]](../images/note.gif) | Note |
|---|---|
You must be logged in to publish data to BEA AquaLogic Service Registry. See User Account to learn how to register your user account. | |
![[Tip]](../images/tip.gif) | Tip |
|---|---|
To try publishing wizards, you can use the demo data account with the username: demo_john, and the password: demo_john. | |
You can publish the following data to BEA AquaLogic Service Registry:
Providers - A two-step publishing wizard allows you to enter provider's name and description, provider's taxonomy classification and contact persons.
Services - A four-step publishing wizard guides you through publishing a service, its interfaces, and its endpoints.
Interfaces - A wizard for publishing and republishing service interfaces.
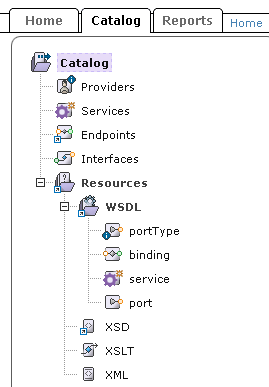
Resources - This node allows you to start publishing wizards for publishing WSDL files, XML files, XML schema, and XSL transformations.
We will demonstrate publishing wizards in the following examples:
Publishing Providers Locate
In this section, we show, step by step, how to publish a provider. We will create the provider HR Services. To publish this provider:
Login to BEA AquaLogic Service Registry using the link under the Home main menu tab.
Click on the Catalog main menu tab. Click on the Providers link in the Catalog tree. Then, click on the Publish a new provider link in the right-hand display area.
Note If you do not see the Catalog main menu tab, log in with the username: demo_john, and the password: demo_john in order to follow this lesson.
The page shown in Figure 12 appears.
Enter the provider name and description. You can also enter the home page URL of the provider. Click the Next button.
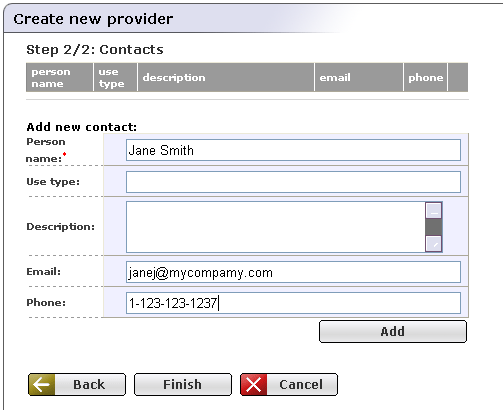
The page shown in Figure 13 appears.
Enter the contact's data, and click Add. This returns a list of contacts you have entered and a blank New Contact form. Click Finish when you have entered all of your contacts.
The person name is a required field only when you enter any contact information. It is possible to create a provider without a contact.

Publishing Services Locate
In this section, we will show you how to publish a business service step by step. This service will be created from a WSDL file.
To publish a business service:
Login to BEA AquaLogic Service Registry using the link under the Home main menu tab.
Click on the Catalog main menu tab. Click on the Services link in the Catalog tree. Then, click on the Publish a new service link in the right-hand display area.
Note If you do not see the Catalog main menu tab, log in with the username: demo_john, and the password: demo_john in order to follow this lesson.
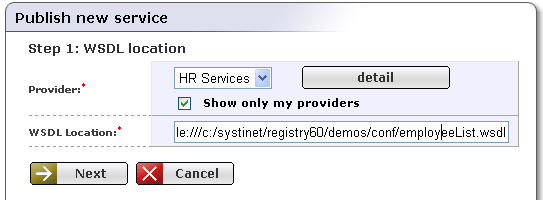
The page shown in Figure 14 appears.
From the Provider drop down list, select a provider. You can use the provider we created in the previous section. Enter the location of the WSDL file. You can use the WSDL that comes from demo data located in the REGISTRY_HOME/demos/conf/employeeList.wsdl. Click the Next button. The page shown in Figure 15 will appear.
By default, only providers owned by the currently logged in user appear in the Provider drop down list. If you uncheck the Show only my providers check box, all providers will appear in the drop down list. Make sure you have write permissions for the selected provider, otherwise the publishing wizard will fail after you click the Finish button.
Note For demonstration purposes only, we use the WSDL location with the file:// protocol pointing to a local drive. Keep in mind, the WSDL location should be accessible to other users.
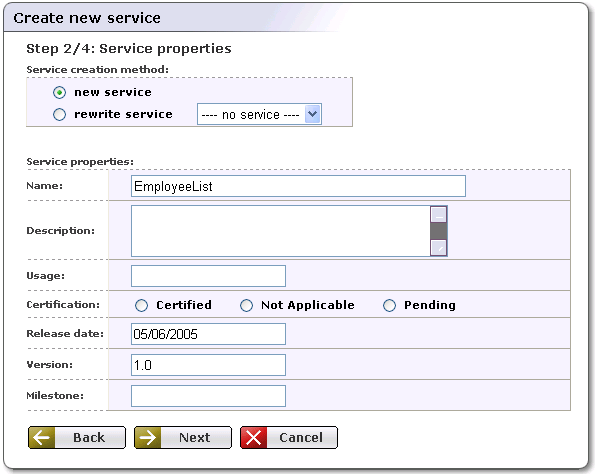
Optionally, you can specify service properties. The service Usage will classify the service by functional areas. You can enter the service certification status, release date, version and milestone. Then, click the Next button.
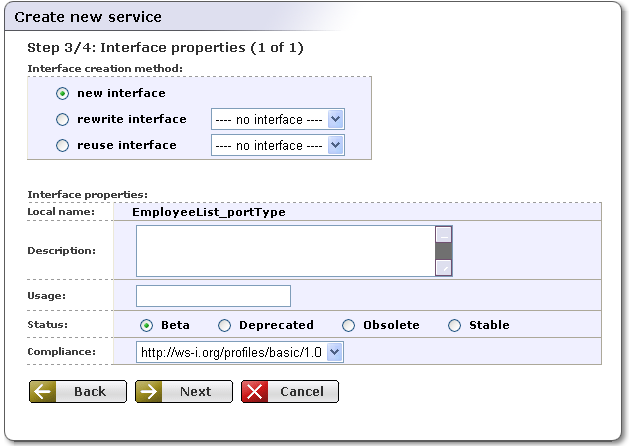
Step 3 of the service publishing wizard allows you to specify service interface properties. You can specify the interface status and compliance. When you have done so, click Next.
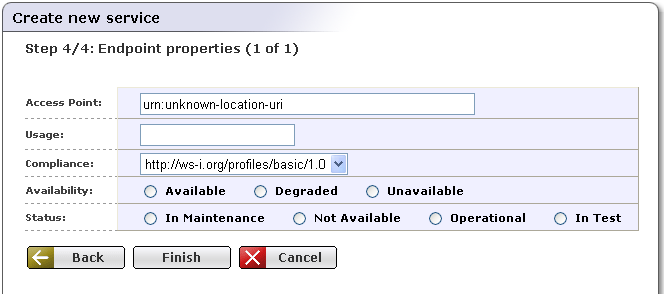
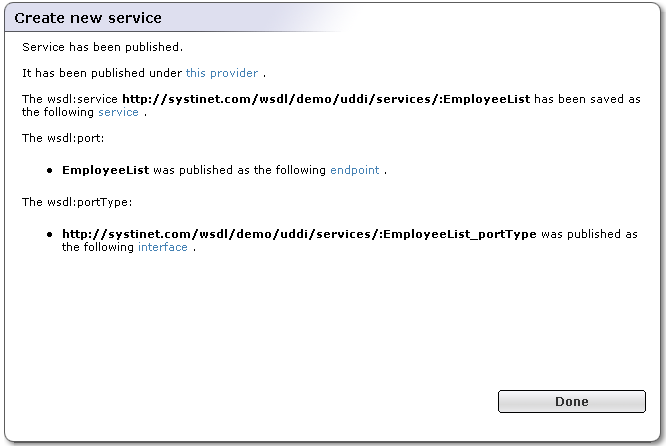
The last step of the wizard allows you to specify service endpoint properties. When you have done so, click Finish. A summary of how the service has been published to BEA AquaLogic Service Registry will appear in the Figure 18