

|
|
|
|
|
|
Installing the eLink Process Design Assistant
You install the eLink Process Design Assistant on client machines. The following sections describe how to install the Process Design Assistant software and online documentation:
System Requirements for Client Environments
Before you begin installing client components, check that your client environments meet the minimum network, space, and swap space requirements.
All eLink Business Process Option client machines must meet the following hardware and software requirements:
Microsoft Windows NT Installation Instructions
Insert the Business Process Option CD-ROM into the CD-ROM drive. (This release consists of two CD-ROMs; the Business Process Engine CD-ROM and the Business Process Option CD-ROM. For the client installation process, you must use the Business Process Option CD-ROM.)
After you insert the Business Process Option CD-ROM, locate and double-click the setup.exe folder on the CD to start the installation process. The setup provides a set of step-by-step installation windows to help you quickly install your product. These windows are self-explanatory. You can cancel the installation at any time.
Figure 1-1 Welcome Window

To continue with the installation, you must accept the terms of the license agreement. If you accept the terms, click the Yes button to continue with the installation. If you do not accept the terms, click the No button and the installation stops.
Figure 1-2 Software License Agreement Window
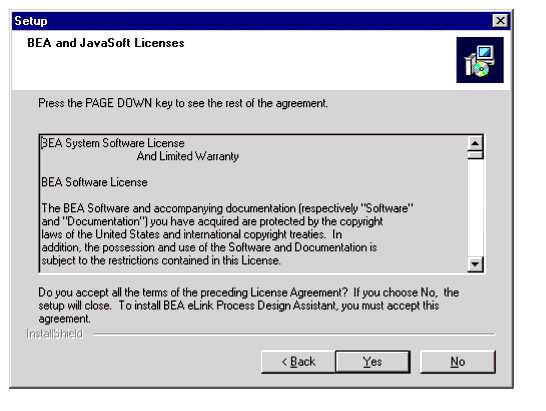
Figure 1-3 User Information Window
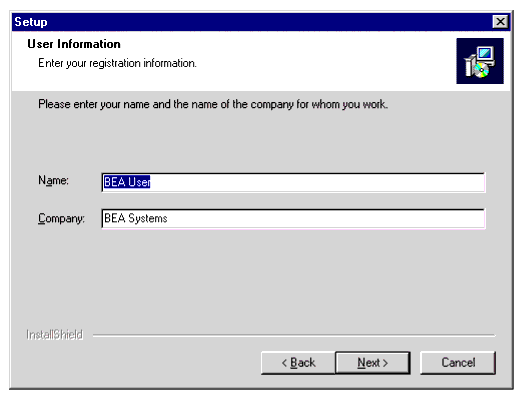
Click on the Next button to continue.
Figure 1-4 Server Machine Name Window

Click the Next button to continue with the installation.
Figure 1-5 The Choose Destination Window
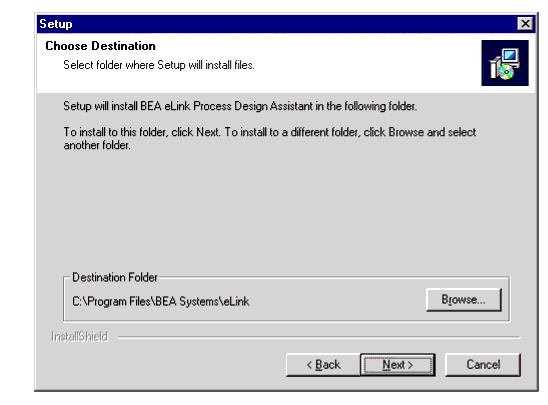
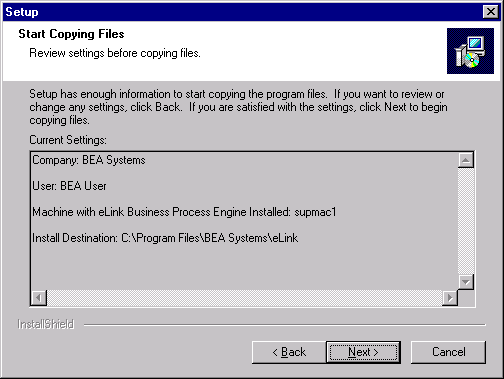
To change the settings, click the Back button and make the necessary changes.
To accept the settings, click the Next button to continue.
Figure 1-6 Start Copying Files Window
Click the Finish button. Your eLink Process Design Assistant is installed.
Figure 1-7 Setup Complete Window
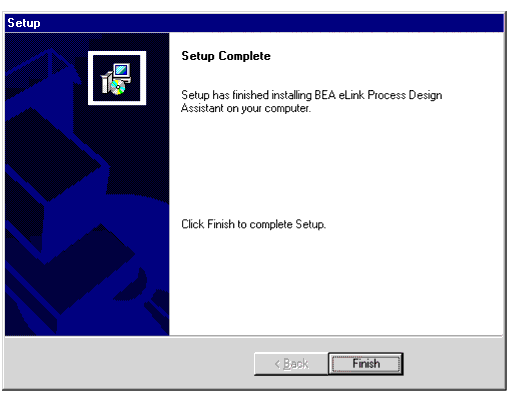
Figure 1-8 BEA eLink Start Menu Option
.

|
|
|
Copyright © 2000 BEA Systems, Inc. All rights reserved.
|