To use a proxy server when activating or modifying a domain, you must add the proxy server to the Domain Activation Wizard or Domain Properties dialog box's proxy server drop down list. The following steps describe how to add a proxy server:
Click the Add Proxy Servers link in the Domain Activation Wizard or Domain Properties dialog box to open the Preferences Proxy Servers page.
Figure 4-79 Add Proxy Servers Link
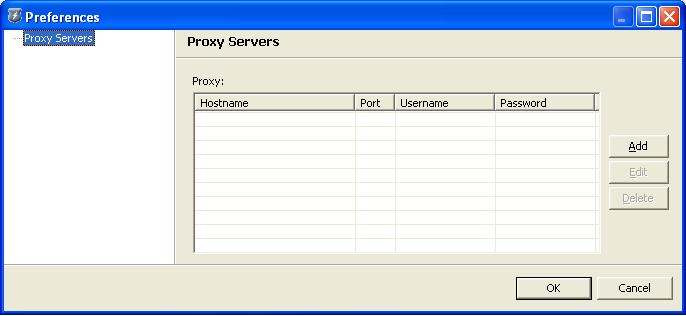
In the Proxy Servers page, click the Add button to open the Proxy Properties dialog box.
Figure 4-80 Preferences Proxy Servers Page with No Entries
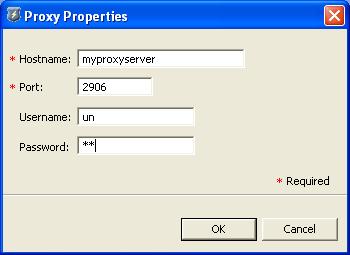
In the Proxy Properties dialog box, enter the proxy server's host name, listen port, username, and password. Click the OK button to add the proxy server to the Proxy Servers page's proxy servers list.
Figure 4-81 Proxy Properties Dialog Box
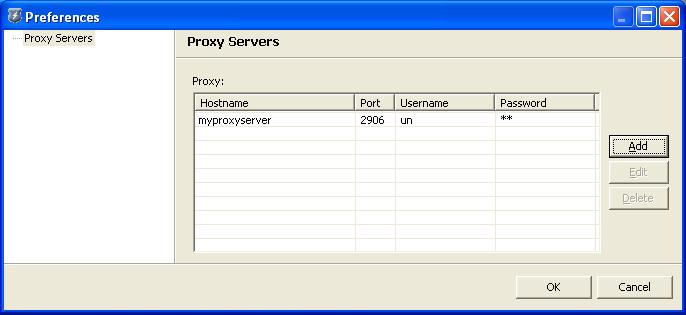
Back in the Proxy Servers page, you can see the proxy server you just added. Click the Add button for as many proxy servers as you need to add. Click the OK button to return to the Domain Activation Wizard or Domain Properties dialog box.
Figure 4-82 Preferences Proxy Servers with Example Entry
Back in the Domain Activation Wizard or Domain Properties dialog box, you can select any of the proxy servers you just added.