| Download Docs | Site Map | Glossary | |
|
|
|||
| bea.com | products | dev2dev | support | askBEA |
|
|
|
||||||||
| e-docs > Liquid Data for WebLogic > Installing Liquid Data > Installing Liquid Data Using GUI Mode |
|
Installing Liquid Data
|
Installing Liquid Data Using GUI Mode
This topic describes how to install BEA Liquid Data for WebLogicTM using GUI mode. It includes the following sections:
Before You Install
Before you begin installing Liquid Data, make sure that all installation prerequisites are met. For example, some particularly critical prerequisites are:
For complete information about installation prerequisites, see Installation Prerequisites in Preparing to Install Liquid Data.
Starting the Installer on a Windows Platform
To start the installer in GUI mode on a Windows platform, use an Explorer file browser to navigate to the folder in which you downloaded the Liquid Data installer, and double-click on the installer executable file.
For example, the installer file for Release 1.0 is liquiddata100_win.exe, and the installer executable file for Release 1.0.1 is liquiddata101_win.exe.
Starting the Installer on a UNIX Platform
To run the installer in GUI mode, make sure that the console attached to the machine on which you are installing the software supports a Java-based GUI.
To start the installer in GUI mode on a UNIX platform, do the following:
For example, to run the installer for the Solaris version of Liquid Data Release 1.0 enter the following command at the prompt:
sh filename.bin
where filename.bin is the name of the Liquid Data installation program specific to your platform; for example, liquiddata101_solaris.bin for Release 1.0.1 Solaris version of Liquid Data.
You will find similarly-named installer files for all UNIX versions of Liquid Data (Solaris, HPUX, AIX, and SuSE Linux).
Installing Liquid Data in GUI Mode
After you start the installer as described in Starting the Installer on a Windows Platform or Starting the Installer on a UNIX Platform, perform the following procedure to complete the installation:
The initial Liquid Data installation dialog box is displayed as an introduction.
Figure 2-1 Liquid Data Installation Introduction

The Choose BEA Home Directory dialog box is displayed.
Figure 2-4 Choose BEA Home Directory
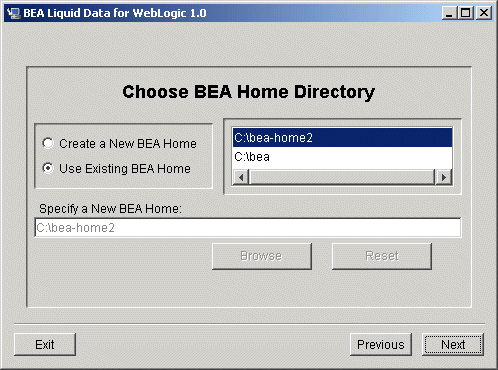
The BEA Home directory serves as the central support directory for all the BEA products installed on your system. For a detailed description of how the BEA Home directory is used, see "BEA Home Directory" in "Preparing to Install WebLogic Server" in Installing WebLogic Server. This document is available, in the BEA WebLogic Server document set, at the following URL:
http://download.oracle.com/docs/cd/E13222_01/wls/docs70/installinstpre.html
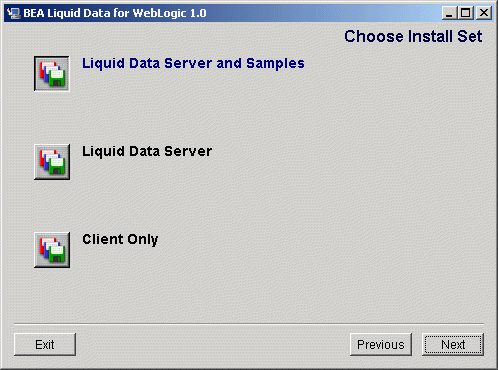
If the prerequisite software (WebLogic Platform 7.0 SP1) is present, the "Confirm Install Set Selection" dialog is displayed. The dialog shows the install set you chose.
Figure 2-5 Confirm Install Set
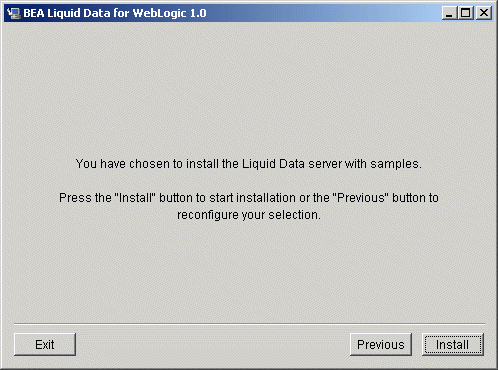
Verify that the information displayed reflects your selections (Liquid Data Server and Sample, Liquid Data Server, or Client Only). Click Install to begin copying files.
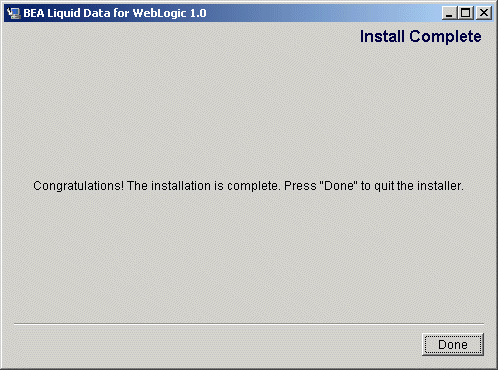
Additional information about Liquid Data is displayed as the installer copies files. When the installer finishes copying the required files, the "Congratulations-Install Complete" dialog box is displayed.
Figure 2-6 Install Complete
Next Steps
For all types of installations, you must complete some post-installation tasks before you can work with Liquid Data. See Post-Installation Tasks, for information on the following important post-install steps:

|

|

|