You get this window when you choose Tools->Deploy Modules from the menu bar (the Workstation view must be open). This window lists the modules available to be deployed (all locally registered modules) and lets you select the ones you want to generate deployment packages for.
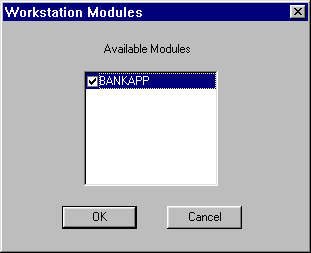
A checkmark indicates the module is selected for deployment. (In the example shown above, only one module is showing because only one module was registered to the workstation.)
Select the modules you want to deploy by clicking on them, and then click OK to save your selection and close the window. (You can also click Cancel to close the window and interrupt the deployment.)
This brings up the Deploy Modules file window (a file browser) in which you can verify the file name and location where you want the deployment package saved.
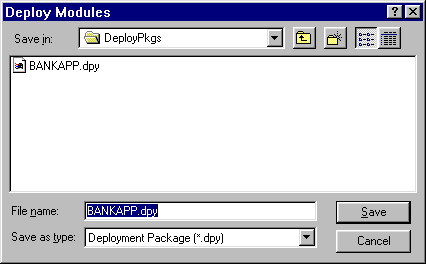
The default location shown on the file browser is determined by how the Deployment options are set. (When more than one module is chosen to deploy, the File name field in the Deploy Modules window comes up as *.dpy.)
When the appropriate path and file name are showing on the browser, click Save on the file browser. This closes the window and creates the deployment package in the specified file and location.
Note:
When you have completed this task, you have a .dpy file or deployment package. In order to actually deploy a client application you must take some other steps such as creating a client executable in your development environment (Visual Basic, PowerBuilder, or Visual C++), running the setup/install utility, loading the setup executable and associated files on the target system, ensuring that system has all needed software, and then installing. For more detailed information on this process, refer to the topic Deploying a Client Application.
Working with Deployment Packages, Deploying a Client Application