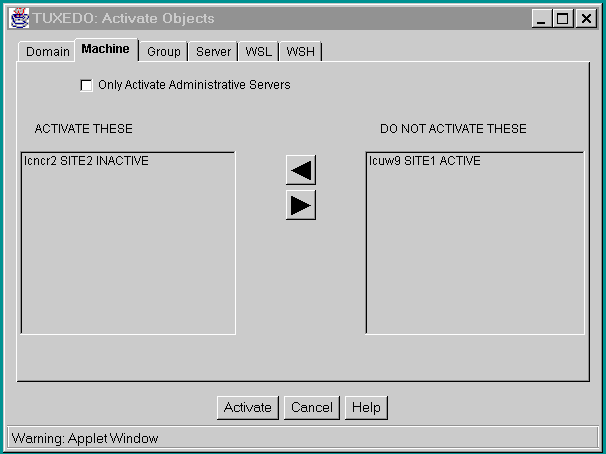
Selecting Objects to Activate
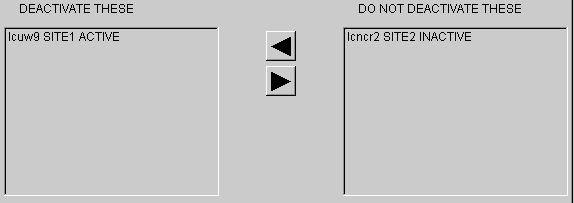
Two lists appear on the Activate folders for all objects except Domains: ACTIVATE THESE and DO NOT ACTIVATE THESE. The BEA TUXEDO objects on the ACTIVATE THESE list will be activated; objects on the DO NOT ACTIVATE THESE list will not be activated. By moving an object name into the appropriate list, you can specify whether the object will be activated or not.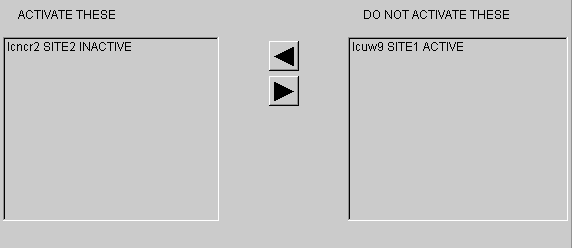
Figure 5-2: Activate These and Do Not Activate These Lists
How to Move Objects from One List to Another
To move objects from one list to another, complete the following steps:
 .
.