|
|
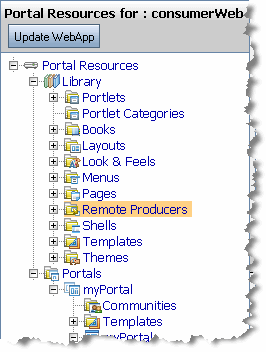
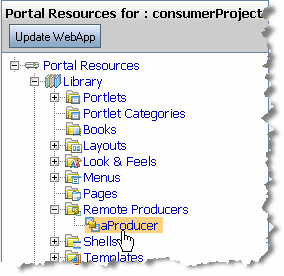
The WebLogic Portal Administration Console lets you locate producers and add their remote resources to the Portal Resources Library. Remote resources can include books, pages, and portlets. When a remote resource is added to the Library, it becomes available to you to incorporate into a portal desktop.
| Tip: | This chapter assumes that you are familiar with the Portal Resources Library and how to use it to assemble WebLogic Portal desktops. For detailed information on the Library and on assembling portals using the Administration Console, see the Portal Development Guide. This chapter also assumes you are familiar with basic federated portal concepts and terms, such as producer, consumer, and WSDL. For detailed information on federated portals, see What are Federated Portals? and Federated Portal Architecture. |
This chapter explains how to locate producers and incorporate their remote resources into the Portal Resources Library. The chapter includes these sections:
You can use the WebLogic Portal Administration Console to locate remote producers, discover the resources they offer, and add them to the Portal Resources Library. After a remote resource, such as a book, page, or portlet, is added to the Library, you can add the resource to a desktop just as you would a local book, page, or portlet.
The primary advantage of remote books and pages is that they act as containers for other remote resources. For example, a producer can offer a remote book that contains several remoteable pages, each of which contain multiple remoteable portlets. When you consume that book, the remoteable pages and portlets it contains are consumed as well, with no additional steps.
| Tip: | The term remoteable refers to a book, page, or portlet that is deployed in a producer application and that is offered as remote. Producer application developers decide whether or not books, pages, and portlets they create are offered as remote. For detailed information on creating remoteable pages and books in a producer application, see Offering Books, Pages, and Portlets to Consumers. |
After you consume a remote book or page, an administrator can edit it using the Administration Console. For example, an administrator can add other portlets, books, or pages to the remote book or page. Remember that such changes are not reflected back to the producer; therefore, after a remote book or page is modified on the consumer, it can become inconsistent with the original book, page, or portlet in the producer application.
To add remote books, pages, and portlets to the Library:
After the remote resources are in the Library, you add them to your portal desktop as you would any other book, page, or portlet.
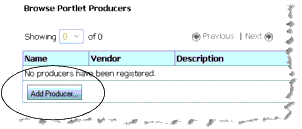
To consume remote resources, such as portlets, books, and pages that are deployed in a producer, you need to first add the producer to your Portal Resources Library. After you add a WSRP-compliant producer to the Portal Resources Library, you can make that producer’s remoteable resources available for consumption by your portal.
| Tip: | In the WebLogic Portal Administration Console, producer registrations are scoped to individual consumer web applications. Because there can be multiple consumer web applications in an enterprise application, it is possible that a given producer will need to be registered multiple times within an enterprise application (that is, registered for each consumer web application in which it is used). |
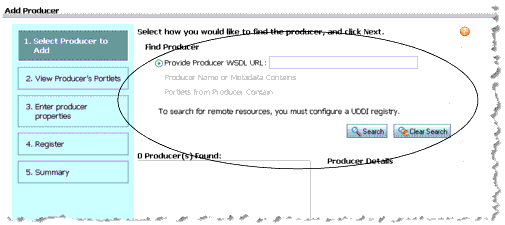
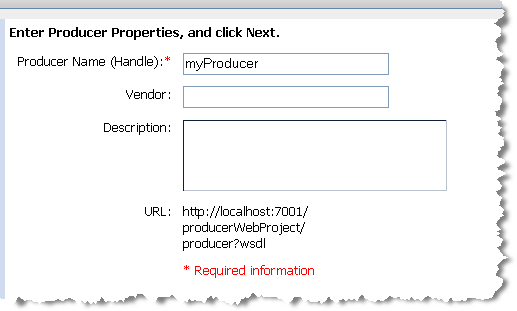
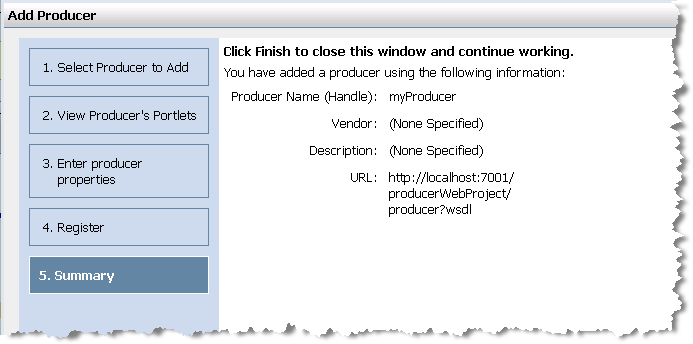
To locate and register a producer using the Administration Console:
http://myhost:7001/producerWebProject/producer?wsdl| Tip: | The previousl two options are only available if you have configured the consumer to use the UDDI search features. For information on configuring the consumer for UDDI, see Publishing to UDDI Registries. |
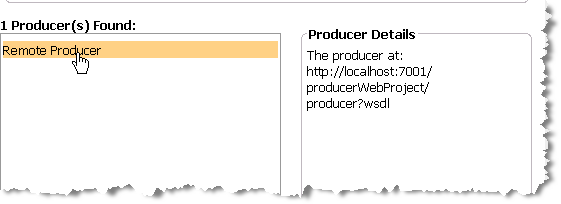
Checkpoint: Search results are displayed in the Producer(s) Found list.
| Tip: | During registration, the producer stores information about the consumer and returns a handle to the consumer. Registration is an optional feature described in the WSRP specification. A WebLogic Portal complex producer implements this option and, therefore, requires consumers to register before discovering and interacting with portlets offered by the producer. See Complex Producers for more information. |
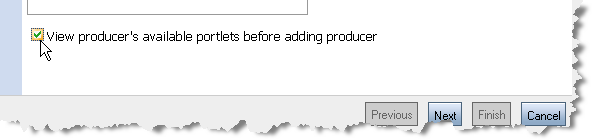
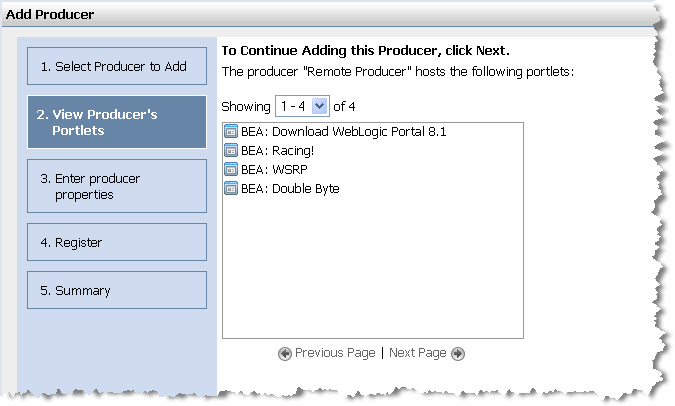
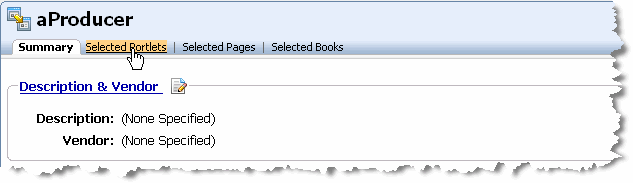
Checkpoint: Now that you have located and added a producer, you can view and select portlets, books, and pages to add to the consumer from that producer, as explained in the following sections.
If you have added a producer that contains a remoteable portlet, you can add that portlet to your Portal Resources Library. After the remote portlet is added to the Library, you can incorporate the portlet into a page in your portal desktop.
There are two ways to incorporate remote portlets into a portal using the Administration Console:
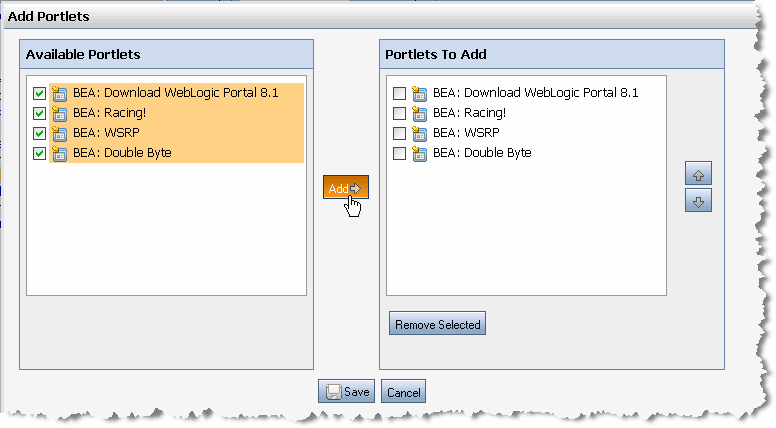
To add a remote portlet to your Portal Resources Library directly:
| Tip: | If the producer offers a large number of portlets, use the Search feature to narrow the selections. For instance, you can search for all portlets that begin with “a,” and only those portlets will show up in the Browse Selected Portlets table. |
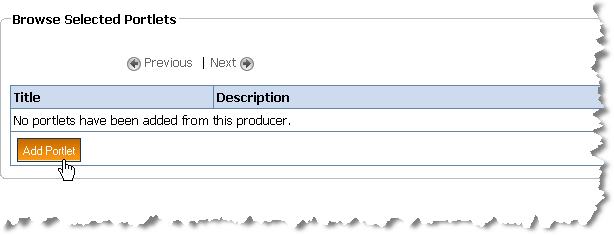
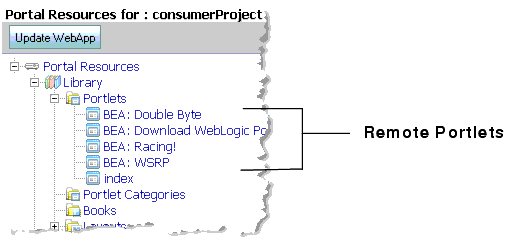
The added portlets also appear in the Browse Selected Portlets table in the Selected Portlets tab, as shown in Figure 17-14.
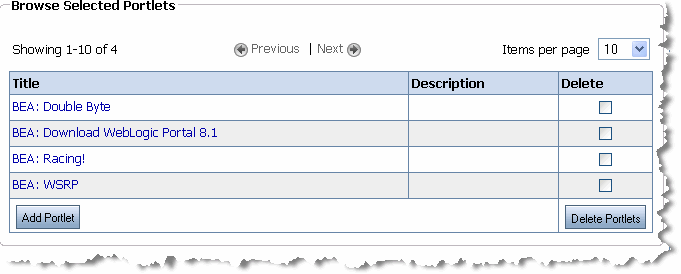
| Tip: | When you add a remote portlet to the Library, it is placed in the Portlets folder. This is the same folder where local portlets appear. WebLogic Portal treats the remote portlet exactly as if it were a local portlet. |
Checkpoint: You can now add the portlet to a page in your desktop. For details on adding Library resources to a desktop, see the WebLogic Portal Development Guide.
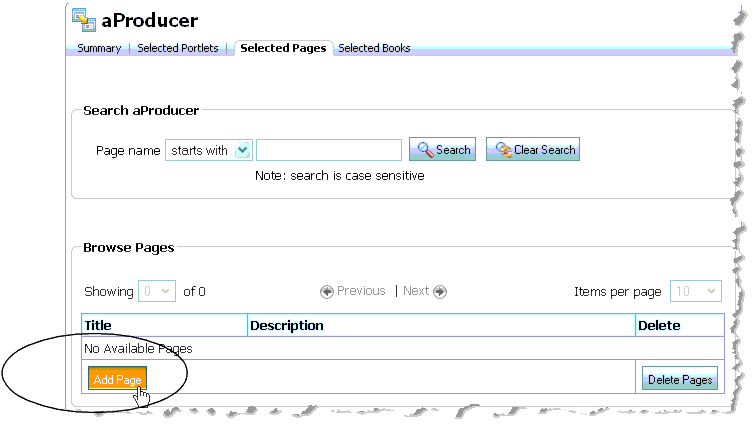
If you have added a producer that contains a remoteable page, you can add that page to your Portal Resources Library. After the remote page is added to the Library, you can incorporate it into your portal desktop as if it were a local page.
This section explains how to add a remote page to your Portal Resources Library.
| Tip: | To be remoteable, the page’s Offer As Remote property must have been set to true when it was created and the page must include some content. A remote page can contain any combination of remote books and portlets. Books and portlets contained within a remote page must be offered as remote. By default, books, pages, and portlets are offered as remote. For more information on creating remoteable books and pages in a producer application, see Adding Remote Resources to the Library. |
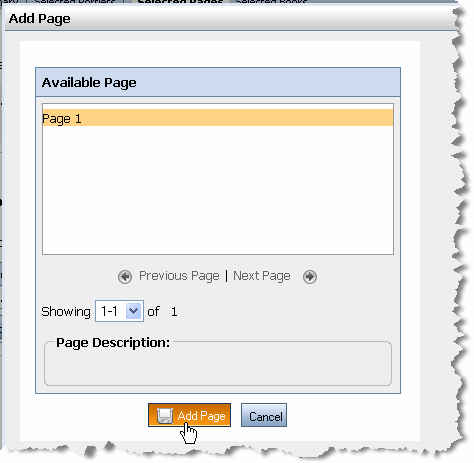
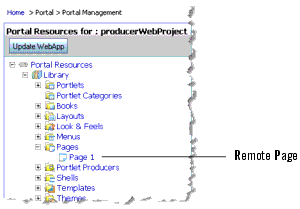
Checkpoint: The remote page is added to the Library, as shown in Figure 17-24. You can now add the page to a desktop. For details on adding Library resources to a desktop, see the WebLogic Portal Development Guide.
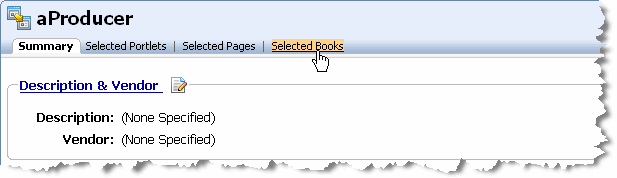
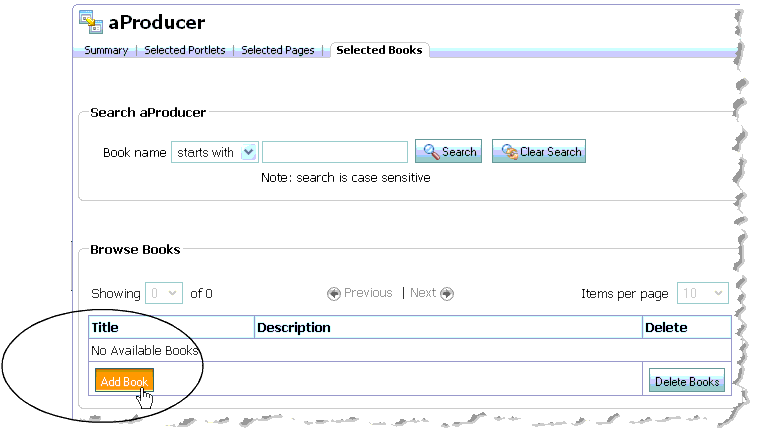
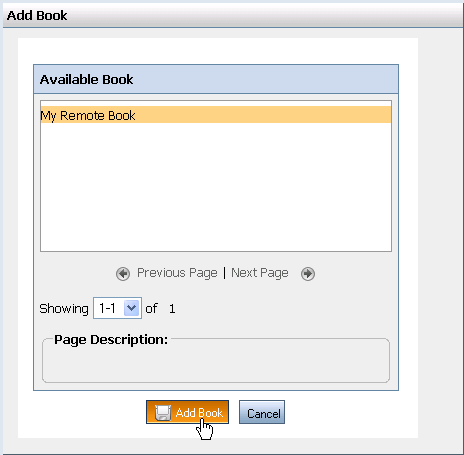
If you have added a producer that contains a remoteable book, you can add that book to your Portal Resources Library. After the remote book is added to the Library, you can incorporate it into your portal desktop as if it were a local book.
| Tip: | To be remoteable, the book’s Offer As Remote property must have been set to true when it was created, and the book must include some content. A remote book can contain any combination of remote pages and portlets. Pages and portlets contained within a remote page must be offered as remote. By default, books, pages, and portlets are offered as remote. For more information on creating remoteable books and pages in a producer application, see Adding Remote Resources to the Library. |
This section explains how to add a remote book to your Portal Resources Library.
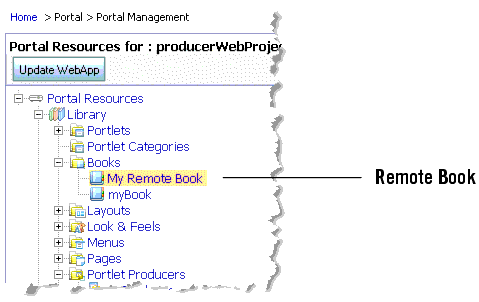
Checkpoint: The remote book is added to the Library, as shown in Figure 17-24. You can now add the book to a desktop. For details on adding Library resources to a desktop, see the WebLogic Portal Development Guide.


|