Step 3: Create Two Desktops for MyPortal
You can now add desktops to your portal to provide views for specific users. The desktops are related to each other because they are part of the same portal, but they can be distinct in terms of their look and feel and the portal resources available to the users. Desktops provide an easy way for administrators to target specific users based on users' identity, group membership, or profile.
In this step, you will create two desktops, Desktop1 and Desktop2, in MyPortal, which you created in the previous step. These desktops will be used in later tasks for setting entitlements that allow them to be used by specific users or groups.
The tasks in this step are:
Create and Preview the First Desktop from a Template
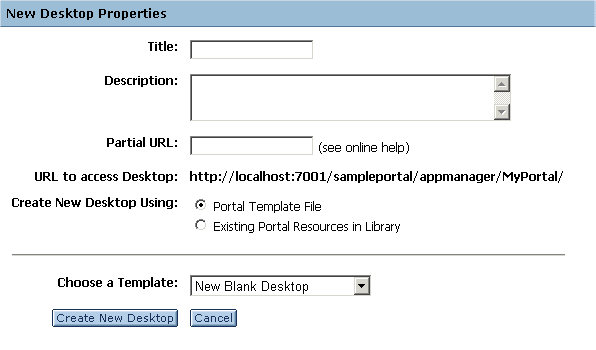
In this task you will create a new desktop from a template. The template provides a way to create new desktops that are pre-configured with the portal resources that are ready for use. These templates are useful as the starting point for portal applications, allowing you to develop new desktops based on an existing template.

| For This Field: | Enter This Information: |
| Title | Desktop1 |
| Description | My first desktop |
| Enter a partial URL for this Desktop | desktop1 |
| Create New Desktop Using (radio button) | Portal Template File |
| Choose a Template (drop-down menu) | sampleportal/sample.portal |


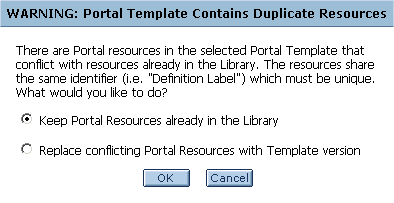
Note: Depending on the speed of your system, it might take a few minutes for the preview to appear.
Create and Preview the Second Desktop Using Existing Portal Resources
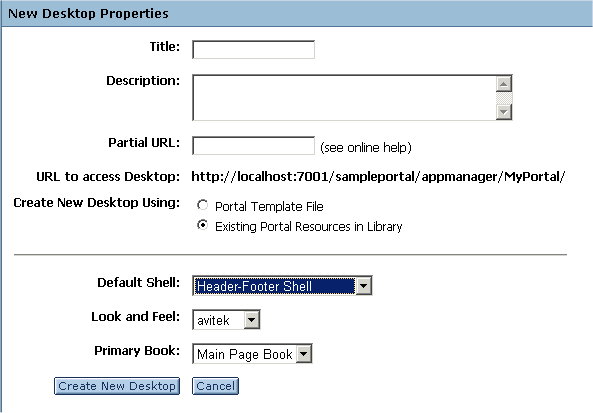
In this task you will create a second desktop using existing portal resources that are available from the library. These resources include the portlets, books, pages, look and feels, and shells that make up a desktop. This is different from using a template in that the resulting desktop can be composed of a unique set of resources. In this tutorial you will select the same resources used by the template, so the resulting desktop is identical.

| For This Field: | Enter This Information: |
| Title | Desktop2 |
| Description | My second desktop |
| Enter a partial URL for this Desktop | desktop2 |
| Create New Desktop Using (radio button) | Existing Portal Resources in Library |
| Default Shell | Header-Footer Visitor Shell |
| Look and Feel | avitek |
| Primary Book | Main Page Book |
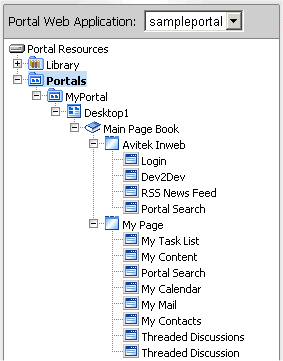
You have now successfully created two desktops in MyPortal, both of which will are identical. Although each was created in a different way, they both use the same portal resources. In the following step you will add portal resources to the second desktop, making it distinctly different from the first.