WebLogic Portlets for SAP Installation Guide
|
|
|
WebLogic Portlets for SAP Installation Guide
This document explains how to install the BEA WebLogic Portlets for SAP application.
The BEA WebLogic Portlets for SAP application integrates BEA WebLogic Portal with the SAP R/3 4.6C System.
This guide contains the following sections:
- Installation Prerequisites for BEA WebLogic Portlets for SAP
- Installing BEA WebLogic Portlets for SAP
- Configuring the BEA WebLogic Portal
- Downloading the Third Party Software
- Configuration and Settings for BEA WebLogic Portlets for SAP
- Activating the License for BEA WebLogic Portlets for SAP
- Uninstalling BEA WebLogic Portlets for SAP
- Troubleshooting
Installation Prerequisites for BEA WebLogic Portlets for SAP
This section contains the following topics:
Hardware Requirements
The server should have the following configuration:
Software Requirements
The following software must be installed on the server:
- BEA WebLogic Platform 8.1 SP2 or higher
- SAP Version 4.6 C Patch Level 44
- One of the following databases should be available:
- Internet Explorer 6 or higher
Administrator Privileges
You must have BEA WebLogic Platform administrator privileges in order to install and configure the BEA WebLogic Portlets for SAP application.
Licensing and Encryption
The WebLogic Platform software cannot be used without a valid license. You can purchase licenses for the entire WebLogic Platform product or for individual components. For information about the licenses available for WebLogic Platform, contact your sales representative or visit the BEA corporate Web site at http://www.bea.com.
About 128-Bit Encryption
Secure sockets layer (SSL) encryption software is available with two levels of encryption: 56-bit and 128-bit. Licenses for the 128-bit client version of SSL are available in the United States and Canada. With proper authorization, customers outside the United States and Canada may also acquire licenses with 128-bit encryption enabled.
A WebLogic Platform license comes with 56-bit encryption enabled by default. Enabling 128-bit encryption for SSL requires that a 128-bit encryption license be present in the license.bea file of the target BEA Home directory before you install the WebLogic Platform software.
Installing BEA WebLogic Portlets for SAP
This section includes the following topics:
Before you start the BEA WebLogic Portlets for SAP installation, make sure you meet the Installation Prerequisites for BEA WebLogic Portlets for SAP.
Installing BEA WebLogic Portlets for SAP
BEA WebLogic Portlets for SAP can be installed on both Unix and Windows operating systems using graphical-mode installation.
Graphical-Mode Installation on Windows System
To start the installation on Windows system:
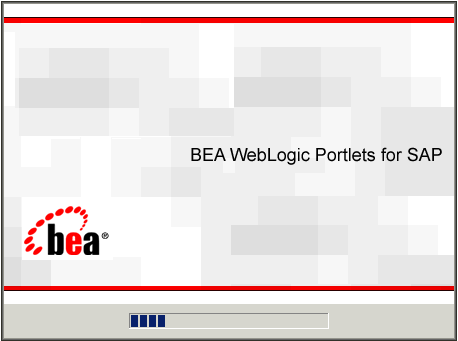
- The program prepares your system for the installation task, as shown in Figure 1.
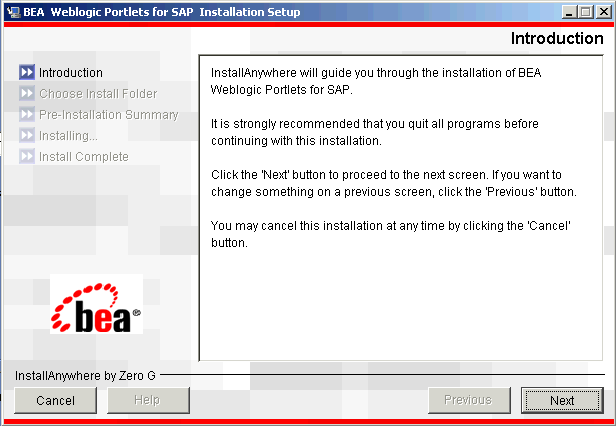
- The Introduction screen appears, as shown in Figure 2. Click Next to continue.
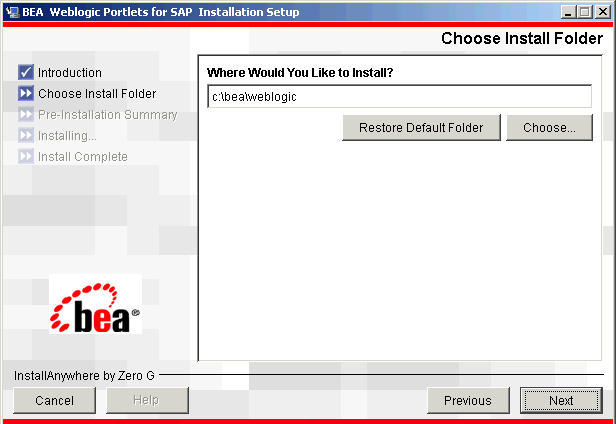
- In the Choose Installation Folder screen (as shown in Figure 3), specify the path of the installation directory or click Choose to select the
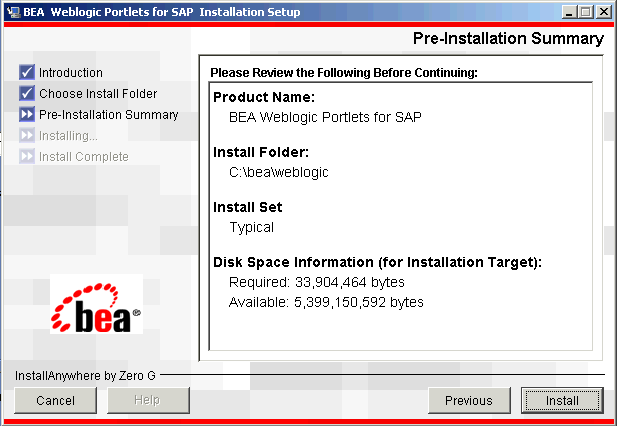
\bea\weblogic<version>directory. This is the path where BEA WebLogic Portlets for SAP will be installed. Click Next to continue. - The Pre-Installation Summary screen displays your installation preferences, as shown in Figure 4. Click Install to continue.
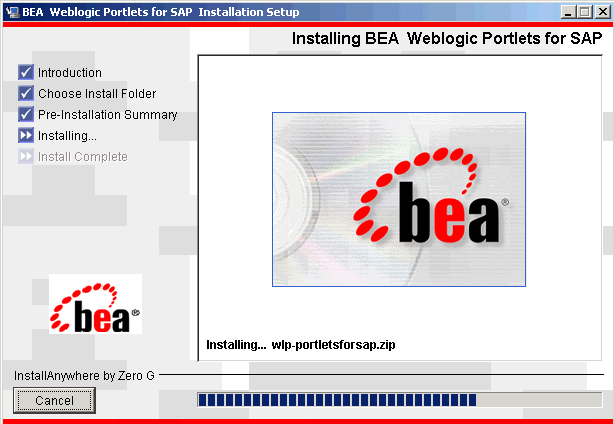
- The Installing BEA WebLogic Portlets for SAP Installation Setup screen displays the progress of the installation, as shown in Figure 5.
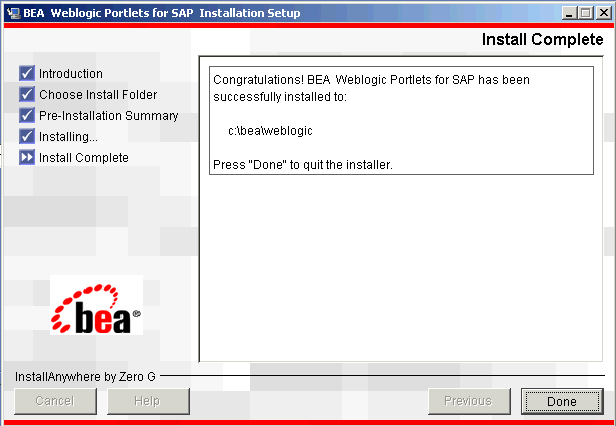
- The Install Complete screen confirms that BEA WebLogic Portlets for SAP was installed successfully, as shown in Figure 6. Click Done to complete the installation.
Figure 1 Installation Initialization Screen
Note: If a folder other than \bea\weblogic<version> is selected then you need to manually copy the templates files from <selected folder>\workshop\templates to \bea\weblogic<version>\workshop\templates.
Figure 3 Choose Installation Folder Screen
Figure 4 Pre-installation Summary Screen
Figure 5 Installation Setup Screen
Figure 6 Install Complete Screen
Graphical-Mode Installation on Unix System
To start the installation on Unix system:
- Go to the CD-ROM directory and navigate to the folder for the installation program
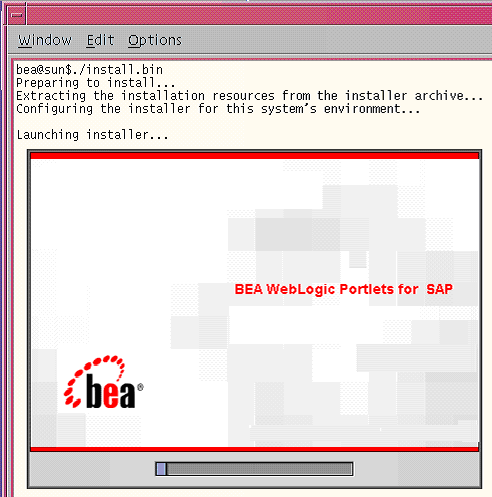
SAPportlets_solaris_811.bin. - The program prepares your system for the installation task, as shown in Figure 7.
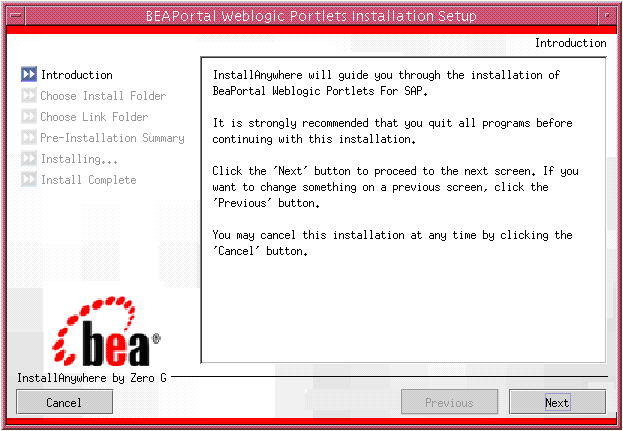
- The Introduction screen appears, as shown in Figure 8. Click Next to continue.
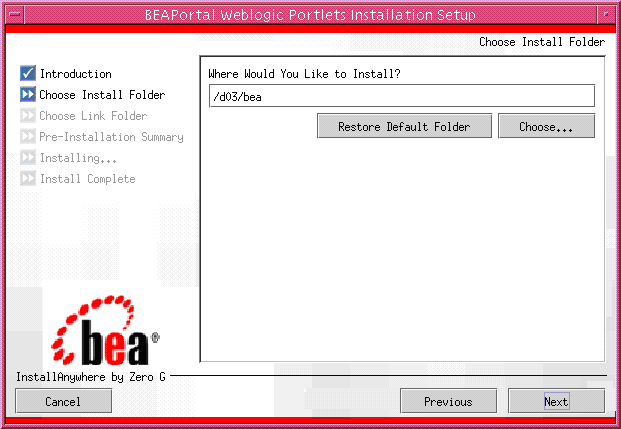
- In the Choose Installation Folder screen (as shown in Figure 9), specify the path of the installation directory or click Choose to browse for the path where you want to install BEA WebLogic Portlets for SAP. Click Next to continue.
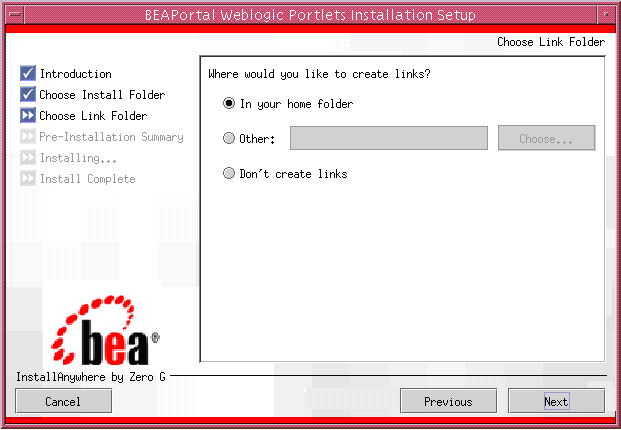
- In the Choose Link Folder screen, you can create links for the application, as shown in Figure 10. Click Next to continue.
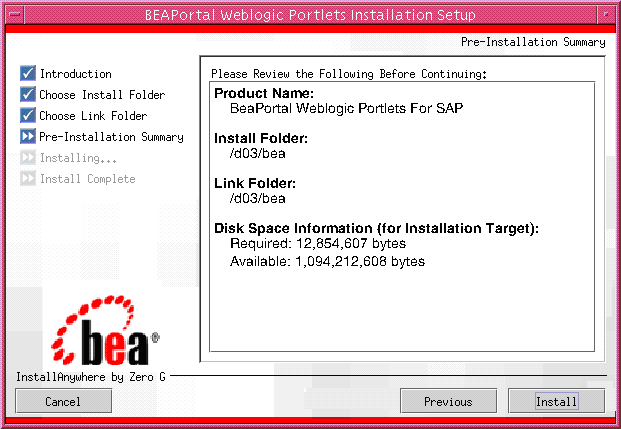
- The Pre-Installation Summary screen displays your installation preferences, as shown in Figure 11. Click Install to continue.
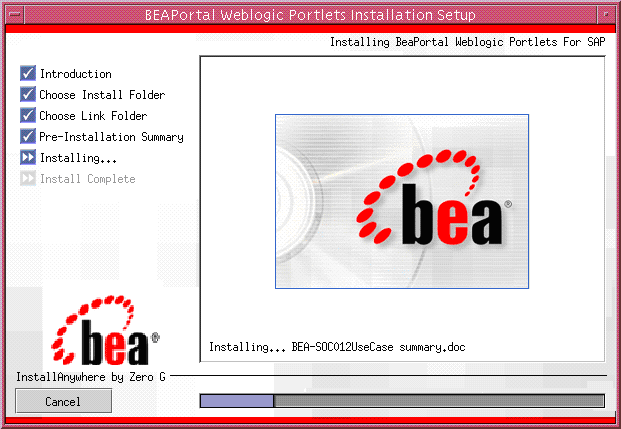
- The Installing BEA WebLogic Portlets for SAP screen displays the progress of the installation, as shown in Figure 12.
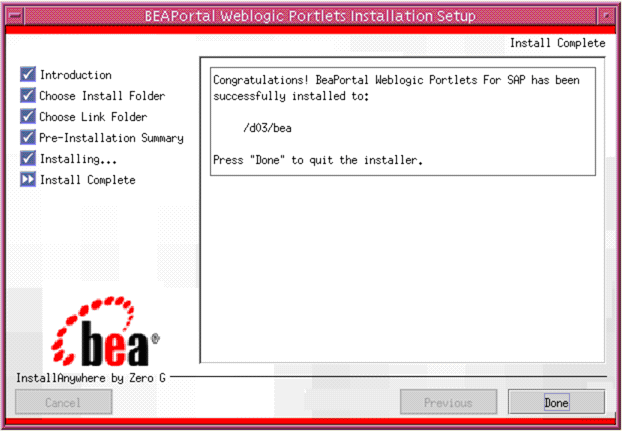
- The Install Complete screen confirms that BEA WebLogic Portlets for SAP was installed successfully, as shown in Figure 13. Click Done to complete the installation.
./SAPportlets_solaris_811.bin
Figure 7 Installation Initialization Screen
Note: If a folder other than /bea/weblogic<version> is selected then you need to manually copy the templates files from <selected folder>/workshop/templates to /bea/weblogic<version>/workshop/templates.
Figure 9 Choose Installation Folder Screen
Figure 10 Choose Link Folder Screen
Figure 11 Pre-installation Summary Screen
Figure 13 Install Complete Screen
Reviewing the Installation
The installer will install files in the following directories:
- Product Documentation will be copied into a directory at
<%BEA_HOME%>\weblogic<version>\portal\thirdparty\sapportlets\docs - Sample view templates (for
.jspand.jpffiles) will be copied into a directory at<%BEA_HOME%>\weblogic<version>\portal\thirdparty\sapportlets\newportlet - WebLogic Domain Extension Template - Use the Existing domain or Create Domain using WebLogic Wizard. (See "Creating WebLogic Configurations Using the Configuration Wizard" at http://download.oracle.com/docs/cd/E13196_01/platform/docs81/confgwiz/index.html).
- Workshop Application Template will be copied into
<%BEA_HOME%>\weblogic<version>\workshop\templates - DDL and DML scripts will be copied into a subdirectory of
<%BEA_HOME%>\weblogic<version>\portal\thirdparty\ sapportlets\scripts
Note: Depending on the type of installation the product documentation might be shipped separately.
Configuring the BEA WebLogic Portal
After the installation is completed, perform the following steps using WebLogic Workshop.
Downloading the Third Party Software
Table 1 shows you what to download, where to download it, and where to store it.
|
Download from http://xml.apache.org/dist/xerces-j/old_xerces2/ |
|
||
|
Download from https://websmp103.sap-ag.de/connectors |
|||
|
Download from https://websmp103.sap-ag.de/connectors |
Configuration and Settings for BEA WebLogic Portlets for SAP
This section contains the following topics:
Setting Up SAP Portlets Repository
This topic contains the following procedures:
Creating Schema and Importing Metadata
To create schema and import metadata for BEA WebLogic Portlets for SAP in MS SQL Server run the following scripts in MS SQL Server's Query Analyzer in the order given below:
To create schema for BEA WebLogic Portlets for SAP in Oracle database run the following scripts in Oracle's SQL Plus in the order given below:
Configuring the PORTALnet.properties File
To configure the properties file:
Registering Java Data Source
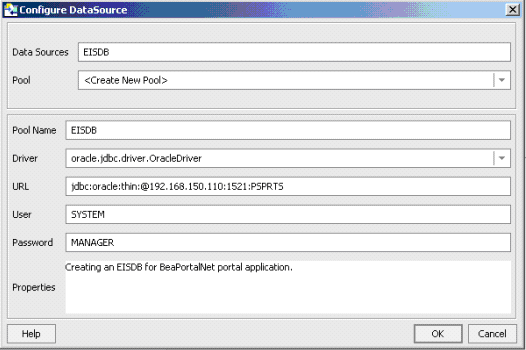
- Click New Data Source to add a new data source. The Configure DataSource window appears, as shown in Figure 14.
Figure 14 Configuring Datasource Screen
Activating the License for BEA WebLogic Portlets for SAP
To activate the license for BEA WebLogic Portlets for SAP:
Uninstalling BEA WebLogic Portlets for SAP
To uninstall BEA WebLogic Portlets for SAP:
Troubleshooting
Use Table 2 to troubleshoot installation issues.
