In this step, we will create server configurations and deploy and run the JSF application.
Our application uses the DataStoreBean class which is available in application scope. You have been provided a Servlet Context Listener called ContextListener which registers an instance of DataStoreBean to ServletContext at application start up.
Create a new package called listeners and copy the file ContextListener.java from the folder workshop-JSF-tutorial/web/Resources folder to the listeners package.
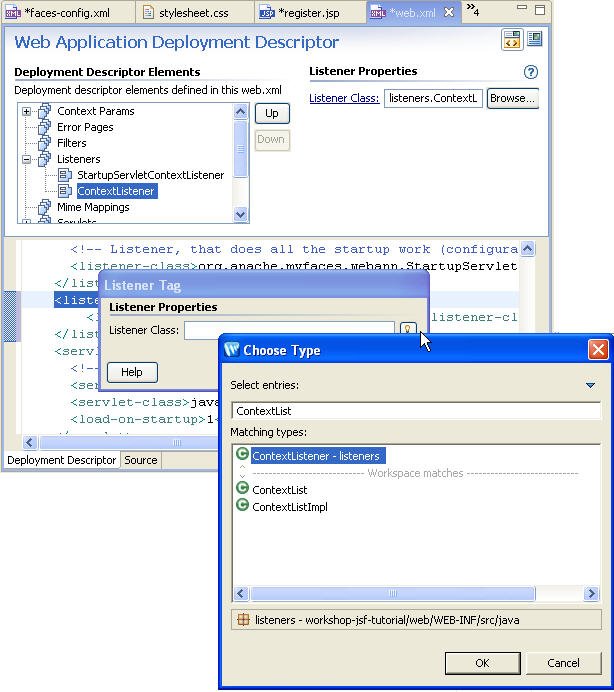
This will add a listener element for the ContextListener
class.

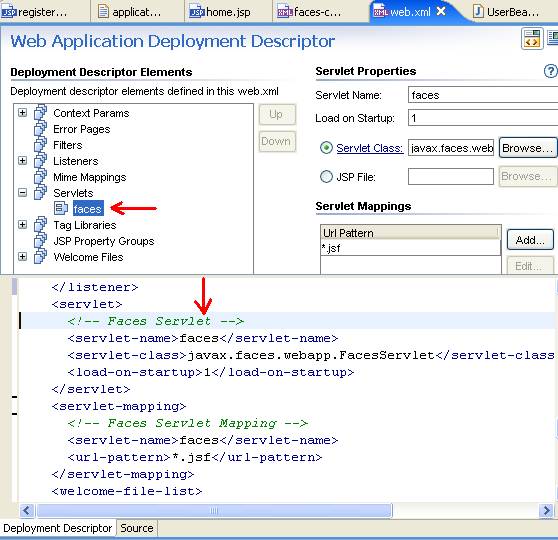
The servlet javax.faces.webapp.FacesServlet
is configured to receive HTTP requests with URL-pattern .jsf
The web.xml file includes tag library mappings to
support JSP tag libraries.
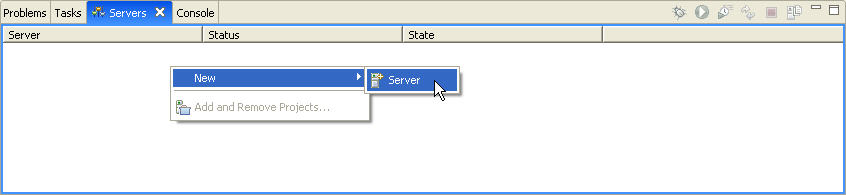
Workshop has the ability to run and debug applications on most of the popular web containers in use today. Before you can run this sample application, you must have a server installed.
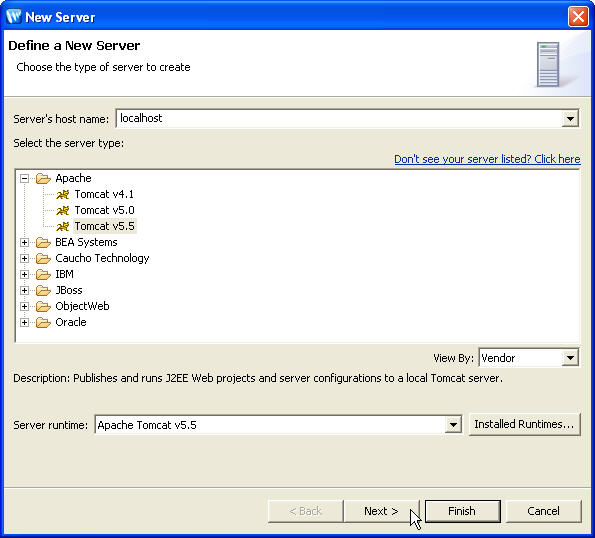
The screen that displays next depends on the type of server that you have chosen. This screen allows you to configure your server. Choose the server settings and click Next to continue.
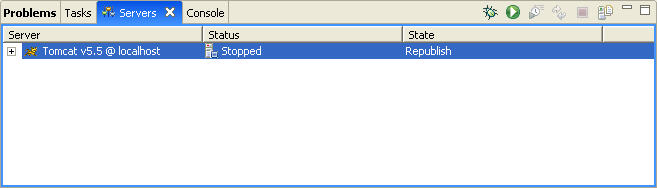
In the Server View, right-click Tomcat configuration and click Start. Once the server starts successfully, the default web browser comes up. Enter the URL http://localhost:8080/pages/register.jsf in the address field of the browser.
The application first performs the data validation based on the rules defined for form fields. If you try to submit the data without filling in the Password field, you will get an error response.
If you enter a User ID of less than 4 characters and Password less than 1000, then you will get an error response.
On successful registration, the user will be forwarded to the home.jsp page.
Click one of the following arrows to navigate through the tutorial:
|
|
|