B Product Installation Screens
This appendix contains screenshots and descriptions for all the installation screens shown when installing the product. The examples are taken from the installation of Oracle JRockit JDK R28.2 for Java SE 6 with Oracle JRockit Mission Control 4.1.0 on Windows 32-bit x86.
This appendix contains these sections:
B.1 Welcome
Figure B-1 shows the installation Welcome screen.
B.2 Choose Product Installation Directories
Figure B-2 shows the Choose Product Installation Directories screen. On this screen, you specify the product installation directory.
Figure B-2 Choose Product installation Directories Screen
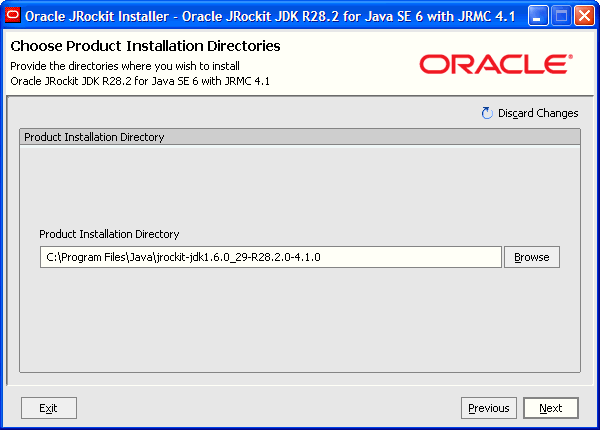
Description of "Figure B-2 Choose Product installation Directories Screen"
For more information, see Section 1.4, "Product Installers".
B.3 Optional Components
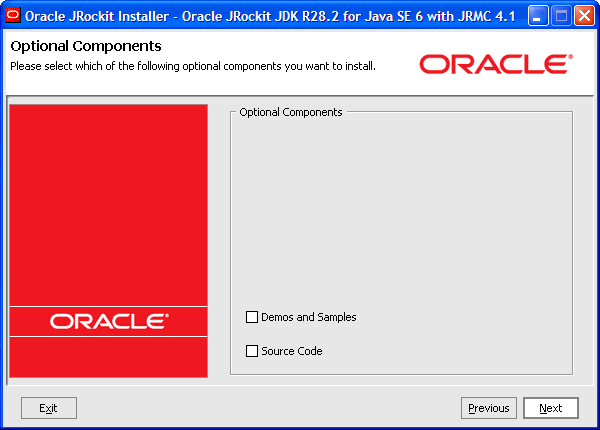
Figure B-3 shows the Optional Components screen. Use this screen to install demos, samples, and source code along with the product you are installing.
For more information on using this screen, see Section 1.4, "Product Installers".
B.4 Install Public JRE
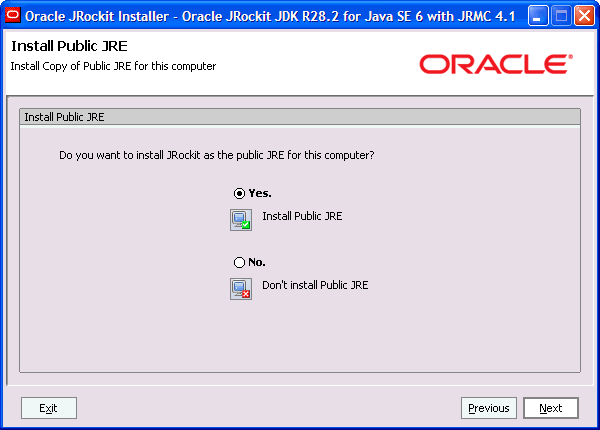
Figure B-4 shows the Install Public JRE screen. Use this screen to install the Oracle JRockit JRE as the public Java Runtime Environment. This screen is only available if you are installing Oracle JRockit JDK on Windows.
For more information, see Section 1.4, "Product Installers".
B.5 Choose Product Installation Directories (for Public JRE Installation)
Figure B-5 shows the Choose Product Installation Directories screen (for public JRE installation). On this screen, you specify the product installation directory of the optional public Java Runtime Environment. This screen is only available if installing Oracle JRockit JDK on Windows.
Figure B-5 Choose Product Installation Directories (for Public JRE Installation)
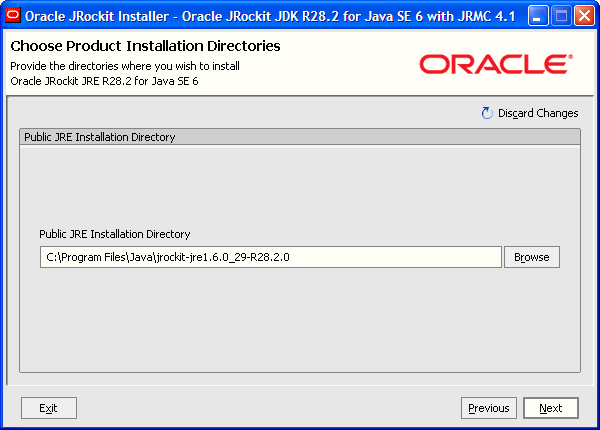
Description of "Figure B-5 Choose Product Installation Directories (for Public JRE Installation)"
For more information, see Section 1.4, "Product Installers".
B.6 Installation Progress
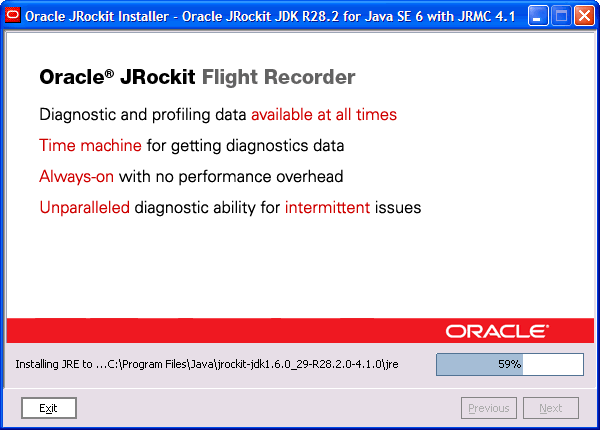
Figure B-6 shows the installation progress meter. This screen contains a meter that lets you know the percentage of installation complete.
For more information, see Section 1.4, "Product Installers".
B.7 Installation Complete
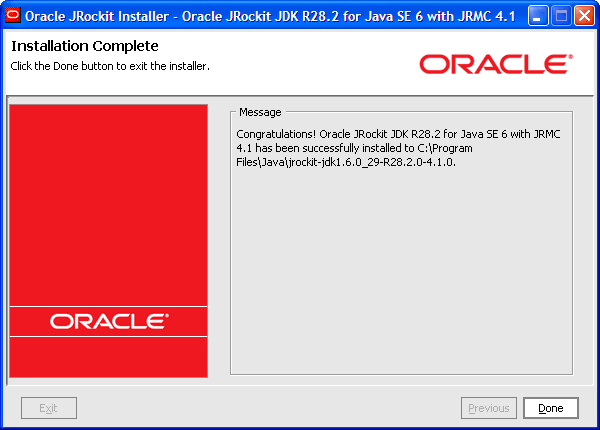
Figure B-7 shows the Installation Complete screen. This screen appears when your product installation is successful.

