| Sun Blade X6450 Server Module Windows Operating System Installation Guide |
| C H A P T E R 4 |
|
Prepare for Mass Storage Driver Delivery |
This chapter contains instructions on preparing the necessary mass storage drivers media for Windows Server 2003 installation.
Depending on the method selected in Chapter 3, you will use one of the procedures in this chapter. See TABLE 4-1.
For the Floppy Disk Local or Floppy Disk Remote delivery method, you need to create a floppy disk containing the mass storage drivers before proceeding with the Windows Server 2003 installation.
Ensure that the following system configurations and materials are readily available:
|
Sun provides a wizard to help create the necessary floppy disk required for Windows Server 2003 installation. The Sun Mass-Storage Driver Disk Creation wizard may be started using one of the following methods: from the main menu of your server’s Tools and Drivers CD, or from the mkfloppy.exe wizard. Directions for using either method are described below.
1. Start the Sun Mass-Storage Driver Disk Creation wizard using one of the following methods:
i. On a system running Microsoft Windows software with a floppy drive, copy the FloppyPack.zip file to a temporary directory.
iii. Navigate to the folder where you placed the downloaded file.
v. On the File menu, click Extract All.
vi. Extract the files into a new (empty) folder.
vii. Start Windows Explorer and navigate to the folder containing the extracted files.
viii. In Windows Explorer, open the directory containing the extracted files and double-click the mkfloppy.exe wizard, and then proceed to the next step.
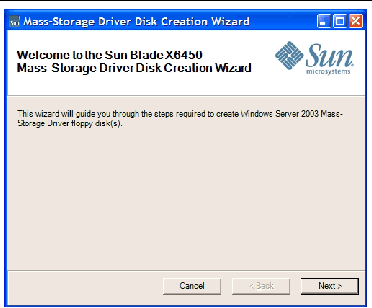
2. At the Mass-Storage Driver Disk Creation wizard welcome page (see FIGURE 4-1), click Next.
Insert a blank floppy disk into drive A: when prompted.
FIGURE 4-1 Mass-Storage Drivers Disk Creation Wizard Welcome Page
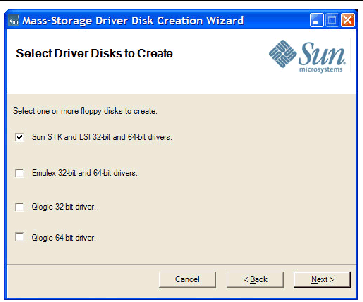
3. At the Select a Drivers Disk to Create page (see FIGURE 4-2), select the appropriate driver for your installed disk controller, and then click Next.
Follow the instructions in the wizard to create the mass storage driver floppy disk for your server.
FIGURE 4-2 Select Driver Disks to Create Page
4. At the Format 3 1/2 Floppy page (see FIGURE 4-3), click the Start button to begin formatting.
FIGURE 4-3 Format 3 1/2 Floppy Page

5. When the floppy disk formatting is complete, click the Close button.
The Format 3 1/2 Floppy page closes and you are returned to the Mass-Storage Driver Disk Creation wizard.
6. Click Next and follow the instructions in the wizard to complete the creation of the mass storage driver floppy disk, and then do one of the following:
Use this procedure if you choose the Floppy Image method to install the mass storage drivers.
Ensure that a JavaRConsole system is available to host the driver files. This system must have access to the FloppyPack.zip driver package downloaded from the driver download site or on the Tools and Drivers CD (system software release 2.0, or later) as shown in Downloading Server-Specific Driver Packages.
|
To copy the floppy image file using a Windows system:
i. Insert the CD into the JavaRConsole system.
ii. Navigate to the following directory:
windows\w2k3\packages\FloppyPack\image
the following images are available:
proceed to Step 2.
i. Copy the FloppyPack.zip file to a temporary directory.
iii. Navigate to the temporary folder where you placed the downloaded file.
v. On the File menu, click Extract All.
vi. Navigate to the folder where the extracted files reside.
vii. Navigate to the image folder, and then proceed to the next step.
2. Copy the appropriate .img file to a folder on the JavaRConsole system that will be available during installation.
The following images are available:
3. To install Windows remotely using the Floppy Image method, proceed to Chapter 5 to setup your remote console.
| Sun Blade X6450 Server Module Windows Operating System Installation Guide | 820-3537-11 |
Copyright © 2008 Sun Microsystems, Inc. All Rights Reserved.
 To Create a Floppy Disk for the Sun Blade X6450 Server Module