| C H A P T E R 2 |
|
Installation |
This chapter provides the steps for installing on the following platforms:
1. Start the installation by double-clicking the .exe file.
InstallShield will guide you through the installation process.
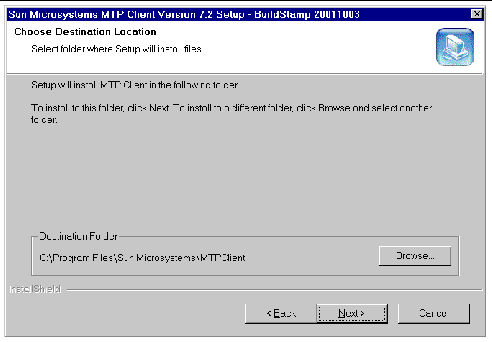
2. Choose the destination folder for the installation.
If the default value is not what you require, click Browse to choose a different directory (see FIGURE 2-1).

3. Make a selection on the Setup Type screen and click Next.
There are three choices for the type of installation:
4. When the installation completes, the Setup Complete screen is displayed.
There will be an option to reboot your system now or later. However, you must reboot before using the Sun MTP Client software.
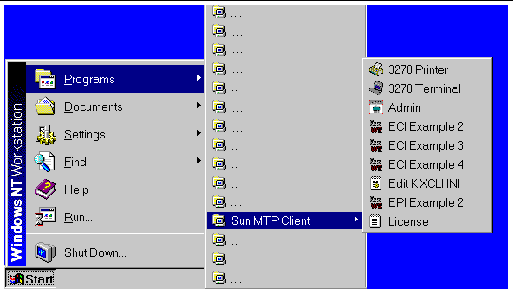
Sun MTP Client will be installed on the Start Menu as shown in FIGURE 2-2.

5. When the installation is complete, you must change the PATH environment variable.
You can change the PATH environment variable using the Control Panel.
Sun MTP Client for Solaris is supplied in a tar image. You can install the files wherever it is required on the target machine. The standard installation directory is /opt/kixcli.
If the Sun MTP Client is installed into the standard directory, it simplifies the configuration. If, however, the software is installed into a different directory, you must configure the users so that they can access the shared libraries provided by the Sun MTP Client. The system documentation for your platform provides this information. It is strongly recommended that you use the standard directories for installation.
Copyright © 2003, Sun Microsystems, Inc. All rights reserved.