| C H A P T E R 4 |
|
ILOM Web Interface and Log In |
ILOM supports an easy-to-use web interface that runs on many web browsers. You can use this web interface to access all the features and functions provided by ILOM.
This chapter includes the following sections:
The ILOM web interface is accessible through a browser and uses a Sun standard interface. The ILOM web interface enables you to monitor and manage local and remote systems. One of the most powerful features of ILOM is the ability to redirect the server's graphical console to a local workstation or laptop system. When you redirect the host console, you can configure the local system's keyboard and mouse to act as the server's mouse and keyboard. You can also configure the diskette drive or CD-ROM drive on the remote system as a device virtually connected to your
Sun system. You can access these features using the ILOM Remote Console application. For more information about the Remote Console, see Chapter 12. The web interface provides user accounts that have defined roles and privileges. For information about privilege levels, see Roles for ILOM User Accounts.
The web interface has been tested successfully with recently released Mozilla , Firefox, and Internet Explorer web browsers, and may be compatible with other web browsers.
You can launch only one instance of the ILOM web interface in a single browser.
If you attempt to launch multiple instances of the ILOM web interface in the same browser, only the first instance of the web interface will display.
The following operating systems and web browsers are known to be compatible with ILOM:
| Note - ILOM comes preinstalled on your Sun system and includes the Remote Console application. To run the ILOM Remote Console, you must have the Java 1.5 runtime environment (JRE 1.5) or later version of the JRE software installed on your local client. To download the JRE software, go to http://java.com. For more information about the Remote Console, see Chapter 12. |
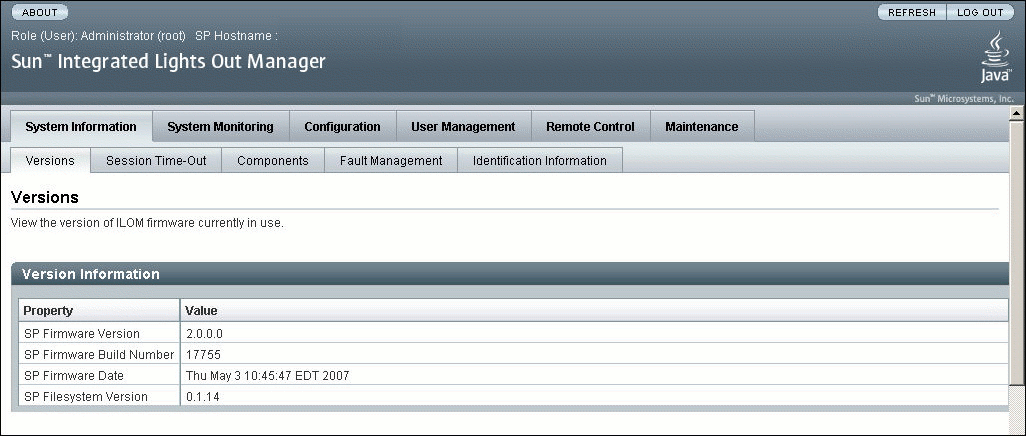
The ILOM web interface main page is shown below.
FIGURE 4-1 ILOM Web Interface Main Page

Each web interface page has three main sections: the masthead, the navigation tabs, and the content area.
| Note - If you are using the ILOM web interface on a Chassis Monitoring Module (CMM), there is another component in the web interface called the Navigation Pane. |
The masthead provides the following buttons and information on each page of the web interface:
| Note - Do not use the Refresh button on your web browser when you are using the web interface. |
The ILOM web interface navigation structure includes tabs and second-level tabs that you can click to open a specific page. When you click the main tab, second-level tabs are displayed, providing you with further options. For additional information, see Navigation Tab Components.
The content area is where you find information about the specific topic or operation.
The following table describes the various tabs and sub-tabs within the most common ILOM components in the web interface. In the cross-referenced sections in this User’s Guide, you can find more detail about how to use the features and functions on the weg pages that appear when you select a tab.
|
Set the amount of idle time that the ILOM session will remain active |
|||
|
View the names, types, and status of the components that ILOM is monitoring |
|||
|
Assign Hostname and System Identifier Using the Web Interface |
|||
|
View various details about each particular event, including the event ID, class, type, severity, date and time, and description of the event |
|||
|
Edit or update the web server settings, such as the HTTP web server or the HTTP port |
|||
|
View information about the default SSL certificate or find and enter a new SSL certificate |
|||
|
Configure Secure Shell (SSH) server access and key generation |
|||
|
View details about each alert and change the list of configured alerts |
Manage Alert Rule Configurations Using the ILOM Web Interface |
||
|
View and edit the baud rate of the internal and external serial ports |
|||
|
Configure the server addresses to which the syslog messages will be sent |
Configure Remote Syslog Receiver IP Addresses Using the Web Interface |
||
|
Configure the state of the SMTP client, which is used for sending email notifications of alerts |
|||
|
Enable or disable settings that control the behavior of the system, such as power-on policies |
|||
|
Add User Accounts and Set Privileges Using the Web Interface |
|||
|
View the users currently logged in to ILOM, as well as the type of session users have initiated |
|||
|
Manage the host remotely by redirecting the system console to your local machine |
Configure ILOM Remote Control Settings Using the Web Interface |
||
|
Configure ILOM Remote Control Settings Using the Web Interface |
|||
|
Select a mode for your local mouse to use while managing the host remotely |
Configure ILOM Remote Control Settings Using the Web Interface |
||
|
Use the Snapshot utility to collect environmental, log, error, and FRUID data and send it to a USB thumbdrive, and external host using the CLI, or as a downloaded file |
|||
This section describes how to log in to and log out of the web interface, as well as how to upload an SSL certificate and set the session time-out.
|
This section describes how to log in to the ILOM web interface.
Disabling the use of the browser proxy server (if used) for access to the management network can make the web interface response time faster.
You need the IP address of ILOM. For information on viewing and setting the IP address, see Assign IP Addresses to the Sun Server Platform SP Interfaces.
Follow these steps to log in to the ILOM web interface:
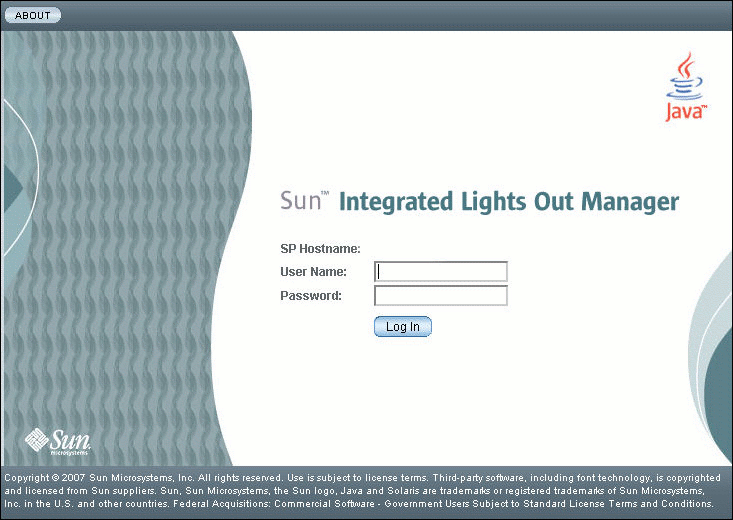
1. To log in to the web interface, type the IP address of ILOM into your web browser.
The web interface Login page appears.

2. Type your user name and password.
You can use the default user name and password.
The default user name and password are lowercase characters.
One local user ID is predefined with the user name root assigned with the role Administrator. You cannot delete this user ID or change its role attributes. The initial password changeme is also provided. This password is required to log in to the command-line interface (CLI), Secure Shell (SSH), and the web interface.
The web interface Versions page appears.

After you have logged in to ILOM and established network connectivity to the system, you should reset the default password (changeme) that is associated with the ILOM root account to protect your system from unauthorized access. For information about resetting the ILOM root account password, see Change ILOM Root Account Password Using the Web Interface.
|
ILOM provides a default SSL certificate and self-signed key for HTTPS access.
Optionally, you can upload a different SSL certificate and matching private key. Ensure that you can access the new certificate and key through your network or local file system.
Follow these steps to upload the SSL certificate:
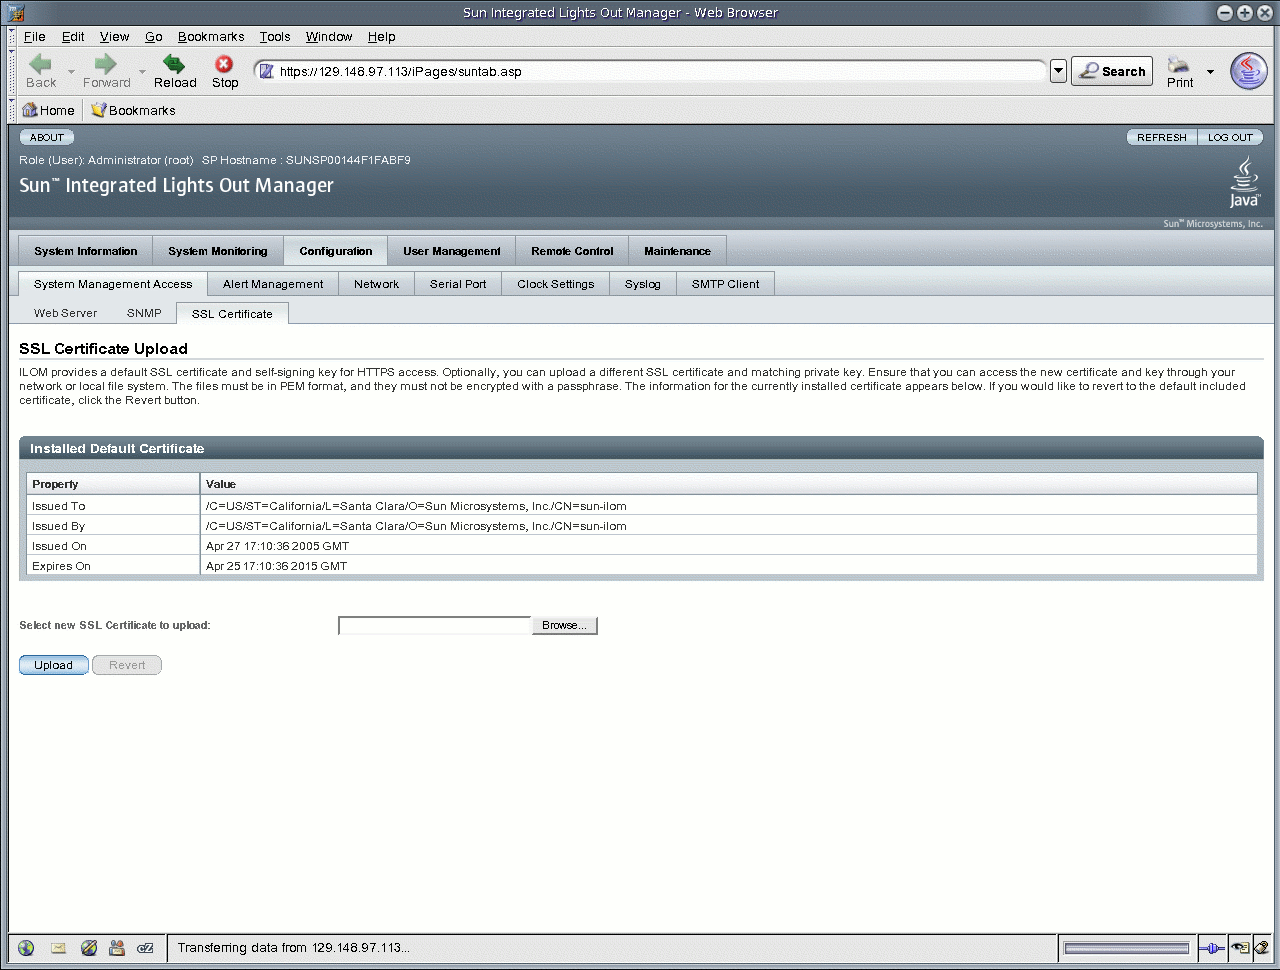
2. Select Configuration --> System Management Access --> SSL Certificate.
The SSL Certificate Upload page appears.
FIGURE 4-4 SSL Certificate Upload Page

3. Type the file name of the new SSL certificate or click the Browse button to search for a new SSL certificate.
The file name has a .pem file extension. The service processor does not support pass-phrase encrypted certificates.
4. Click the Upload button to obtain the selected SSL certificate.
The SSL Certificate Upload Status dialog box appears.
5. Once you have uploaded the certificate and private key, click the OK button to reset the ILOM web server and begin using the new SSL certificate.
The ILOM web server must be reset for the new certificate to take effect.
|
The session time-out setting does not persist after you log out of the current ILOM session. You must reset the session time-out each time you log in to the ILOM web interface.
Follow these steps to set the amount of time an ILOM session will remain idle before logging out:
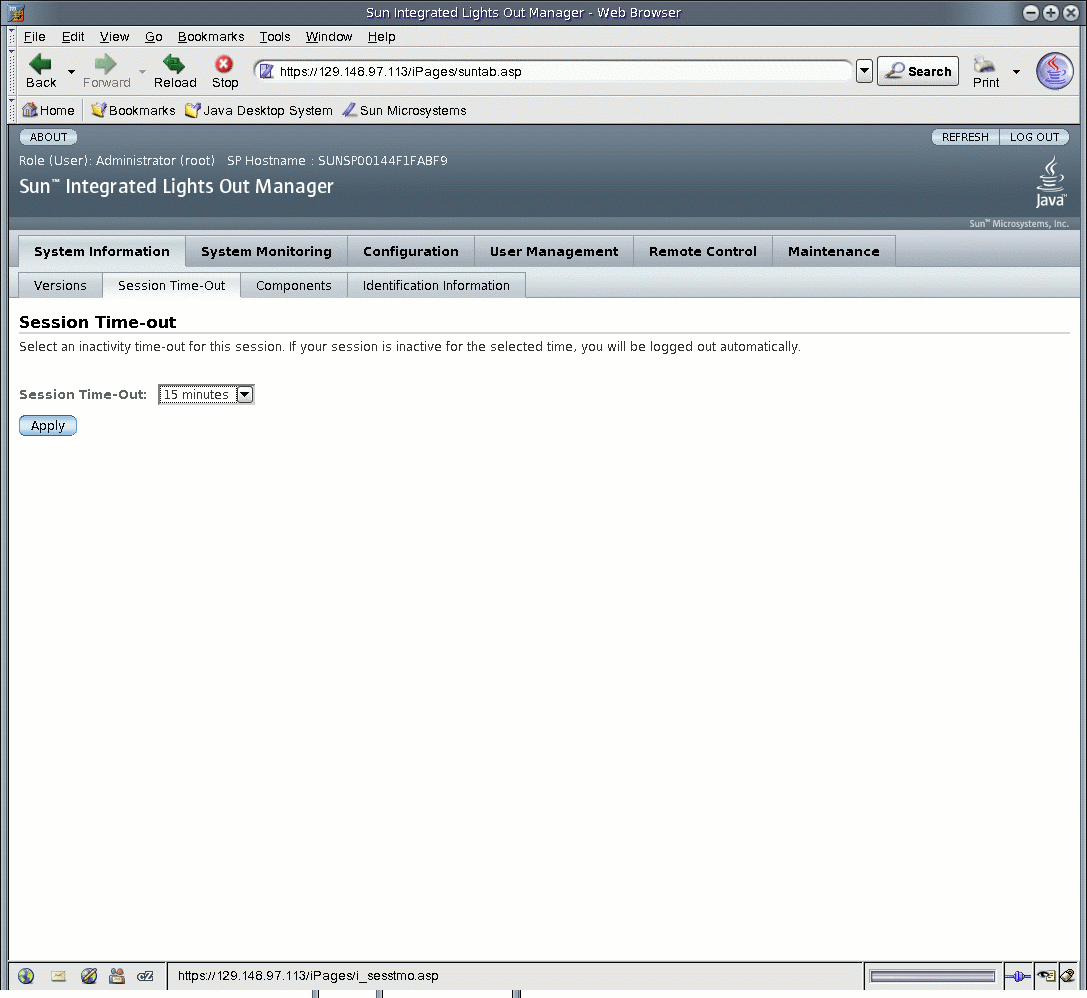
2. Select System Information --> Session Time-Out.
The Session Time-Out Page appears.
FIGURE 4-5 Session Time-Out Page

3. From the Session Time-Out drop-down list, select the amount of time that the ILOM session will remain idle when there is no ILOM activity.
If your session is inactive for the selected amount of time, you will be logged out of ILOM automatically.
|
 To log out of the web interface, click the Log Out button.
The Log Out button is located in the top right corner of the web interface.
Copyright © 2008 Sun Microsystems, Inc. All Rights Reserved.