| Skip Navigation Links | |
| Exit Print View | |

|
Sun Fire X4800 Server Installation Guide Sun Fire X4800 Server Documentation |
| Skip Navigation Links | |
| Exit Print View | |

|
Sun Fire X4800 Server Installation Guide Sun Fire X4800 Server Documentation |
About This Documentation (PDF and HTML)
Front and Back Features and Components
Unpacking the Server and Identifying the Rack Mounting Hardware
How to Identify Your Rack Mounting Kit
Installing the Server In the Rack Using the Standard Rack Mounting Kit
Contents of the Standard Rack Mounting Kit
Location of the Rack Mounting Kit and the Shipping Bracket Kit
Installing the Server In a Rack Using the Standard Rack Mounting Kit
Removing and Installing the Standard Rack Mounting Kit Shipping Brackets
Installing the Server In the Rack Using the Universal Rack Mounting Kit
Contents of the Universal Rack Mounting Kit
Installing the Server in a Rack Using the Universal Rack Mounting Kit
Installing and Removing the Universal Rack Mounting Kit Shipping Brackets
Removing the Server From the Rack
How to Remove the Server From the Rack
How to Remove the Rack Mounting Hardware from the Rack
Powering the Server On and Off
How to Apply Standby Power for Initial Service Processor Configuration
How to Power On All Server Components
Getting Service for Your Server
How to Find the Server's Serial Number
Setting Up the Preinstalled Solaris Operating System
Configuring the Preinstalled Oracle Solaris OS
How to Connect to the Server Using the Server's IP Address
(Optional) How to Redirect the Console Output to the Video Port
How to Connect to the Server Using a Serial Capture Program
Oracle Solaris OS Information Products and Training
Communicating With the ILOM and the System Console
About ILOM SP IP Addresses and the ILOM Interfaces
Connecting to the System Console
I/O and Interrupt Resource Allocation
Option ROM and I/O Space Allocation
Allocating MSI Interrupt Space (Oracle Solaris OS Only)
How to Identify and Fix Interrupt Resource Shortages
Sun Fire X4800 Server Specifications
Physical Specifications for the Sun Fire X4800 Server
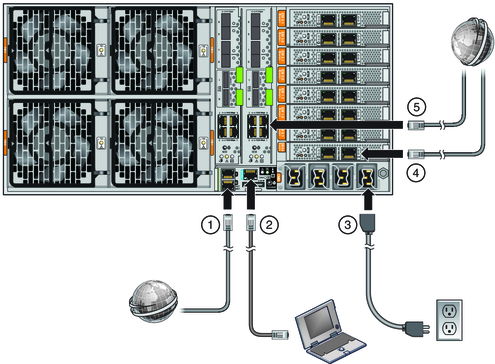
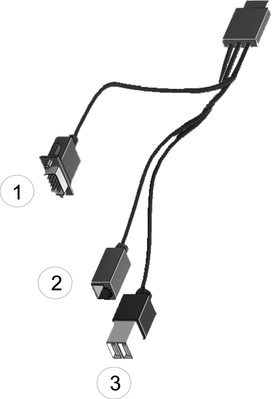
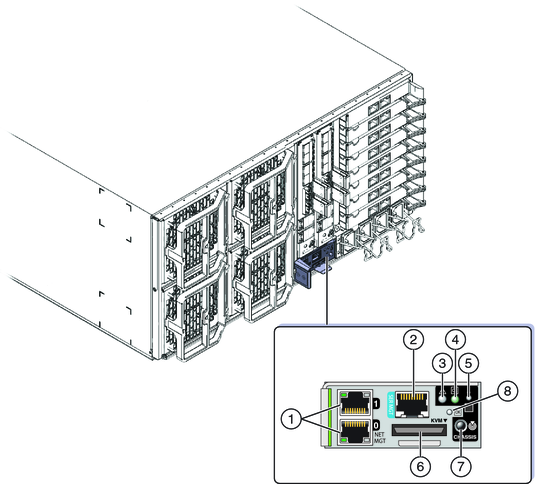
The Service Processor module (SP) provides connections used for system administration. These include serial and Ethernet cables for ILOM, and serial, video, and USB cables for the host console. Connectors are provided on the SP itself, and on the multiport cable, which connects to the SP.
See the following figures.

| ||||||||||||||

|
Figure 1 SP Connectors

|